admin
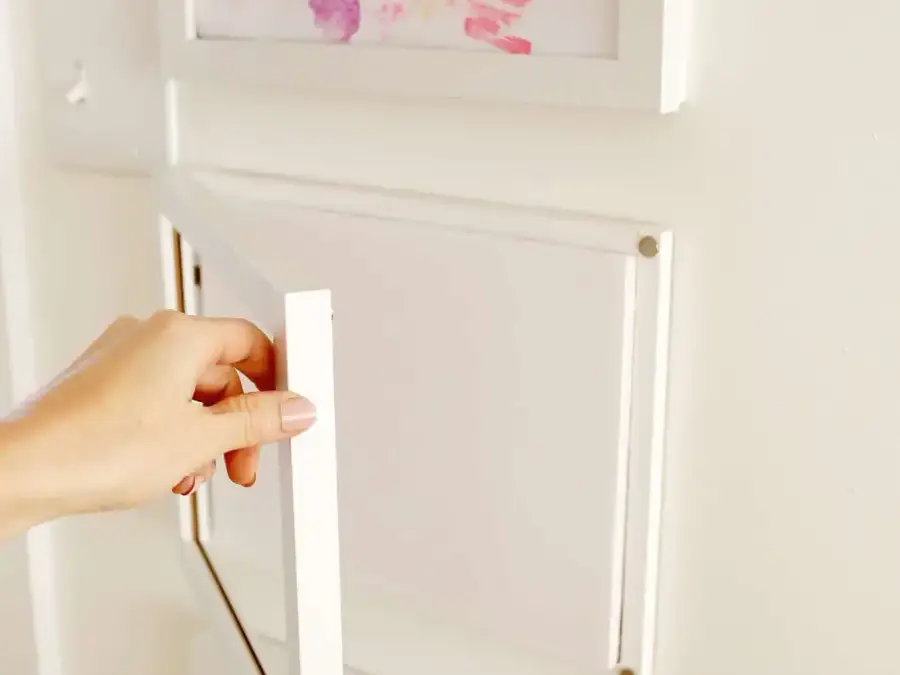
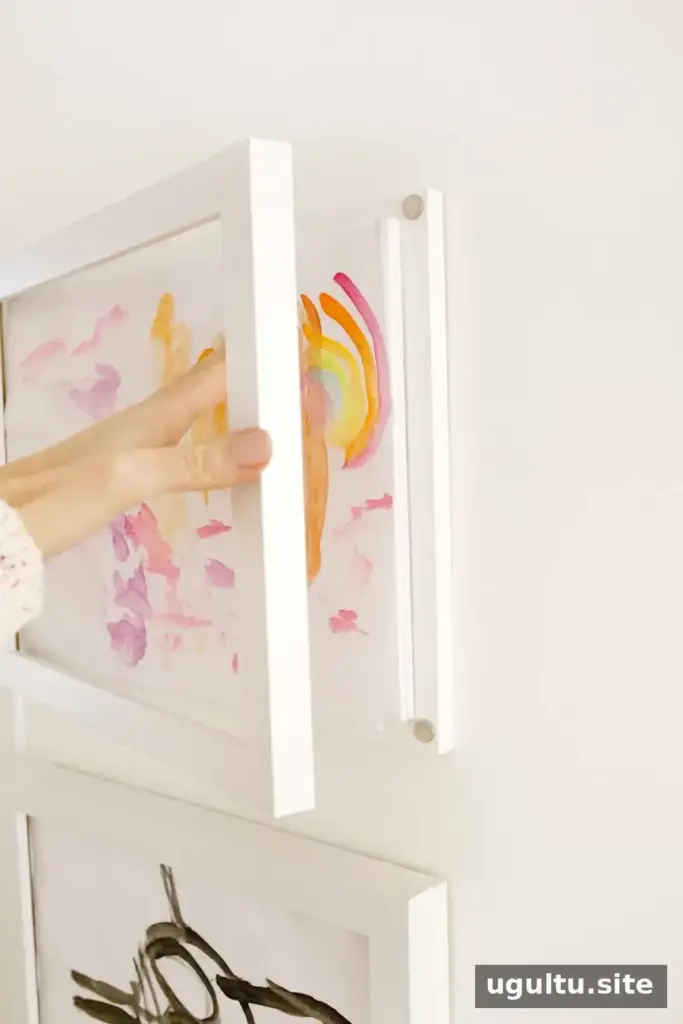
A DIY kids art frame gives children a simple way to display their drawings and paintings—and change them whenever they like. This hinged design opens from the front, making artwork easy to replace and leaving room for raised details such as cotton-ball clouds. The project uses a standard 8 x 11.5-inch picture frame and can be adapted to other sizes.
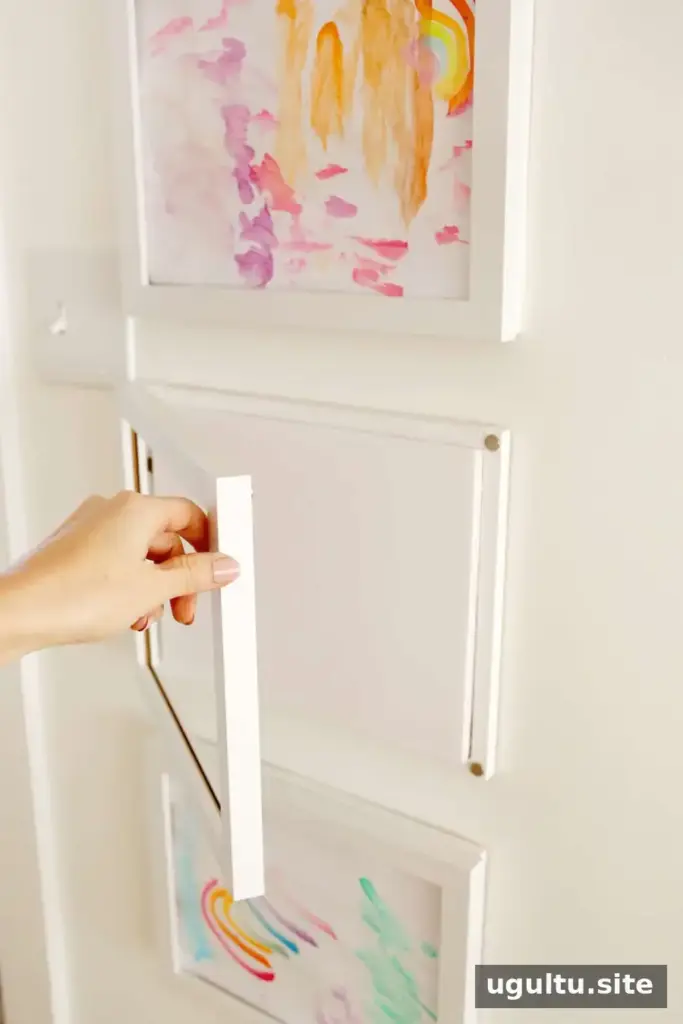
Why make a DIY kids art frame?
Tape can be a quick way to put artwork on the wall, but a frame creates a neater display that children can update themselves. Hang it at a height your child can comfortably reach, or make sure a stable step stool is available. The open-front construction is also useful for artwork with textured or three-dimensional elements that could be flattened behind glass.
Materials and tools
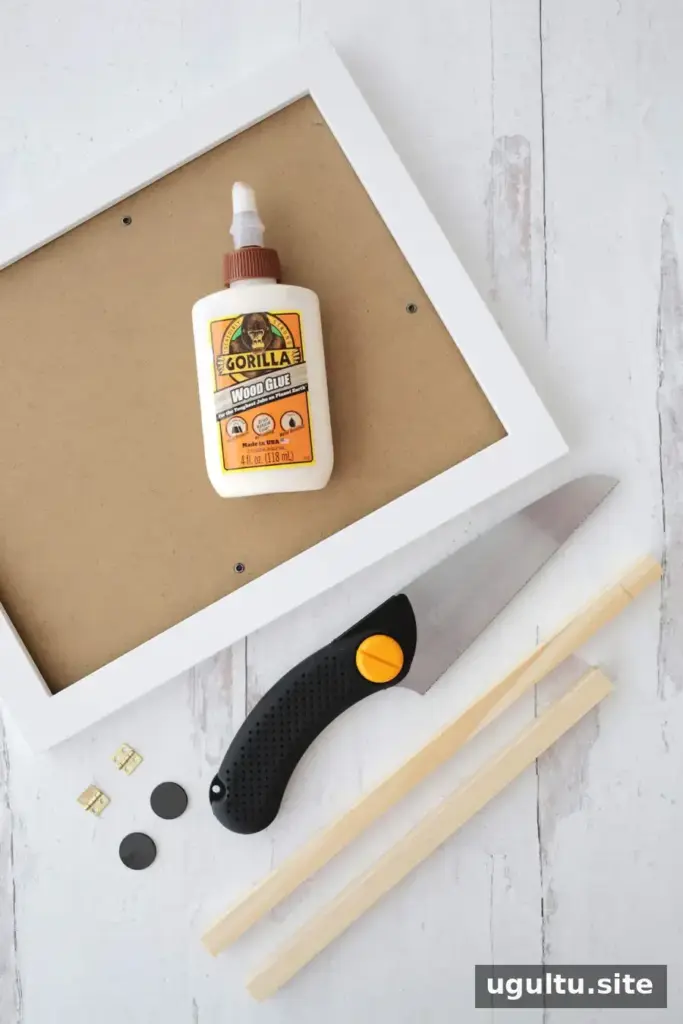
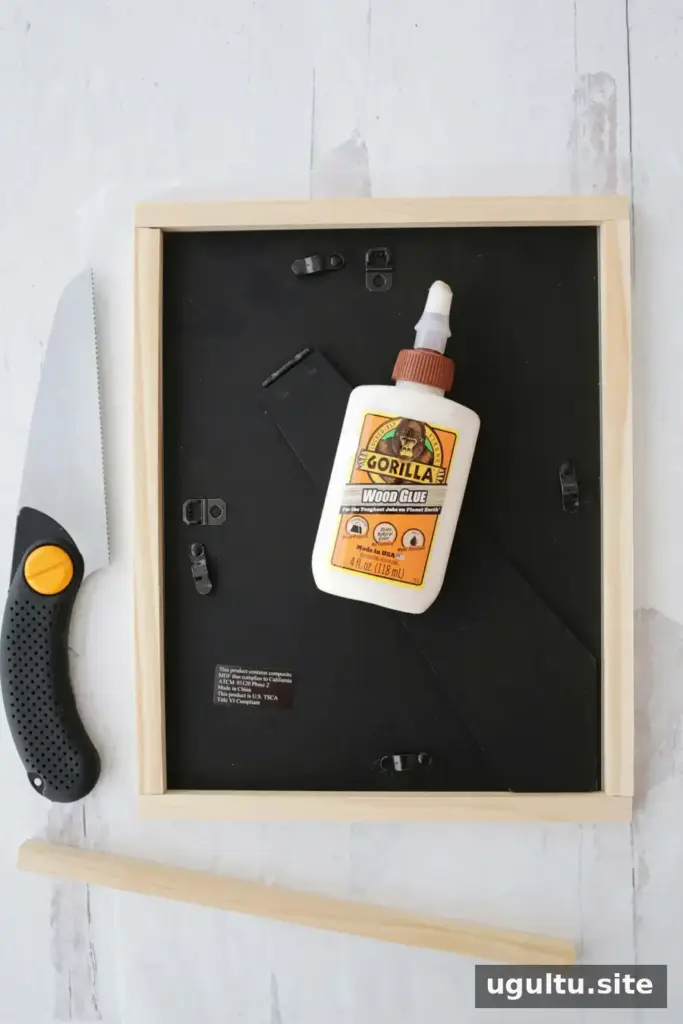
- One 8 x 11.5-inch picture frame with a removable backing
- Four 1/2-inch square wooden dowels, cut to fit around the backing
- Small metal hinges: the materials list specifies 2, while the recipe-card list specifies 4; check the count and fit before purchasing
- Wood glue and superglue
- Foamcore board
- Two magnets
- Two flush-mount canvas hangers
- Wax paper
- Optional: paint to match the frame
- Small saw, hot glue gun, X-Acto knife, ruler, and cutting mat
Allow about 1 hour and 30 minutes for preparation and a full day for the glue to dry. The estimated cost is $15, and the project makes one frame. Use sharp tools carefully, and keep small magnets and hardware away from young children during assembly.
How to make the frame
1. Add a wooden border to the backing
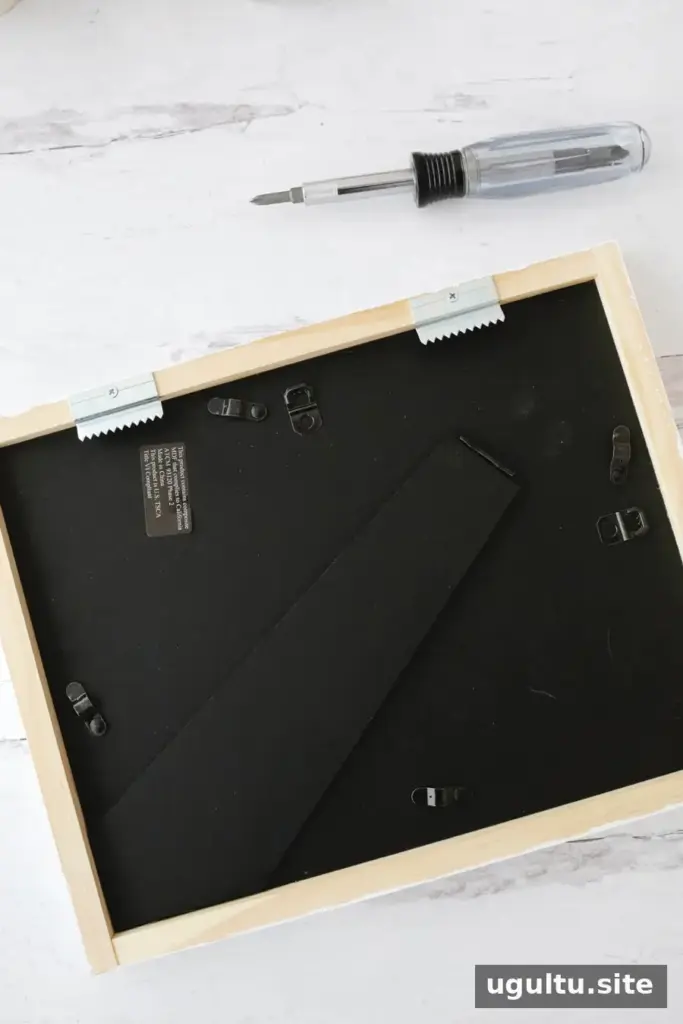
Remove the backing from the picture frame and place it face down on wax paper. Measure and cut the four wooden dowels so they fit around the backing. Join the dowel pieces with wood glue, and apply glue along the inner edge where the backing will meet the wood. The backing should sit against the inside of the new border. Wax paper helps protect the work surface and peels away once the glue is dry.
2. Attach the hinges
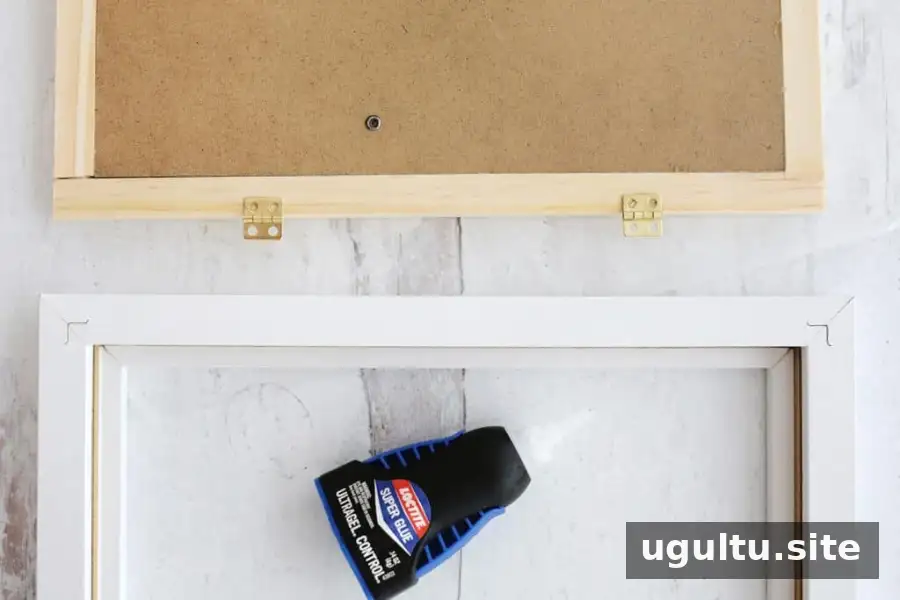
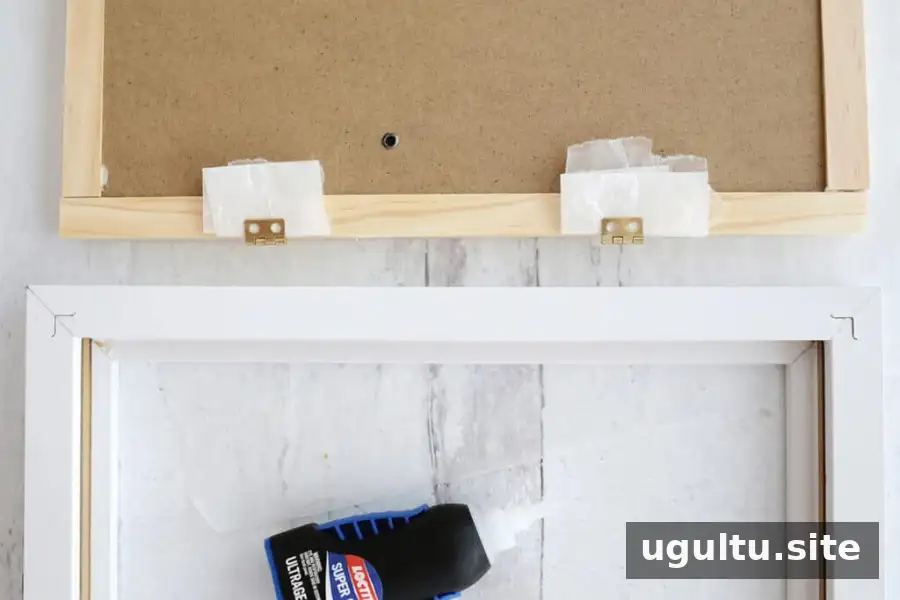
After the wood glue has fully set, turn the assembly over and connect the framed backing to the front of the picture frame with the hinges. Screws can be used if the hinge holes are recessed; otherwise, screw heads may prevent the frame from closing flat. Gluing the hinges with superglue is another option.
Open each hinge flat and attach one plate to the edge of the backing frame, leaving the moving joint over the edge. When that side has set, fold the other plate down with a piece of folded wax paper between the hinge and frame. This helps prevent the hinge from being glued shut. Add superglue to the second plate, position the front frame, and let the adhesive dry completely. Wait a full day before opening the frame or removing the wax paper so the hinges have time to set securely.
3. Fit the foamcore and closing magnets
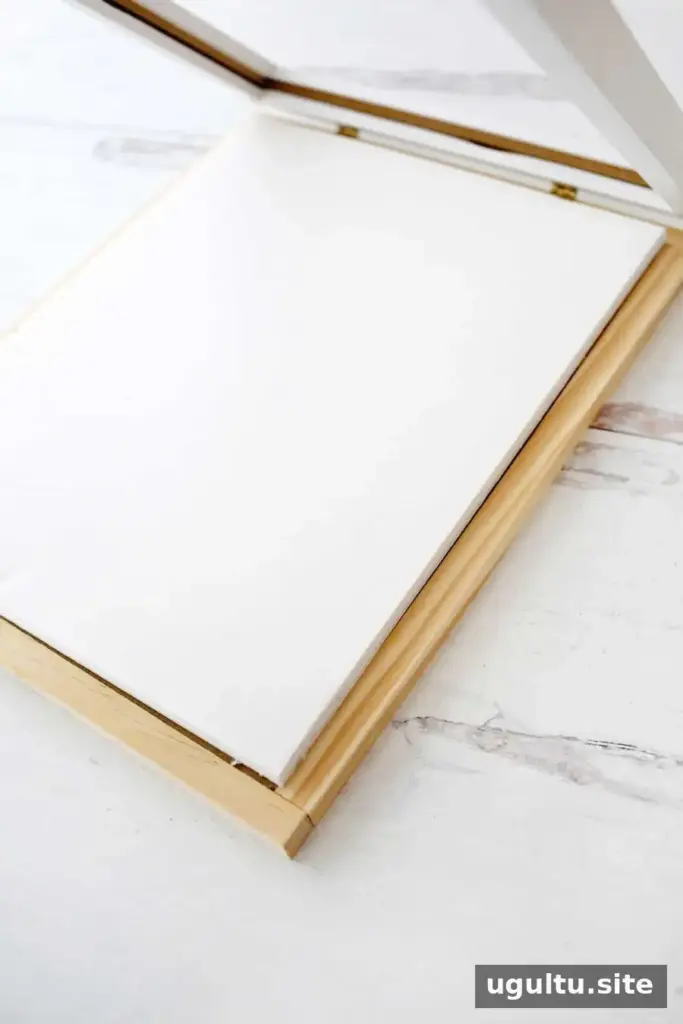
Cut two pieces of foamcore slightly smaller than the artwork area and stack them on the backing. This raises the artwork toward the front of the frame and helps keep it from shifting in the open space. If you prefer a more unified appearance, paint the wooden dowels to match the picture frame.
Attach the two magnets at the corners opposite the hinges so the frame stays closed when hung. Screw the two canvas hangers onto the back. Check that the frame opens and closes freely and that the magnets meet before hanging it.
Using and adapting your artwork display
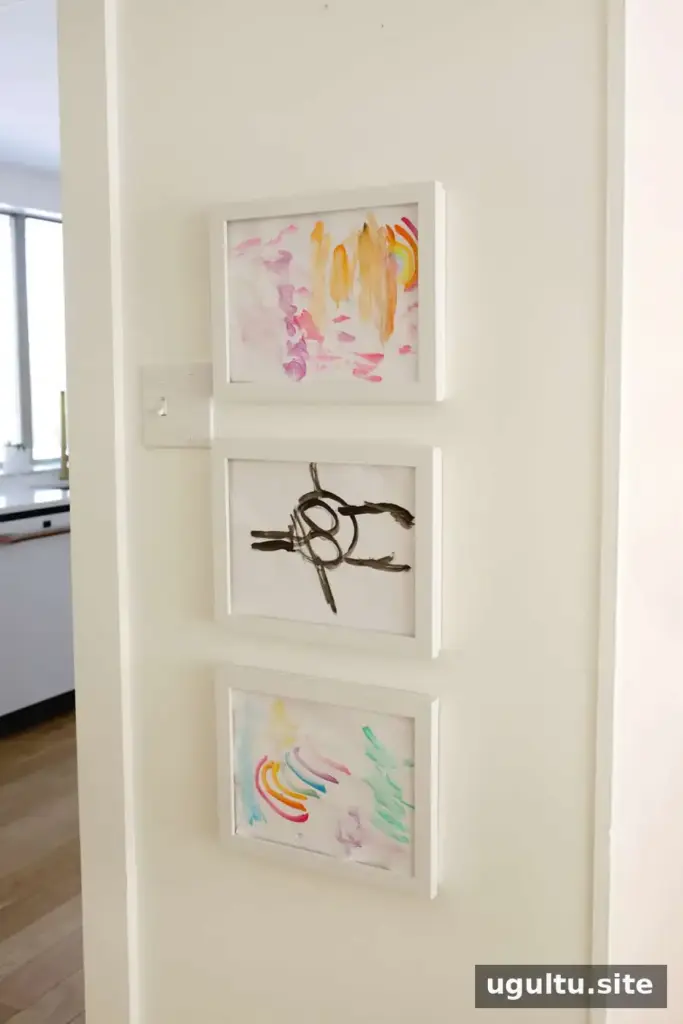
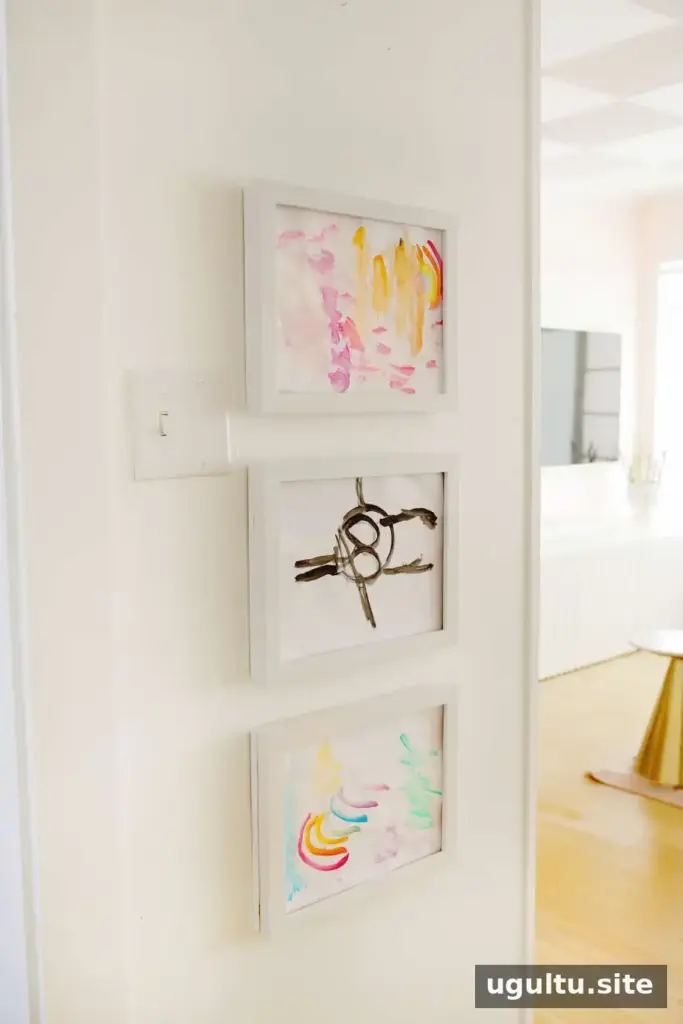
Artwork can be changed by opening the hinged frame and placing a new piece against the foamcore. For standard 8.5 x 11-inch copy paper, trim the sheet to fit the 8 x 11.5-inch frame as needed. Keep the frame within reach if children will be swapping their pictures independently.
The frame can be hung horizontally or vertically. For a vertical layout, place the hinges along the longer side and move the canvas hangers to the shorter side. You can also choose a different frame size; 9 x 12 inches is another common paper size. Measure the frame and artwork together before cutting the dowels or foamcore, since dimensions can vary between frames.
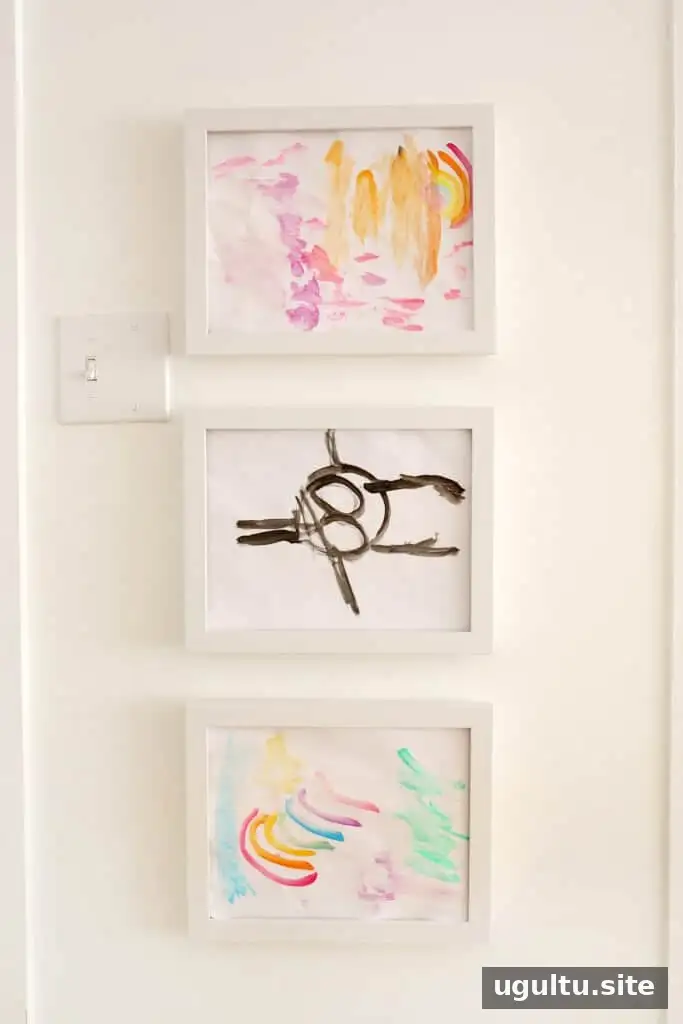
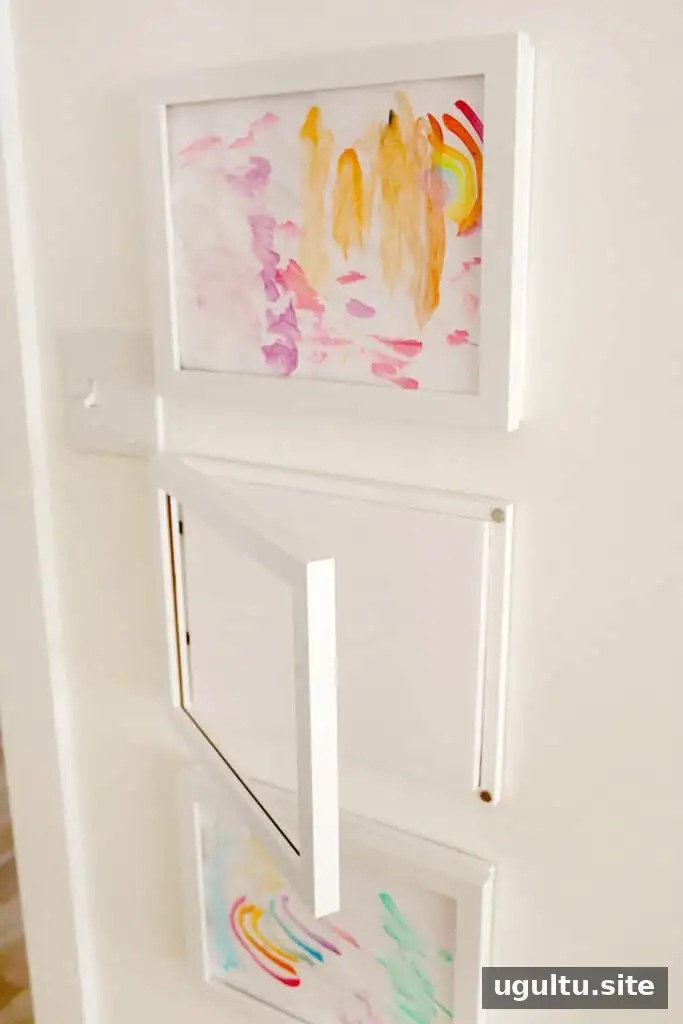
DIY kids art frame: practical finishing tips
- Test the hinge placement and frame closure before the glue sets permanently.
- Let adhesives cure fully before hanging or changing artwork.
- Choose a secure hanging method suitable for the wall and the frame’s weight.
- For raised artwork, check that the frame has enough depth and avoid pressing the piece flat.
This DIY kids art frame turns a basic picture frame into an accessible, changeable display for children’s creations. With careful measuring, fully cured glue, and a hanging position your child can reach safely, it can make rotating artwork around the home simple. Project by Laura.