
 admin
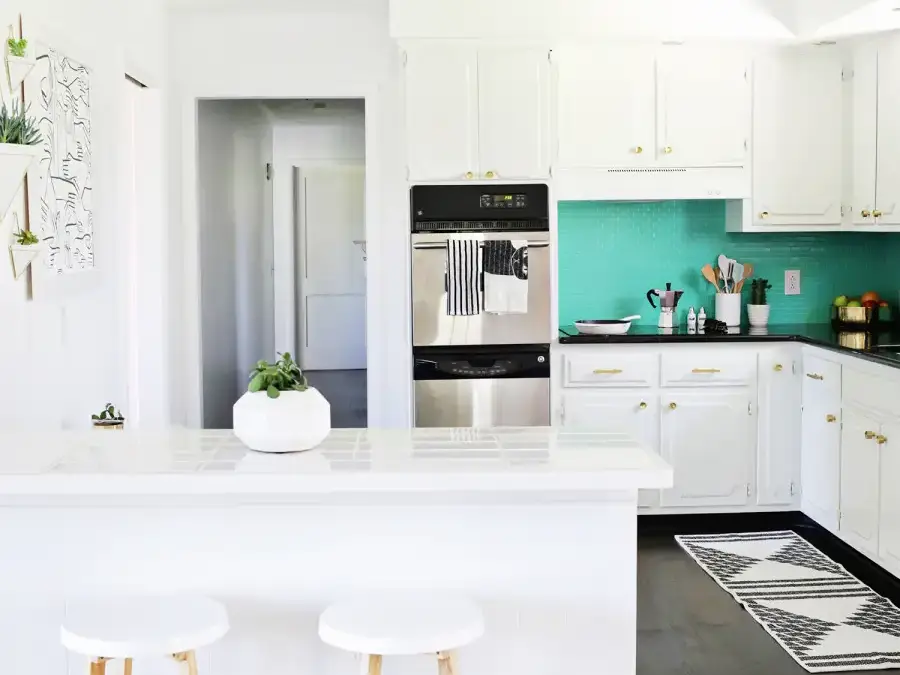
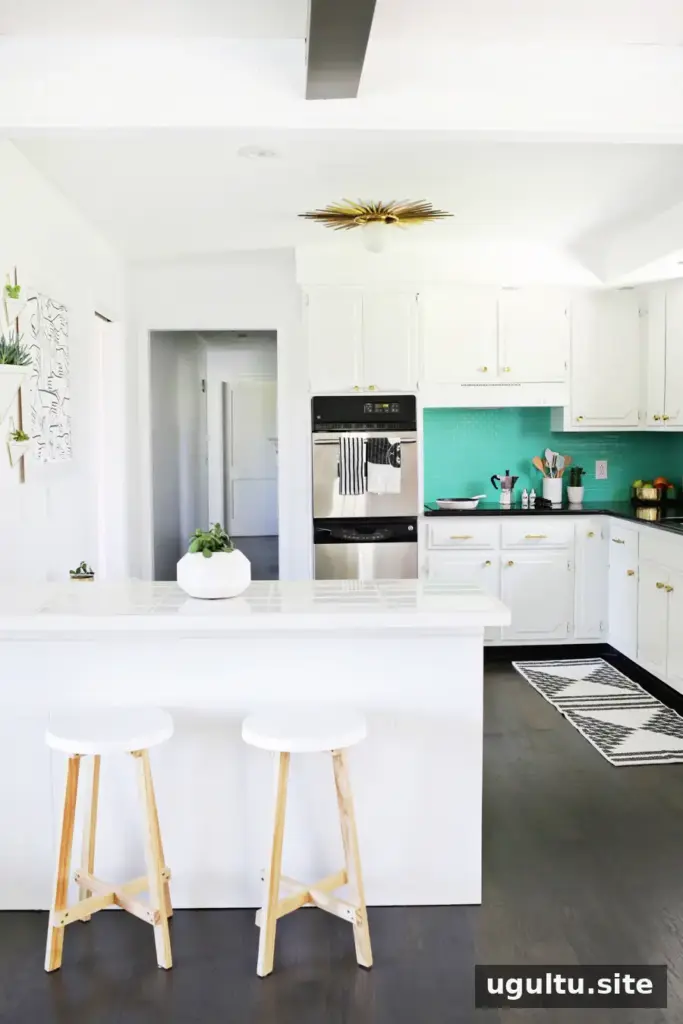
This kitchen makeover shows how targeted updates can refresh a well-used room before a larger renovation. The first phase focused on brighter cabinets, oak flooring, updated brass details, and a more practical peninsula. A future remodel is still planned, but these changes have already made the kitchen feel lighter and more functional.
Kitchen Makeover: Before and After
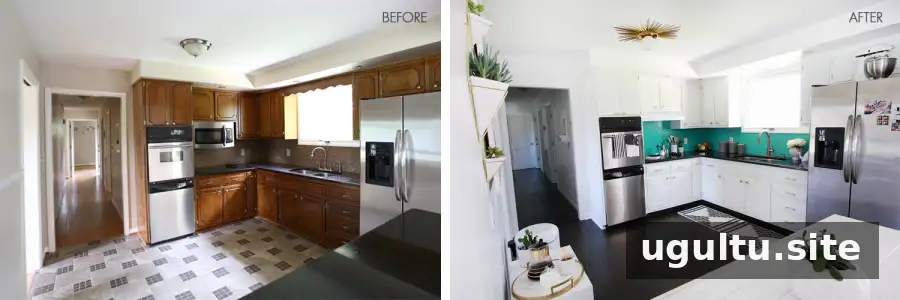
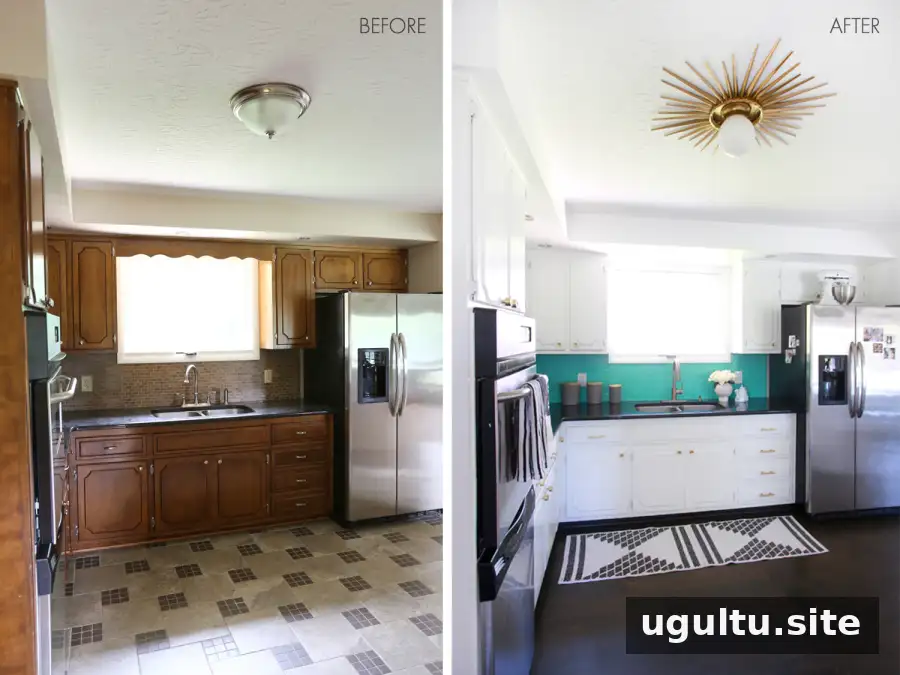
The cabinets required extensive preparation before they could be painted. An earlier refinishing job had left drips of polyurethane on the doors, so both the fronts and backs had to be sanded down to bare wood. The work took almost three days. Although sanding to the wood was demanding, doing the job without hiring it out saved a couple of thousand dollars.
The original tile floor was also removed and replaced with oak flooring to match the rest of the house. The new floor was finished with a custom stain color. Paired with the light-painted cabinets, it gives the room a noticeably brighter appearance. When painting cabinets, thorough sanding and preparation are essential for a smoother, more durable finish.
Brass Hardware and Practical Kitchen Details
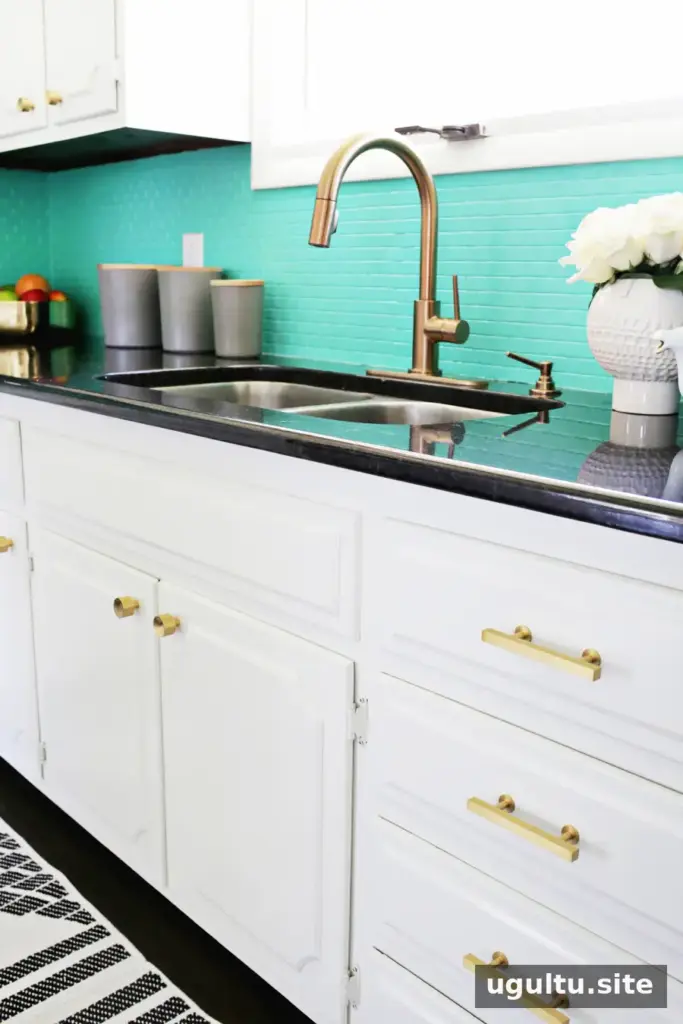
Brass knobs and brushed brass drawer pulls bring a warmer, more updated look to the cabinetry. The kitchen also received a pull-down faucet in a champagne bronze finish. It combines a decorative finish with a feature that can make rinsing dishes and cleaning the sink easier. When choosing hardware and fixtures, checking that their finishes work together can help create a cohesive look.
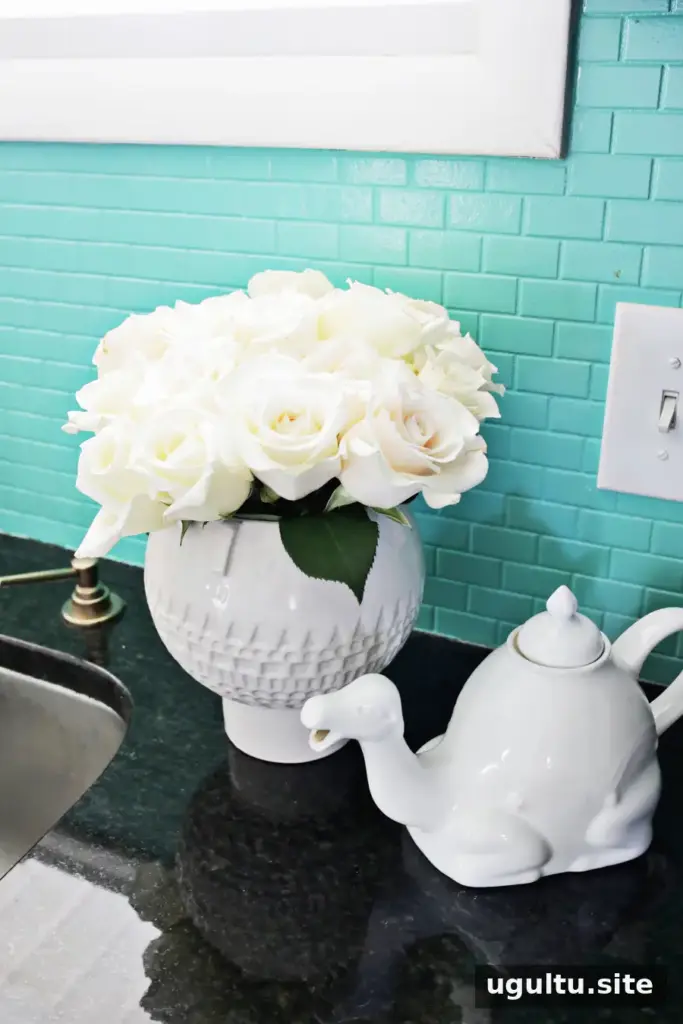
A camel-shaped teapot picked up during a trip to Israel adds a personal decorative touch. Its name is Bruce.
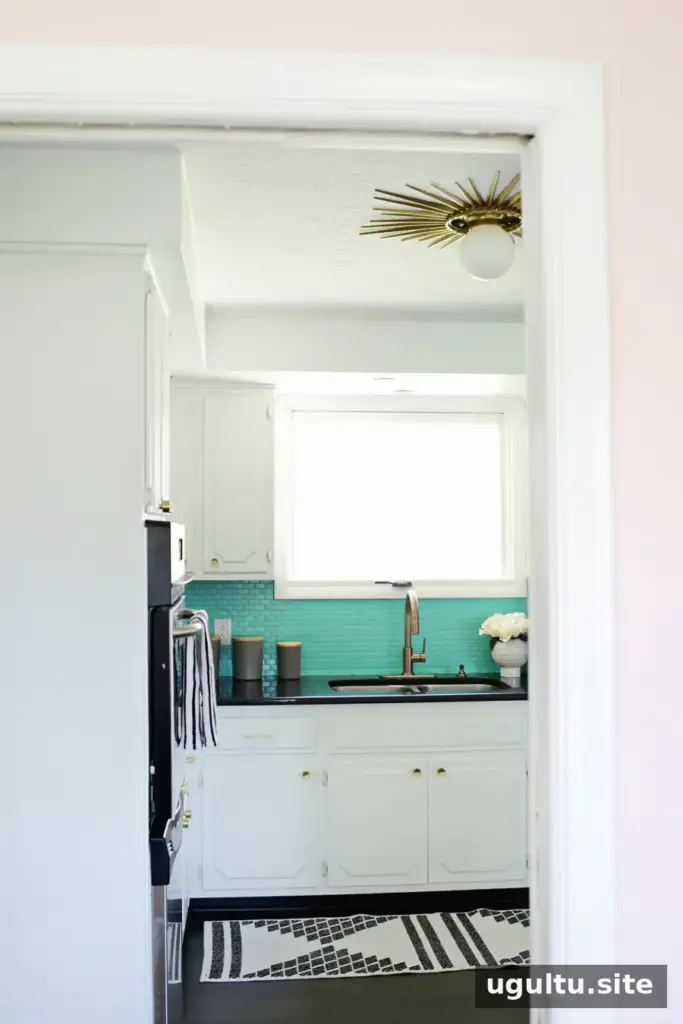
A runner that fit the narrow space in front of the sink was difficult to find, so two bath mats were joined with rug tape. The tape can be replaced after washing; sewing the mats together is another option. For any floor covering near a sink, choose a washable material and make sure it stays securely in place.
Lighting and a Temporary Backsplash Update

A DIY starburst light medallion adds detail to the ceiling and supports the kitchen’s mid-century style and gold accents. Decorative ceiling features can make a light fixture feel more connected to the rest of a room’s design.
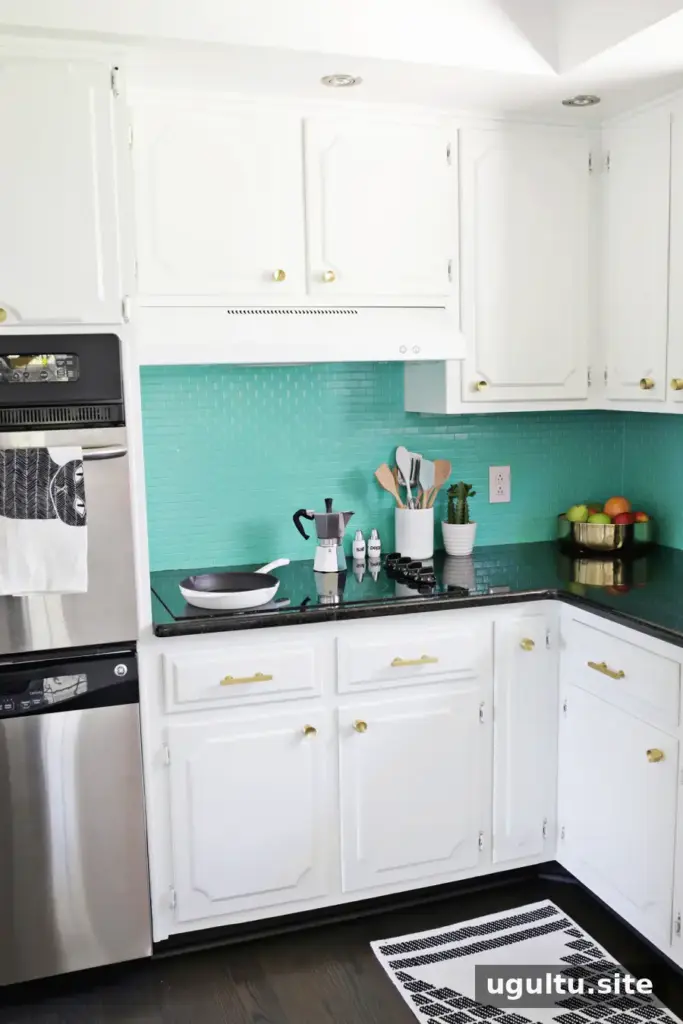
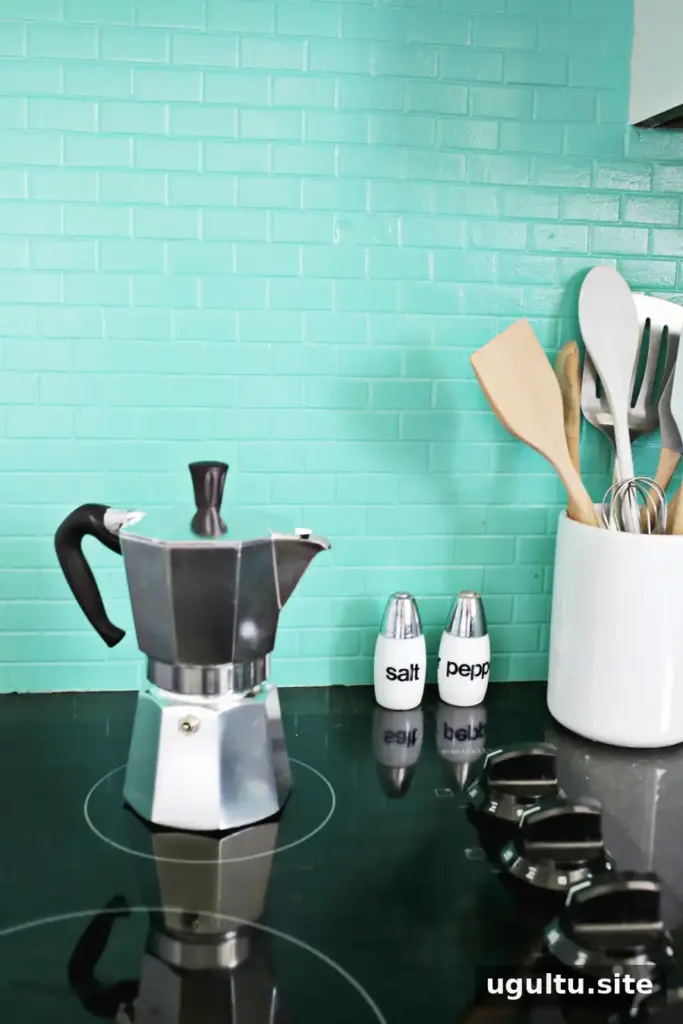
Because the backsplash is expected to be replaced during a later renovation, the existing brown tile was painted as a lower-cost interim update. The paint has held up well so far and adds color against the room’s black-and-white elements. Before painting a backsplash, check that the coating is suitable for the tile and the kitchen’s cleaning needs, and follow the product’s preparation and curing instructions.
A More Useful Peninsula and Countertop
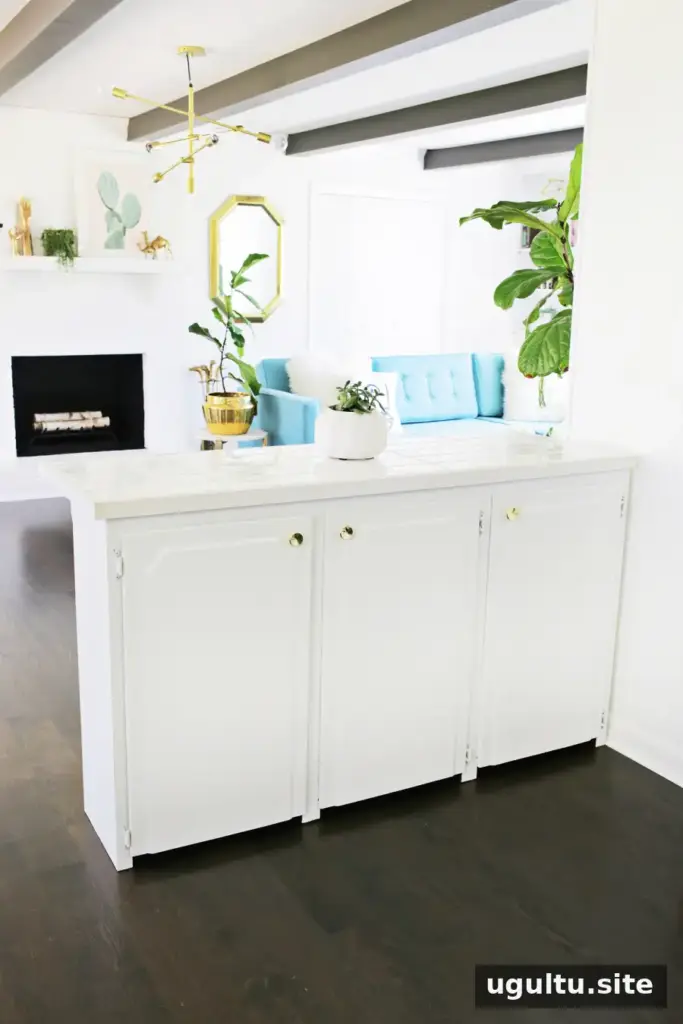
The cabinet peninsula was originally bar height, but its height made it less useful for everyday food preparation. It was lowered by a few inches to create a counter-height work surface. After the darker flooring was installed, the black granite countertop felt visually heavy, so it was replaced with a DIY white tiled countertop. The lower profile and lighter finishes help this area feel more open.

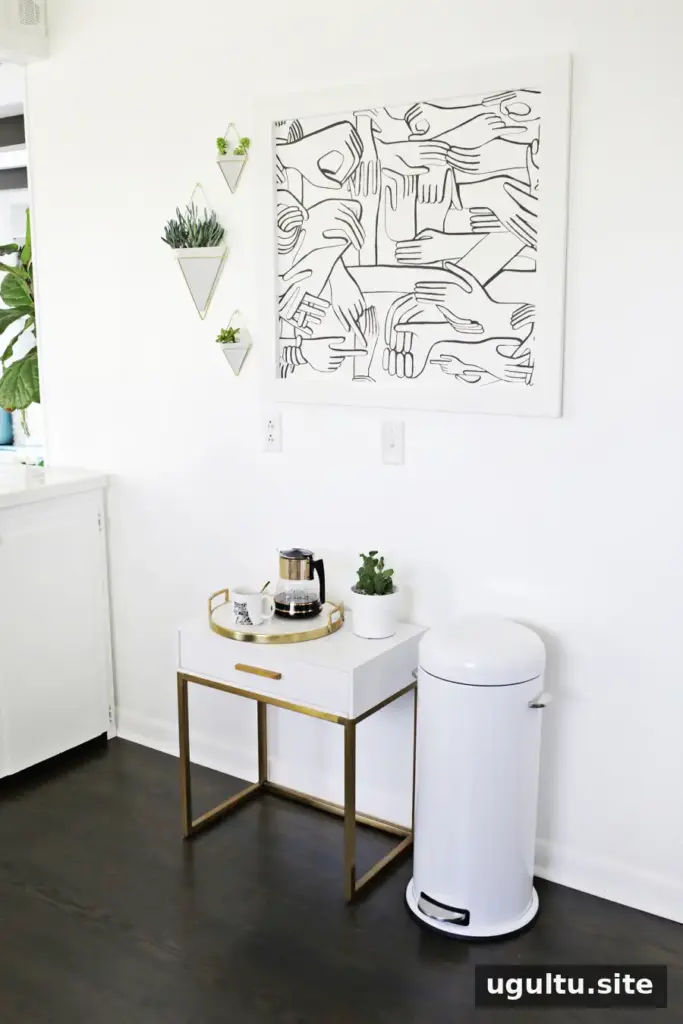


A framed black-and-white wallpaper sample adds pattern to the wall, while wall planters bring greenery into the space. Framing a wallpaper sample is a simple way to test a pattern in a room without committing to covering an entire wall.
Plans for the Next Kitchen Renovation Phase
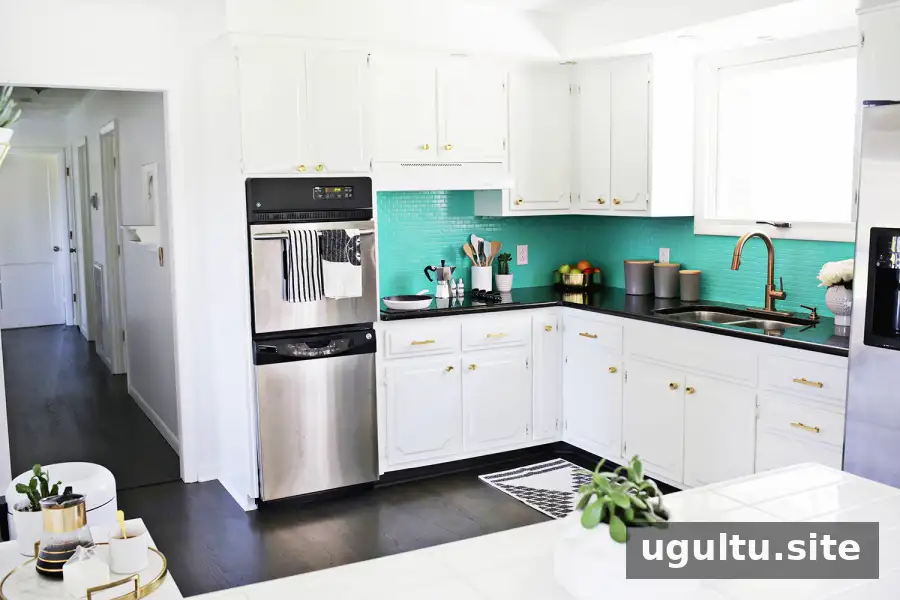
The kitchen has only about 2 square feet of preparation space between the cooktop and sink in the corner. The tiled peninsula works for setting down mail and bags, but its white grout is less practical for messy food preparation. A future plan is to extend the countertop into an L shape along the wall where the coffee station currently sits. That change would add work surface and more storage underneath.
At present, food, spices, and baking supplies are kept in the peninsula, which has two shelves and is less than a foot deep. With limited room, items are stacked in three rows and can fall out when the doors open. The first phase of this kitchen makeover has improved the room, while the planned expansion would address its remaining storage and preparation challenges. For a phased remodel, prioritizing daily-use improvements first can make the kitchen more comfortable while larger projects are saved for later.


