
 admin
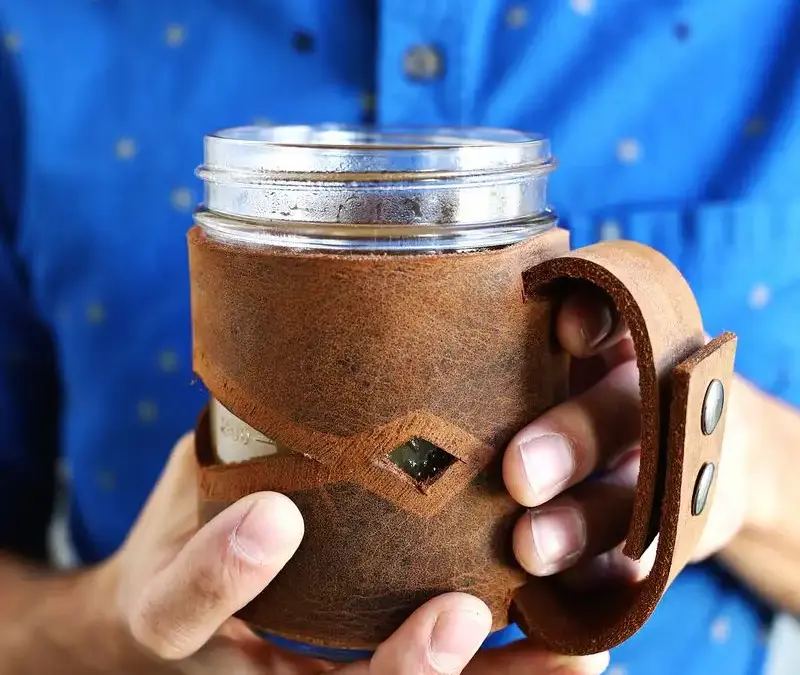
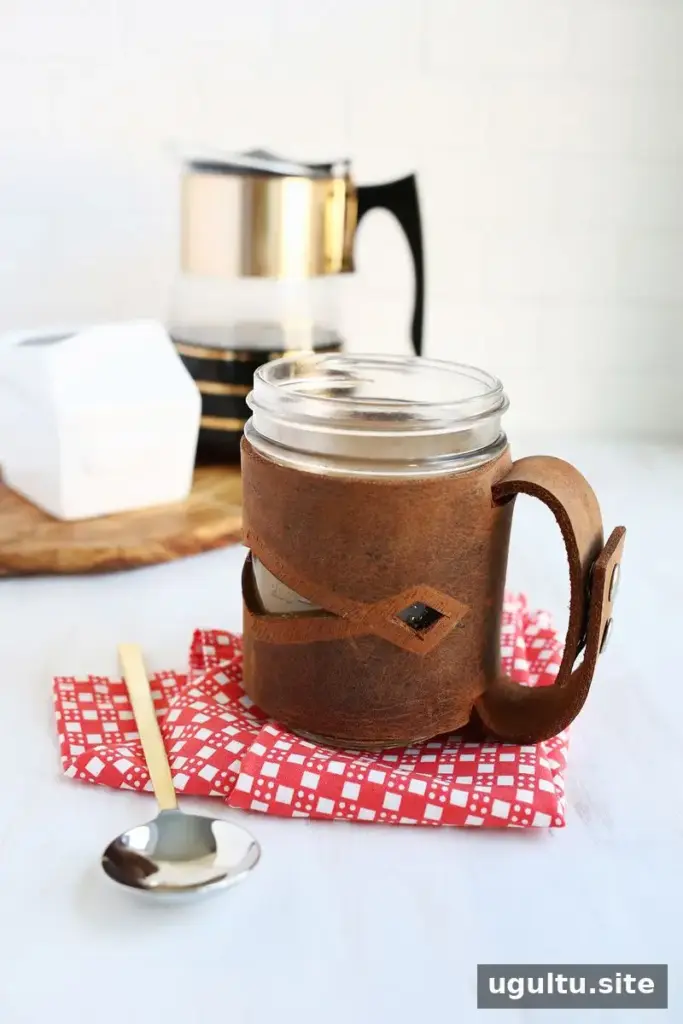
A leather mason jar sleeve adds a comfortable handle and a handmade look to a reusable jar. This beginner-friendly project uses a few basic leatherworking tools and straightforward construction techniques. The measurements below were made for a Ball wide-mouth jar, so check your own jar before cutting: sizes can vary between jars.
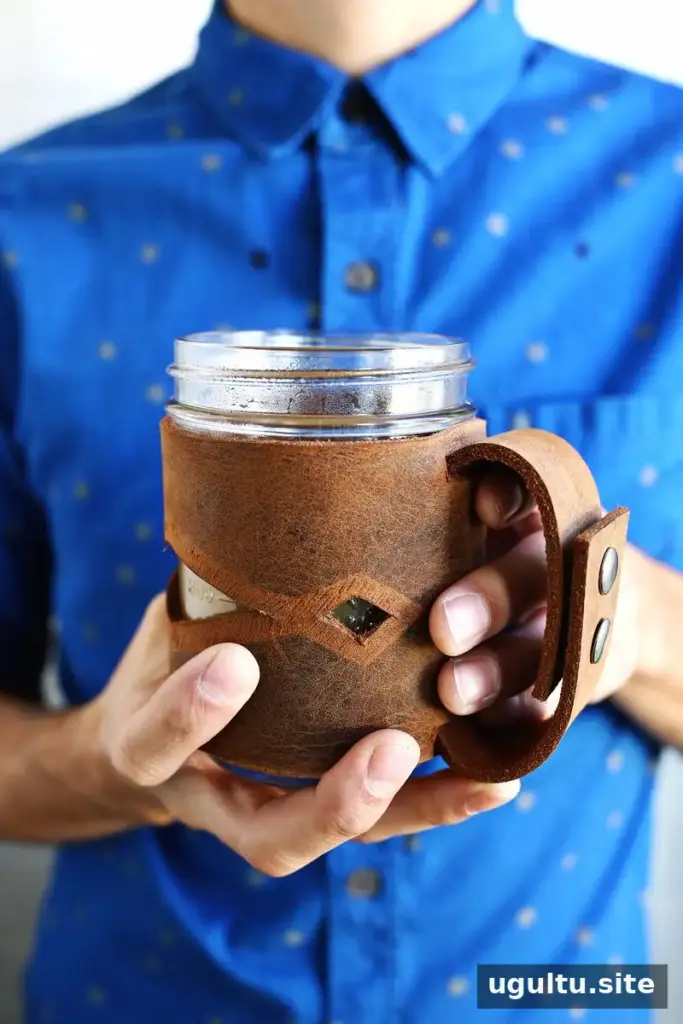
Materials and tools for a leather mason jar sleeve
Choose sturdy leather approximately 1/8 inch thick so the sleeve holds its shape. Before starting, make sure the leather is large enough for both the jar wrap and the handle, and work on a stable, protected surface when cutting or punching.
Materials:
- Heavy-duty leather, about 1/8 inch thick
- Snap fasteners
- Waxed cord
Tools:
- Leather punch
- Craft knife
- Metal ruler
- Snap setter or snap-setting tool
- Hammer
A paper template is also useful for checking the handle proportions before cutting the leather. Keep fingers clear of the blade and punch, and follow the instructions supplied with your snap-setting tool.
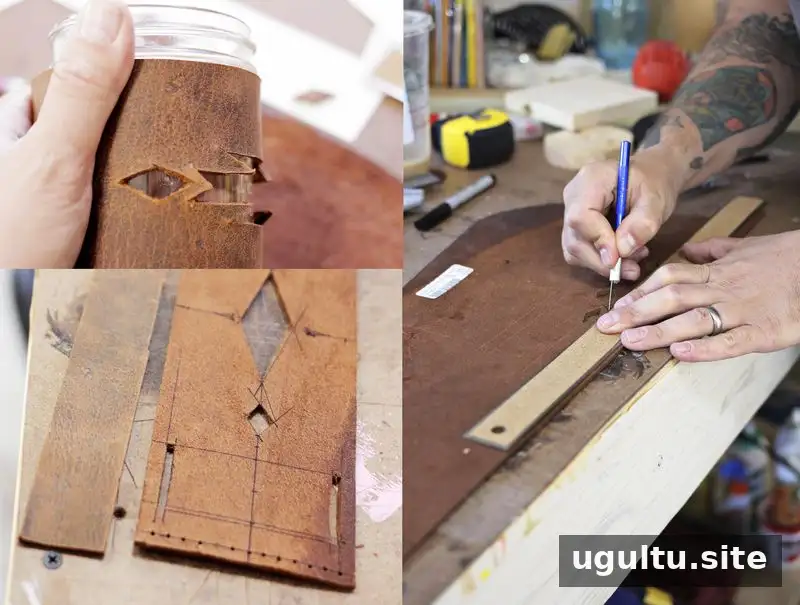
Step 1: Measure and cut the leather
Wrap a strip of paper or leather around the jar to estimate the sleeve length. Mark where the ends meet, then measure the height of the area you want the sleeve to cover. Leave enough room for the lacing holes and check that the finished wrap will not interfere with the jar’s rim or base.
For the Ball wide-mouth jar used in this project, the pieces measured:
- Sleeve: 11 1/8″ × 3 3/8″
- Handle: 1 1/4″ × 10 1/4″
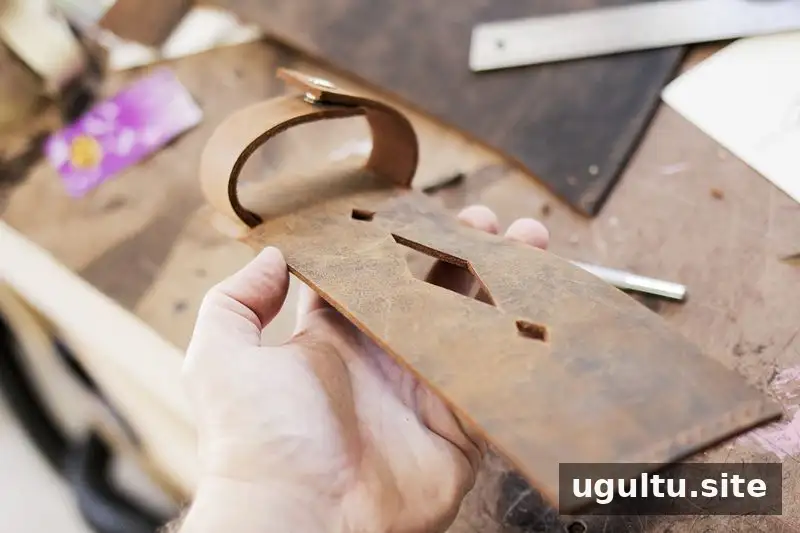
Use these dimensions as a starting point rather than a universal template. A quick paper mock-up can help you test the fit and handle length before cutting your leather. Mark any decorative openings, such as a diamond shape, and cut them carefully. Shapes with sharp corners may protrude when the sleeve is curved around the jar, so consider a simpler design with edges that sit smoothly.
Step 2: Punch holes and attach the snaps
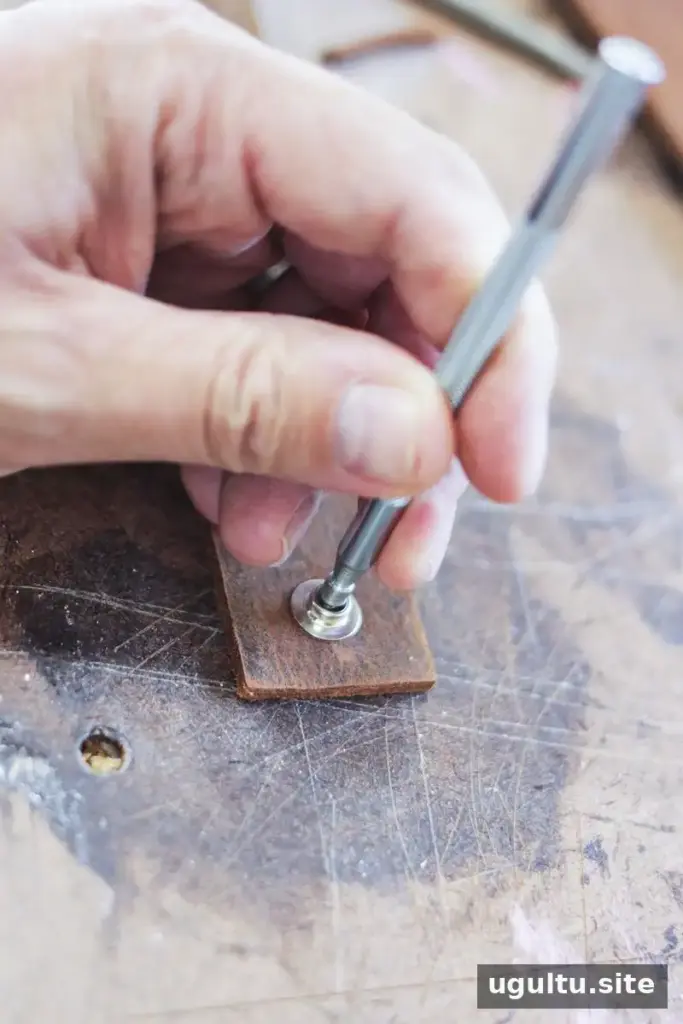
Punch evenly spaced holes near both ends of the sleeve for the lacing. Then make a hole at each end of the handle for the snap fasteners. Test the placement before setting the hardware: the handle should attach securely and sit comfortably when the sleeve is wrapped around the jar.
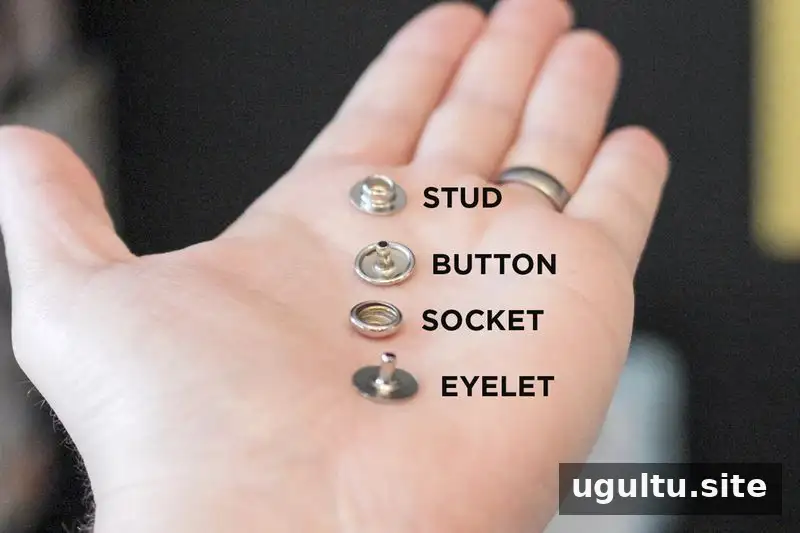
A snap set typically includes four parts: a cap, socket, post, and stud. Position the cap and socket on one end of the leather, following the fastener’s directions and checking that the visible side faces the way you intend. Set the pieces with the appropriate tool and hammer, then repeat with the other snap components. A firm, controlled strike helps seat the snap without damaging the leather. An additional snap may be added if desired for appearance, as in this project.
Step 3: Lace the sleeve and fit it to the jar
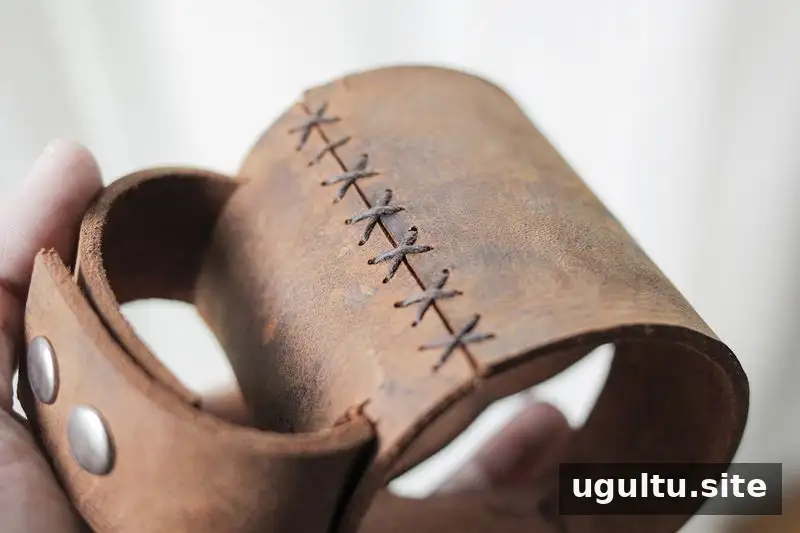
Attach the handle, wrap the sleeve around the jar, and lace the two ends together with waxed cord. Cut a length of cord long enough to complete the seam; a couple of feet was used for this project. If the cord is stiff, trim its end to a point so it can pass through the holes without a needle.
Begin on the inside of the sleeve and secure the cord with a knot. Lace across the seam in an X pattern, keeping the tension even. Snug lacing helps the sleeve sit neatly, but avoid pulling so tightly that the leather puckers or the holes stretch. Tie off the cord securely and check the fit before using the jar.
Optional leather decoration
For a customized finish, lightly scratch a design into the leather with a craft knife before assembly. Keep decorative cuts shallow and away from the punched holes, snaps, and edges to reduce the risk of weakening the piece.
The finished leather mason jar sleeve is designed as an outer holder, not as a food-contact surface. Keep the leather dry, remove the sleeve before washing the jar, and let both parts dry fully before putting them back together.

Project by Josh.


