
 admin
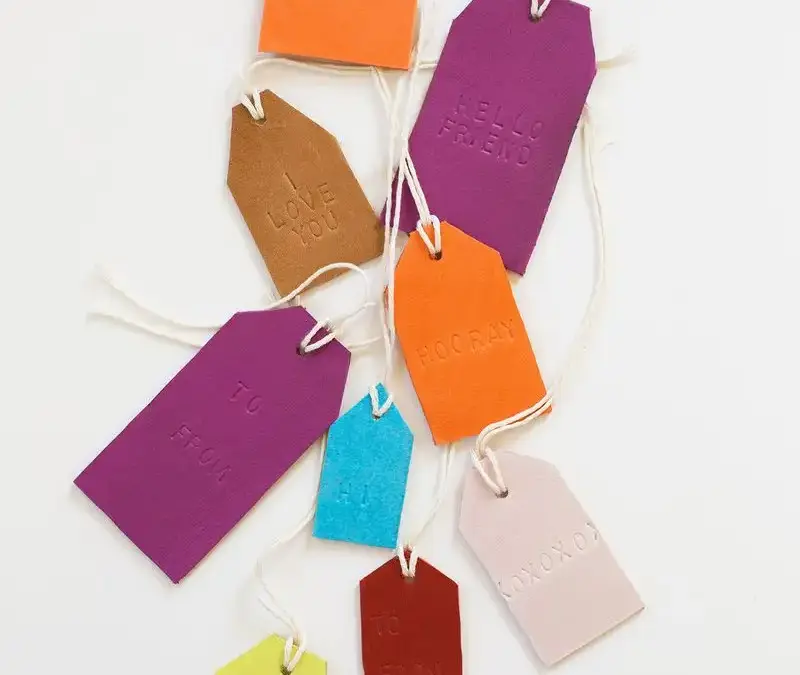
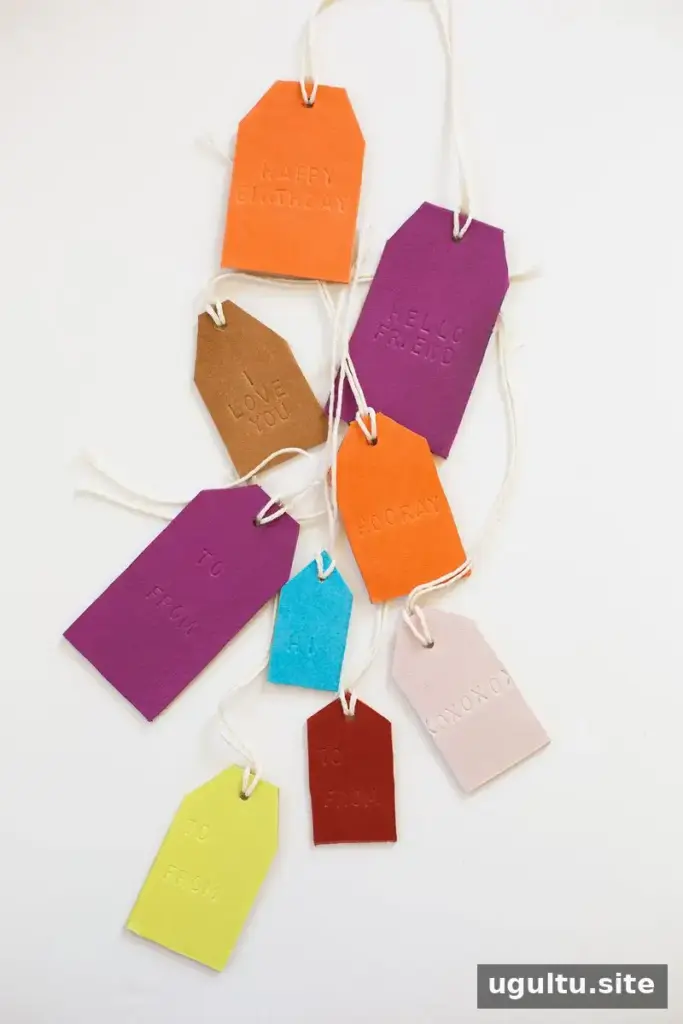
Leather stamped tags are a practical way to personalize gifts, journals, bags and other handmade projects. With a set of metal letter stamps, a setter and a hammer, you can press names or short messages into leather or faux leather. The process is straightforward, but a little preparation helps create clearer, more even impressions.
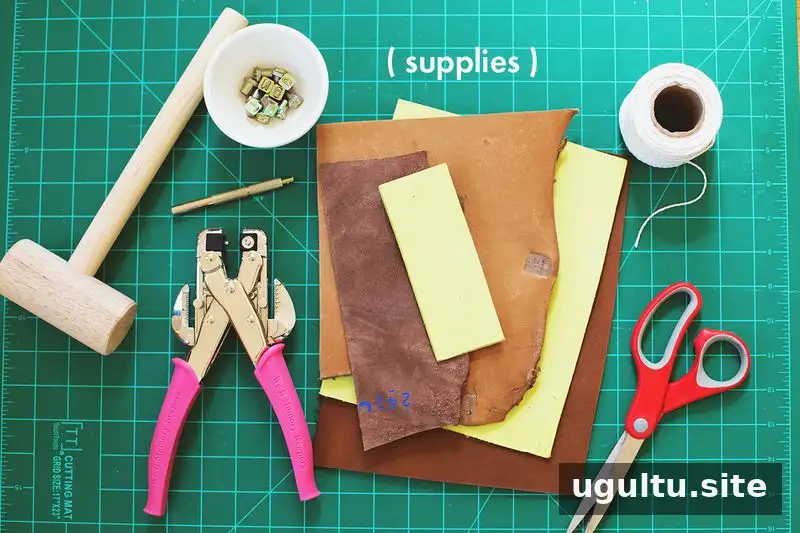
Supplies for leather stamped tags
Gather your materials before cutting so the tags can be made in one work session. You will need:
- A leather stamping kit with letter stamps, a setter and a hammer
- Leather or faux leather
- A heavy-duty hole punch
- Scissors, or a craft knife and ruler for thicker material
- Twine
Small leather offcuts are useful for this project, especially if you want to make several tags in different colors. Remnant bins at leather or craft stores can be a source of smaller pieces. Thrifted items with damaged sections may also provide salvageable material; check that the areas you plan to cut are in usable condition.
How to make leather stamped tags
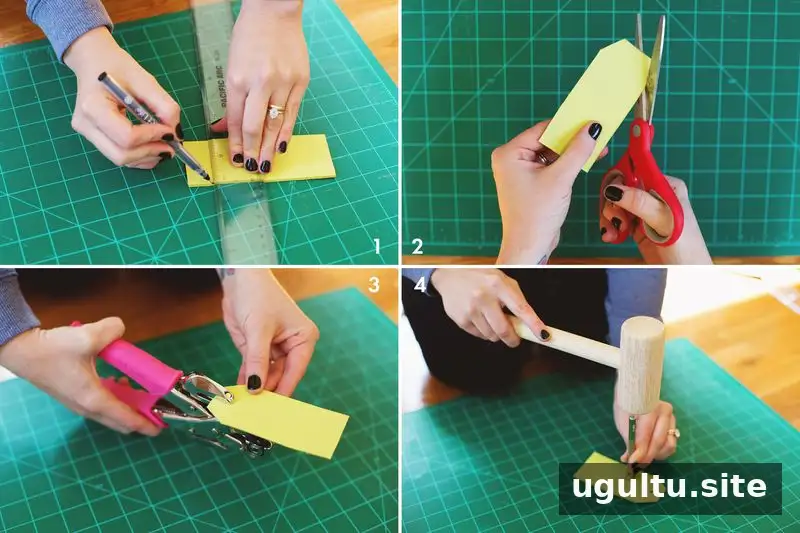
- Cut the tag blanks. Measure and cut rectangles from the leather. The tags can be different sizes, but leave enough room for the message and a hole near the top. For thicker leather, use a ruler and suitable craft knife, taking care to cut on a protected surface.
- Shape the top corners. Trim two corners from one end of each rectangle to create a simple tag shape. Make the cuts similar in size if you want a consistent set.
- Punch a hole. Use a heavy-duty hole punch to make an opening near the shaped end. Keep the hole far enough from the edge so the material remains intact when the tag is tied.
- Stamp the message. Position each letter stamp and use the setter and hammer to make an impression. Short phrases work well when space is limited. Test the stamping method on a spare piece of the same material first.
Tips for clear, even impressions
The number of hammer strikes needed can vary with the material. As a starting point, stiff leather may take about 10 strikes per stamp, while softer leather may take about 20. Use the test piece to judge the result before stamping the finished tags. Keep the stamp steady and work on a firm, protected surface. Hammering can be loud, so consider wearing hearing protection.
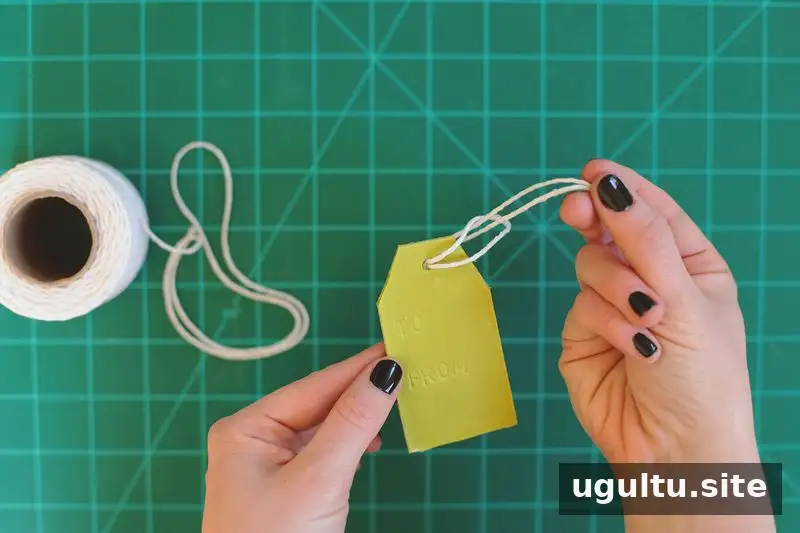
- Add the twine. Thread a piece of twine through each hole and tie it securely. The finished tags can be attached to gifts or collected as a handmade set.
For a “To:” and “From:” design, add names with a fine permanent marker or use rubber stamps with permanent ink. Check that the ink is suitable for the material, and try it on an offcut before writing on the finished tag.
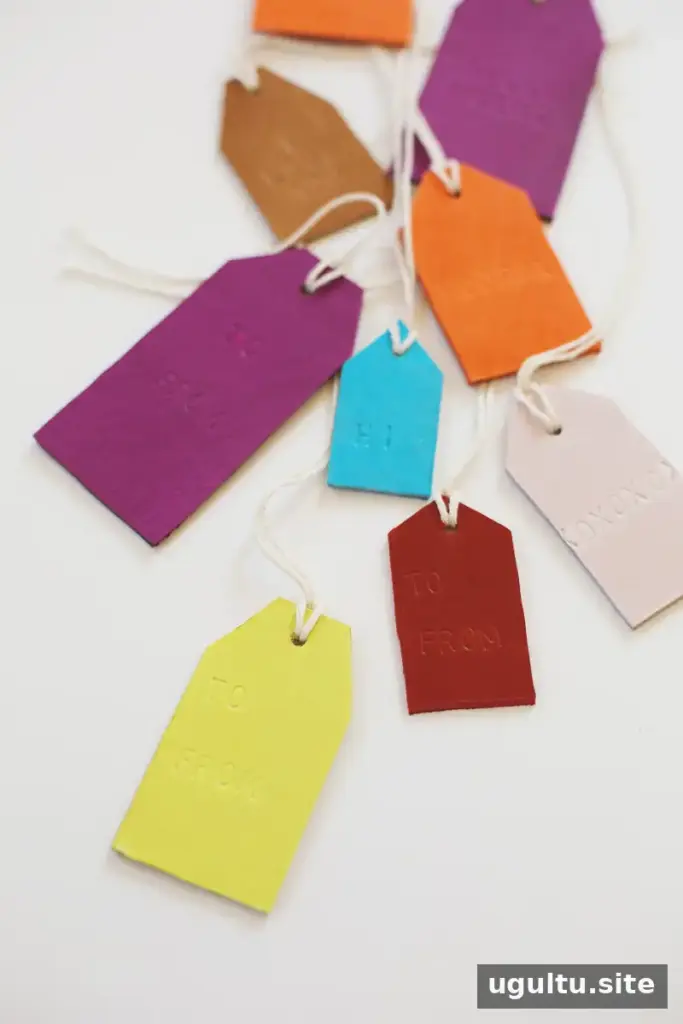

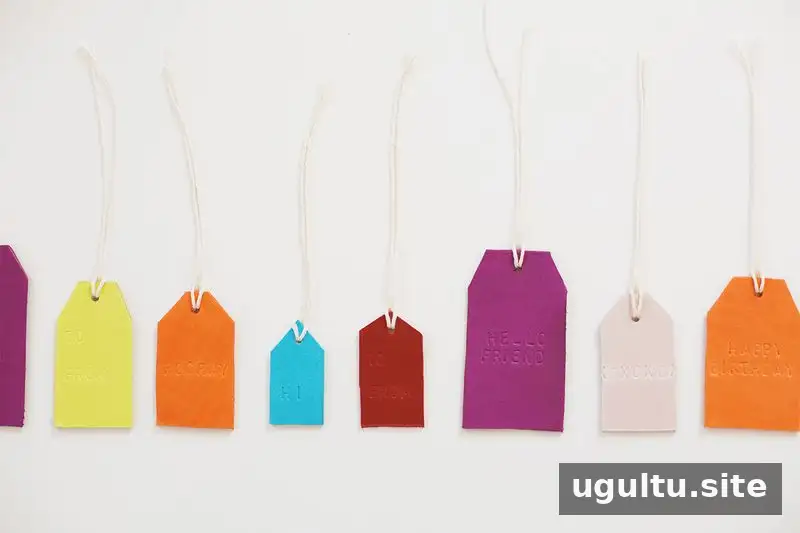
With a few tools and some spare material, leather stamped tags can be customized for different occasions and projects. Make a test impression, choose a short message and finish each tag with twine for a useful handmade detail.


