admin
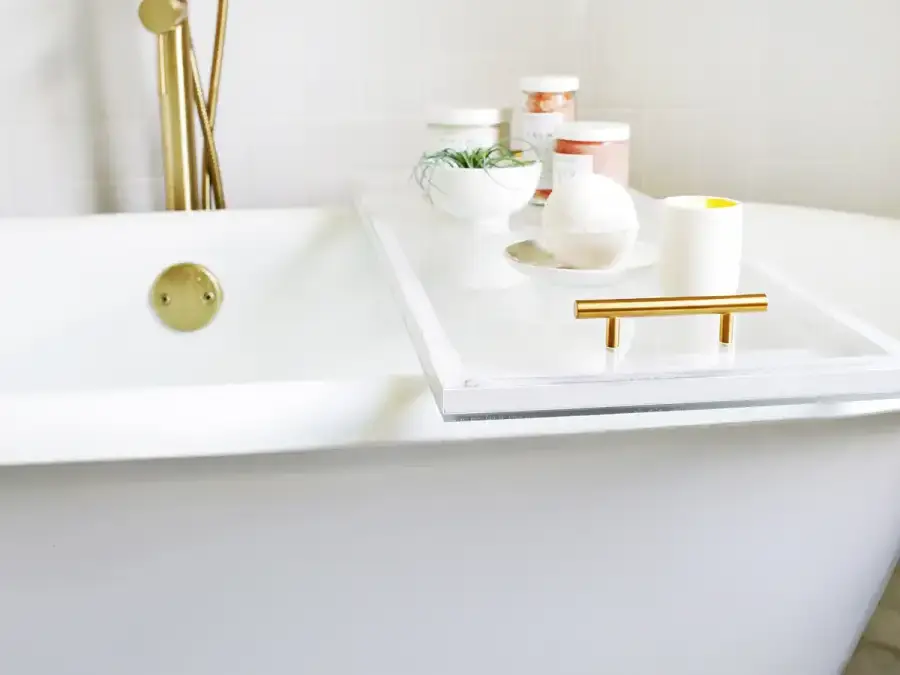
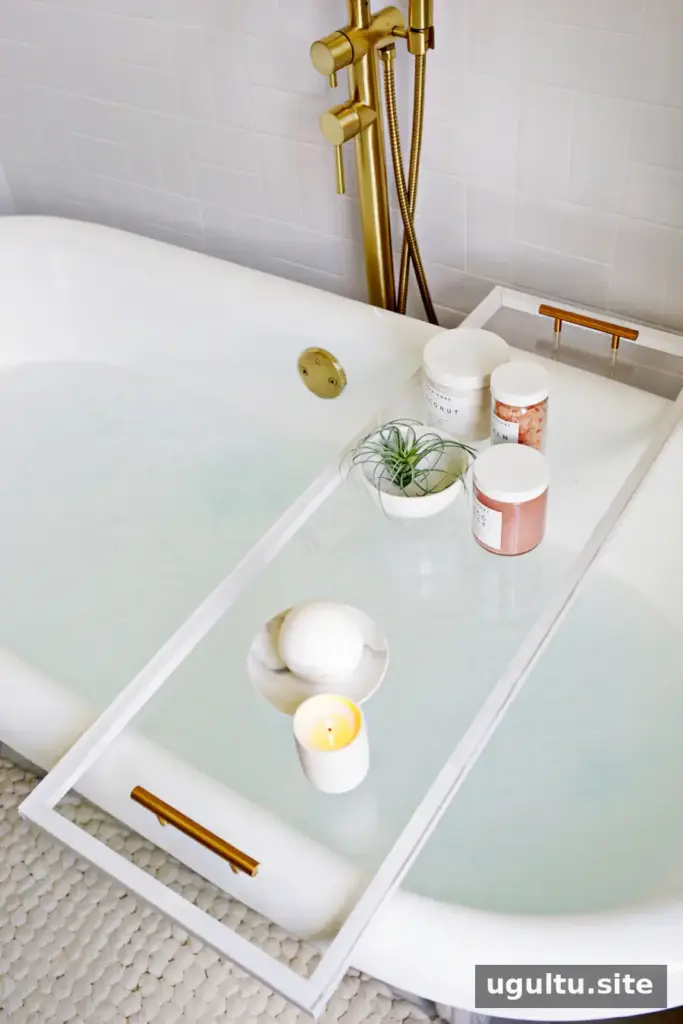
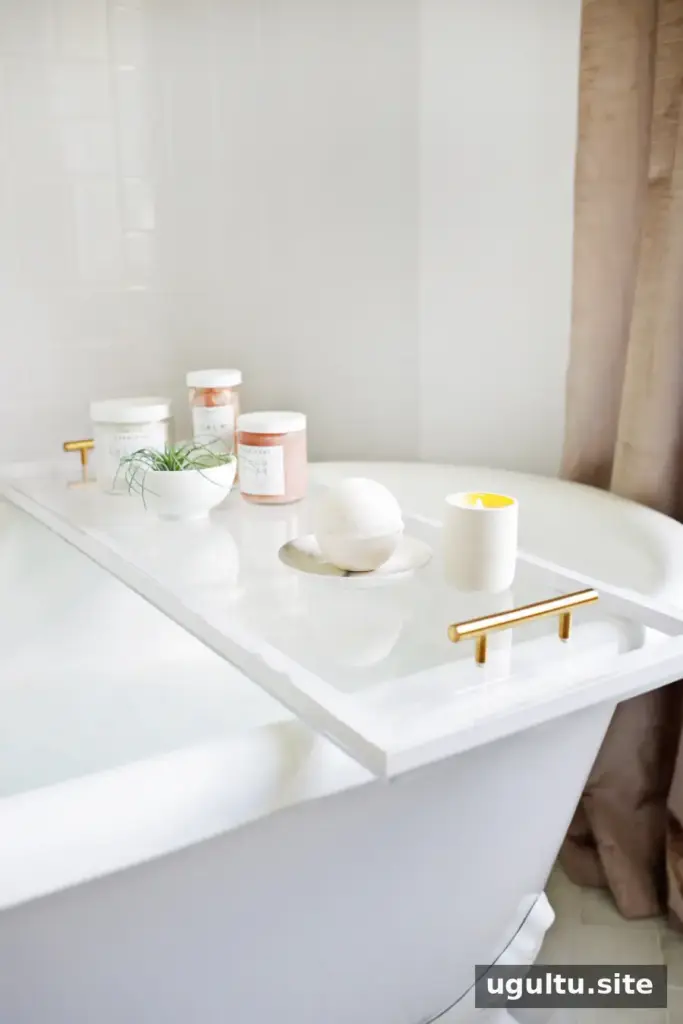
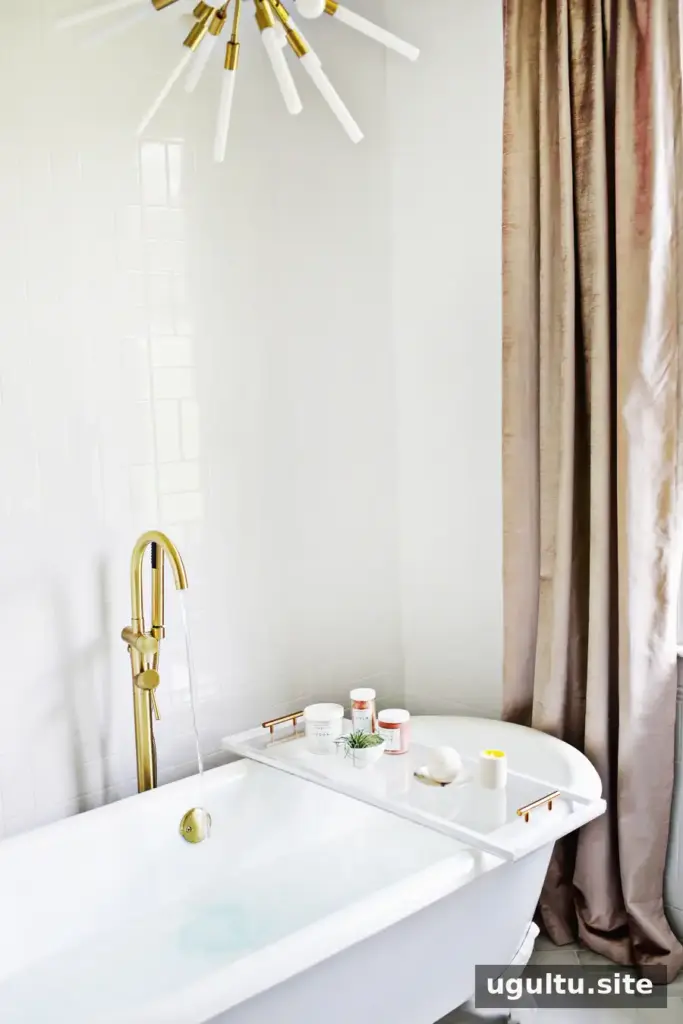
A Lucite bathtub caddy adds a practical surface for bath salts, a candle, or a book while giving your bathroom a clean, polished look. This DIY tray uses two matching acrylic panels, PVC window molding, epoxy, and handles. You can adjust the dimensions to suit your tub, and having the acrylic cut at a hardware store can make preparation easier.

Materials for a Lucite Bathtub Caddy
Gather the supplies before assembling the tray. Check the handle screws against the thickness of your panels; if they are too long, get shorter screws in the same size.
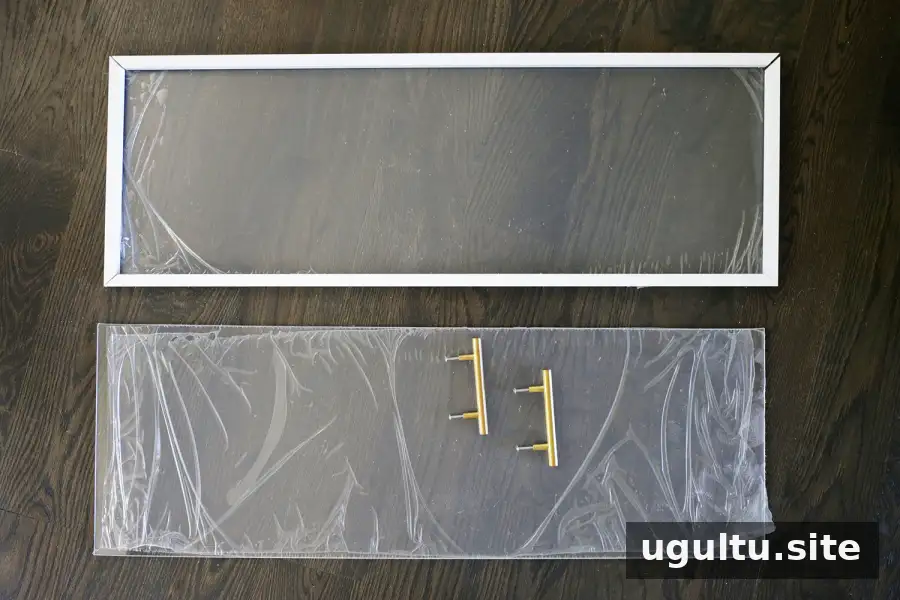
- Drill
- Clamps
- PVC window molding
- Epoxy glue
- Two Lucite or acrylic pieces cut to the same size
- Two handles
If you do not have a saw, ask the hardware store to cut the acrylic and molding. Keeping the protective film on the panels during measuring and drilling helps guard the surfaces against dust and scratches.
Choose the Size and Prepare the Trim
The example caddy measures 35″ x 12″. Measure the span of your bathtub before choosing dimensions so the finished tray rests securely across it. The two acrylic panels should be identical in size.
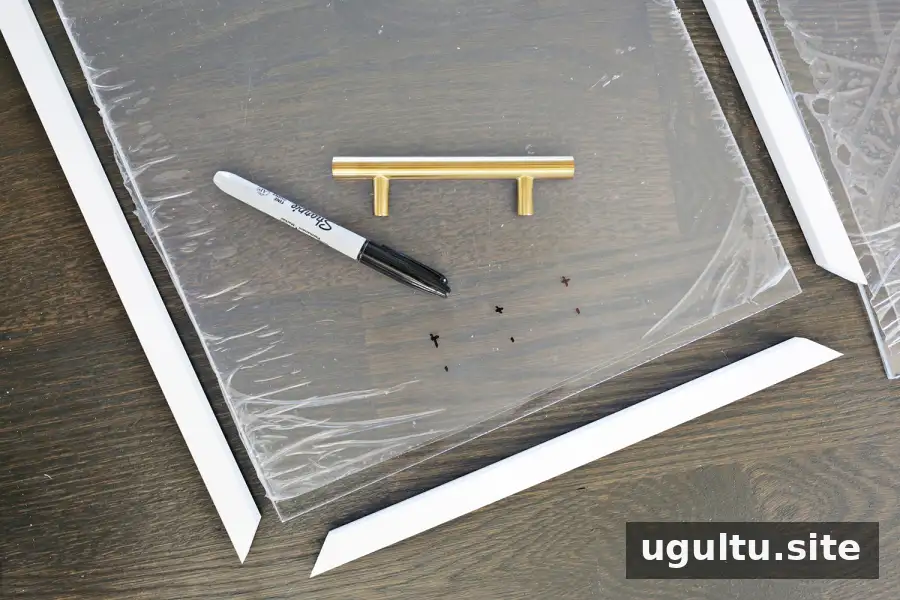
Cut the PVC trim to form a border that matches the outside edges of the acrylic. For a mitered border, cut the corners at 45-degree angles. If the molding is cut at the store, straight pieces also work: cut two pieces to the width of the panel for the ends, then cut two longer pieces to fit between them.
Drill and Attach the Handles
On the top panel, center the handles about 2 1/2″ from each end and mark the screw holes. Leave the protective film in place while marking and drilling wherever possible.
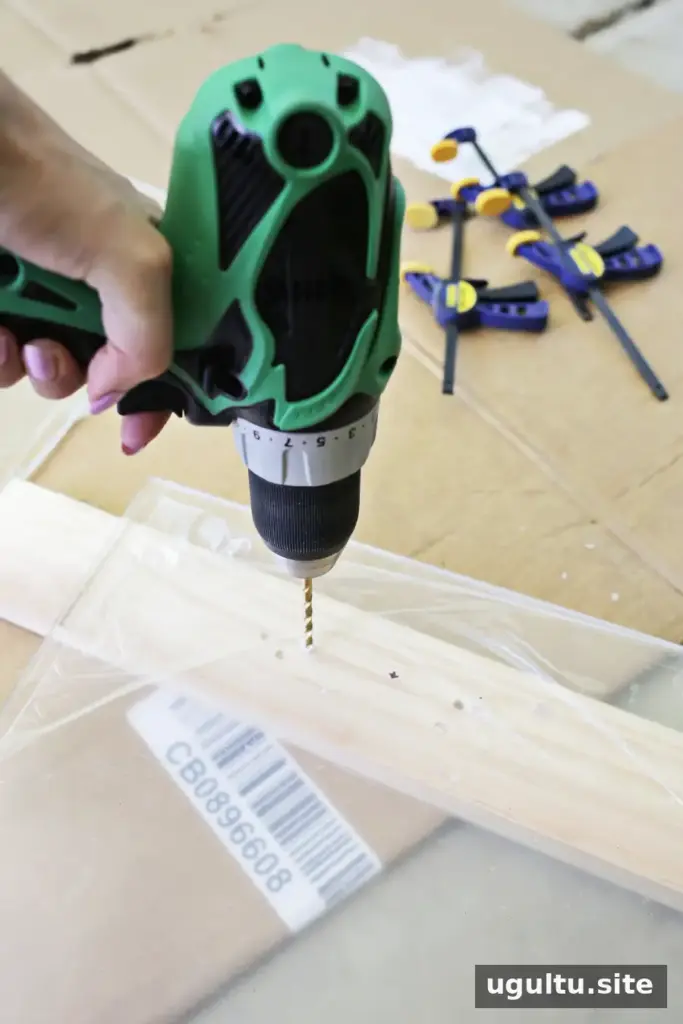
Choose a drill bit that matches the handle screws, and put a piece of scrap wood beneath each marked spot for support. Drill the holes with the drill running backwards while applying pressure to the acrylic, as in the project instructions. Work carefully to avoid damaging the panel.
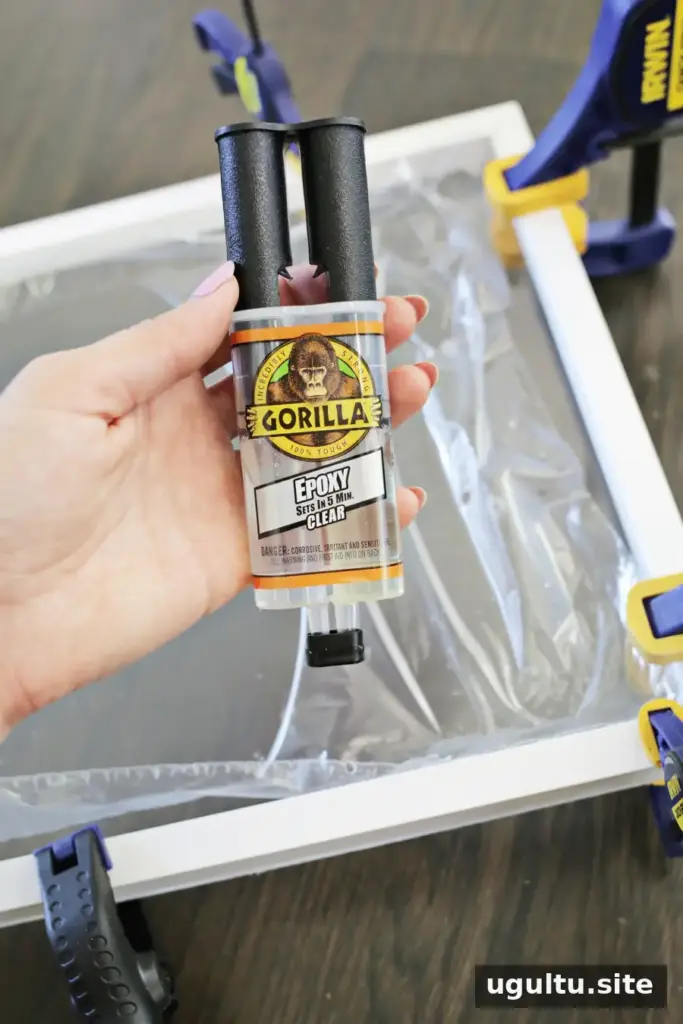
Assemble the Lucite Bathtub Caddy
Turn the top panel over. Peel back the protective film a few inches along each edge, apply epoxy, and position the PVC trim around the perimeter. Clamp the trim in place and allow the glue to dry according to its package directions.
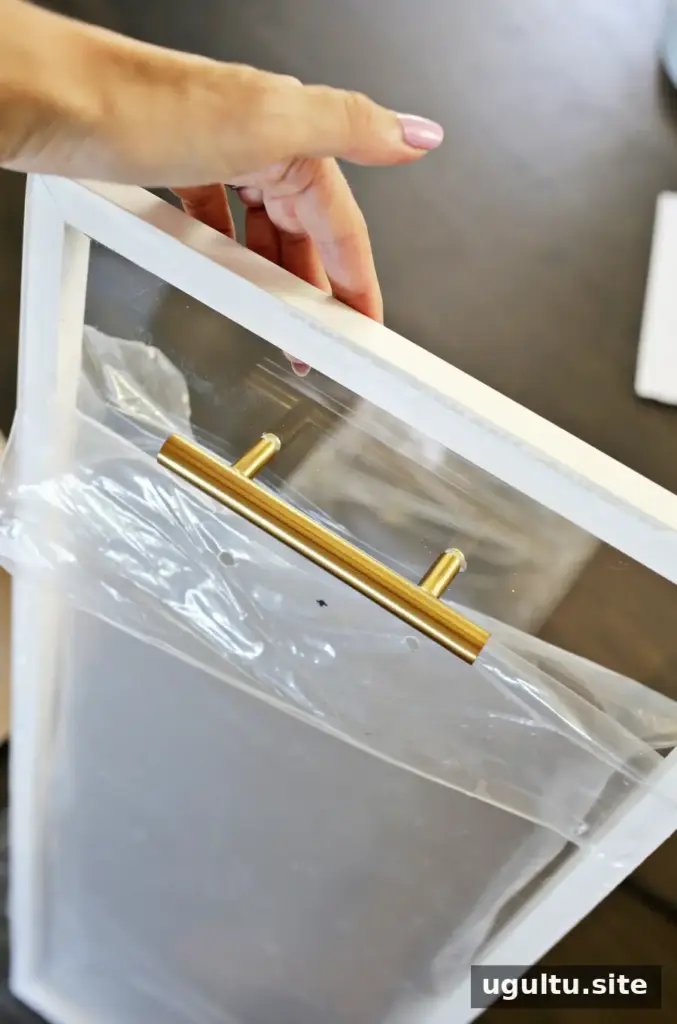
Once the trim is secure, peel back a little more film around the drilled holes and attach the handles. Remove the film from the underside of the top panel and from one side of the bottom panel.
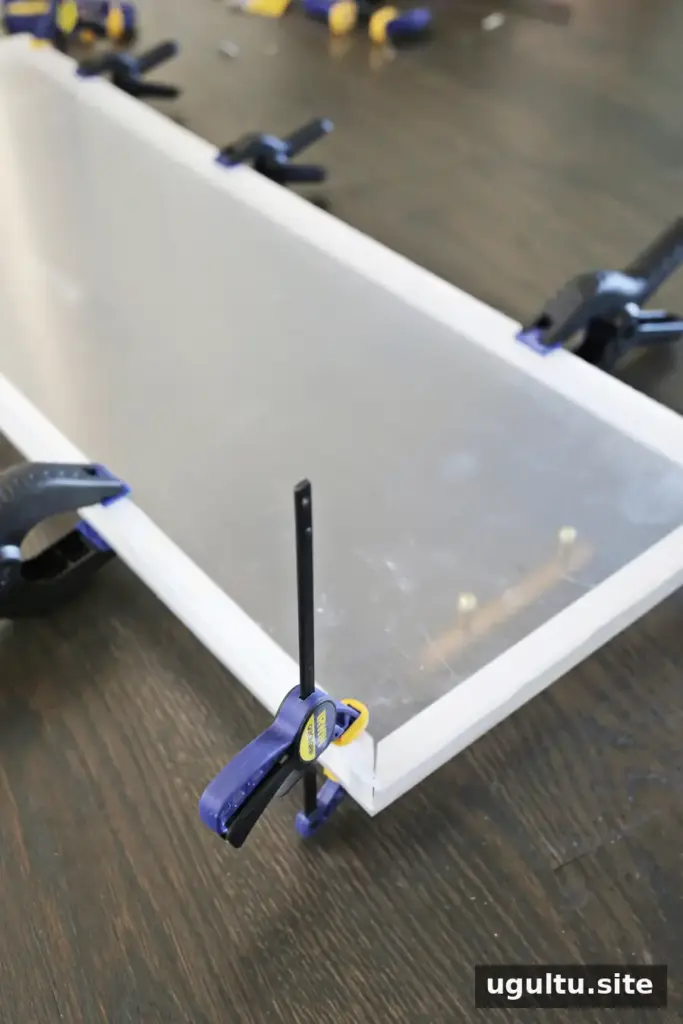
Before joining the panels, check that no dust or loose material is trapped between them. Apply epoxy to the trim, place the bottom panel on the assembly, and clamp it until the glue has dried. Then remove the remaining protective film.
Using and Caring for Your Finished Tray
Set the completed caddy across the tub and make sure it sits securely before placing anything on it. Keep heavier items balanced, and take the tray off the tub when it is not in use. The clear acrylic, white trim, and gold-toned handles create a simple decorative accent while leaving room for bath essentials.
This Lucite bathtub caddy is a straightforward way to add a useful surface to bath time. Laura