admin
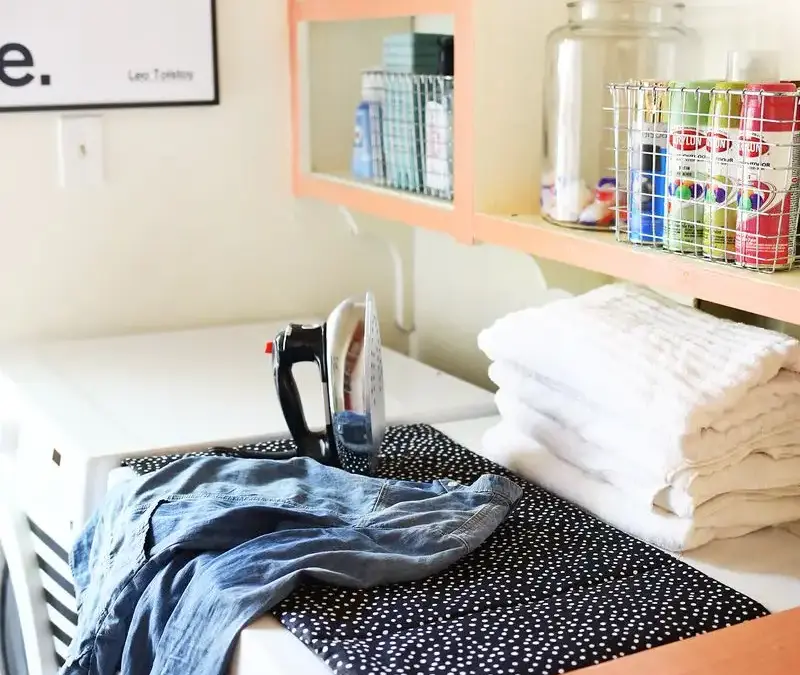
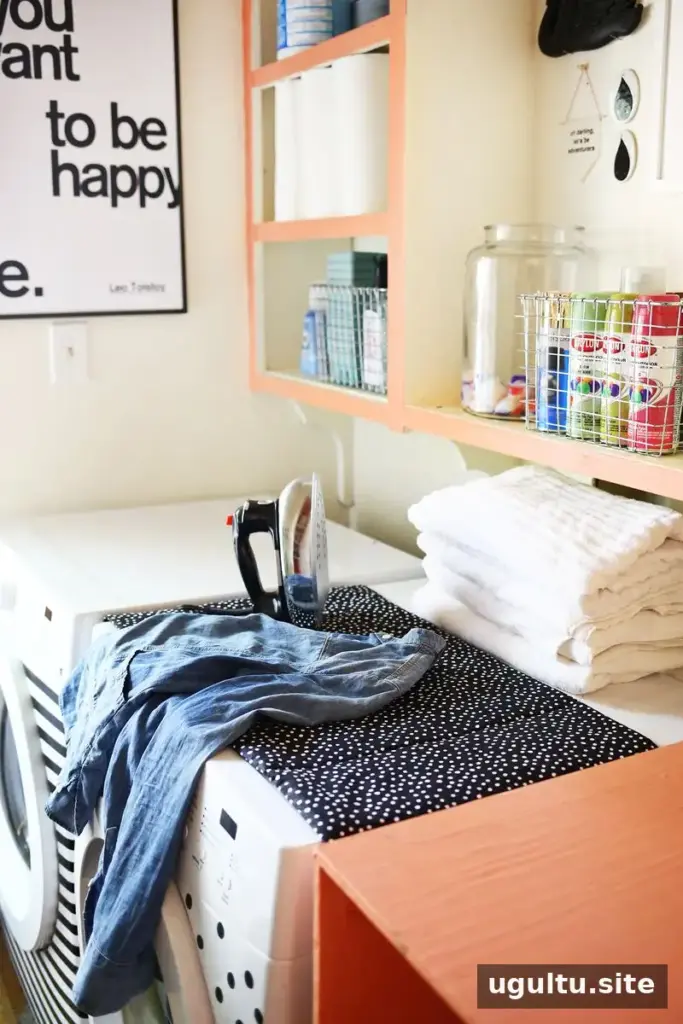
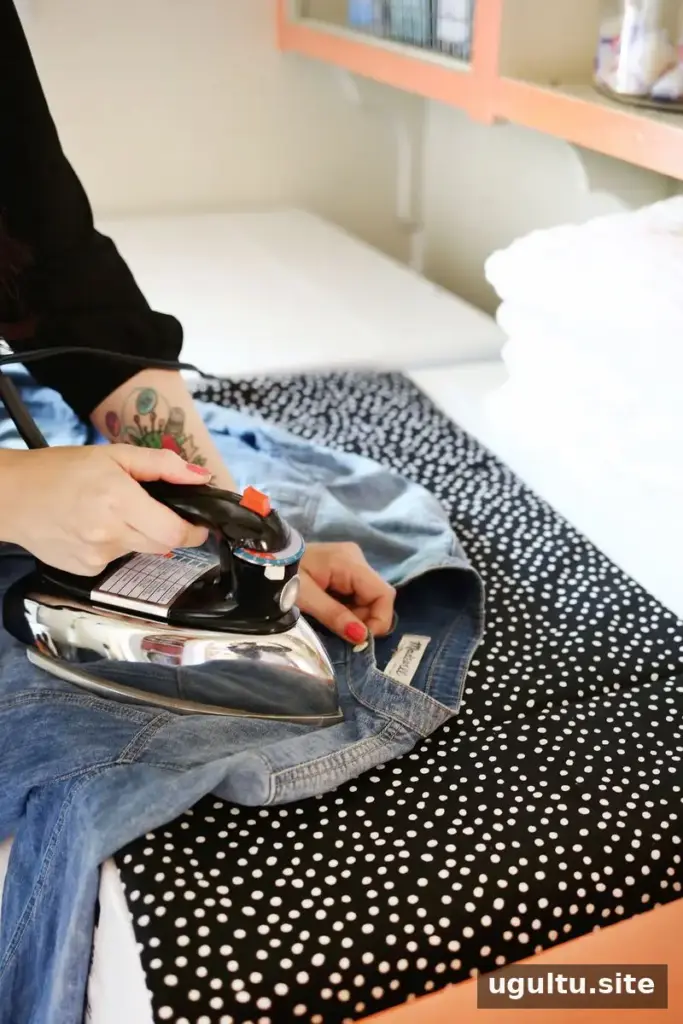
A DIY magnetic ironing mat is a practical alternative to a full-size ironing board when space is limited. It lays over a washer or dryer for smaller ironing jobs, then folds or rolls away for storage. You can also adjust the finished dimensions and choose fabrics to suit your laundry area.
The magnets help hold the mat in place on a compatible metal appliance, while the layered construction provides a padded surface. Before sewing, measure the surface where you plan to use the mat and check that it is suitable for ironing.
Materials and supplies
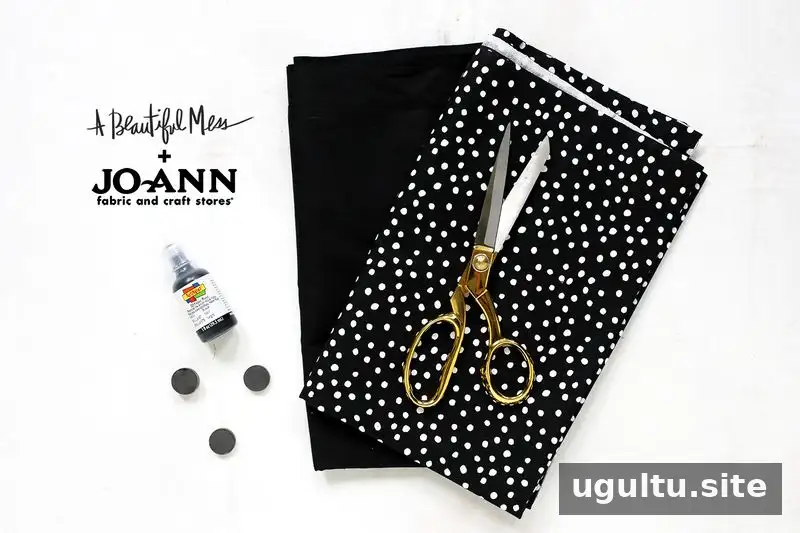
- 1.5 yards of 100% cotton fabric for the top layer
- 1.5 yards of 100% cotton fabric for the bottom layer
- 1.5 yards of Insul-Bright
- Fabric scissors
- 8 magnets, 0.75 inch in diameter
- Puff paint
- Straight pins
- Sewing machine and thread
How to make a DIY magnetic ironing mat
1. Cut the main layers
Cut one 39-by-18-inch rectangle from each of the two cotton fabrics and the Insul-Bright. These pieces will make a finished mat measuring about 38 by 17 inches after sewing. For a different washer or dryer, adjust the cut size while allowing for the seam allowance.
2. Make the magnet pockets
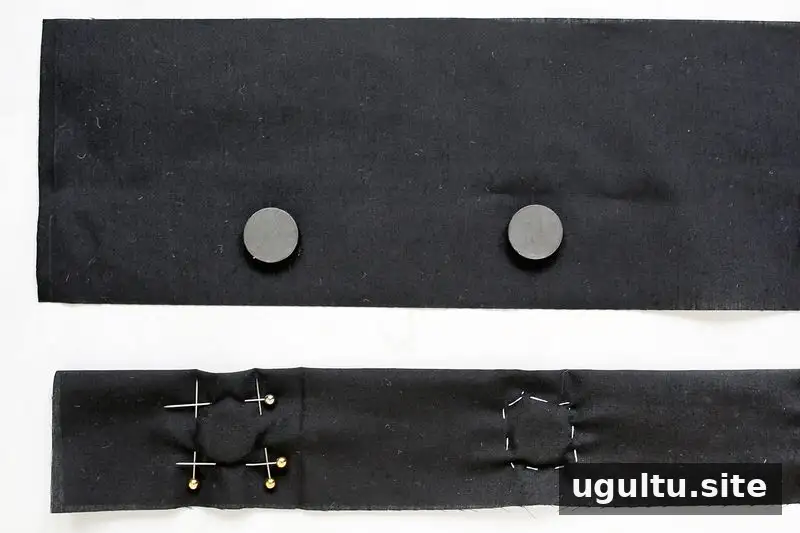
Cut two rectangles measuring 4.5 by 18 inches from the bottom fabric. Arrange four magnets along the lower half of each strip, then fold the upper half over them. Pin around each magnet and hand-sew close to it so it stays in position. Keep the magnets evenly spaced.
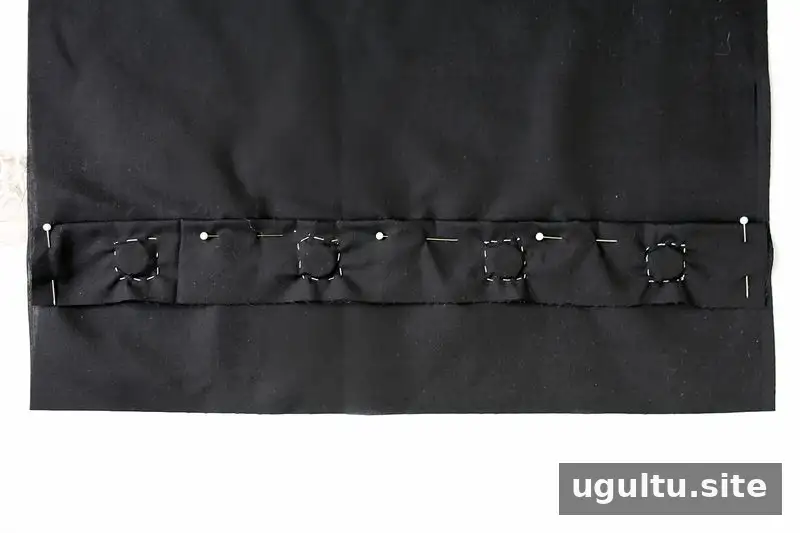
On the wrong side of the large bottom-fabric rectangle, place one magnet strip about 3 inches from an end. Pin it in place and position the second strip near the opposite end. Machine-sew around the outside edges of both strips to attach them securely.
3. Layer and sew the mat
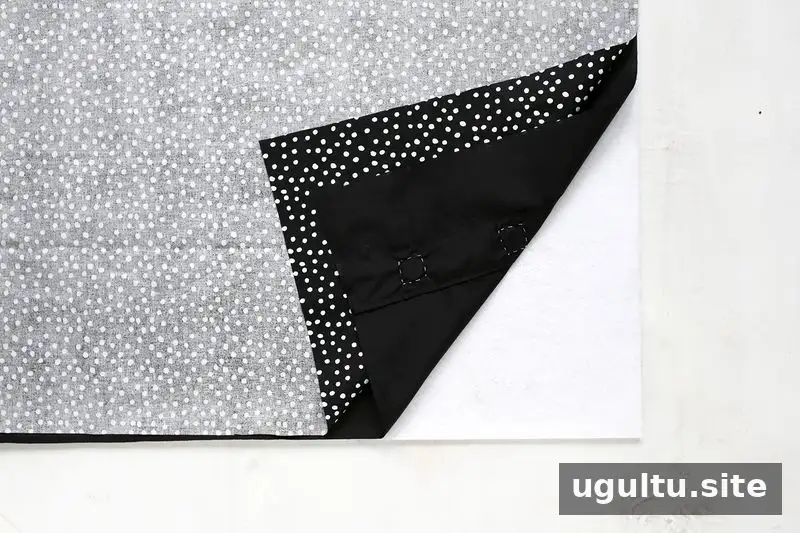
Stack the pieces in this order: Insul-Bright on the bottom, the bottom fabric on top of it with its wrong side facing the lining, and the top fabric above both with its right side facing down. Pin around the edges. Check that the magnet strips are enclosed between the fabric layers.
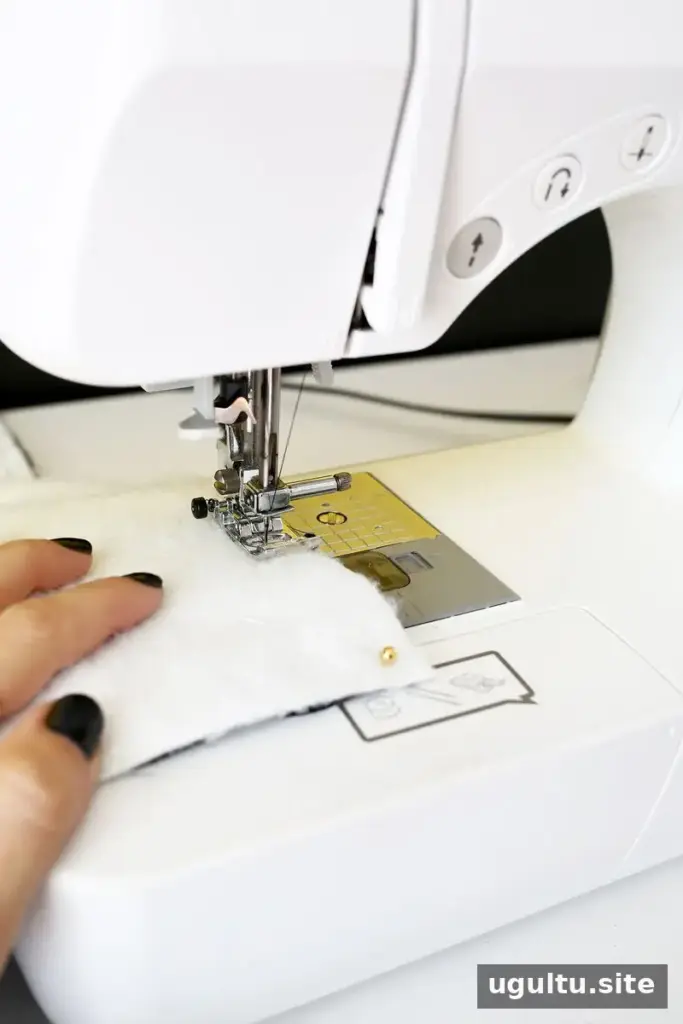
Sew around the perimeter with a 1/2-inch seam allowance, leaving a 4-inch opening for turning. Sewing with the Insul-Bright facing up can help prevent it from catching in the machine feed. Follow your machine’s instructions and sew slowly through the layered fabric.
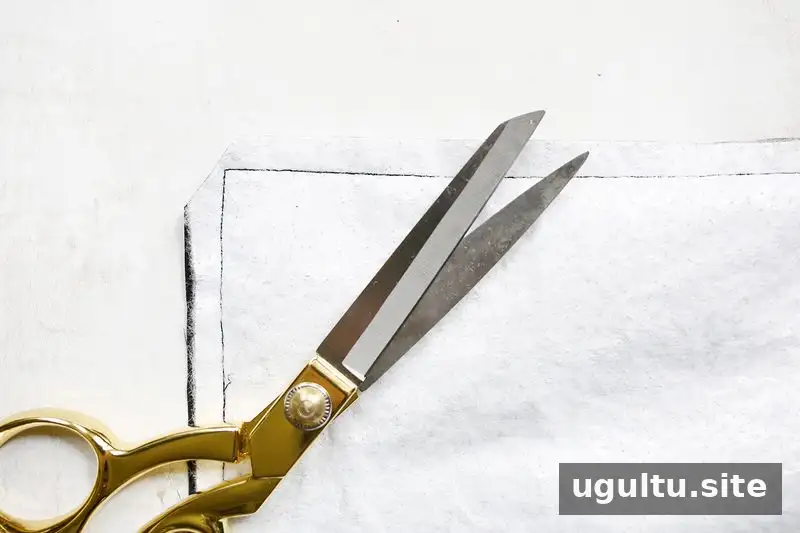
Trim the corners without cutting through the stitching. This reduces bulk when the mat is turned.
4. Turn, finish, and add grip
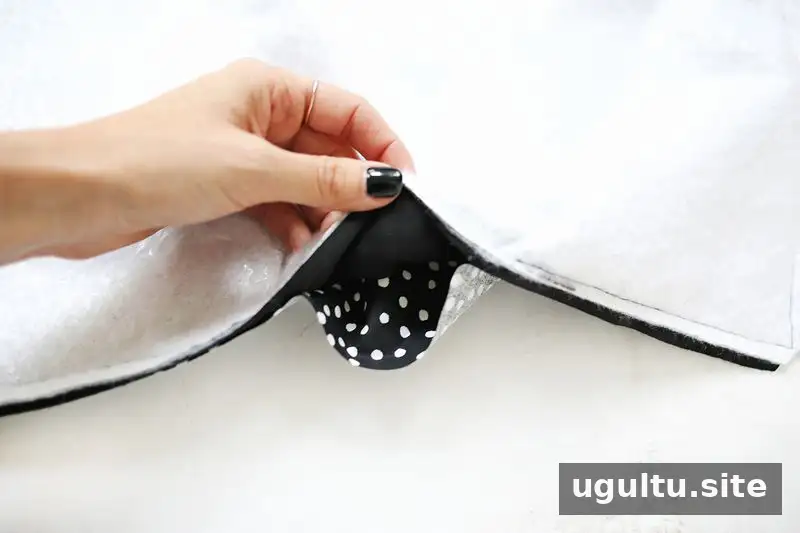
Reach through the opening and turn the mat right side out. Gently shape the corners, then press the seams according to the fabric and lining care guidance.
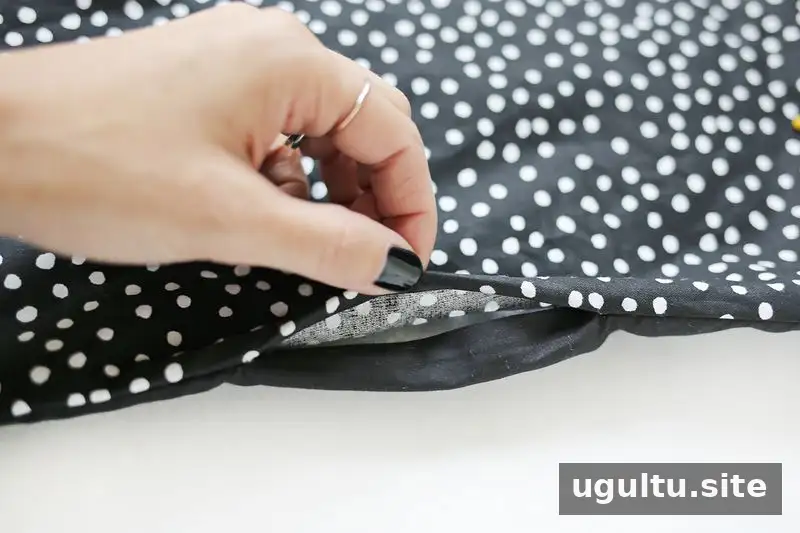
Close the opening by hand with a blind stitch. For added grip, apply small dots of puff paint across the back and allow them to dry fully before use. Optional rows of topstitching can help hold the layers flat and create a quilted appearance.
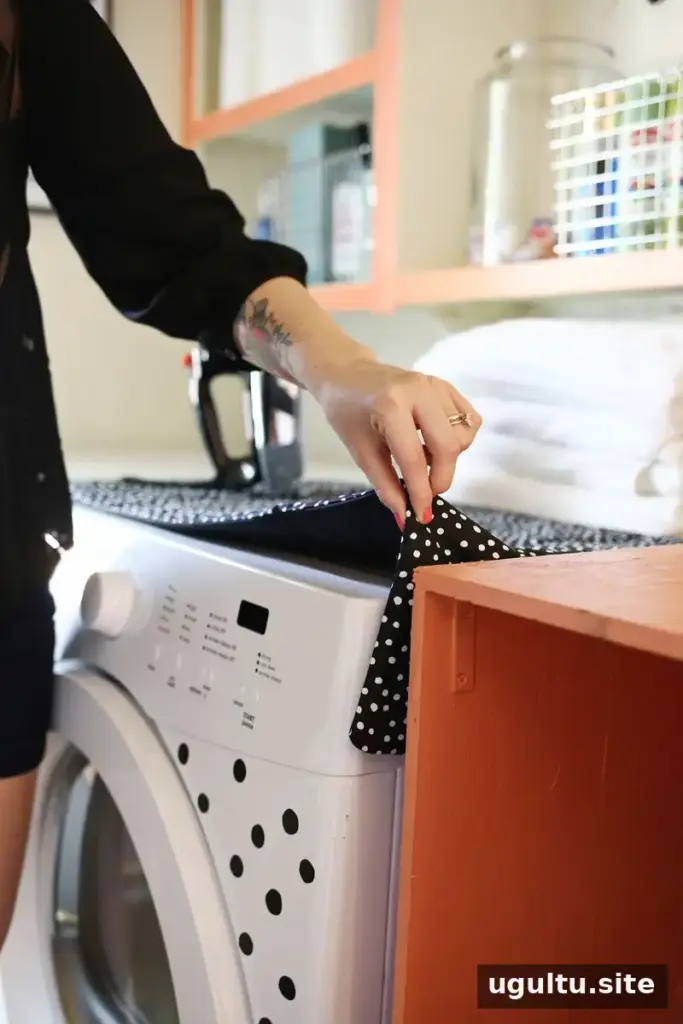
Using and storing the finished mat
Place the mat on a stable, compatible surface and check that the magnets keep it from shifting before ironing. Use the iron according to its instructions, and never leave a hot iron unattended. When the mat is not in use, fold or roll it for compact storage—an especially useful option in apartments and small laundry spaces.
This DIY magnetic ironing mat can be customized to fit your available surface, but keep the finished mat clear of edges and anything that could be damaged by heat. —Laura