
 admin
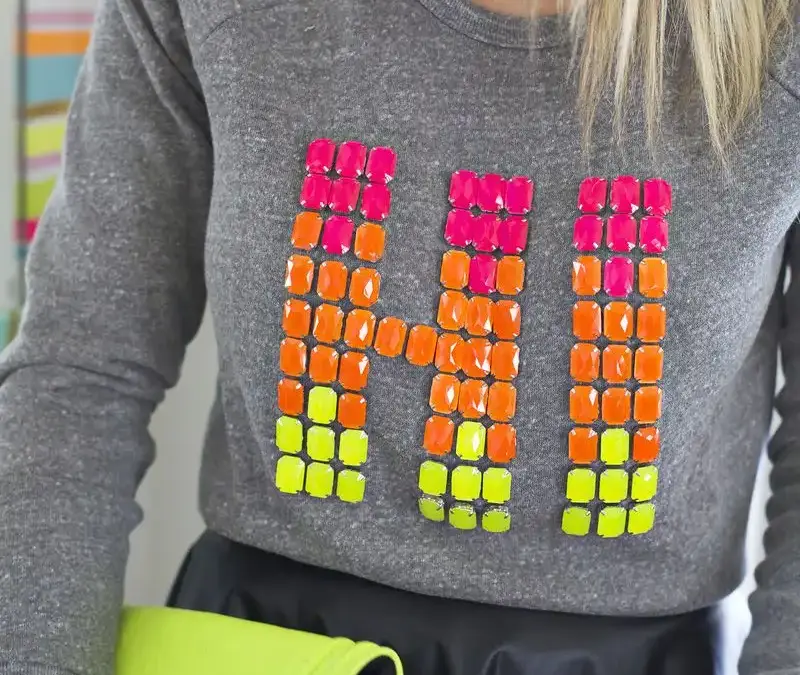
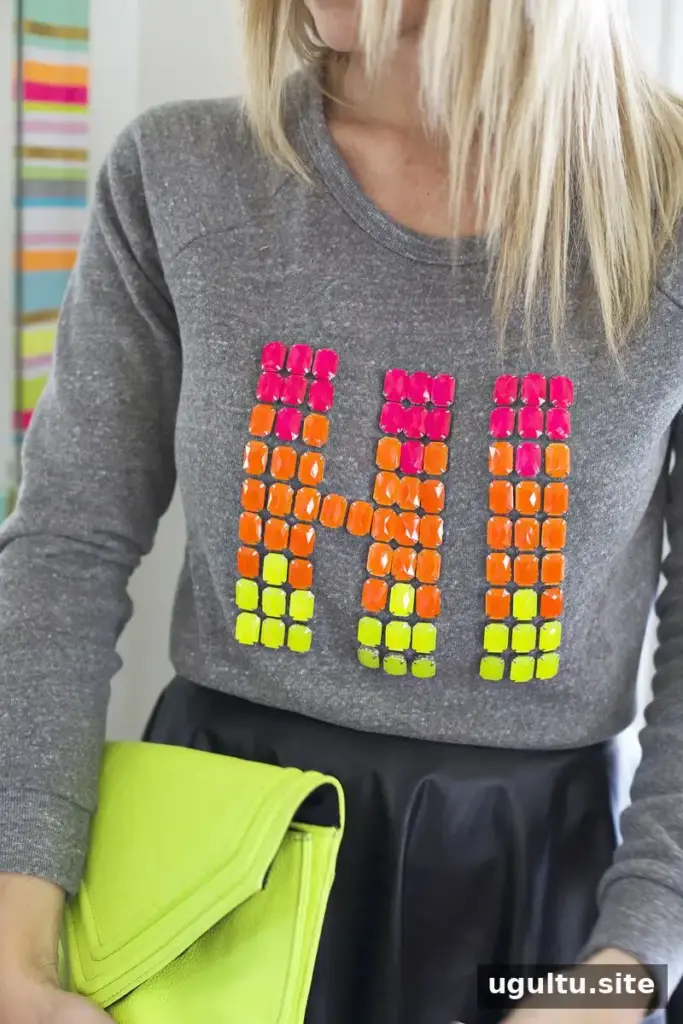
A DIY gemstone sweatshirt is a fun way to turn a plain top into a bold, colorful statement piece. Arrange large resin gems into a word or phrase, then attach them to a sweatshirt for a look that feels playful without being as formal as a fully embellished dress or blouse.
This project uses a paper template to guide the design, making it easier to keep the letters consistent. Choose a short phrase or simple shape, especially if this is your first time working with sewable gemstones.
Supplies for a DIY Gemstone Sweatshirt
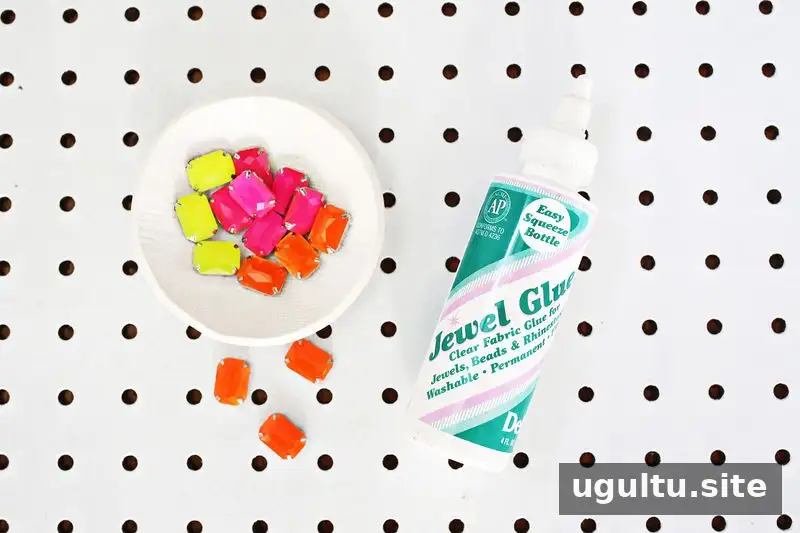
Gather the following materials before you begin:
- A plain sweatshirt
- Large sewable resin gemstones (13 x 18 mm)
- Jewel glue or fabric glue
- A craft knife or scissors
- Straight pins
- Needle and thread (optional, but useful for added security)
Check that the glue is suitable for both the fabric and the embellishments, and follow its package directions for application and drying time.
Plan and Cut Out the Lettering
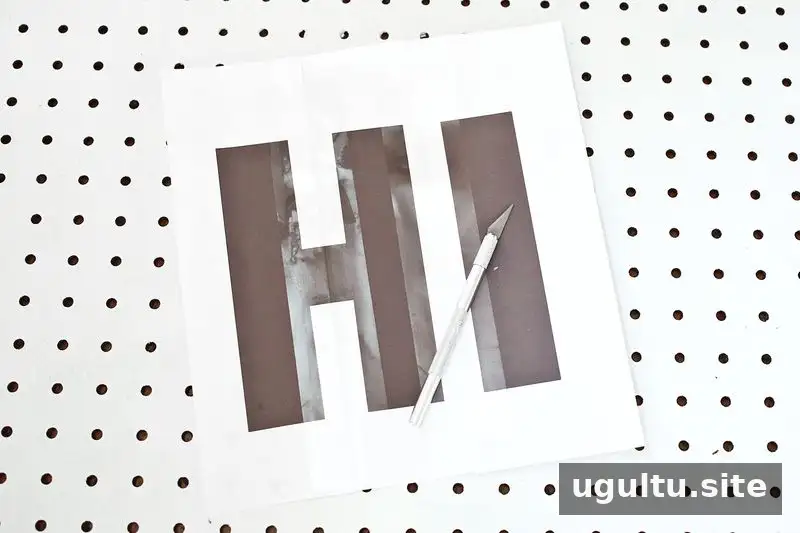
Arrange the gemstones on a flat surface to estimate the dimensions of each letter. For this design, a grid of nine gems tall by three gems wide worked well for the letter strokes. Use your chosen layout as a guide when selecting and printing a font.
The example uses Function Pro Bold. If a letter looks too wide for the design, adjust the paper template before cutting it out. For instance, folding the middle of the “H” brings its two sides closer together.
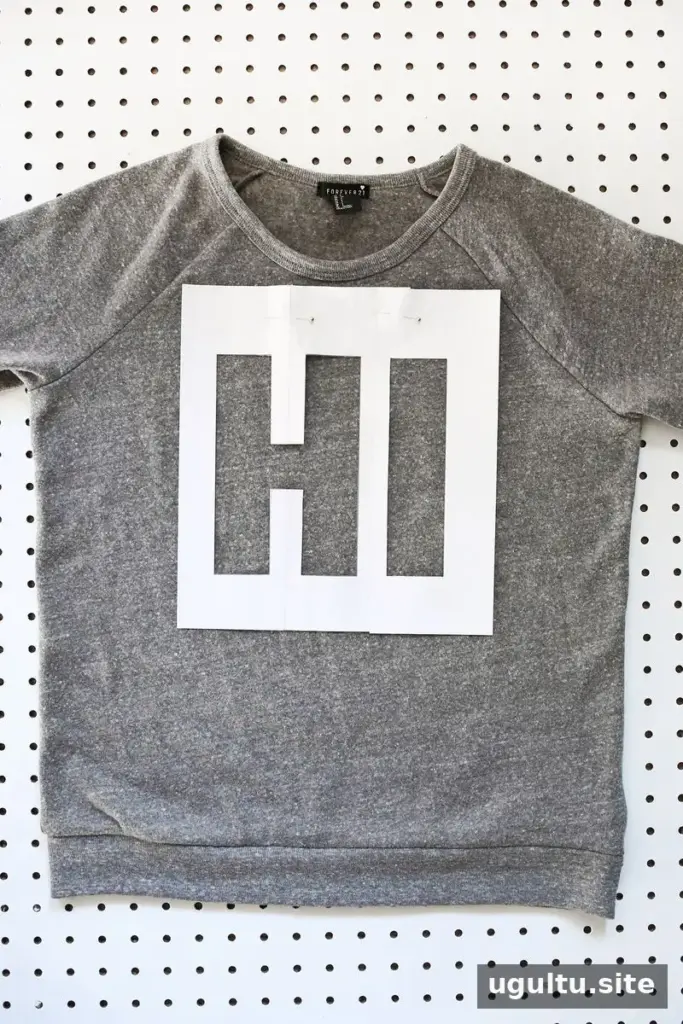
Print the phrase at the intended size, position the words with the spacing you want, and secure the paper pieces together with tape. Cut out the letters carefully with a craft knife or scissors, then pin the template to the front of the sweatshirt.
A sweatshirt or another fabric with a tight, slightly heavier knit is a practical choice. Gemstone settings may have small prongs that can snag delicate material, so avoid thin or loosely woven fabric where possible.
Attach the Resin Gemstones
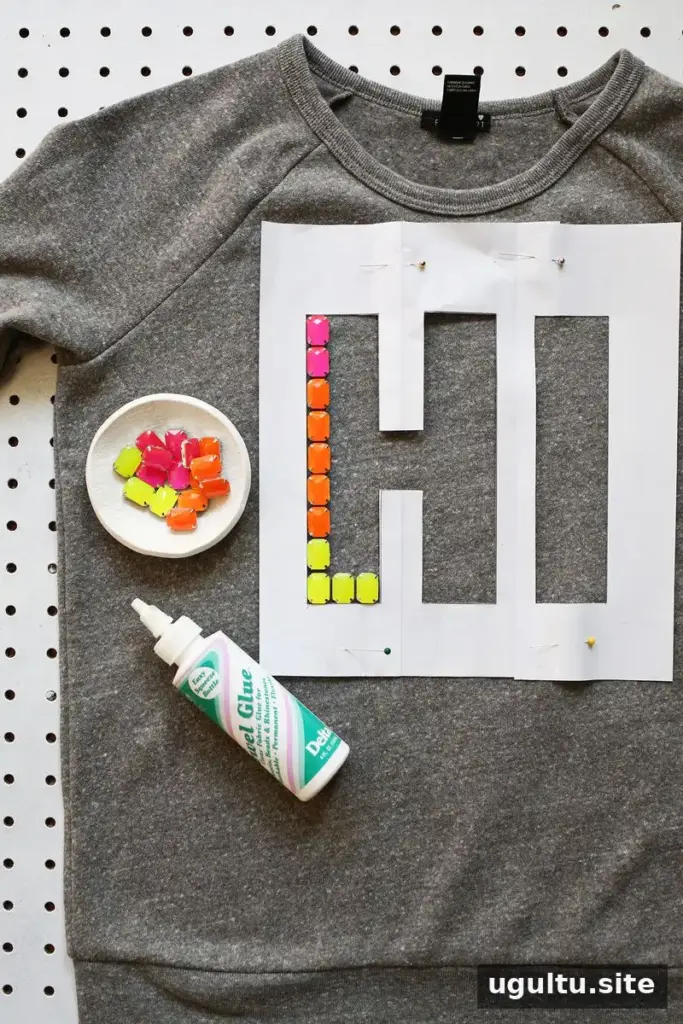
Fill the open spaces in the template with gemstones, working from the bottom upward and building one row at a time. Keep the gems aligned with the letter edges, and check the spacing as you go. Three gem colors can be arranged gradually to create an ombre effect.
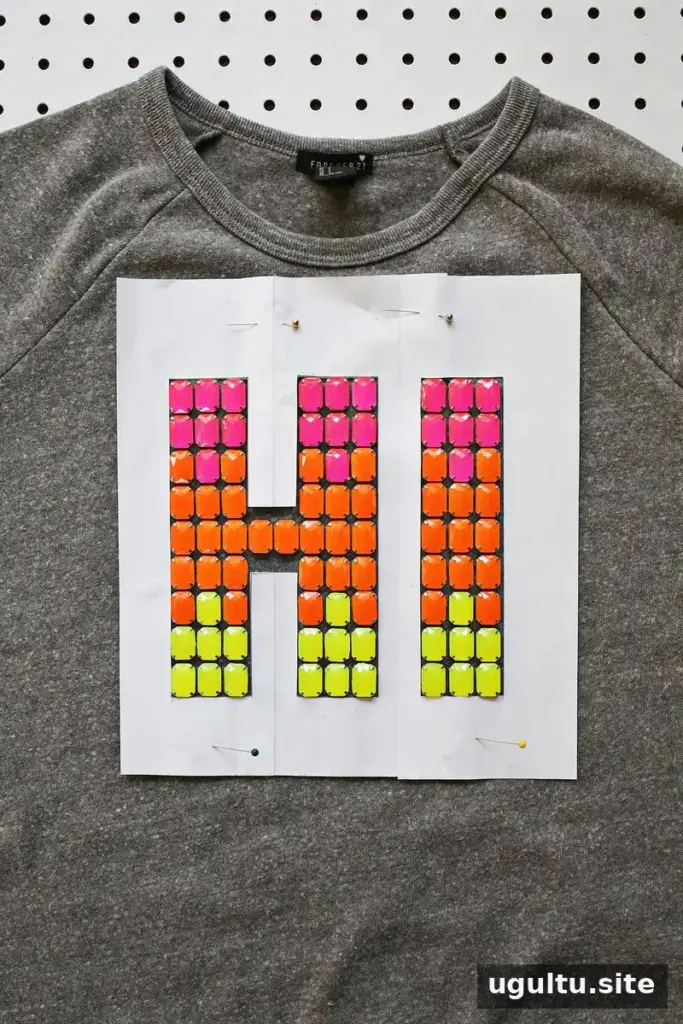
Let the glue dry completely according to its instructions. For extra hold, sew each gemstone onto the sweatshirt with a needle and thread after the glue has set. Gluing the gems in place first can make sewing easier by helping prevent them from shifting.
Glue alone may be sufficient depending on the product and how the garment will be cared for. If you plan to machine-wash the sweatshirt, stitching adds another layer of security. Follow the adhesive’s care guidance and use a gentle wash cycle when appropriate.
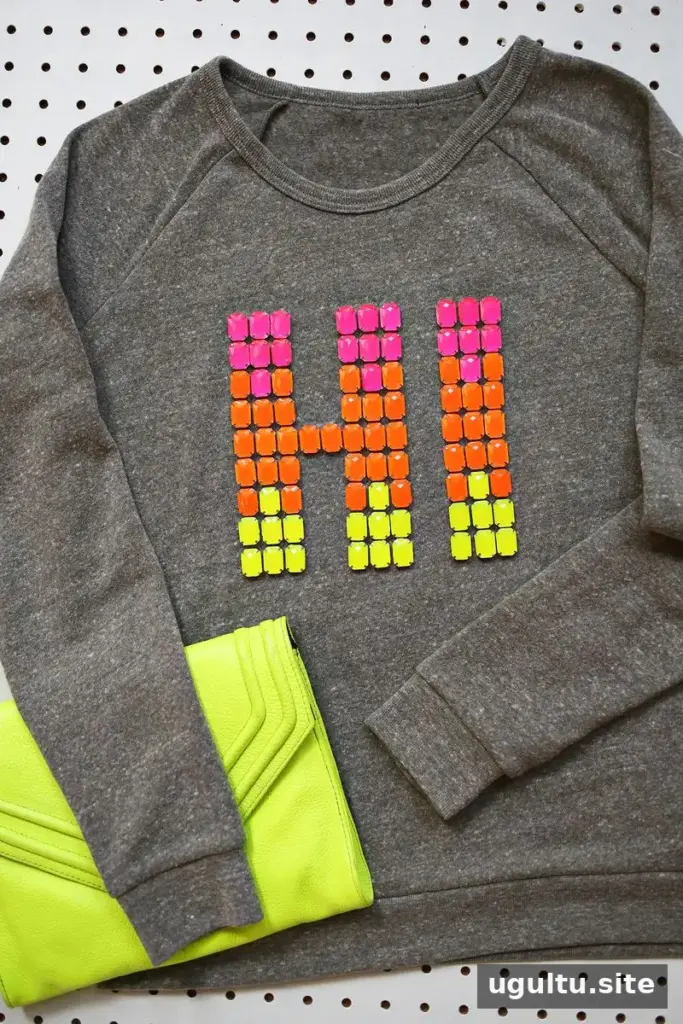
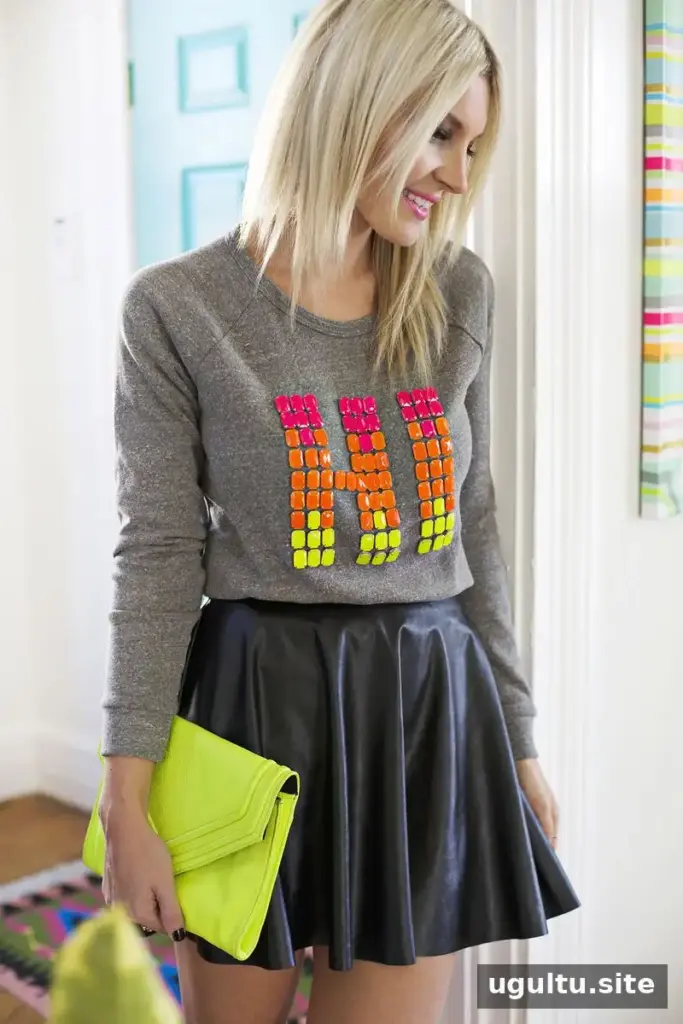
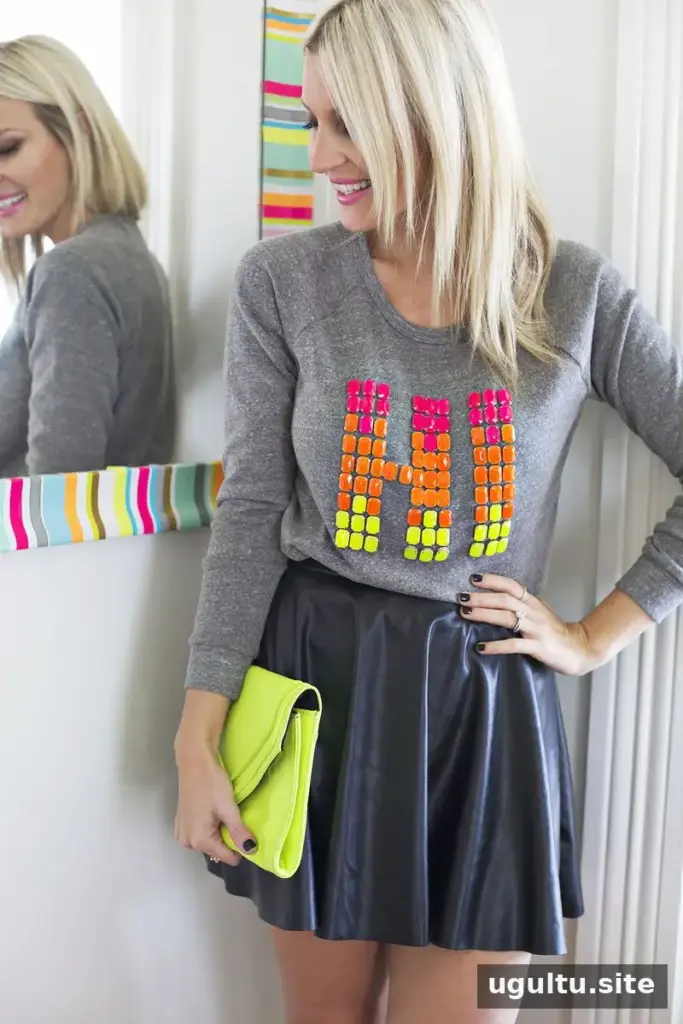
Wear and Customize Your Design
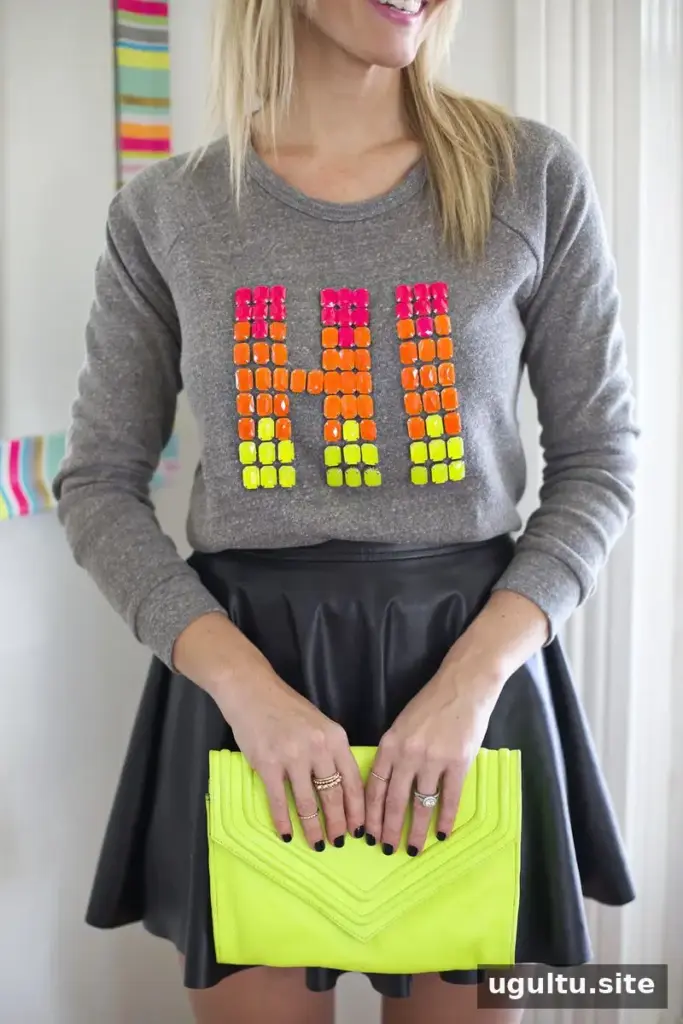
A gemstone phrase is only one option. The same method can be used for a single monogram letter, a hashtag, an ampersand, an exclamation point, or a heart. Keep the template simple enough to fit the available space and allow room around the neckline and seams.
Pair the finished top with a skirt for a dressed-up outfit or jeans for a more casual look. For a polished result, check that every gem is secure before wearing the sweatshirt and again after washing.
Conclusion
A DIY gemstone sweatshirt offers an easy way to add color and personality to a basic garment. Plan the design with a paper template, choose fabric that can handle the gemstone settings, and consider sewing the embellishments in place for extra durability. Project by Laura.


