admin

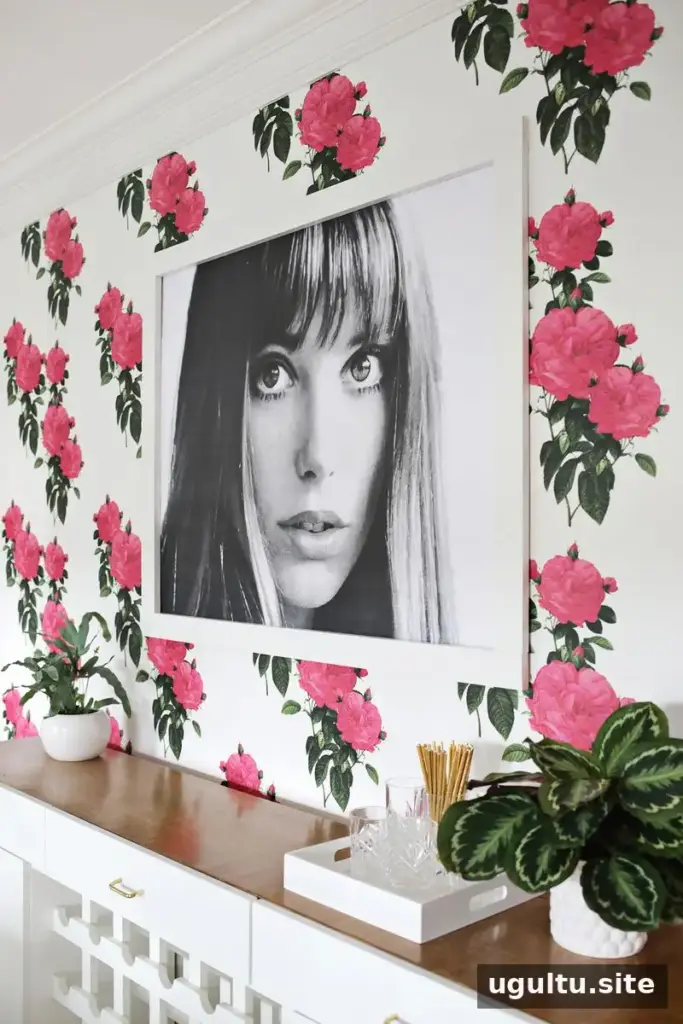
A DIY oversized picture frame is a budget-friendly way to display a large print or photo without paying for custom framing. With wood boards, metal corner braces, and a drill, you can make a simple frame in a size that suits your artwork. The boards can be cut at a home improvement store, so a saw is not essential.
Large prints can make a strong visual impact, but finding an affordable frame in the right dimensions can be difficult. This straightforward design leaves the print visible and creates a clean border around it.
DIY Oversized Picture Frame: Supplies and Sizing
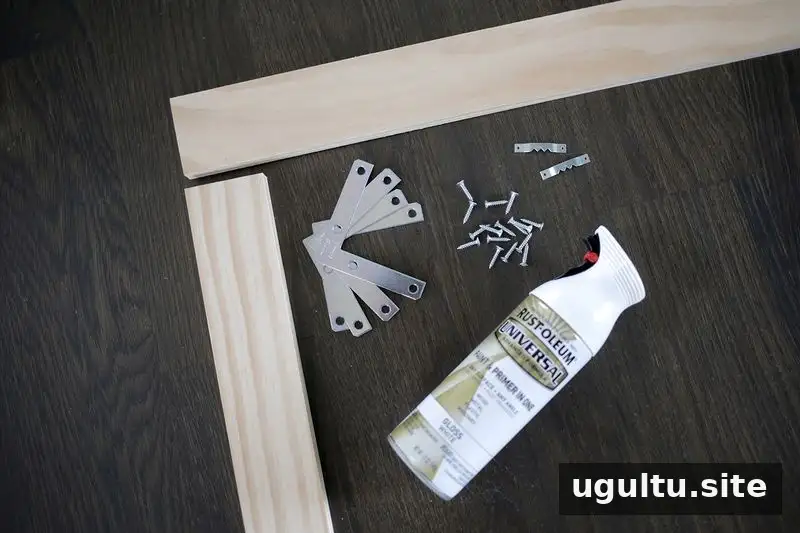
Supplies:
- Wood boards in your desired width; the example uses boards that are 1 inch thick and 3 inches wide
- Metal corner braces
- Spray paint or a suitable wood finish
- Sawtooth frame hangers
- Drill
- Caulk or wood filler, optional
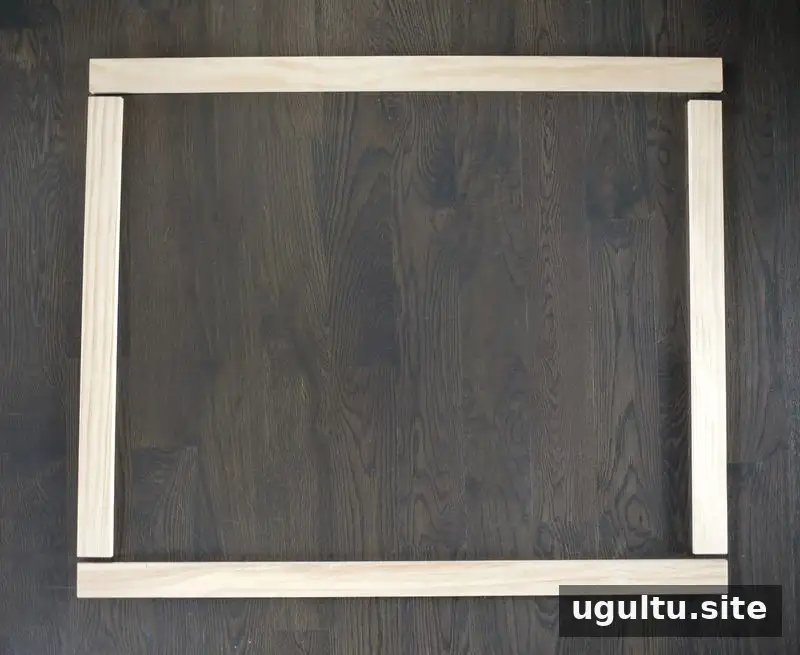
Start by deciding on the frame’s inside dimensions. Measure your print or photo and allow the frame to overlap its edges by about 1 inch, as described in this project, to help prevent visible gaps. Check your measurements before ordering or cutting the boards.
For the example, the desired frame dimensions are 30 inches tall by 40 inches wide. The two vertical boards are each cut to 30 inches. With 3-inch-wide boards, each horizontal board is the desired width plus 6 inches, so those boards are 46 inches long. In general, add twice the board width to the horizontal measurement: for 4-inch-wide boards, add 8 inches.
Because the required lengths are determined in advance, you can ask the home improvement store to cut the boards. Alternatively, use a jigsaw or chop saw if you have access to one. Confirm that the cuts are square so the corners meet neatly.
Assemble and Finish the Frame
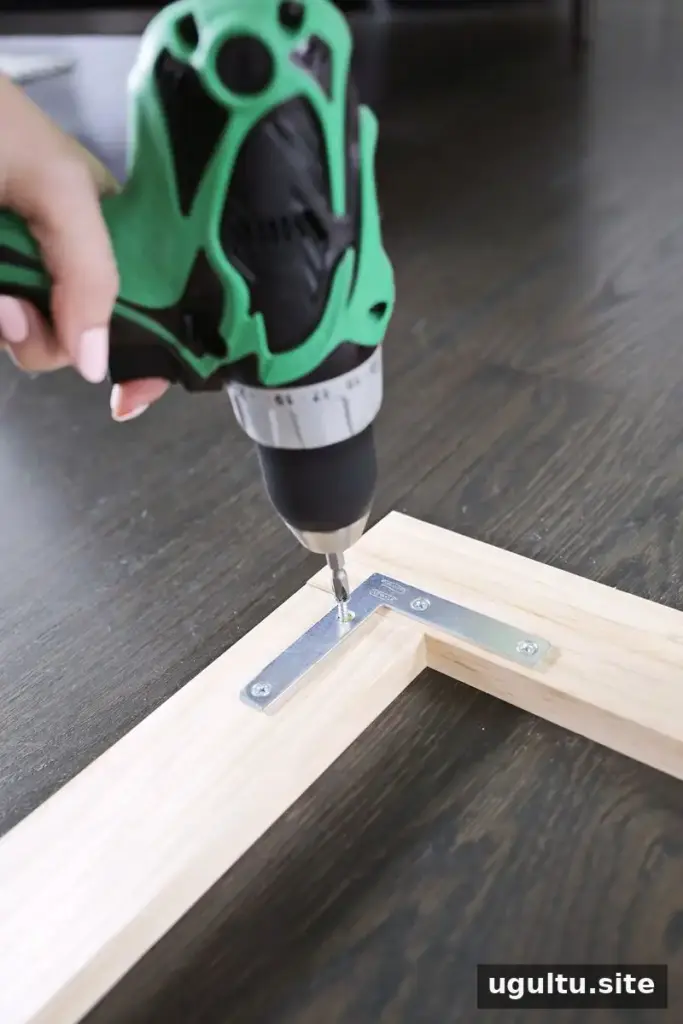
Place the boards on a flat surface and join each corner with a metal brace on the back. Drill the braces in place, following the hardware instructions. Check that the frame sits flat and is square before tightening the fasteners.
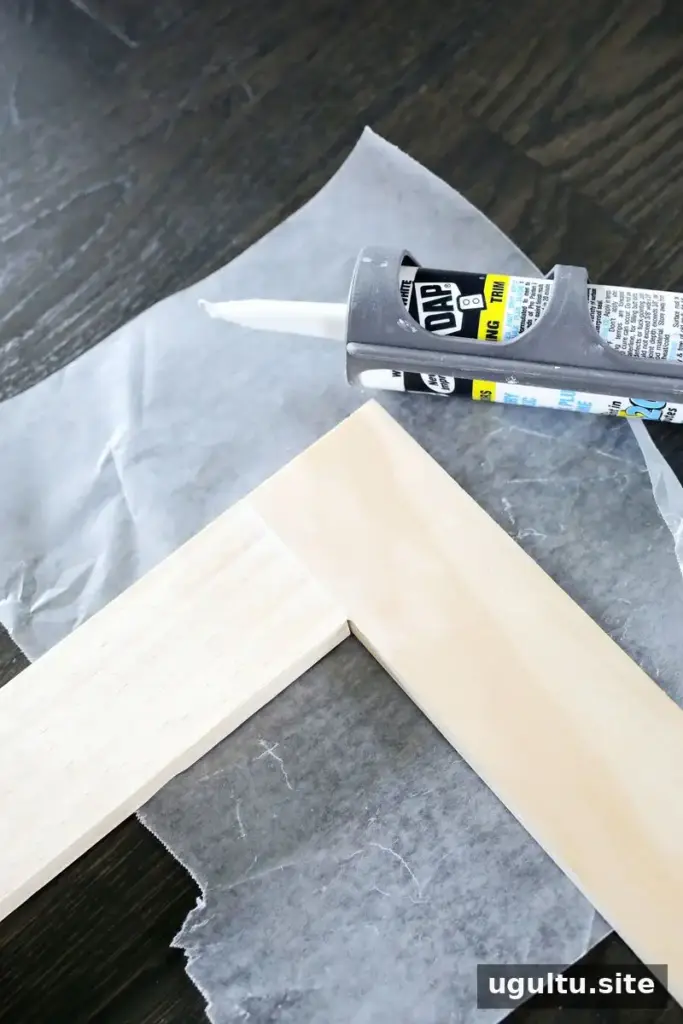
If small gaps remain between the boards, fill them with caulk or wood filler. This step is optional, but it can give the finished frame a more continuous appearance. Let the filler dry fully before applying paint or another finish.
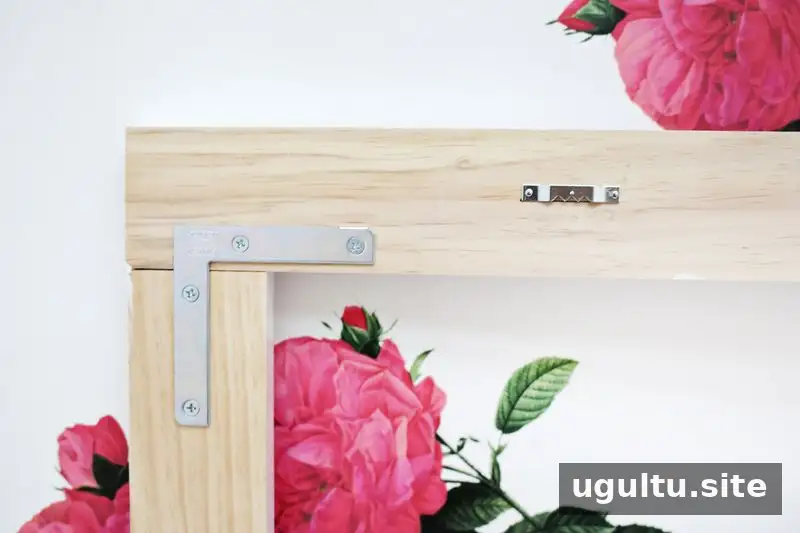
Apply spray paint or a suitable finish for the wood, then attach enough sawtooth hangers for your frame. Choose hanging hardware appropriate for the frame’s size and weight, and use wall fixings suited to the wall type.
Mount the Print and Hang the Frame
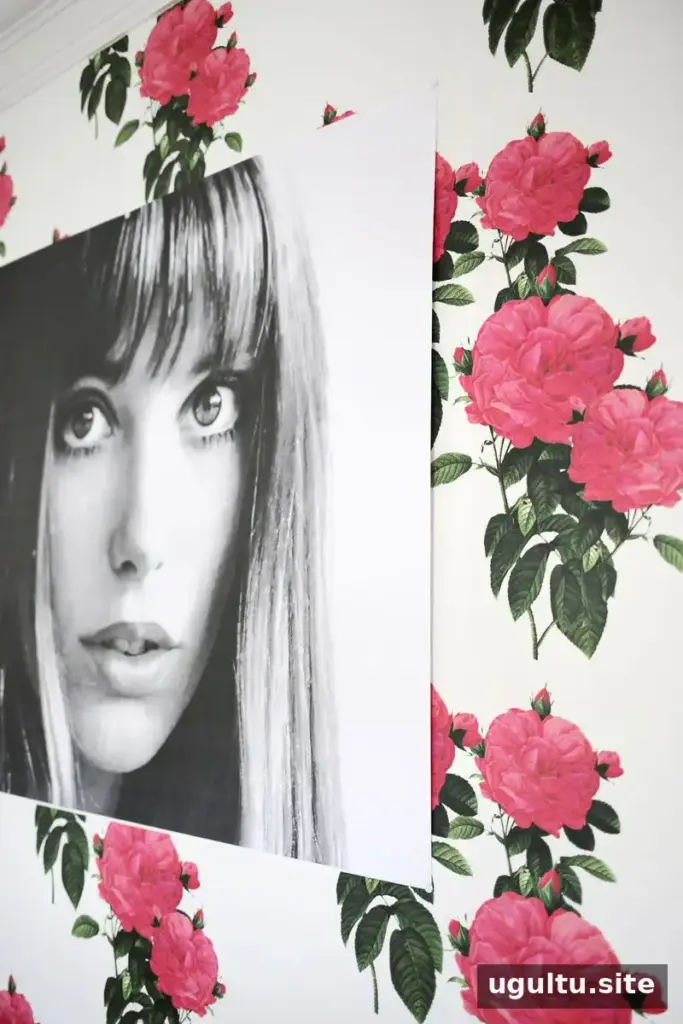
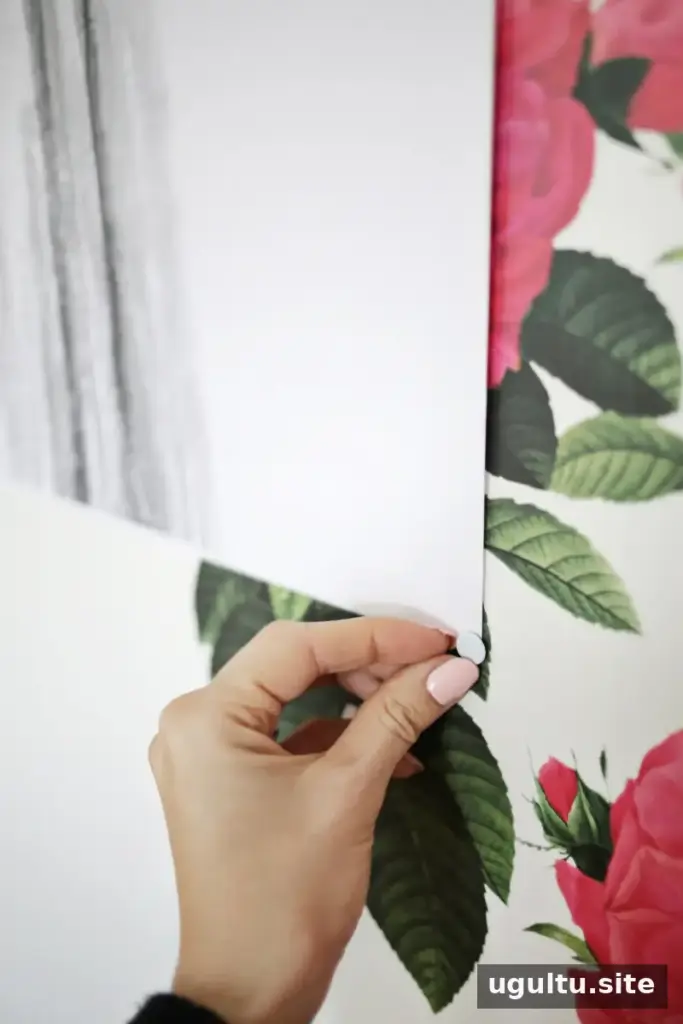
One option is to secure the print to the wall with small nails or flat thumbtacks, then hang the frame over it. Another option is to mount the print on foam core and fasten the board to the back of the frame with small nails. The second method lets you hang the print and frame together, although the layered edges may be visible from the side. Mounting the print directly on the wall can create a more seamless side view.
For a large or heavy frame, make sure the wall hardware is suitable for the combined weight and positioned securely. Ask for help lifting and hanging the frame if its size makes it difficult to handle alone.
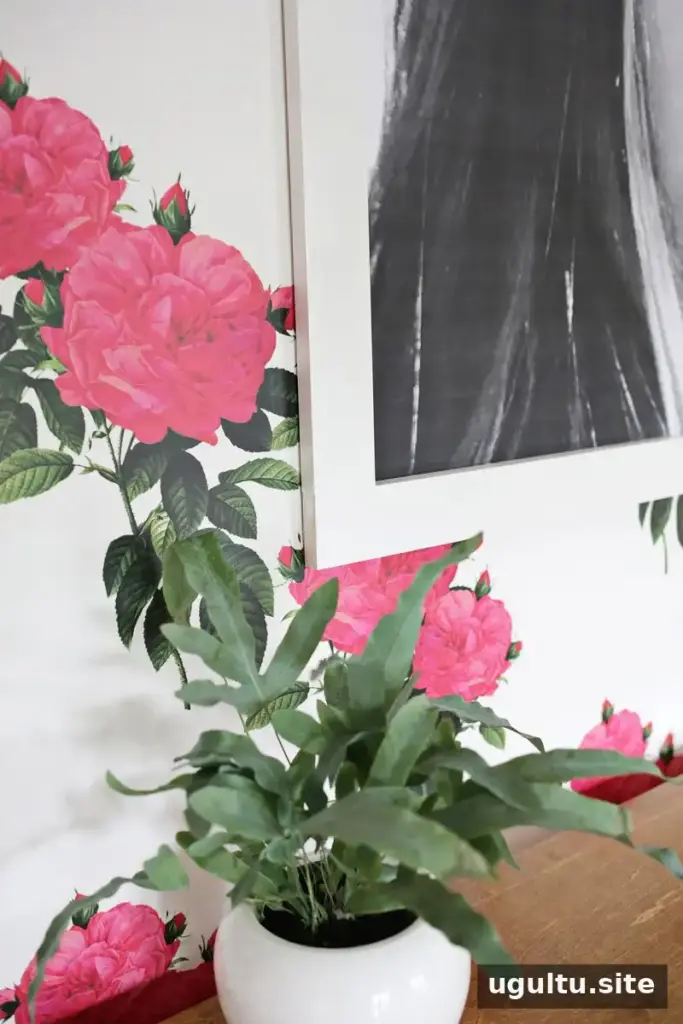
The completed frame measures 35 by 44 inches and cost under $25 to make. Paired with an engineer print, the entire project cost under $40. Your final cost may vary depending on local material prices and the finish you choose.
This simple approach can be adapted to different artwork dimensions and board widths, making it useful when standard frame sizes are not a good fit. Measure carefully, check the corner joints, and select appropriate hanging hardware for a sturdy result.
Tutorial by Laura.