
 admin
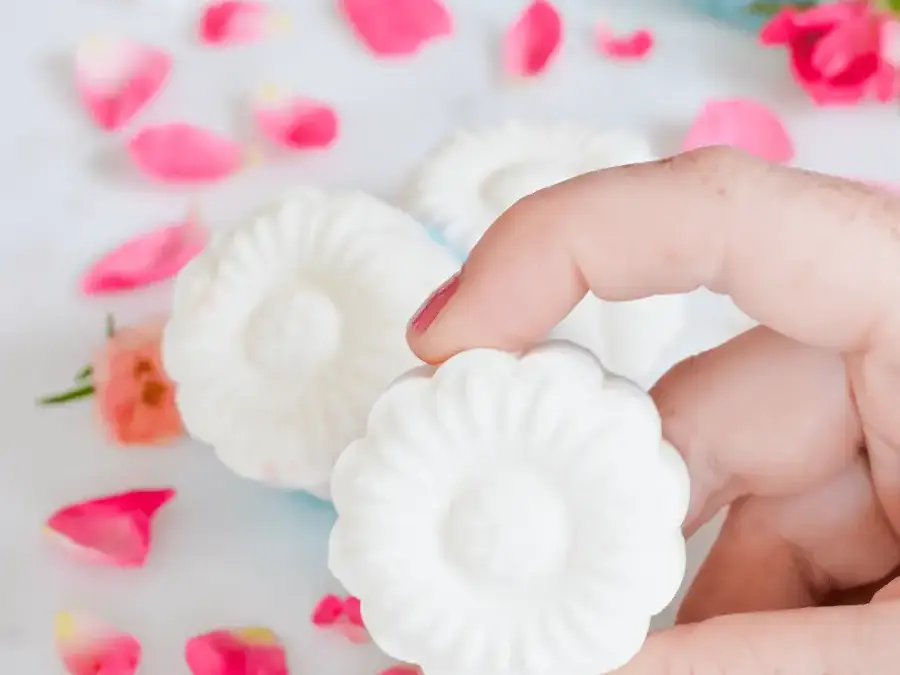
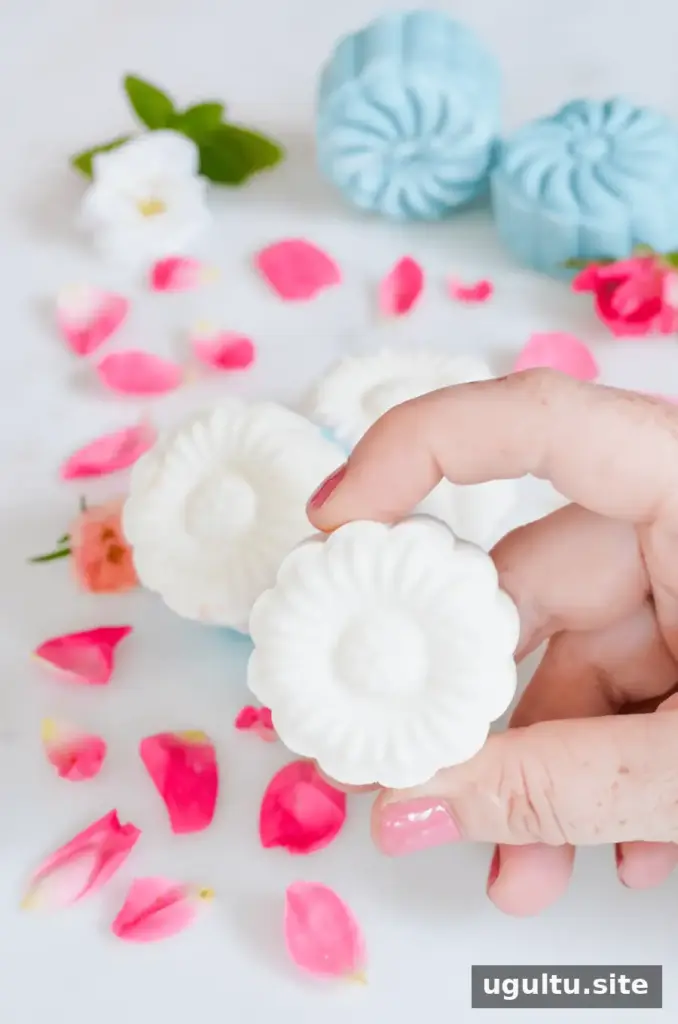
Bubble bath bars turn a liquid bubble bath into a moldable, gift-ready treat that dissolves under running water. This recipe uses baking soda, starches, cream of tartar, liquid bubble bath, oil or butter, and glycerin to make bars you can customize with optional color and scent. The amount of foam can vary depending on the bubble bath you choose, so use a formula you already know works for your preferences.
The recipe is credited to Laura, with adjustments described in the instructions below. If you have sensitive skin, check the ingredients in your chosen bubble bath and any optional colorants or essential oils before making a full batch. Consider testing a small amount first, and stop using the bars if irritation occurs.
Bubble Bath Bars: Ingredients and Equipment
Prepare all ingredients and equipment before heating the mixture. Use a microwave-safe bowl with enough room for the mixture to expand, and handle the bowl carefully because it may become hot.
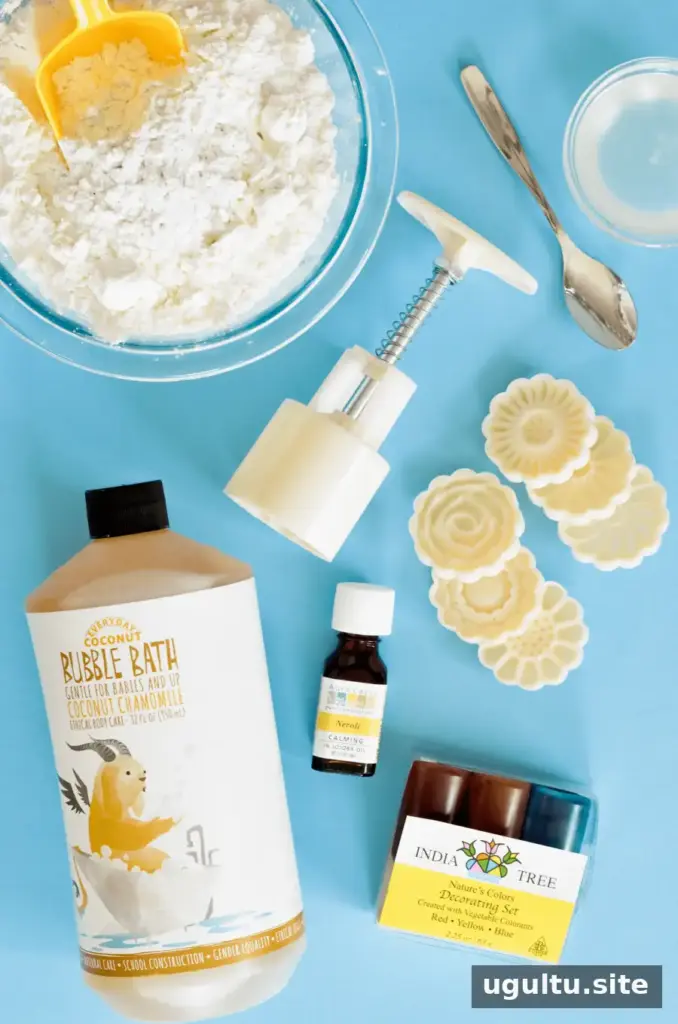
- 1 ½ cups baking soda
- 1/2 cup cornstarch
- 1/2 cup arrowroot powder
- 2 tablespoons cream of tartar
- 3/4 cup liquid bubble bath
- 2 tablespoons melted virgin coconut oil or shea butter
- 2 tablespoons vegetable glycerin
- Food or soap dye, as needed (optional)
- 5–10 drops essential oil (optional)
- 4-quart microwave-safe bowl
- Mooncake mold
- Baking sheet lined with a silicone mat or wax paper
- Cello bags for packaging
Color is optional: the bars can be left white or tinted with a suitable food or soap dye. A few drops of skin-safe essential oil can add fragrance, but check its intended use and avoid adding more than needed. Since the liquid bubble bath may already be scented, start with less rather than making the aroma too strong.
How to Make Bubble Bath Bars
1. Combine the dry and liquid ingredients
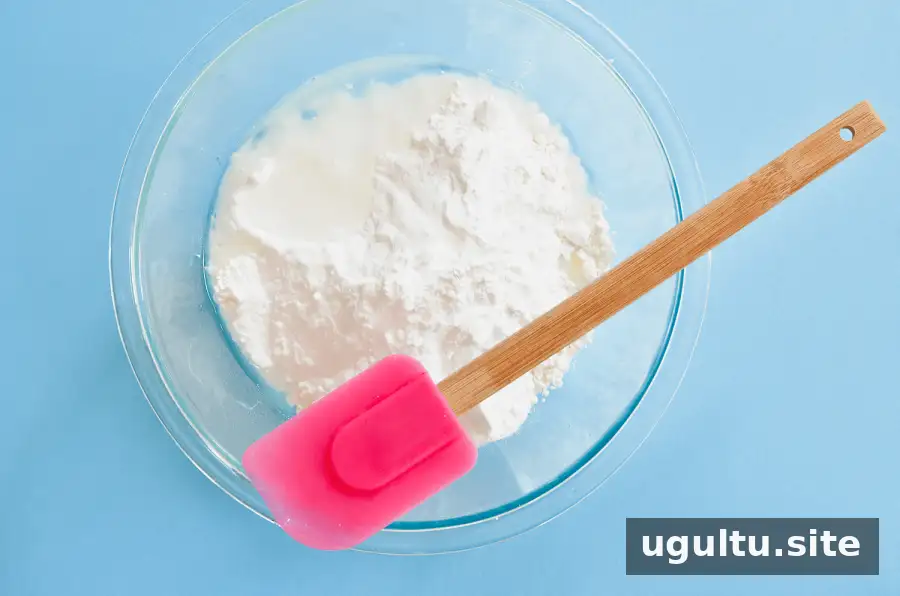
Whisk the baking soda, cornstarch, arrowroot powder, and cream of tartar in the microwave-safe bowl, breaking up visible clumps. Add the liquid bubble bath, melted coconut oil or shea butter, and vegetable glycerin. Leave optional dye and essential oil out for now.
2. Heat the mixture gradually
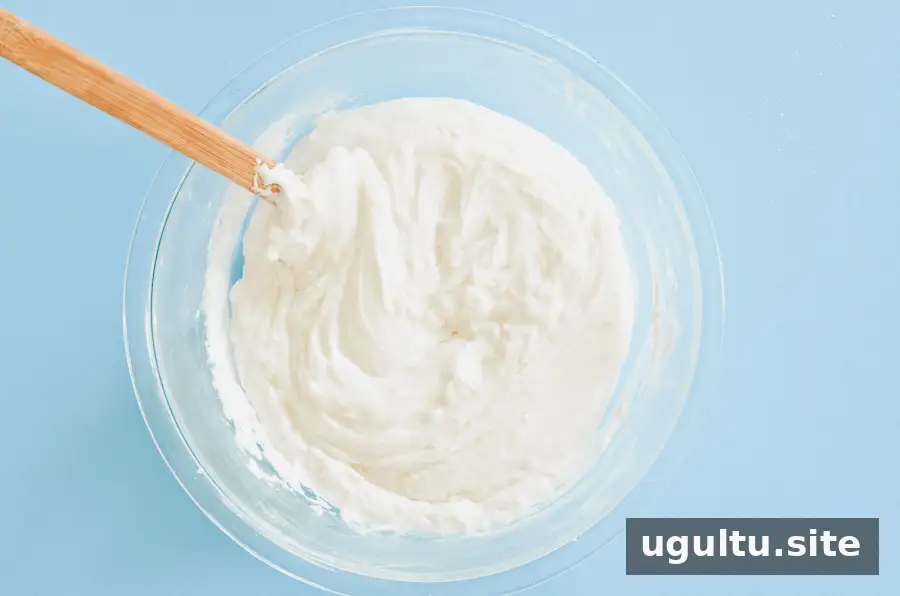
Stir everything together and microwave for one minute. Keep an eye on the bowl so the mixture does not bubble over. Stir thoroughly, then repeat the heating and stirring process until the mixture begins to thicken. Microwave strength varies, so use the texture as your guide rather than relying on an exact number of rounds.
When the mixture starts to resemble dough, shorten each microwave interval to 30 seconds. Continue stirring between rounds until it is noticeably thicker and less likely to cling to the sides of the bowl. Take care when removing the bowl, and avoid touching the hot mixture.
3. Cool and knead the dough
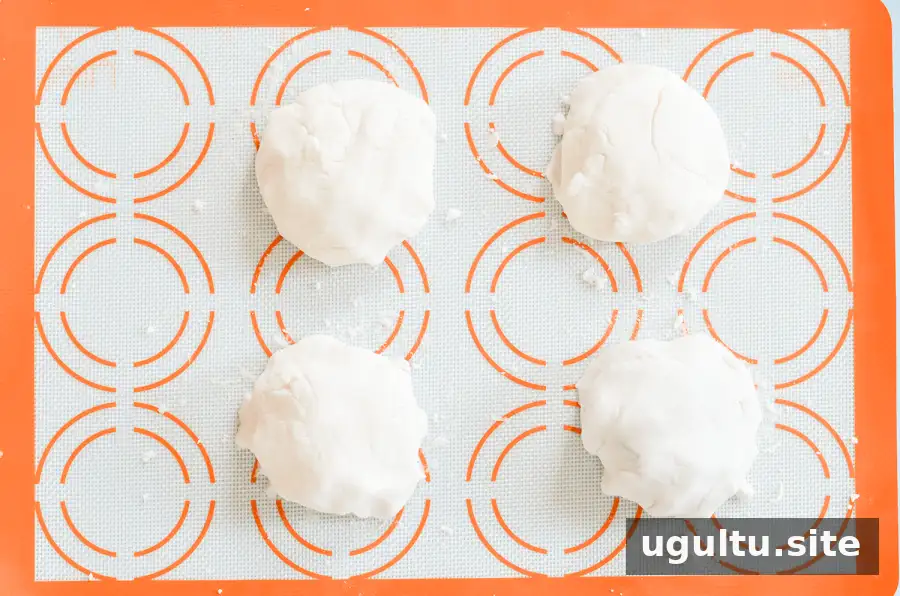
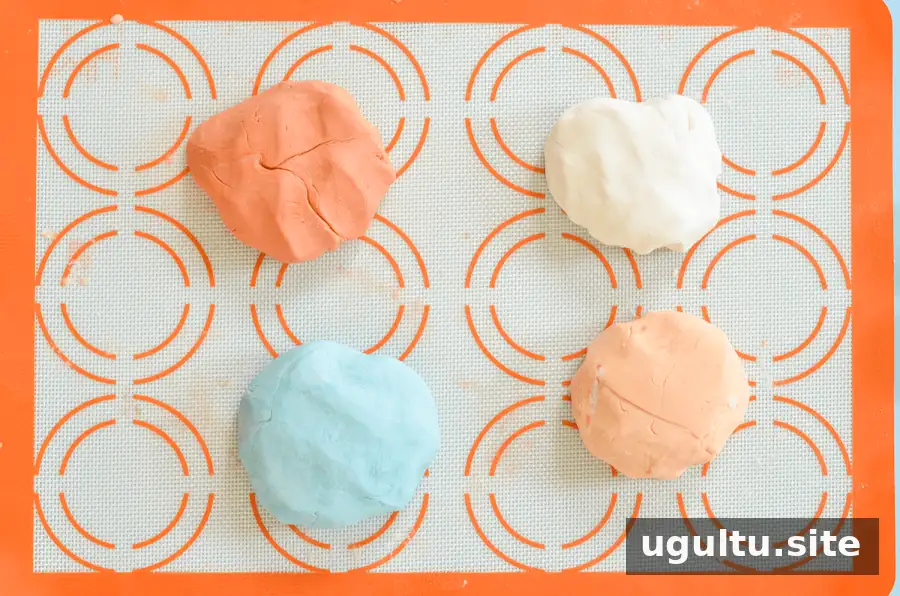
Divide the warm mixture into four portions and place them on a baking sheet lined with a silicone mat or wax paper. A light dusting of cornstarch on the surface and on each portion can help limit sticking. Flatten the portions gently so they cool more quickly, then leave them until they reach room temperature.
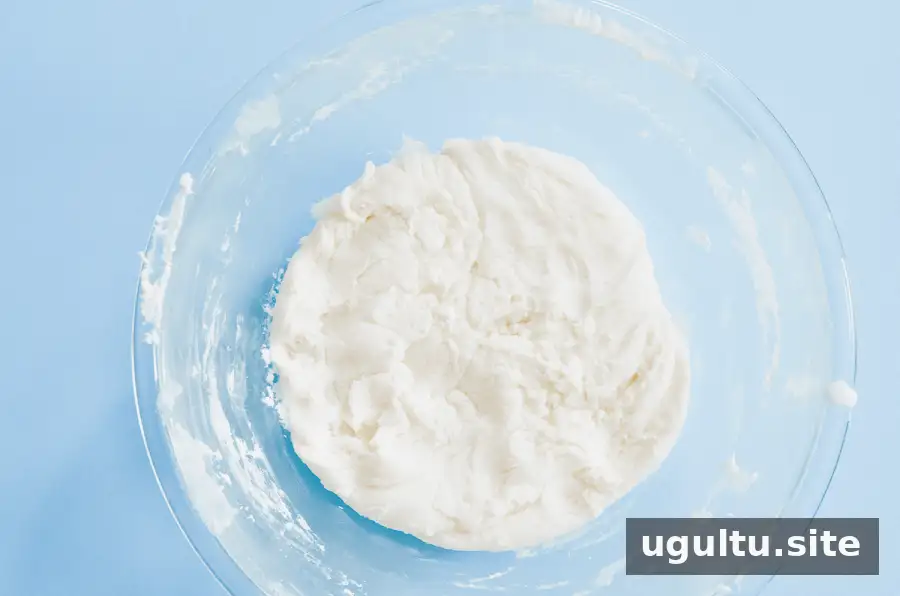
Knead each portion until smooth. If the dough feels too sticky to handle, work in a small amount of additional cornstarch. Add optional color or fragrance only after the dough has cooled completely. Press a small hollow into the dough, add a few drops of dye or essential oil, then fold and knead until evenly blended. Gloves can help prevent staining and reduce direct contact with fragrance ingredients.
4. Shape and dry the bars
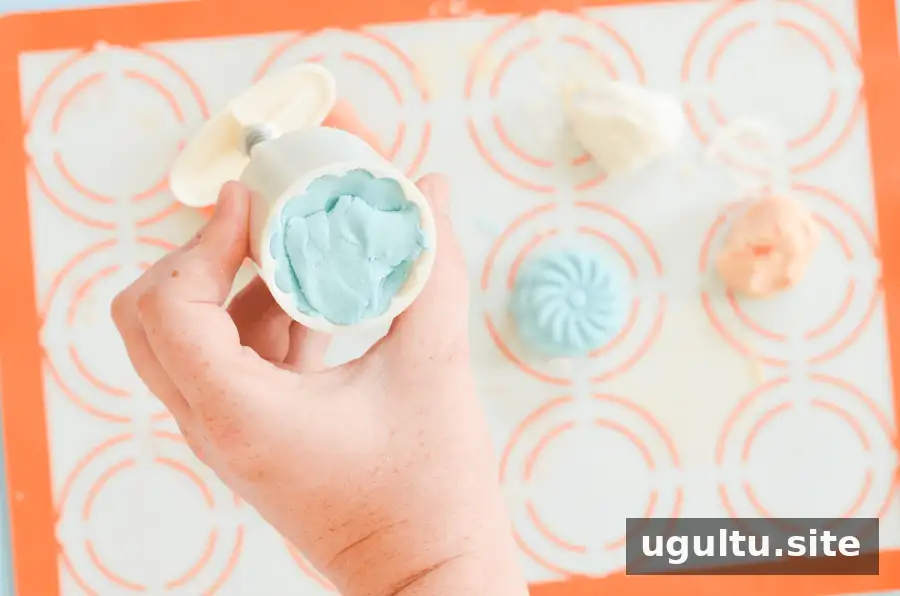
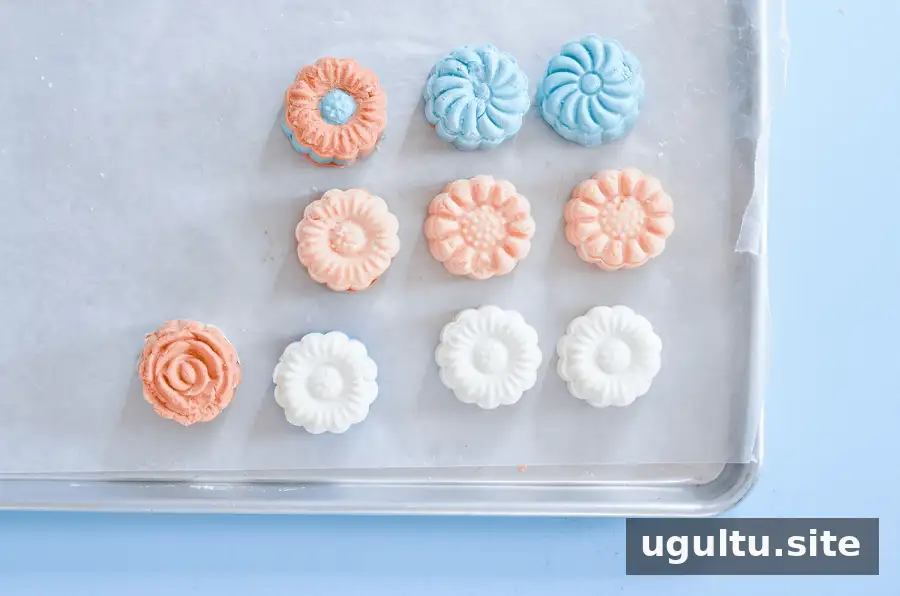
Choose a stamp for the mooncake mold and secure it in place. Pack the mold firmly with dough, press it down, and release the shaped bar onto the lined baking sheet. If dough sticks to the mold or feels tacky, dust it lightly with cornstarch before shaping.
Leave the bars in a cool, dry place for 24–72 hours, until firm. Drying time can vary with room conditions and the size of the bars. Make sure they are fully firm before packing them in cello bags; keep finished bars dry between uses.
How to Use and Customize Bubble Bath Bars
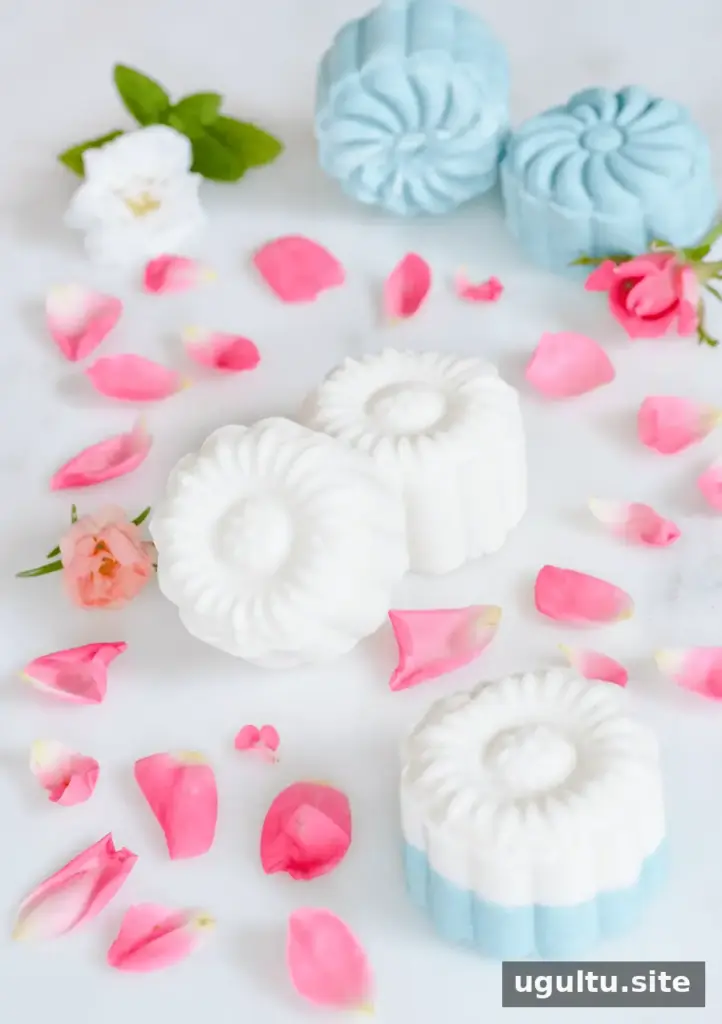
Crumble one bar under running bath water and let it dissolve to create suds. Foam levels depend in part on the liquid bubble bath used in the recipe. Avoid getting the mixture or bath water in your eyes, and discontinue use if the product causes discomfort.
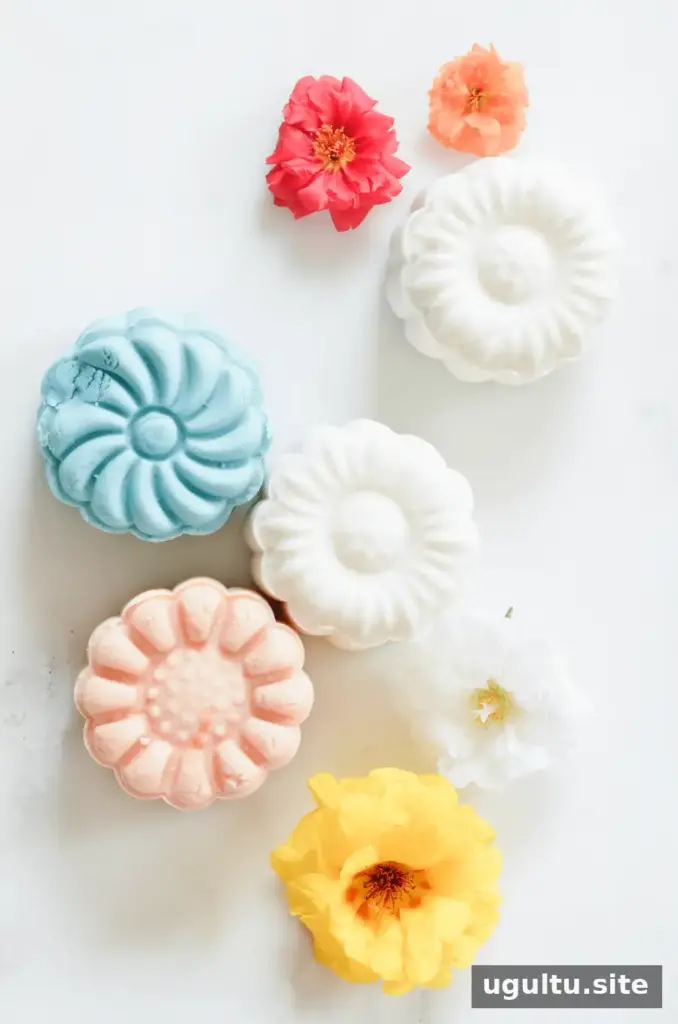
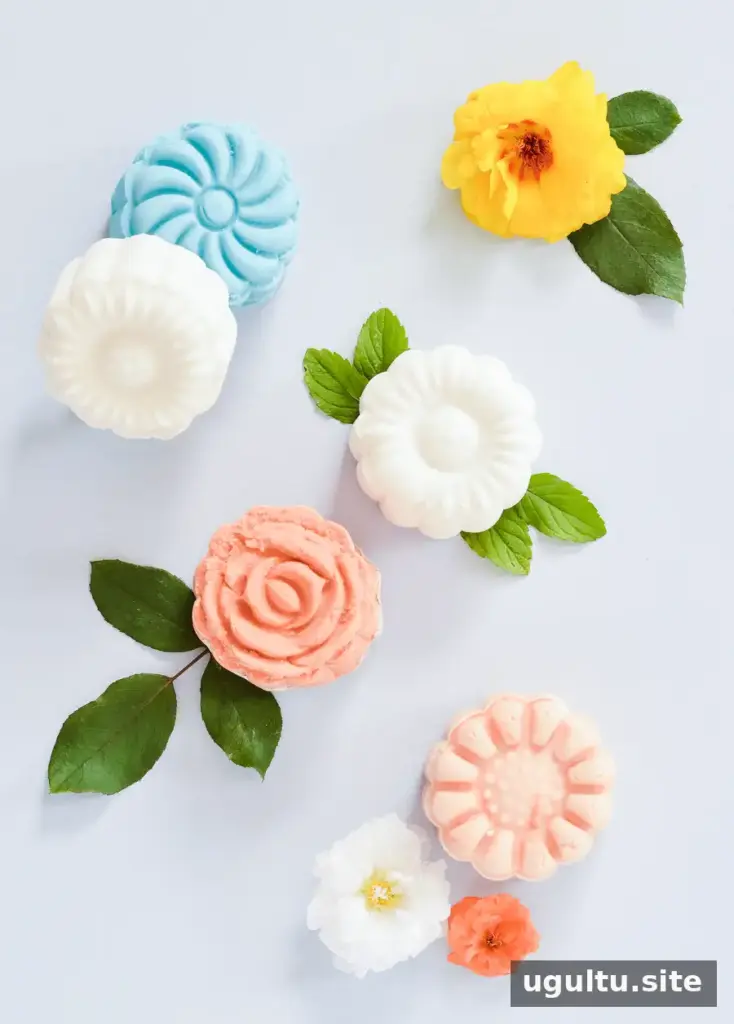
Try different mold shapes or colors for gifts and party favors. Decorative additions such as dried flowers or sprinkles are optional; keep them minimal and avoid items that could irritate your skin or make the tub slippery. For storage, package the fully dried bars and keep them away from moisture.
These bubble bath bars are easy to personalize while keeping the process manageable: measure carefully, heat in short intervals, allow the dough to cool before adding optional ingredients, and give the finished bars enough time to dry. Recipe credit: Laura. Instructions and accompanying notes: Mary Helen.


