
 admin
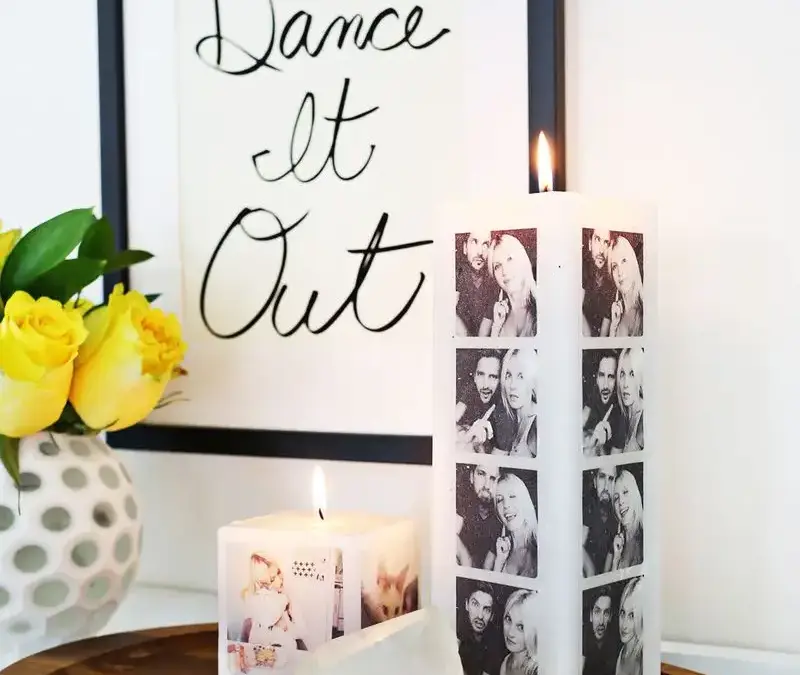
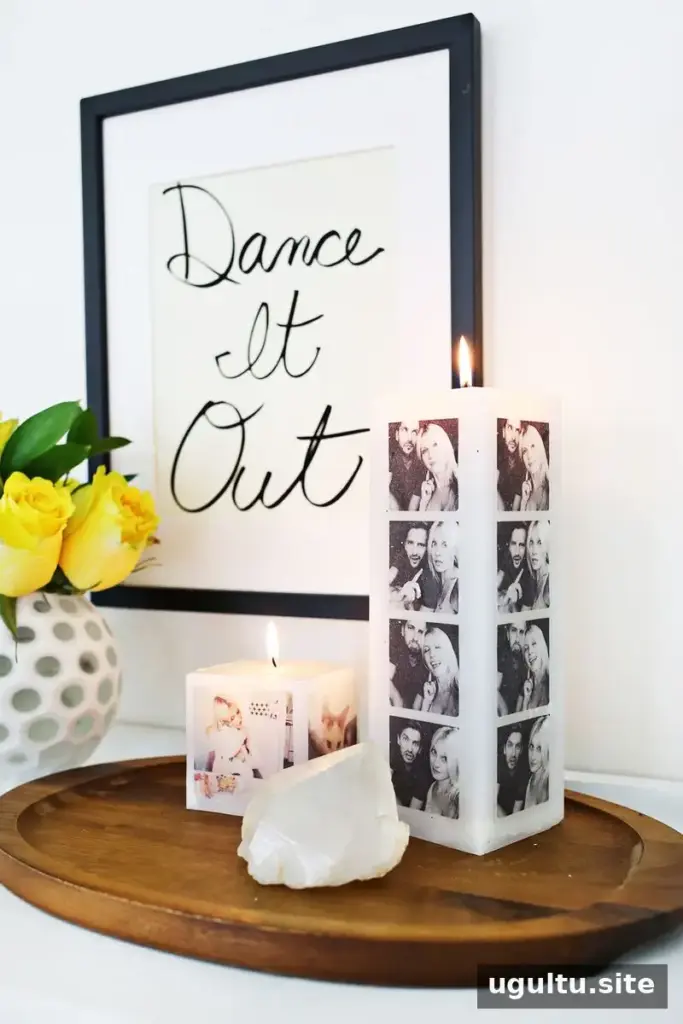
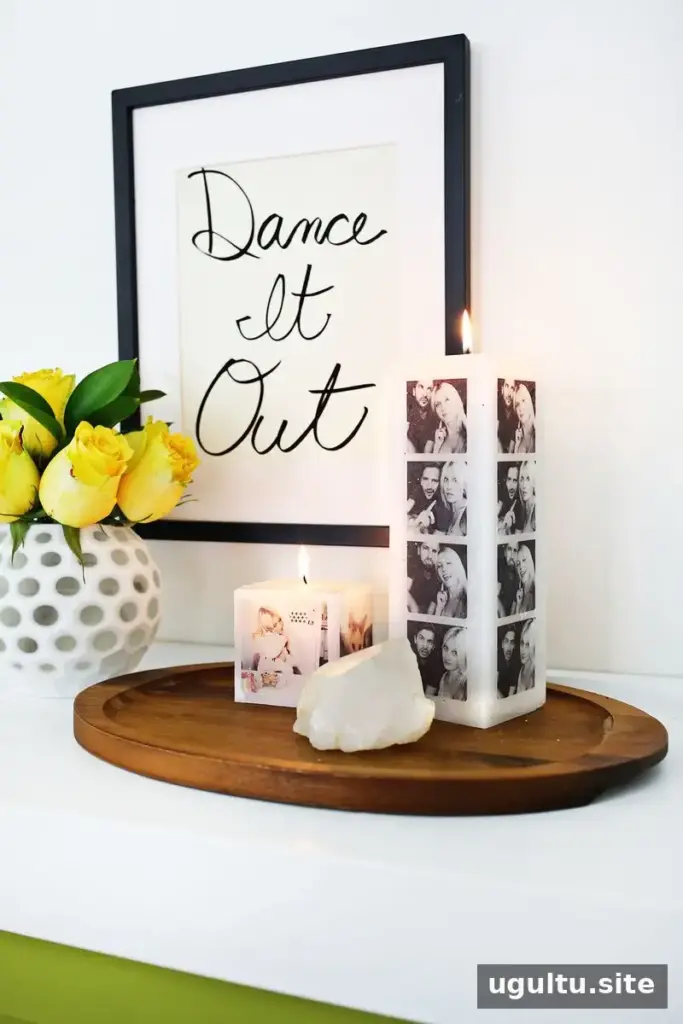
A DIY photo candle is a simple craft project that turns a favorite photograph into personalized decor. With tissue paper, a plain candle, and an embossing heat tool, you can transfer an image onto the candle in around half an hour. Choose a photo that suits the candle’s shape, and consider making one as a table decoration or a handmade gift.
Supplies for a DIY Photo Candle
Gather your materials before you begin. A tidy workspace makes it easier to handle the printed tissue paper without creasing or tearing it.
- White tissue paper
- 8.5 × 11-inch cardstock
- Scissors and clear tape
- White candles; the original project used 3 × 3-inch and 3 × 9-inch candles
- An embossing heat tool
- Wax paper
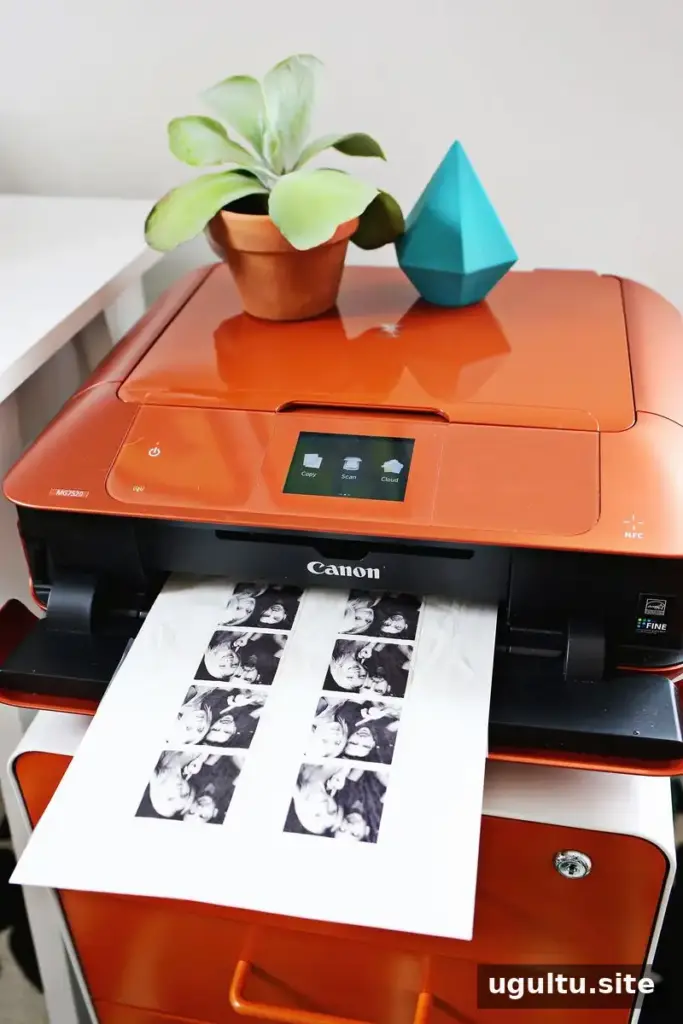
- A photo printer, such as the PIXMA MG7520
How to Transfer a Photo to a Candle
Cut a piece of tissue paper to fit the cardstock, then secure its edges with clear tape so it lies flat. Feed the prepared sheet into the printer with the tissue paper’s less shiny side facing the printing direction. Check your printer’s paper-feeding instructions first, since tray orientation can vary by model.
Print the image, then carefully cut around it. Position the tissue paper on the candle and cover it with wax paper, holding the wax paper taut against the image. Use the heat tool to warm the surface gradually. As the wax softens, the tissue paper and image should become embedded in the candle’s outer layer.
Tips for a Cleaner Image Transfer
- Keep the image flat: Smooth out wrinkles before applying heat to help prevent creases in the finished design.
- Work gently: Keep the heat tool moving and avoid holding it too close or in one spot for too long. The goal is to soften the outer wax, not melt or deform the candle.
- Choose a firm candle: Denser wax generally holds the image more crisply. Softer wax can still work, but it may melt more easily during heating.
- Test your setup: If possible, practice with a small image or an inconspicuous area before decorating the entire candle.
Using and Displaying Your Photo Candle Safely
A photo candle can be displayed on a shelf, used as event decor, or given as a personalized gift. However, the project does not establish that printed ink or tissue-paper decorations are suitable for burning. For the most cautious option, treat the finished candle as decorative and do not light it. If you choose to burn any candle, follow its safety instructions, keep it away from flammable materials, and never leave it unattended.
Choose a photo that will remain recognizable when cropped to fit the candle, and match the candle’s dimensions to the image. A tall candle can suit a portrait or a narrow photo strip, while a shorter candle may work better with a compact image.
Conclusion
This DIY photo candle project uses a few basic supplies and offers plenty of room to personalize the design. Pay attention to printer feeding, candle wax firmness, and careful heat application for a neater transfer. For a lower-risk display, keep your finished photo candle unlit. Project by Laura.


