
 admin
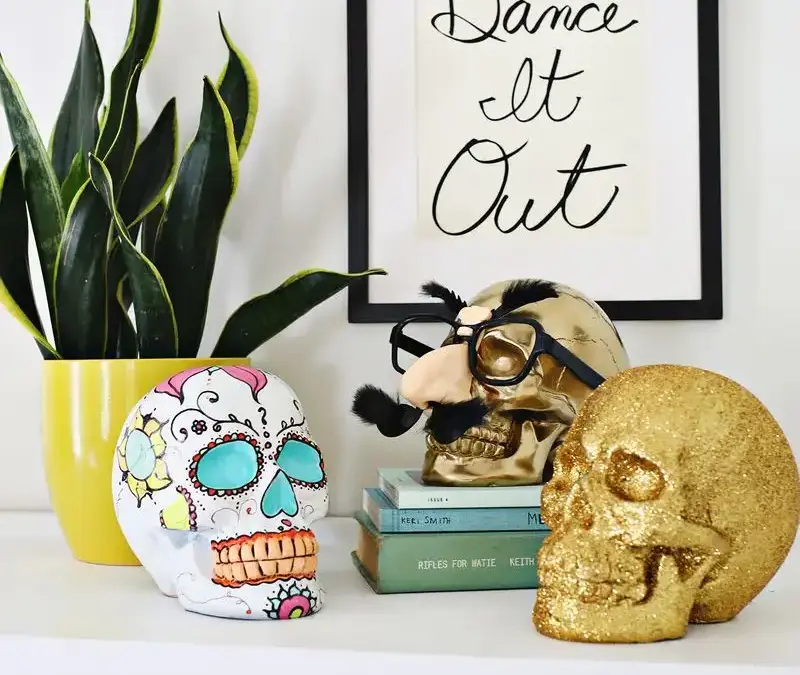
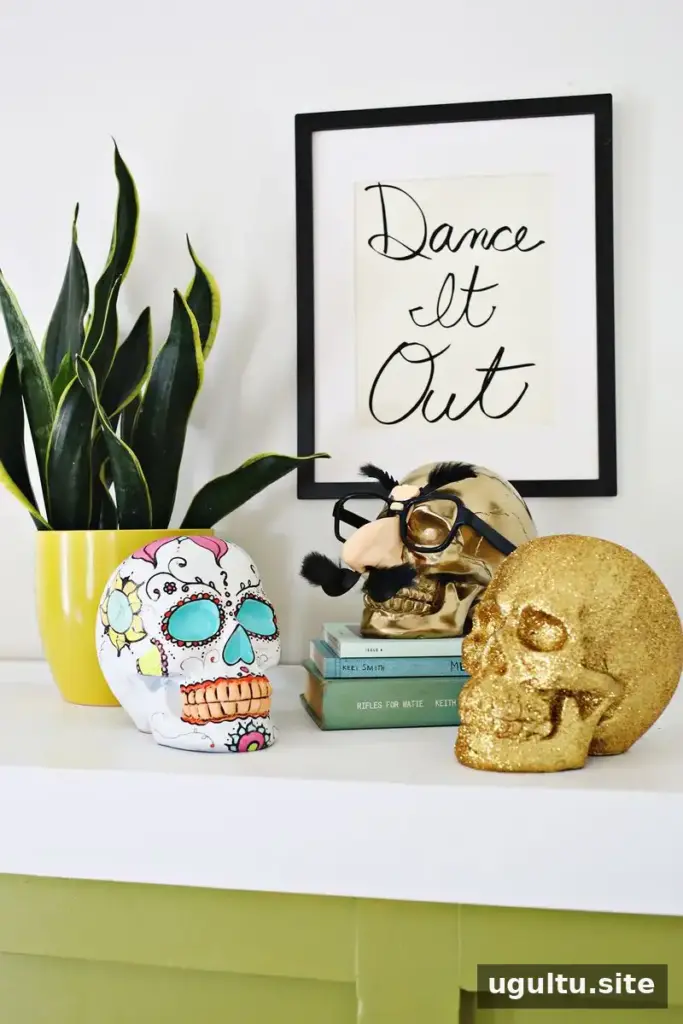
Halloween skull decorating is a simple way to add a personal touch to seasonal displays, whether you are preparing for a party or adding a festive accent at home. With a plain craft skull and a few supplies, you can create a colorful sugar skull design, a sparkling finish, or a playful character. These three projects can be adapted to the materials and colors you already have.
Halloween Skull Decorating: Three Easy Ideas
1. Paint a colorful sugar skull design
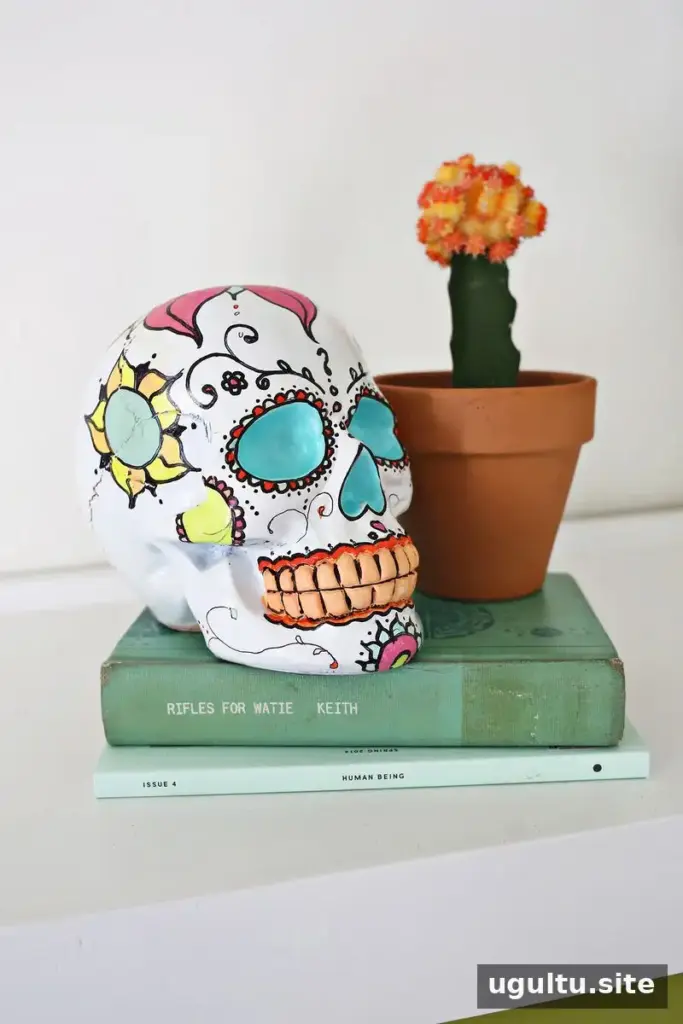
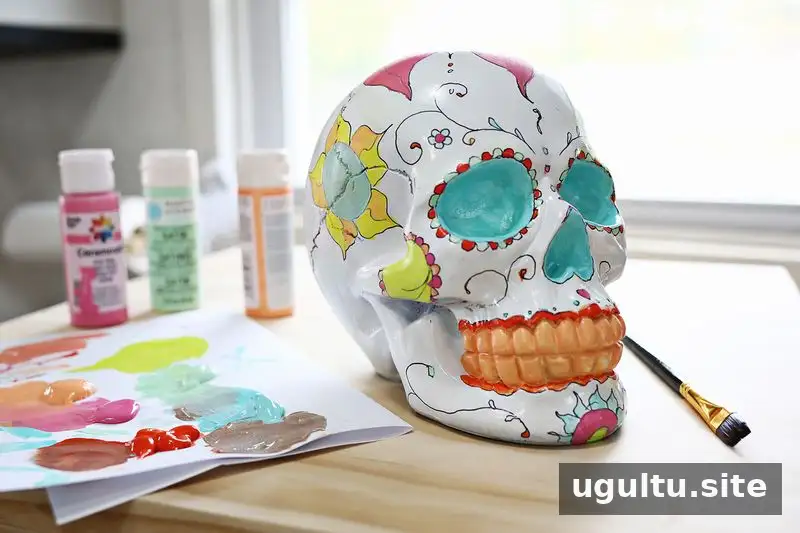
Use sugar skulls as inspiration for a bright, hand-painted design. Start by painting the eye sockets, nose, and teeth in solid colors. Once the paint is dry, outline those shapes and add simple flowers, vines, and other details across the face. Placing floral designs around areas such as the cheekbones and chin can help the pattern follow the skull’s shape.
Fill in the flower petals with additional colors, then use a thicker black marker to make the outlines stand out. Choose a few vivid shades that work well together rather than covering every area with detail. For cleaner lines, let each layer of paint dry before adding marks or outlines.
2. Add a glitter finish
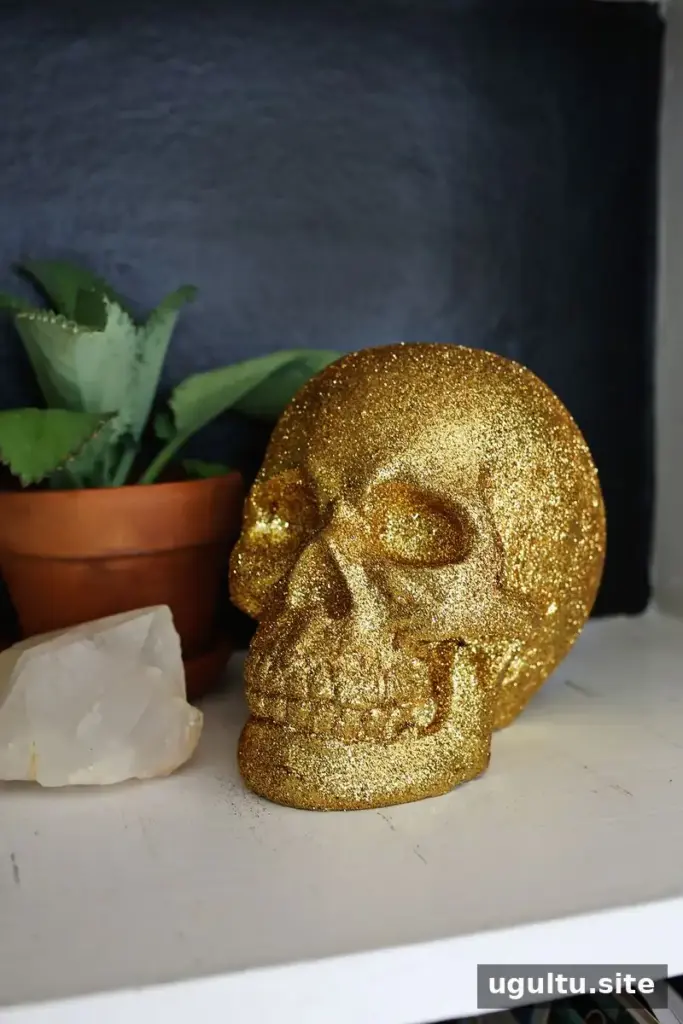
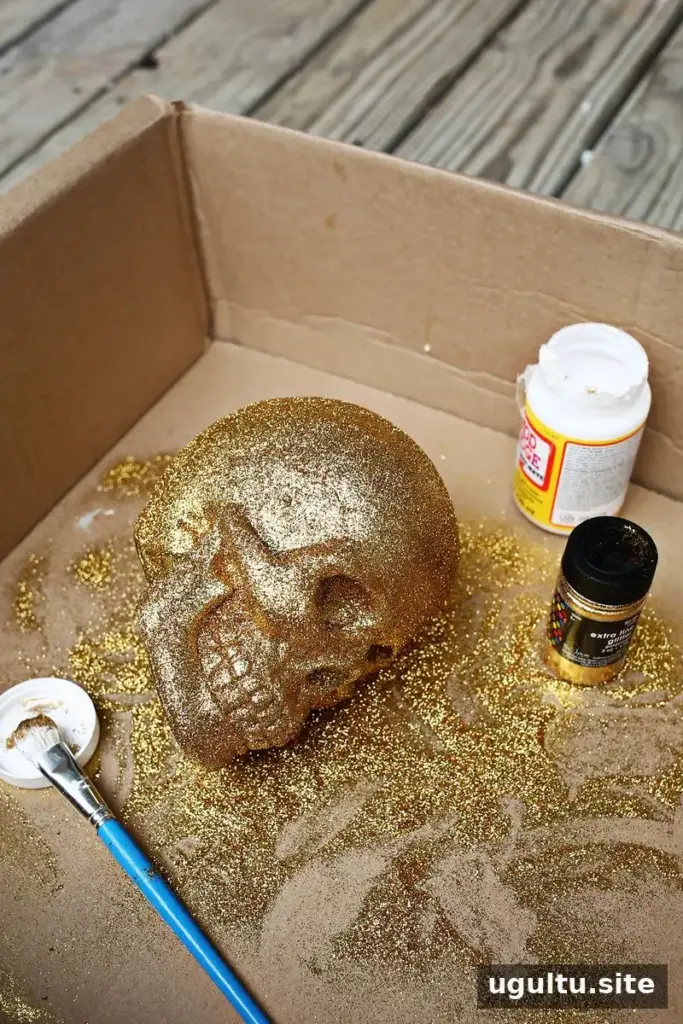
For a glittery skull, first paint the surface a color similar to the glitter. This base coat can make small uncovered spots less noticeable and may reduce how much glitter you need to apply. Let the paint dry according to its instructions before moving on.
Set the skull inside a cardboard box to help catch loose glitter. Brush craft glue over a section, then quickly sprinkle fine glitter onto the wet glue before it dries. Work in manageable areas until the top half is covered. Allow the glue to dry, shake away excess glitter inside the box, and touch up any gaps. Turn the skull and repeat the process on the other side.
You can leave the finish unsealed for maximum sparkle, or apply a clear spray sealant to help limit shedding. Sealants can soften the shine of metallic or glitter surfaces, so test the product on a small, inconspicuous area first. Follow the label directions and use spray products in a well-ventilated space.
3. Give the skull a funny accessory
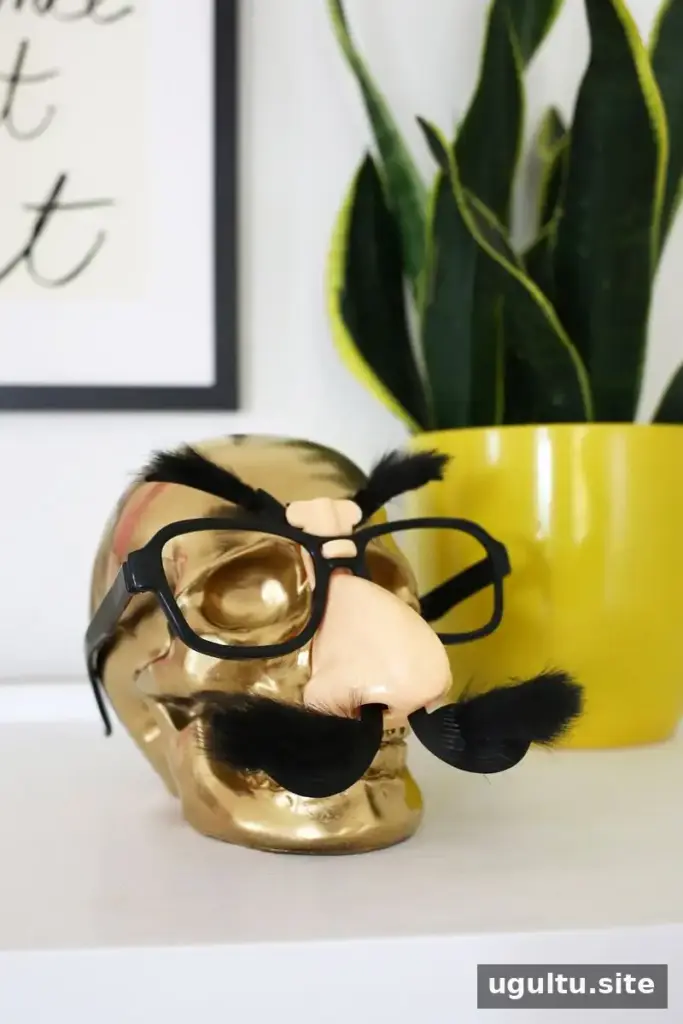
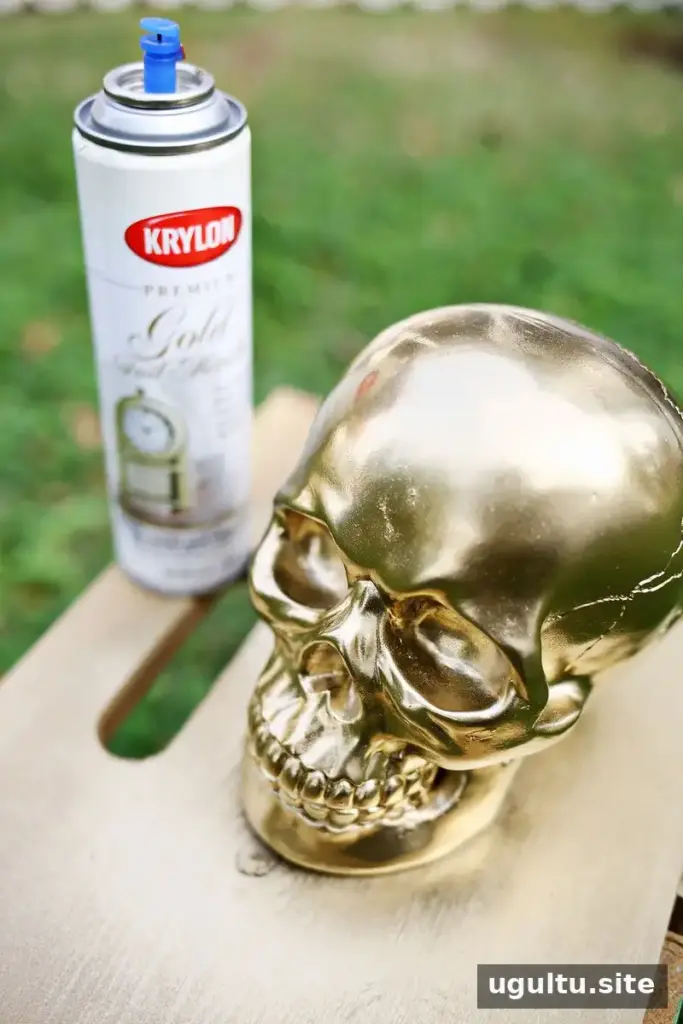
For a quick, humorous decoration, paint the skull a bold or metallic color and add a lightweight prop. Toy glasses, a small hat, or a bushy stick-on mustache can give it a distinct personality. Choose accessories that sit securely, and avoid anything too heavy or unstable if the skull will be displayed on a narrow shelf.
You can also use familiar clothing or accessories as inspiration for the character. A simple combination of a painted finish and one recognizable prop is often enough to make the display feel fun without requiring detailed painting.
Make Your Halloween Skull Display Your Own
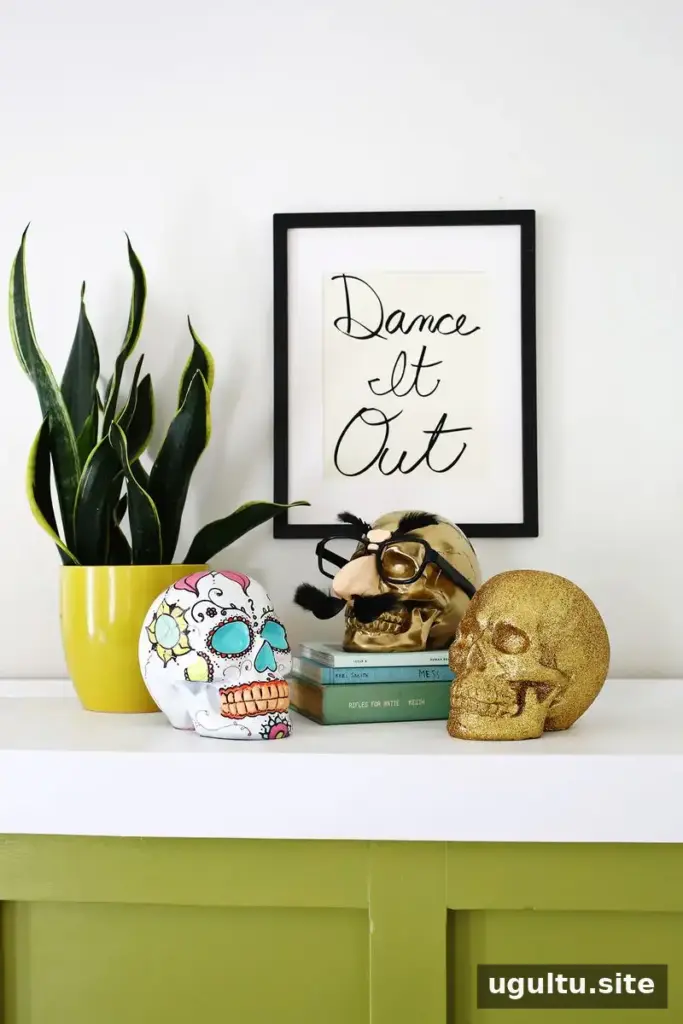
These Halloween skull decorating ideas offer three different approaches: detailed painting, glitter, and playful accessories. Before starting, protect your work surface, check that paints and adhesives are suitable for your skull’s material, and allow finishes to dry fully before handling or displaying the piece. Choose the method that suits your time and supplies, or try more than one skull to create a coordinated seasonal display.
— Laura


