
 admin



Novelty candles can add a playful touch to birthdays and other celebrations. Making your own shaped candle molds lets you turn small, suitable objects into custom designs. The process is straightforward, but it takes patience while the mold cures and the wax cools.
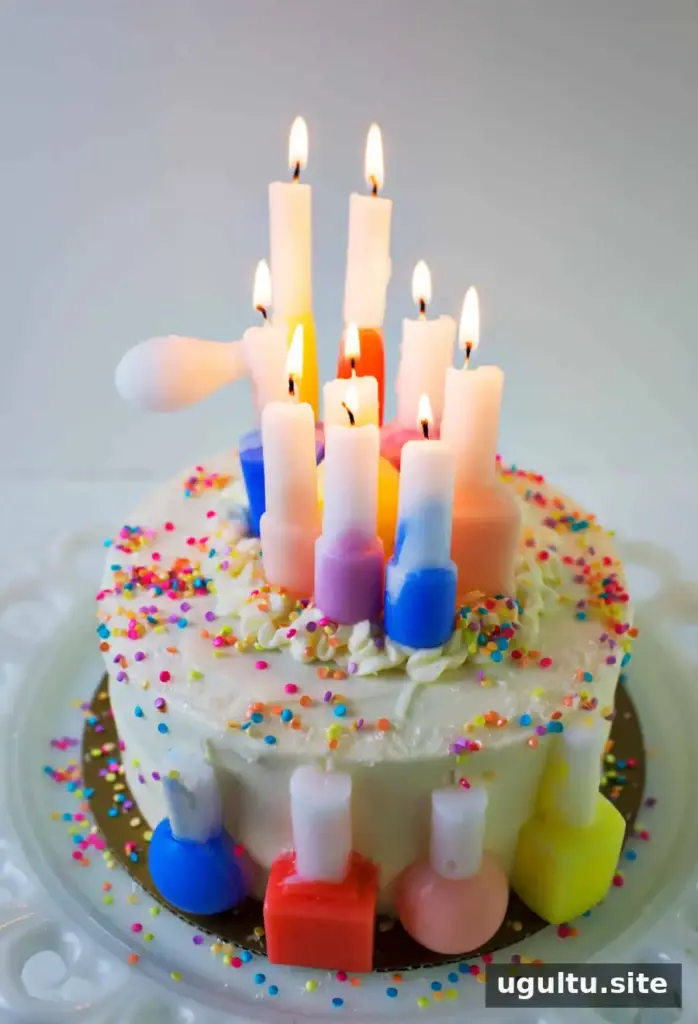
This tutorial covers the materials and basic steps for creating small candle molds. It also explains a common mold-making problem: intricate shapes can be difficult to remove from cured silicone without damaging the mold.

Supplies for shaped candle molds
Gather the following materials before you start:
- Small objects to use as mold forms, such as nail polish or lip gloss containers
- A plastic container large enough to hold the objects and silicone
- A two-part silicone mold-making compound
- Disposable cups and mixing spoons
- Candle wax, such as paraffin, soy, or beeswax
- A candle thermometer and candle colorant, if desired
- Wicks and toothpicks or small sticks
Different mold compounds may have different mixing, curing, and temperature requirements. Read the instructions supplied with your specific product before beginning, and use disposable mixing tools as directed.
How to make shaped candle molds
1. Mix and pour the silicone
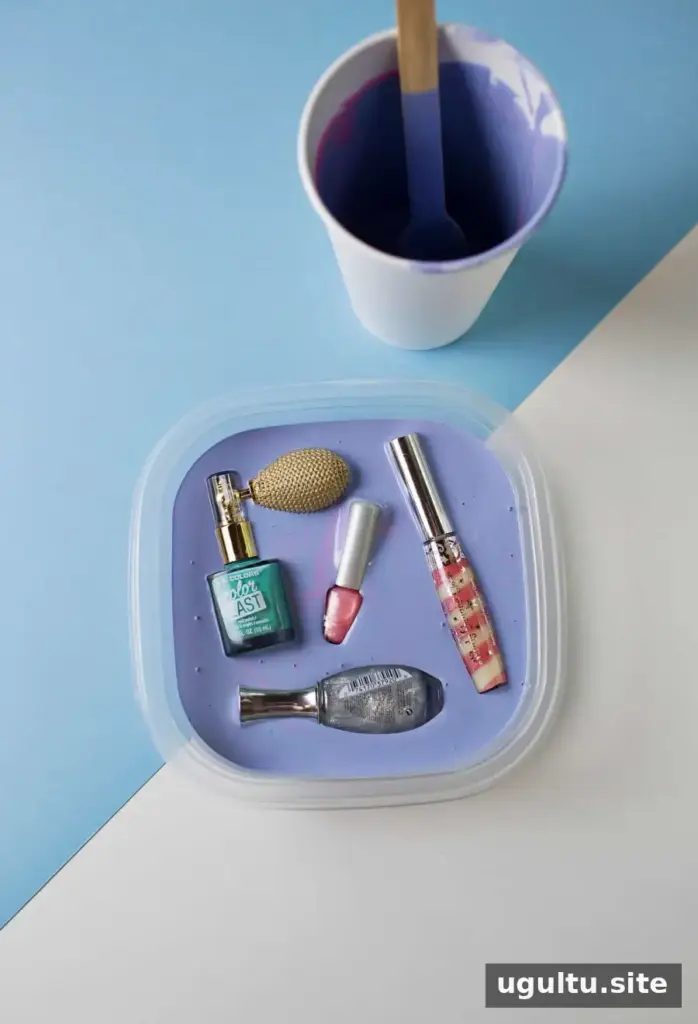
For the two-part compound used in this project, combine equal amounts in a 1:1 ratio. Mix until the two components are fully blended; the example compound changes from red and blue to purple, which helps show when the colors have combined.
Work carefully, avoid spills, and follow the product’s safety directions. Keep the material off your skin and use it in a suitable work area.
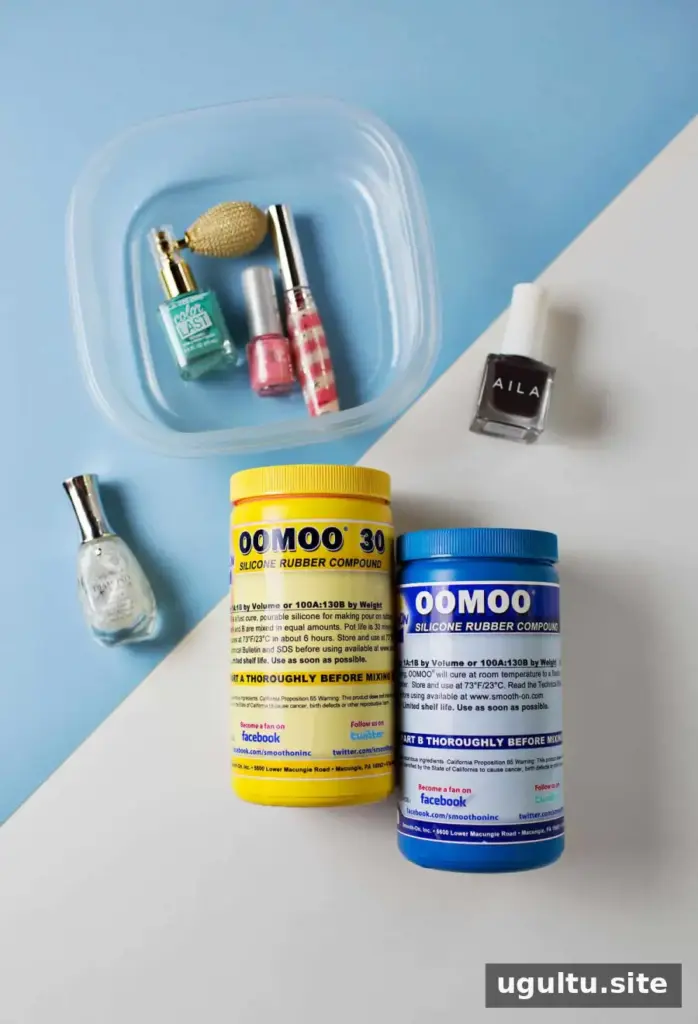
There are two ways to position your objects. One method is to fill a plastic container halfway with sugar, press the objects into it so that roughly half of each item remains exposed, and pour the mixed silicone over them. Alternatively, pour the silicone into the container first and then place the objects in it. Both approaches can work; the second may be less messy because there is no sugar to remove afterward.
With the second approach, check that the objects do not sink all the way through the silicone. The mold needs to hold the wax in the shape you want. Let the silicone cure for the time stated in its instructions.
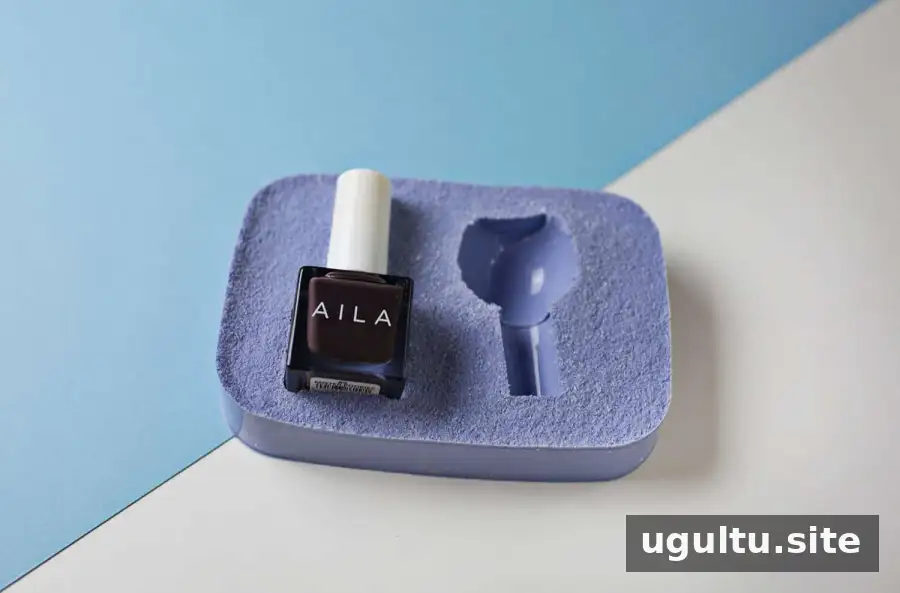
Choose forms that can be removed from the cured silicone without force. Deep details or decorative parts that wrap around an object may catch in the mold and tear it during removal. If a shape looks difficult to pull free, choose a simpler object for a more reliable first attempt.
2. Prepare the wax
Melt the wax according to its packaging instructions. Use a candle thermometer to monitor the temperature before pouring. The silicone compound used in this example suggested keeping wax around 170°F, but follow the temperature guidance for the mold material you choose. Add candle colorant if you want to customize the finished candles.
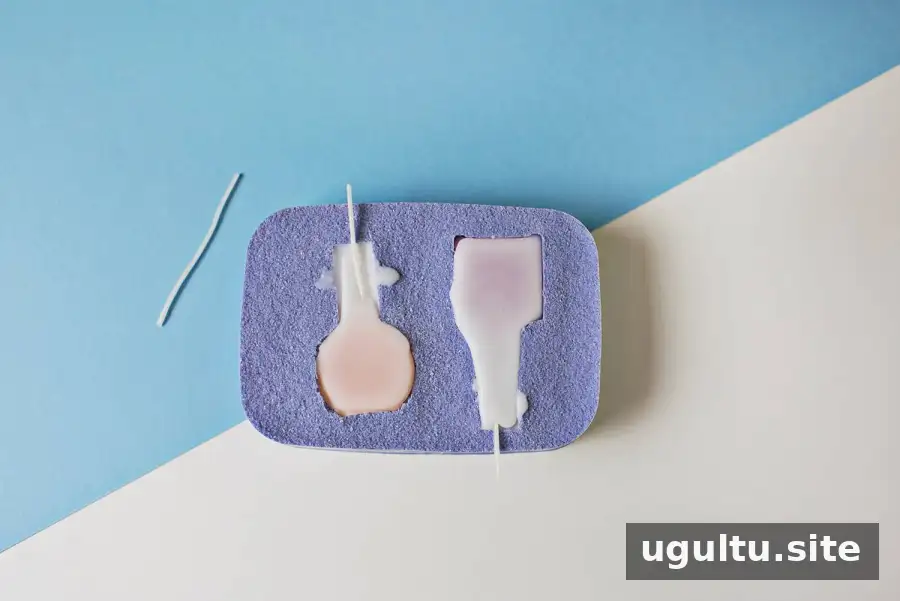
3. Add the wick and let the candles set
Pour the wax into the mold and position a wick. If the candle needs to stand upright, place a small stick or toothpick at its base while the wax is setting. As the wax cools, the surface may sink slightly, so keep a little extra melted wax available to top it up if needed. These molded candles will have flat backs.
Once the wax has completely set, gently remove the candle and reuse the mold. Handle hot wax carefully, and do not use candle-making equipment or molds for food preparation.
Make your own shaped candle molds
With a suitable object, carefully mixed silicone, and patience during curing and cooling, making shaped candle molds is a manageable craft project. Start with a simple form that is easy to remove, check the instructions for both the mold compound and wax, and take care when working with heated materials.
— Emma



