
 admin


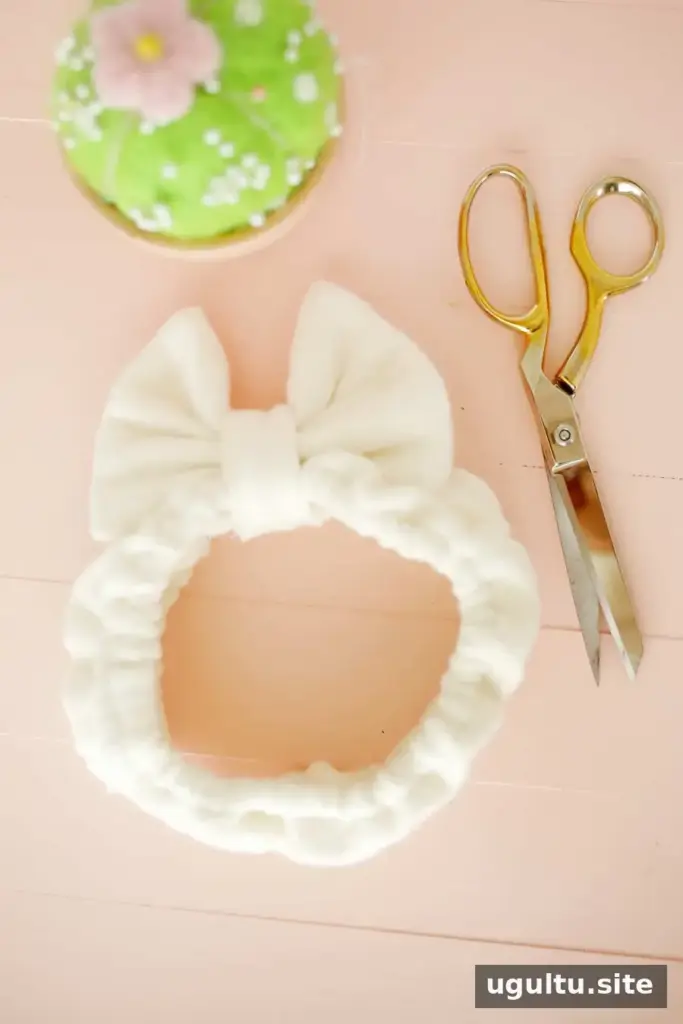
A DIY spa headband is a practical sewing project for keeping long hair, shorter strands, and flyaways away from your face during skincare or makeup routines. This flannel version has elastic for a comfortable fit and a fabric bow for a decorative finish. It can also be washed when needed, making it a useful everyday accessory.
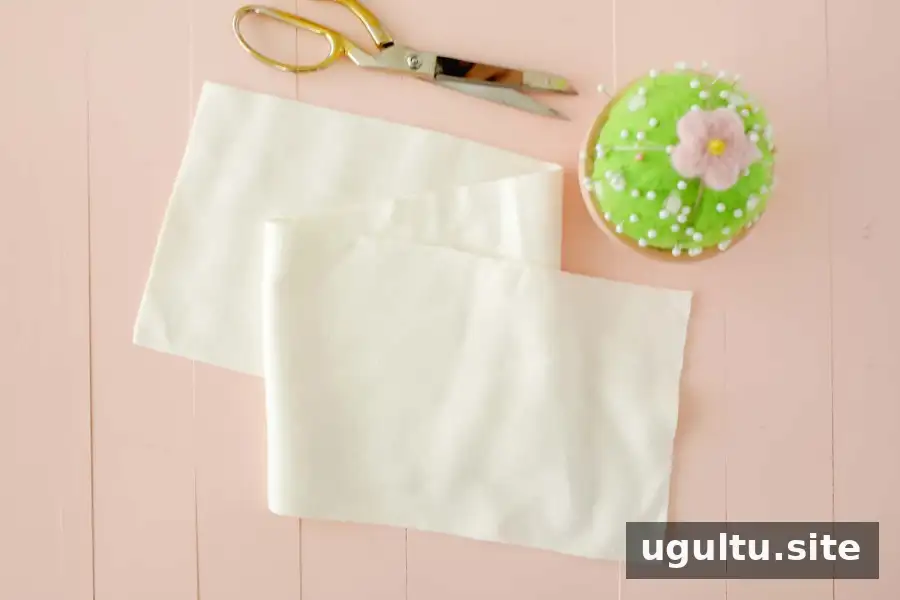
Supplies for a DIY Spa Headband
Gather these materials before you begin. A quarter yard of cotton flannel is enough for the pieces described below.
- Cotton flannel fabric, one quarter yard
- Straight pins and fabric scissors
- Two pieces of 1/2-inch elastic, each 18 inches long
- Two pieces of 1/4-inch elastic, each 18 inches long
- Sewing machine
A serger is optional. If you do not have one, a zigzag stitch on a regular sewing machine can help finish raw fabric edges and reduce fraying.
Sew the Headband Body
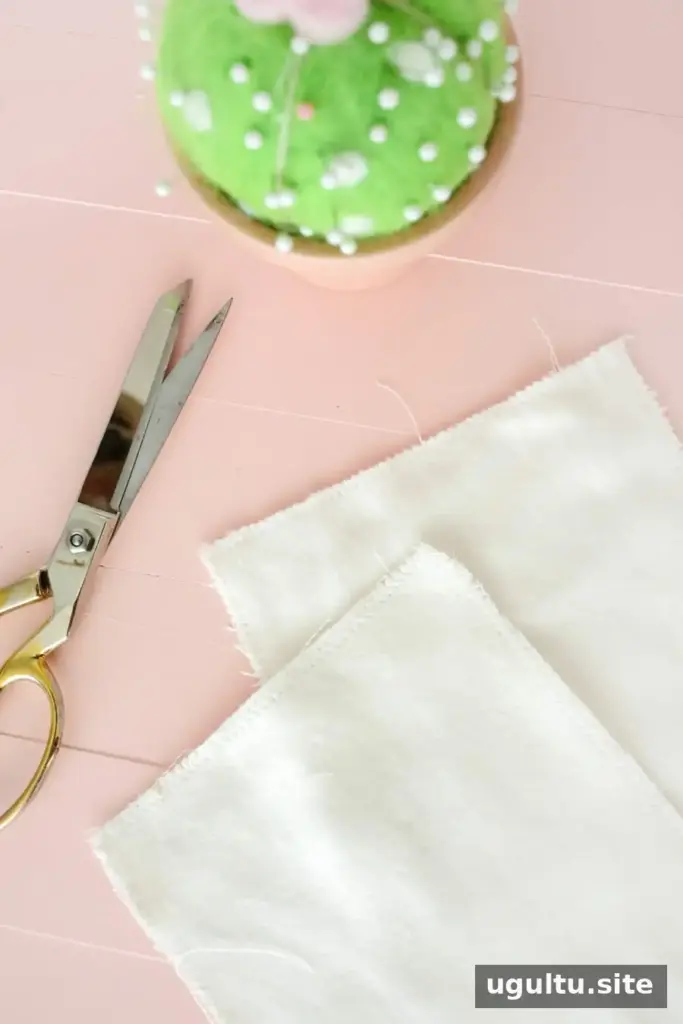
Cut one flannel rectangle measuring 6 by 27 inches for the main band. Finish its raw edges with a serger or a zigzag stitch. This simple step helps the fabric hold up to repeated use and washing.
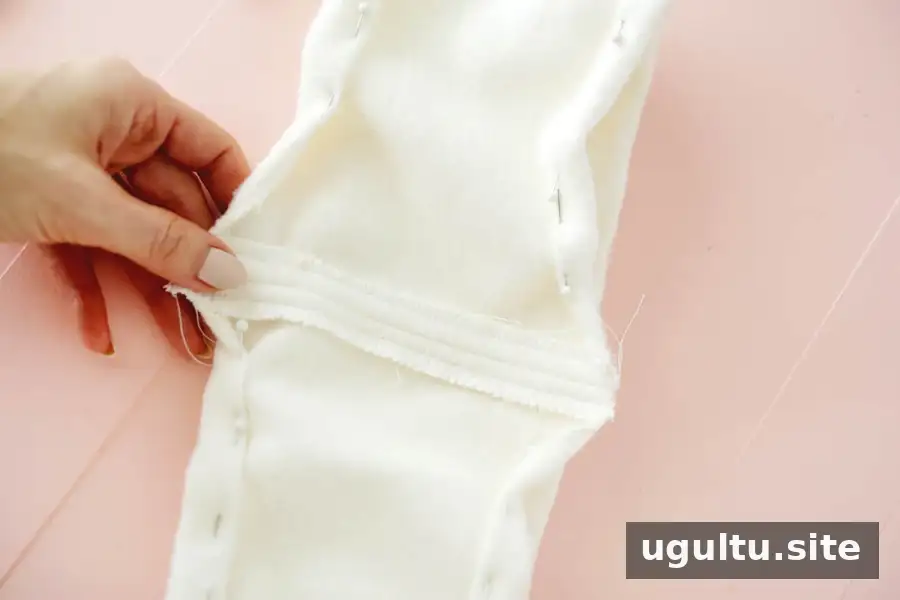
Fold the rectangle in half so the short edges meet, then pin them together. Sew the edges with a 1/2-inch seam allowance. Press the seam flat and topstitch each seam allowance flap so it lies flat on the inside of the band.
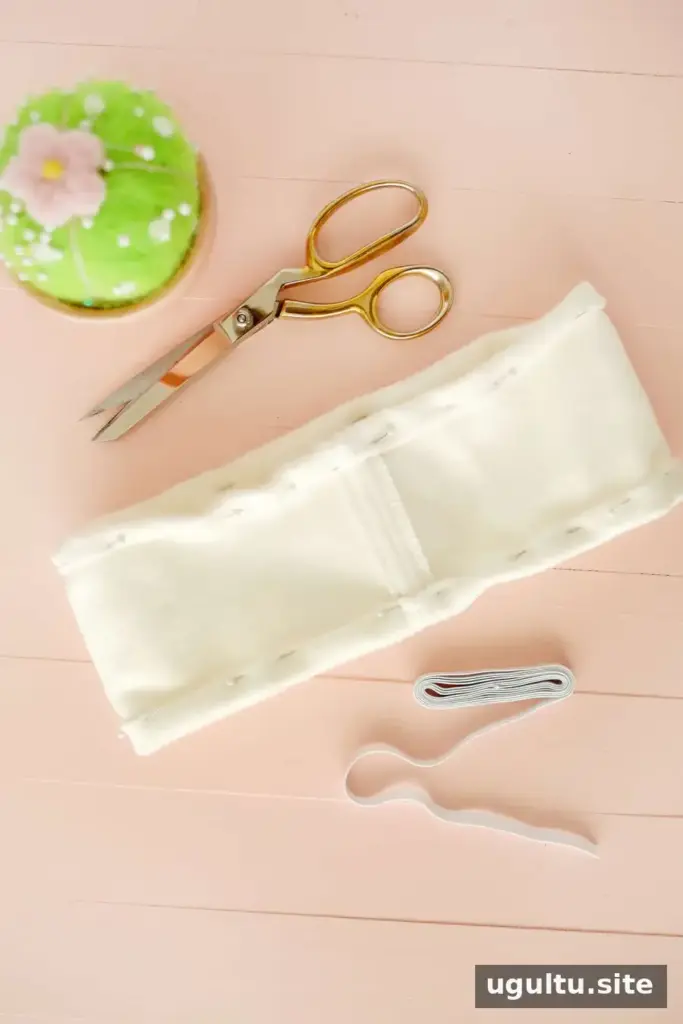
Fold the zigzag-finished edges along the top and bottom of the band inward. Pin them to create a channel about 1/2 inch wide for the 1/2-inch elastic. Check the channel width before sewing so the elastic can pass through without getting caught.
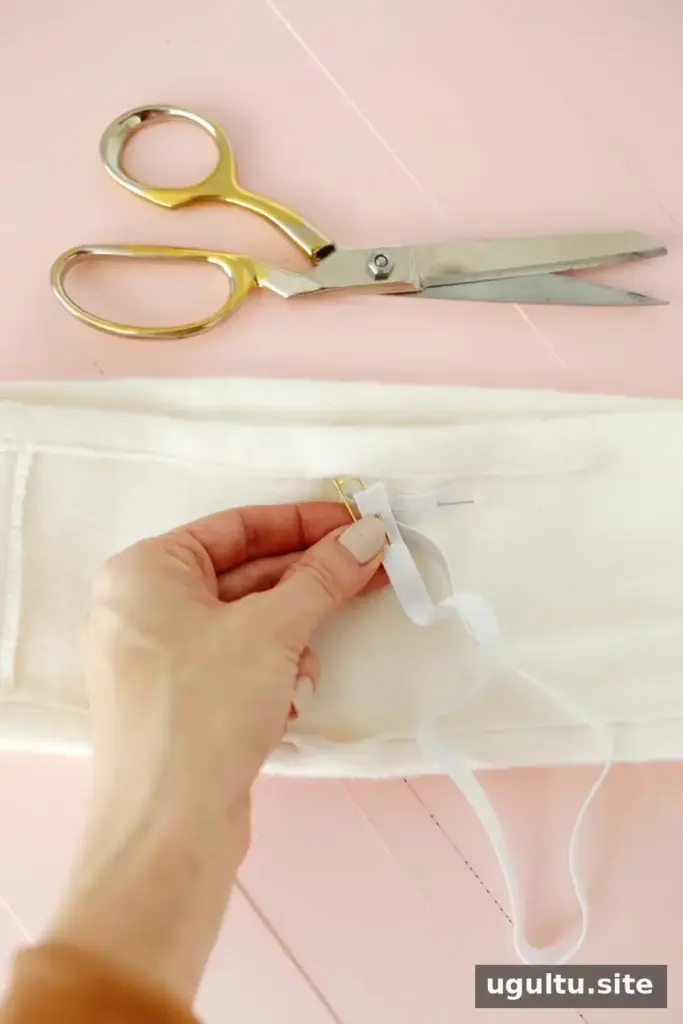
Stitch around each folded edge using a narrow seam allowance, leaving a 1-inch opening in both channels. Attach a large safety pin to one end of a 1/2-inch elastic piece. Pin its other end just outside the opening to prevent it from slipping inside the channel.
Guide the safety pin through the channel and out through the opening, gently working it along with your fingers from the outside. Pin the elastic ends in place and repeat with the second piece of 1/2-inch elastic. Try the band on before sewing the ends together. If it feels loose, shorten both pieces evenly; keep any 1/4-inch elastic you plan to use for the body detail at the same adjusted length.
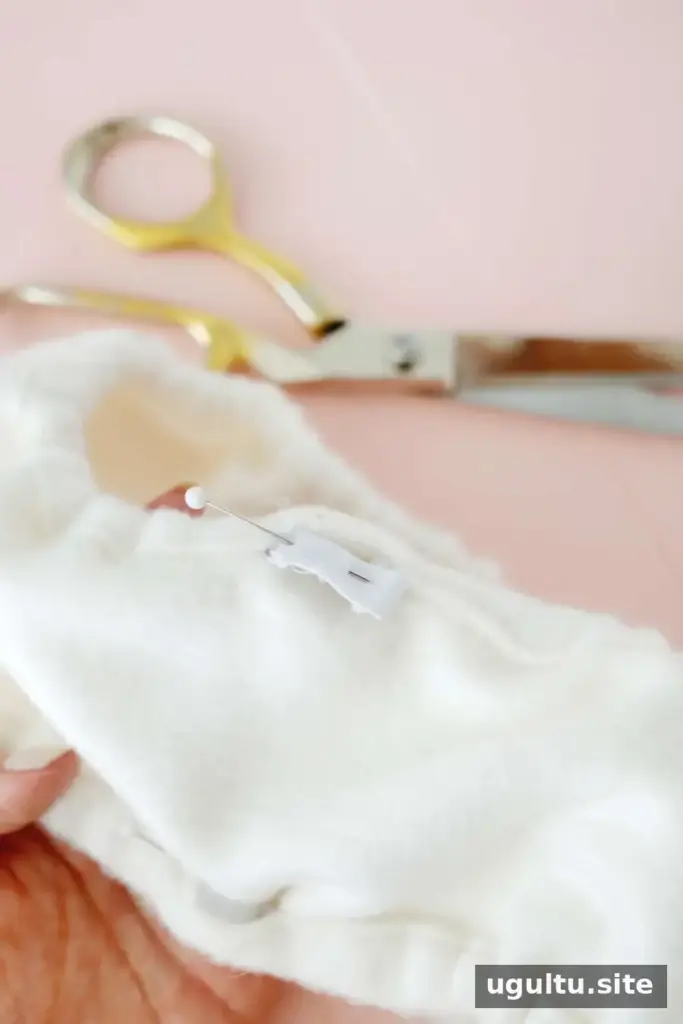
Overlap and pin the ends of each elastic piece, then sew them securely together. Tuck the joins into the channels and hand-stitch the openings closed.
Add Elastic to Shape the Band
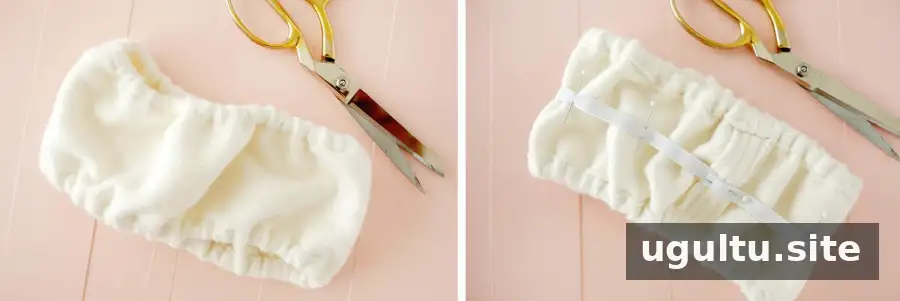
The headband should now fit, but the center may look a little puffy. Adding one or two lengths of 1/4-inch elastic along the middle helps draw the fabric closer to the head. This shaping step is optional: one piece takes less time, while two can be spaced evenly across the center section.
Fold a 1/4-inch elastic piece in half and mark its midpoint. Pin its ends over the headband seam. Fold the band to find the midpoint on the opposite side, then match that point to the mark on the elastic. This keeps the elastic distributed evenly.
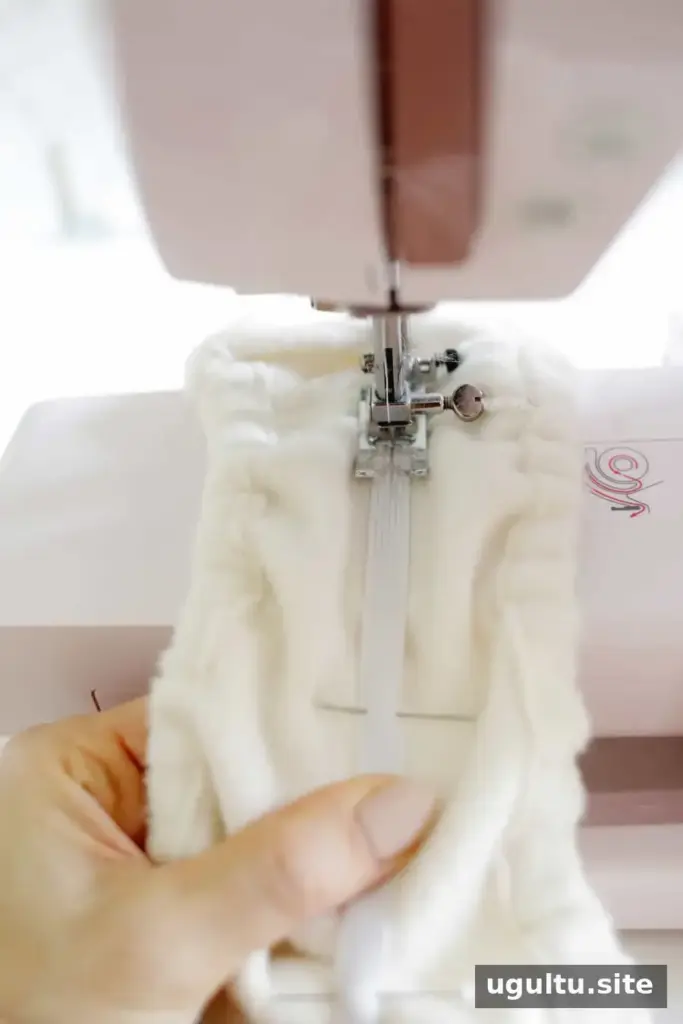
Stretch the headband fully, using a small box or pillow to hold it open if helpful. Pin the elastic along the center every 2 to 3 inches. For two pieces, space them evenly in the middle section. Sew down the center of each elastic length while keeping it stretched flat against the fabric. Work carefully and keep your fingers clear of the needle.
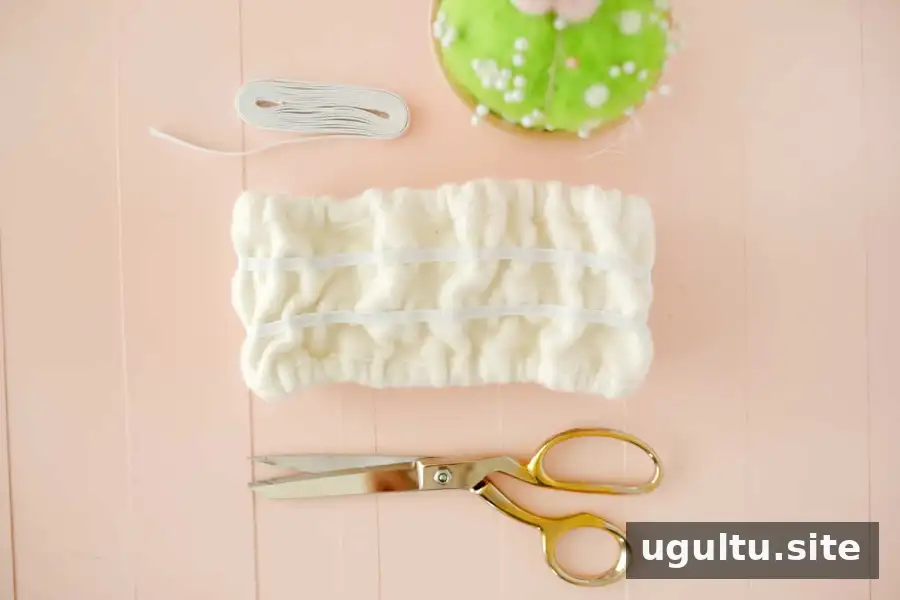
Turn the band right side out. The added elastic should help the center sit closer to the head instead of bunching into a puffed shape.
Make and Attach the Bow
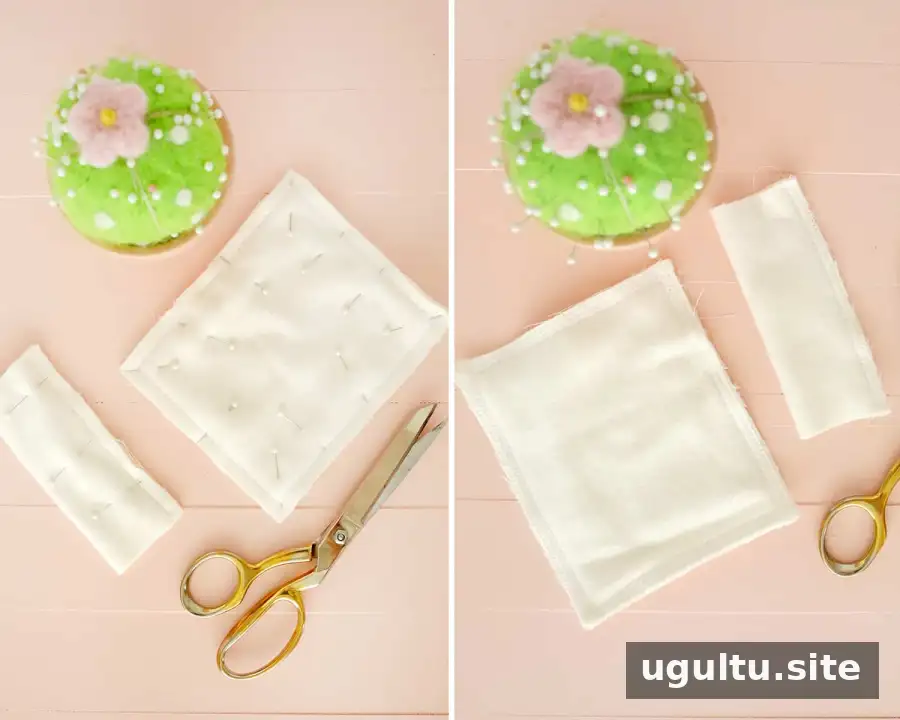
Cut two rectangles measuring 7 by 5.5 inches for the bow, plus one rectangle measuring 3.5 by 5.5 inches for its center wrap. Place the two larger pieces together and sew around the edges with a 1/2-inch seam allowance, leaving a 1- to 2-inch gap for turning.
Fold the smaller rectangle in half lengthwise and sew along the long edge with a 1/2-inch seam allowance to form a tube open at both ends. Zigzag the raw edges of both pieces to limit fraying. Turn them right side out and hand-sew the opening in the larger bow piece closed.
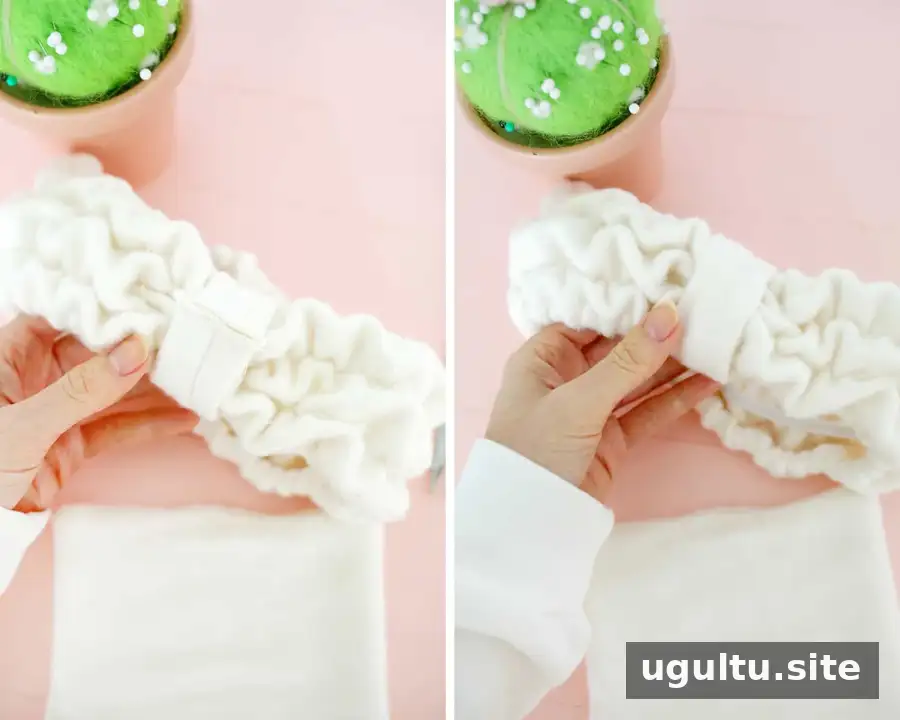
With the seam facing outward, wrap the smaller tube around the headband where you want the bow to sit. Sew its ends together using a 1/4-inch seam allowance, finish the seam allowance with a zigzag stitch, and turn the tube so the seam is hidden inside.
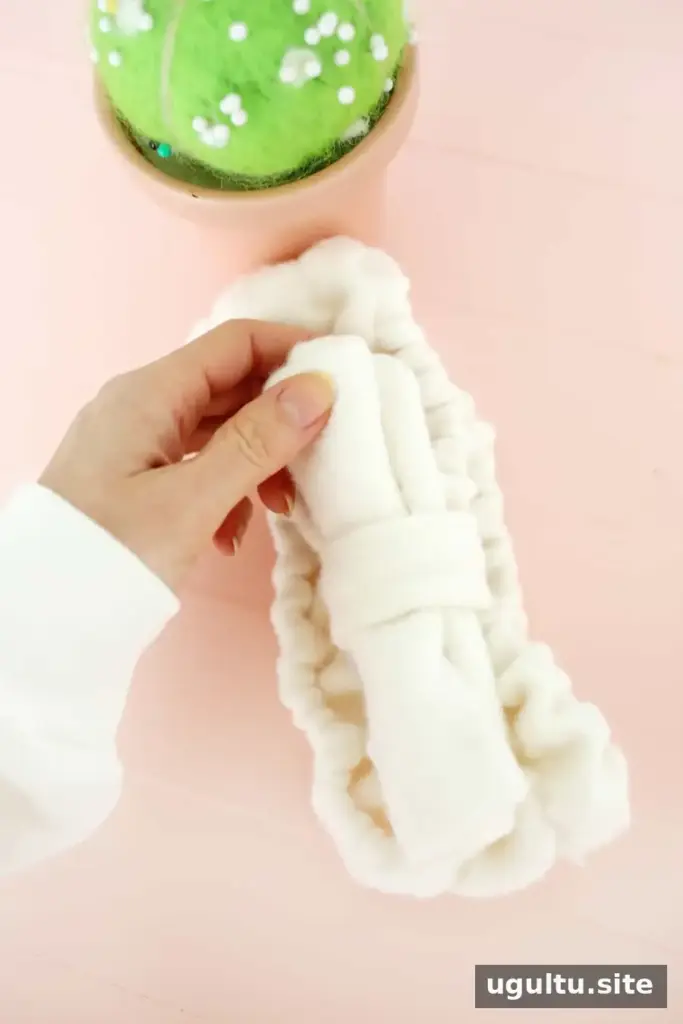
Roll the bow rectangle into a compact shape and slide it through the center wrap. Unroll and fluff the fabric to form the bow.


Using and Caring for Your DIY Spa Headband
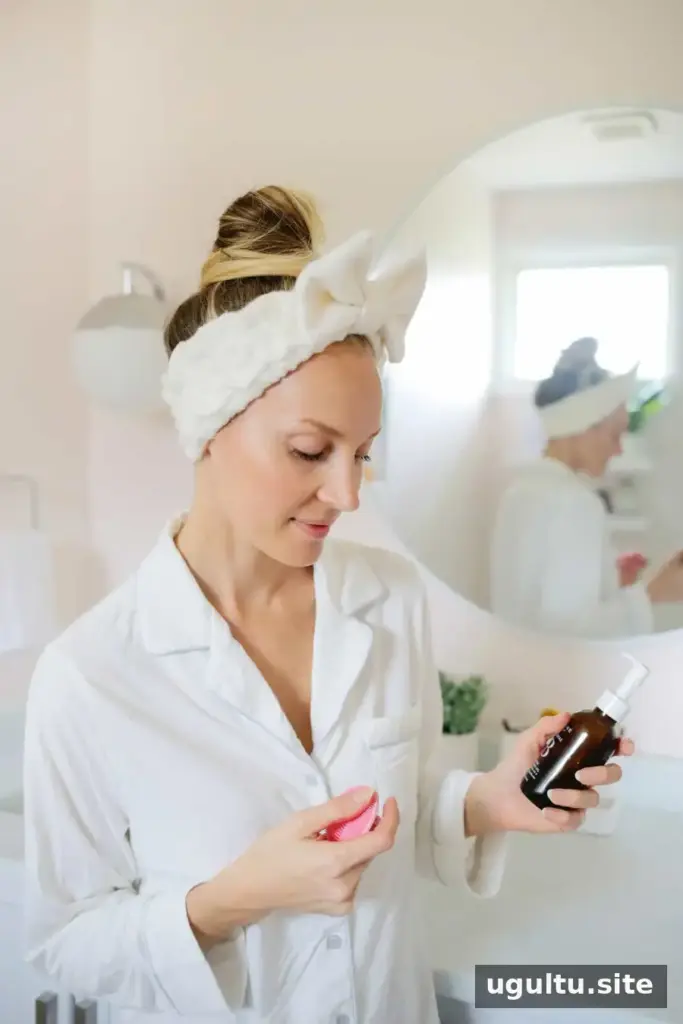
This DIY spa headband can help keep hair away from your face while washing, applying skincare, or putting on makeup. It is also handy when using a face mask. If you often use charcoal or other dark-colored masks, choose darker fabric to make potential stains less noticeable.
Wash the finished headband as needed with similar washable items, such as washcloths. A gentle cycle and following the fabric care instructions can help preserve the flannel and elastic. Check the stitching occasionally, especially around the elastic joins and bow, and repair any loose seams before they worsen.
With a few fabric pieces and basic sewing, this DIY spa headband makes a useful, reusable addition to a skincare routine. Adjust the elastic carefully for a secure but comfortable fit, and enjoy keeping flyaways out of the way.
By Laura


