
 admin
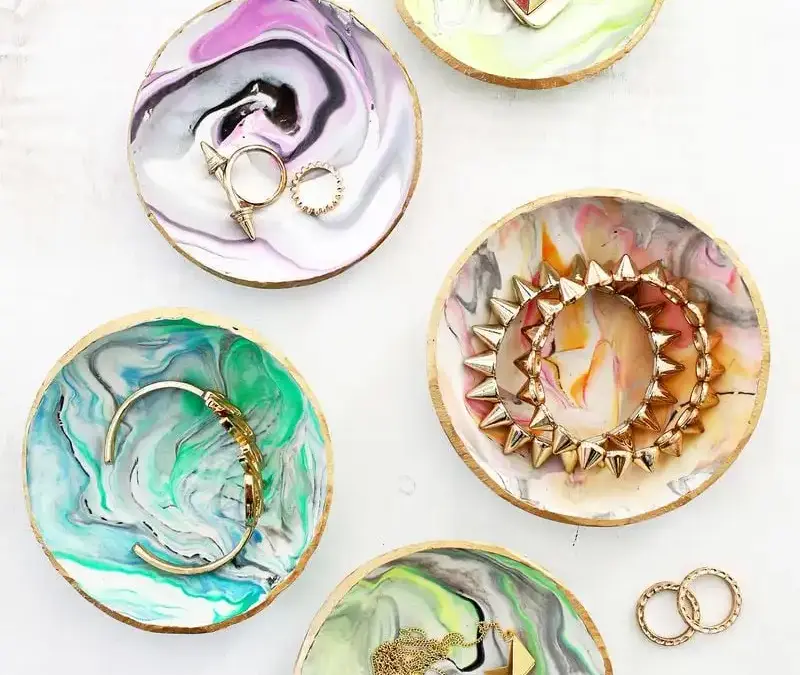
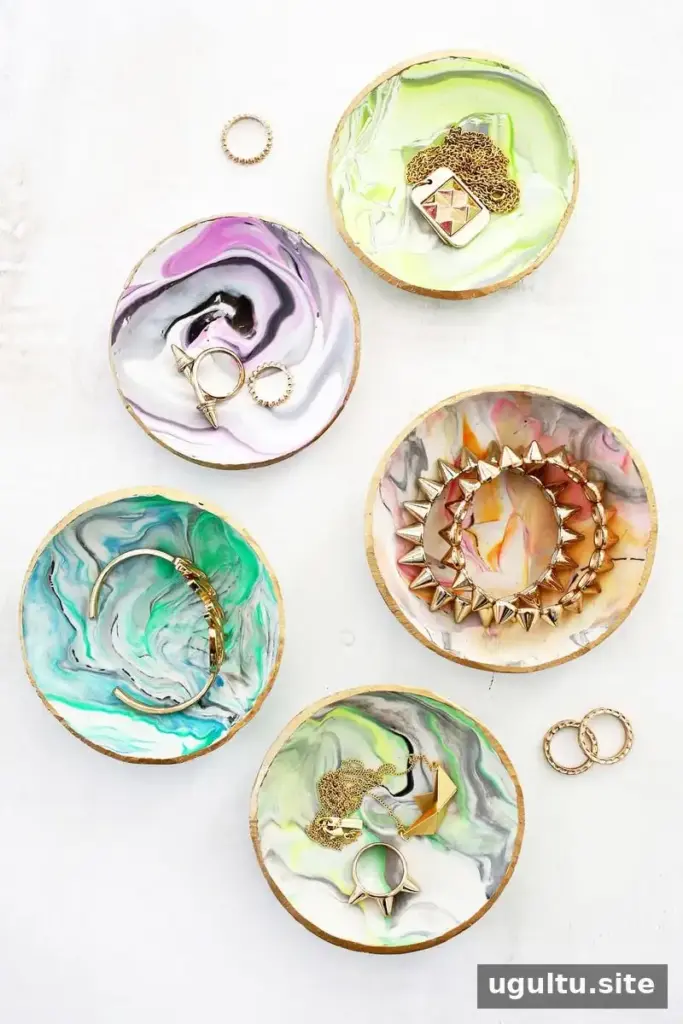
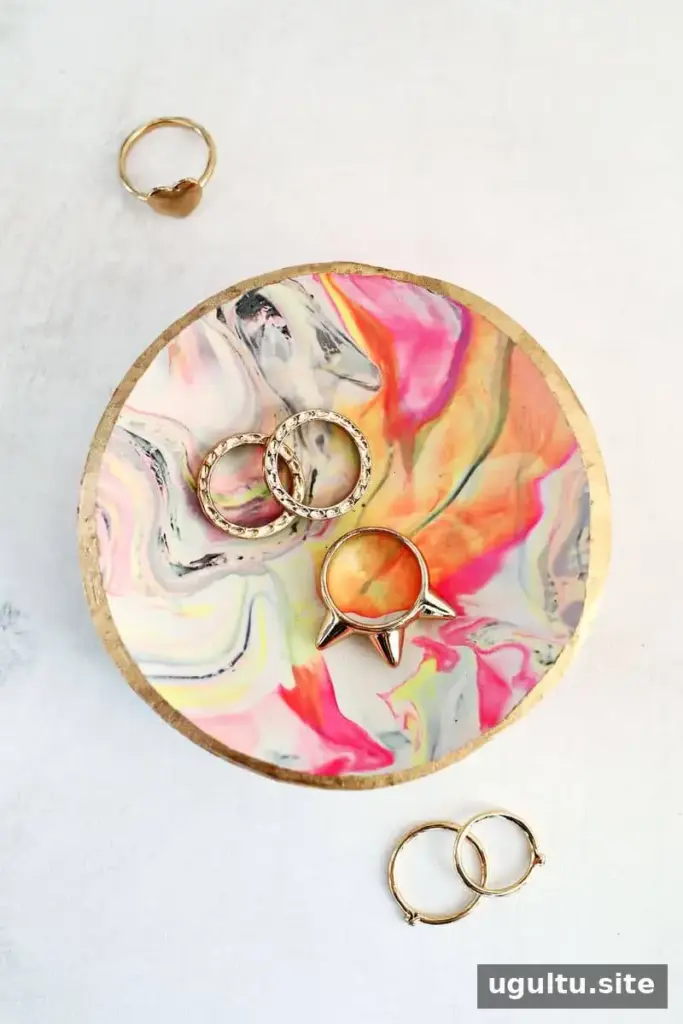
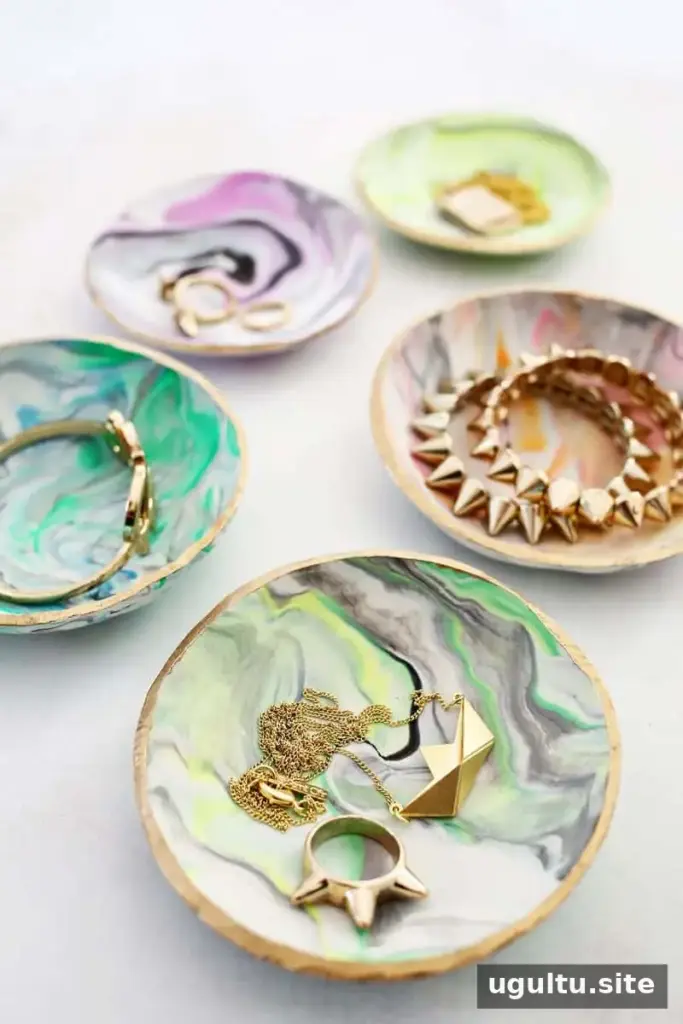
A marbled clay ring dish gives you a handy place to keep rings when you take them off, and it’s simple to make with oven-bake clay. Mix a few clay colors to create a one-of-a-kind pattern, then shape the clay in an oven-safe bowl to form a small dish. The project takes about 15 minutes to prepare and 15 minutes to bake; always follow the baking directions on your clay package.
Watch the video tutorial for a visual guide, or follow the written instructions below.
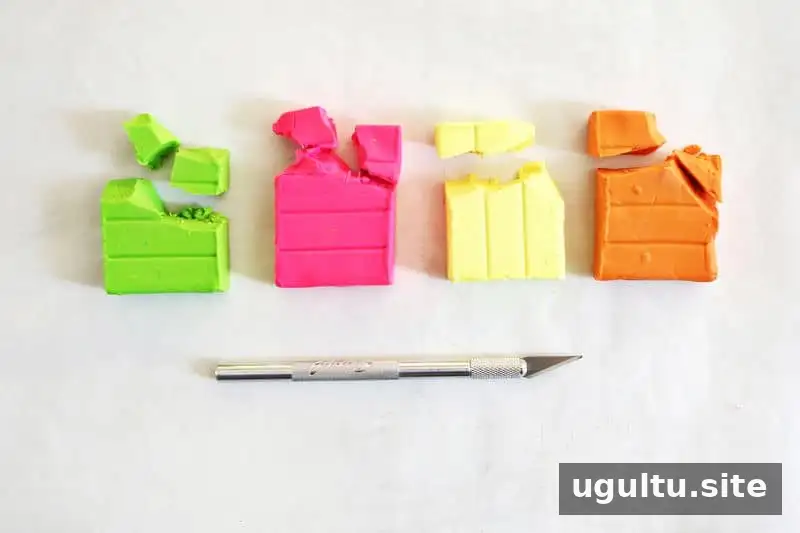
Supplies for a Marbled Clay Ring Dish
Gather these materials before you start. A few ounces of colored clay and a 1.75-pound block of white clay can make several dishes, depending on the size and thickness of each one.
- Oven-bake clay in white, gray, black, and one or more colors of your choice
- An X-Acto knife or plastic clay knife
- A small oven-safe bowl or baking ramekin
- Gold paint and a small paintbrush, optional
- A silicone rolling pin or large, smooth glass jar
- A large can or jar to use as a circle template
- Glaze for a glossy finish, optional
How to Make a Marbled Clay Ring Dish
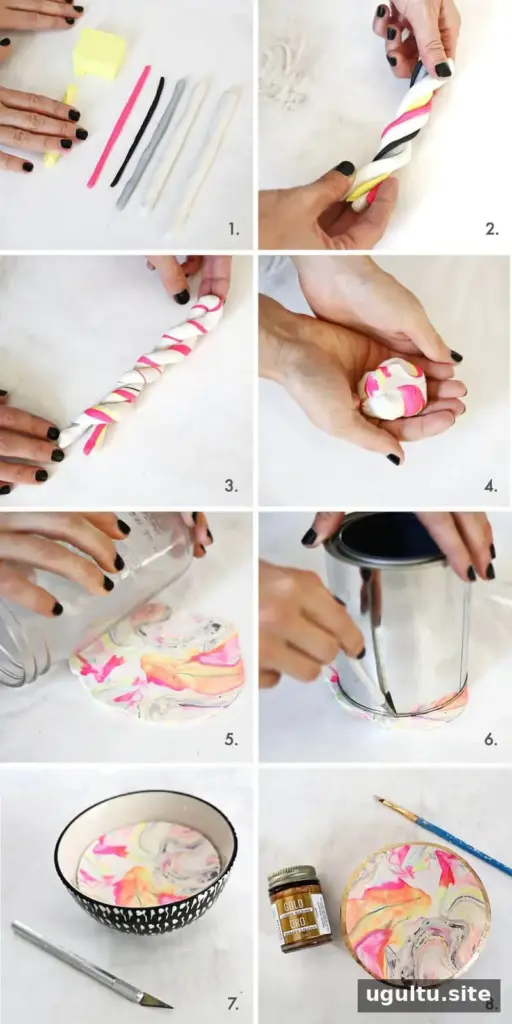
- Prepare the clay. Roll each color into a snake about 5 inches long. For a balanced pattern, try two larger white rolls, one medium gray roll, a smaller roll in your chosen color, and a very small black roll. Use enough clay to form a circle about 6 inches wide; exact proportions are not necessary.
- Twist the colors together. Bring the smaller rolls together into one large roll and twist it. Roll the twist until it is about twice its original length, turning the ends in opposite directions every few motions. Fold it in half, twist the ends together, and repeat the rolling and folding process two or three times.
- Form a marbled ball. Gather the twisted clay into a ball. If the colors are not visible across the surface, pull the clay apart and press it together again. Avoid overmixing so the separate colors remain distinct.
- Roll and cut the clay. Use a rolling pin or smooth glass jar to flatten the ball to about ¼ inch thick. Roll from different directions to spread the colors into a marbled pattern. Cut a circle roughly 6 inches wide using a can or jar as a template and a clay knife or X-Acto knife.
- Shape the dish. Gently place the clay circle inside an oven-safe bowl or ramekin that is slightly smaller than the circle. The edges will curve upward as the clay settles. Check that the bowl is oven-safe before baking.
- Bake and cool. Bake according to the temperature and timing listed on the clay package. One example used 15 minutes at 275°F, but instructions vary by clay. Let the bowl and clay cool completely before turning the bowl upside down and gently tapping the dish free.
- Add optional decoration. Once cool, paint the rim with a small brush and let it dry. Apply glaze if you want a glossy surface, following the glaze directions.
Finishing Tips and Safe Use
Oven-bake clay may remain slightly flexible after cooling and can feel more like firm rubber than porcelain. This is normal for the material, and the finished piece should hold its shape for storing rings. Use a clay that is soft and easy to condition to make rolling and twisting less strenuous.
Color combinations are flexible: white, gray, and black can be paired with two bright colors that blend into a third shade. Each dish will have a different pattern, even when you use the same proportions. Work on a clean surface and use tools intended for crafts rather than food preparation.
Glaze is optional and adds shine, but it does not make the dish food-safe or completely waterproof. Treat the finished dish as a decorative accessory holder, and keep it away from prolonged moisture.
Project Details
- Estimated cost: $20
- Prep time: 15 minutes
- Cook time: 15 minutes, depending on the clay package directions
This marbled clay ring dish is a practical small craft that can also be given as a handmade gift. The simple shaping process makes it easy to create several dishes with different color patterns. Project by Laura.


