admin
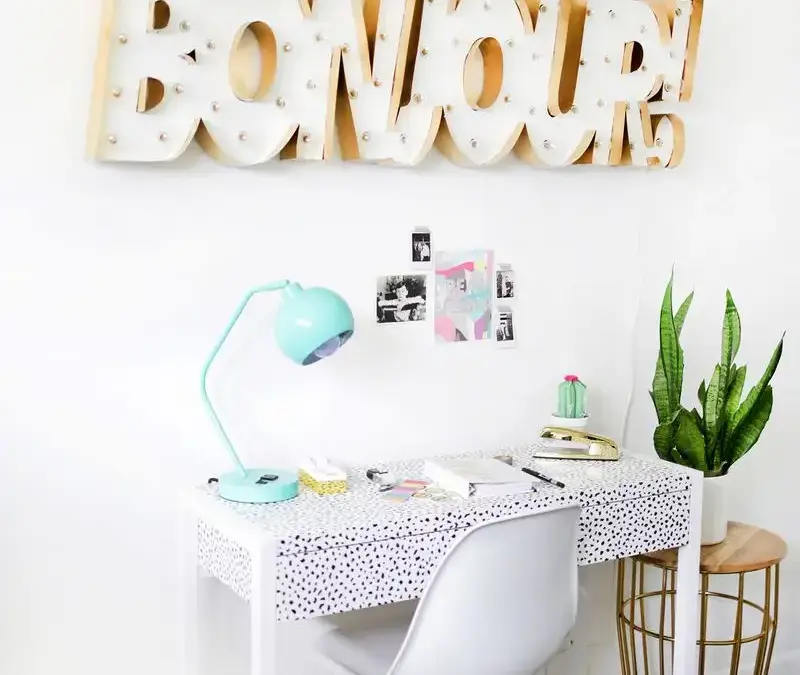
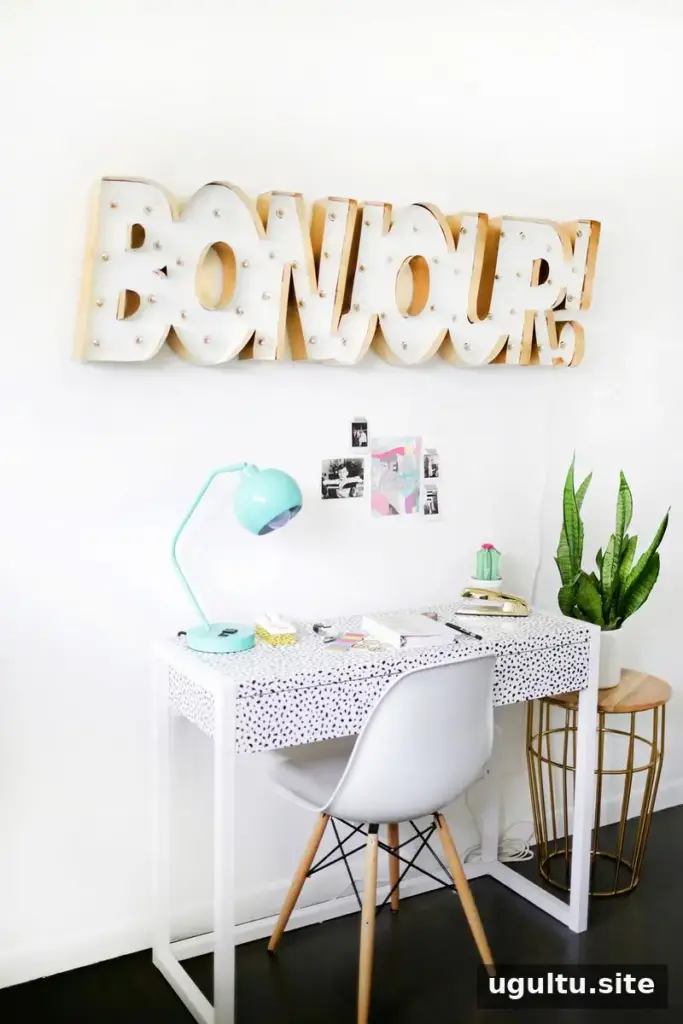
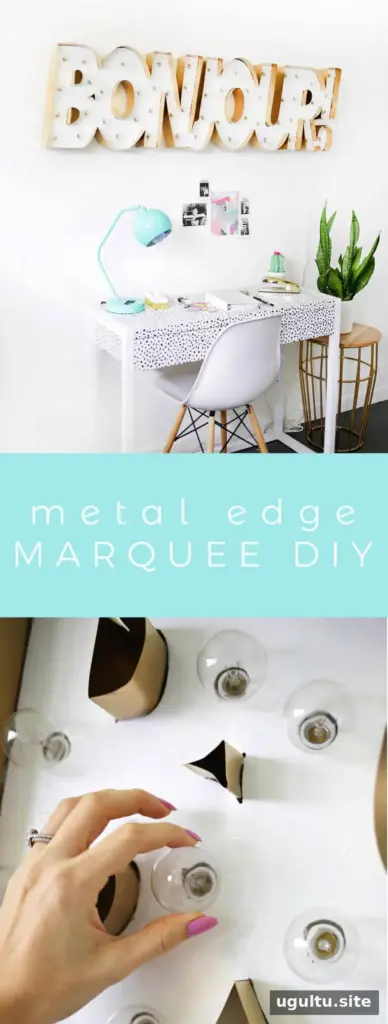
A Metal Edge Marquee DIY project lets you create a custom illuminated sign with a raised metal border and a word or phrase in the font and size you choose. This method uses a cut wooden base, narrow strips of roof flashing, and globe string lights. The metal edge takes some patience to shape, especially around tight curves, but working in shorter sections can make assembly easier.
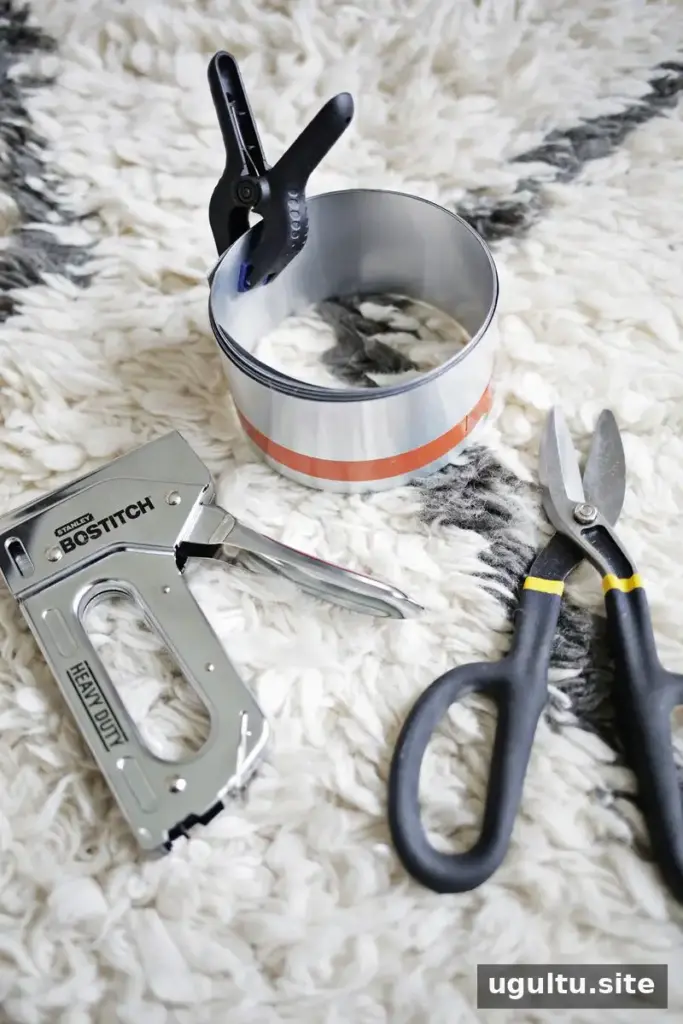
Supplies
- 3/4-inch wooden board large enough for the design
- Jigsaw and drill
- Hole saw drill bit sized to fit the string-light bulbs
- 6-inch-wide roof flashing; two rolls were used for this project
- Metal-cutting shears
- Staple gun
- Gold and white paint
- Globe string lights and an extension cord
- Epoxy glue suitable for wood and metal
- Leatherworking gloves, optional
Plan the design and cut the wooden base
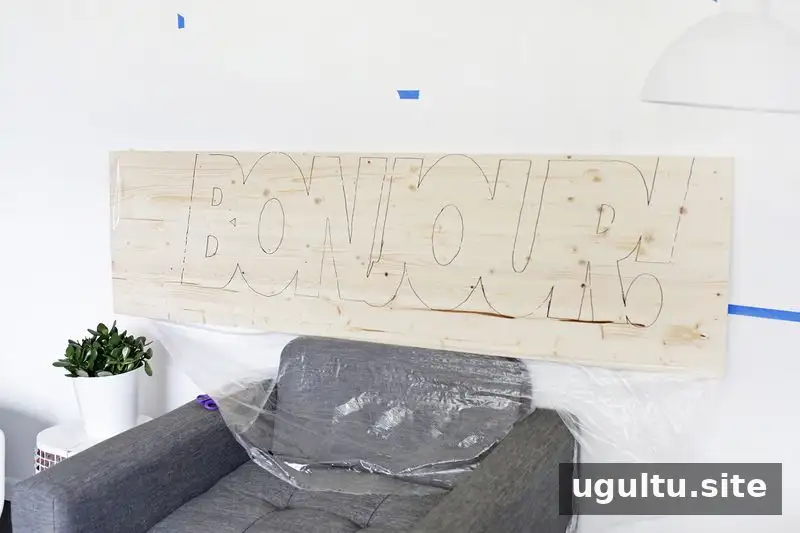
Choose the wording and font before cutting. Trace the design onto the wooden board at the intended size. A transparency sheet and projector can help transfer the lettering; alternatively, draw the design by hand or print it at a suitable size and trace it onto the wood.
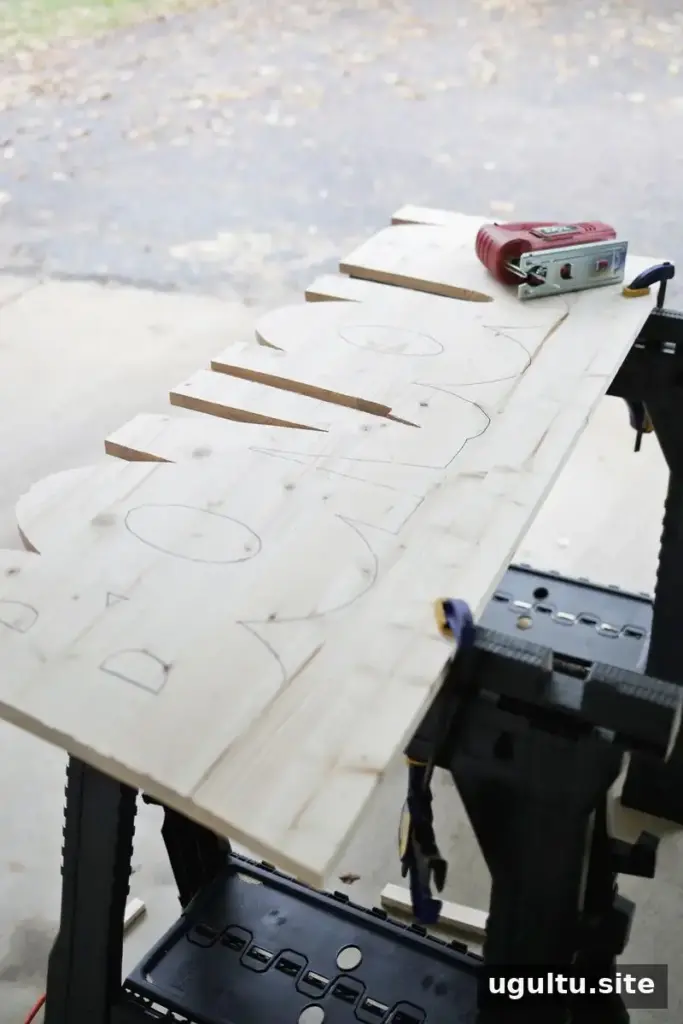
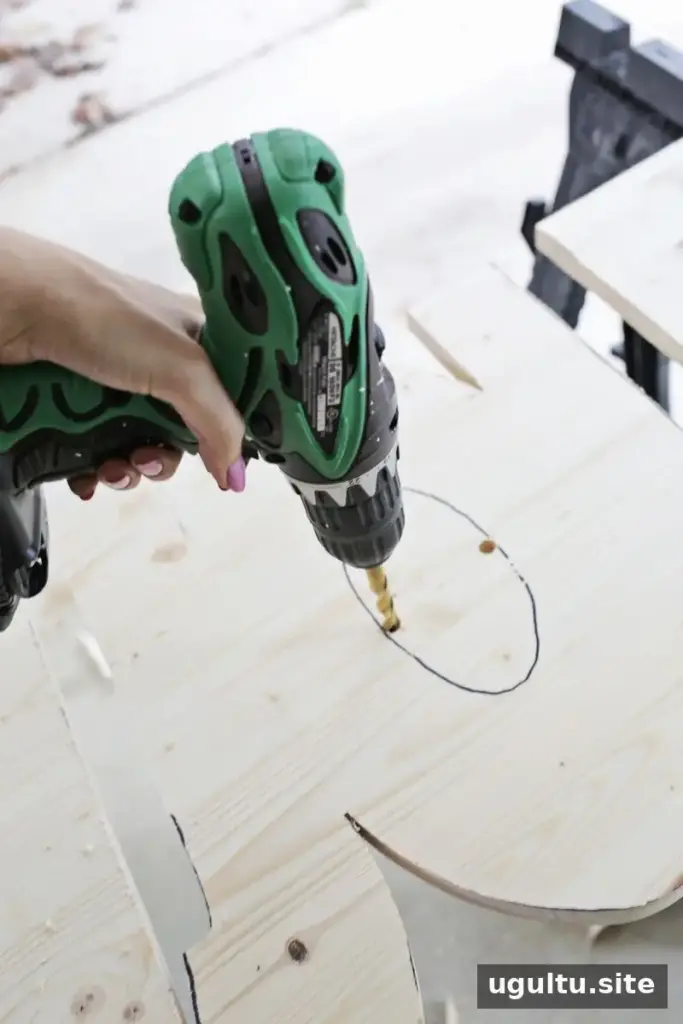
Cut around the traced outline with a jigsaw. To reach enclosed areas, such as the center of an O, drill a starting hole large enough for the jigsaw blade, then cut around the shape from there. Take care to support the board while cutting.
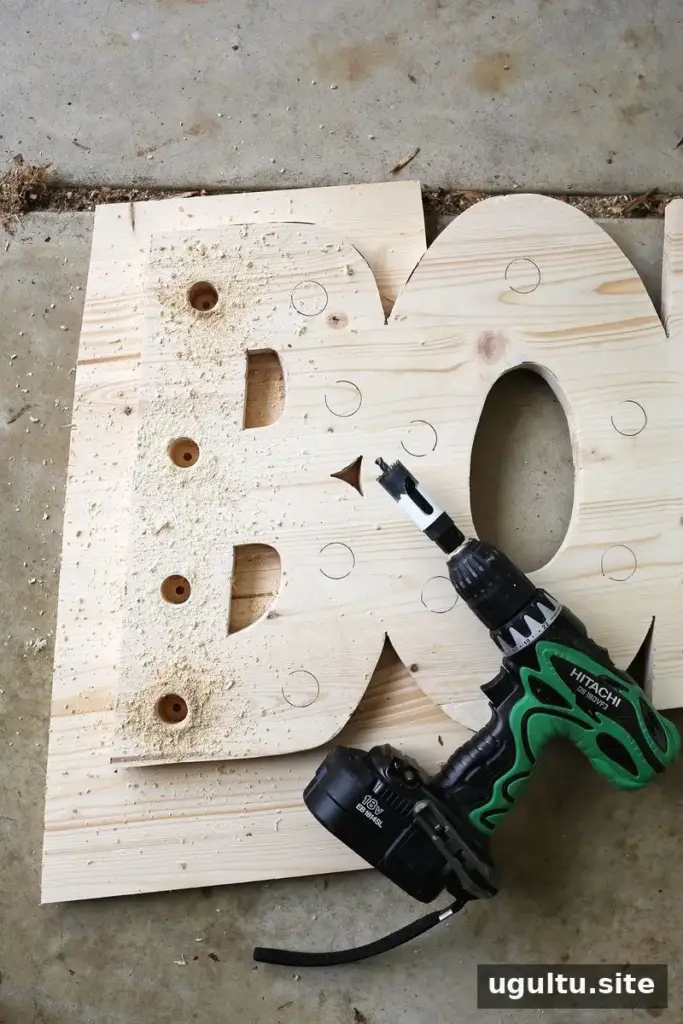
Mark the planned bulb positions and drill the openings with a hole saw. Choose the lights before drilling so the holes match the bulb size. Test the spacing on the design first to help avoid placing a hole too close to an edge or narrow section.
Shape the metal edge for your marquee
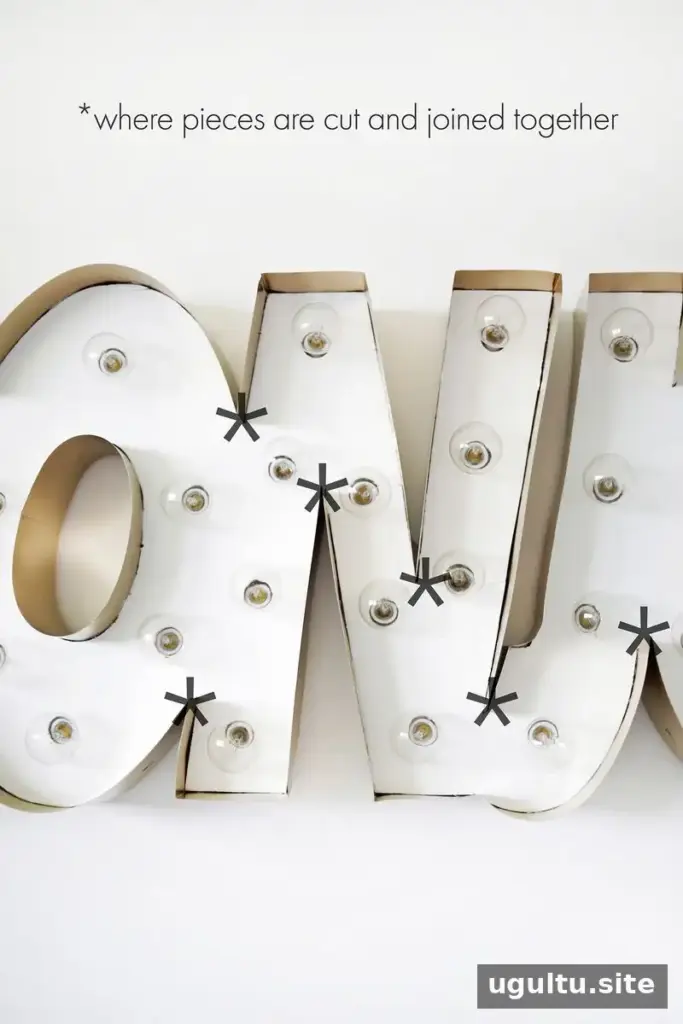
Use metal shears to cut the 6-inch roof flashing lengthwise into two strips, each about 3 inches wide. Cut metal edges can be sharp, so consider wearing leatherworking gloves while handling the strips. Work carefully and keep the strips on a stable surface as you cut.
Starting at an outside edge of the wooden lettering, measure where the metal needs to bend to follow the design. Mark each bend, then shape the strip to match the outline. Shorter pieces are often easier to control than one continuous strip. Cut and begin a new piece where the design moves to another letter or narrows significantly. Label each piece on the inside with its location, such as the top of the first O, to make fitting them later simpler. Small inner sections, including the enclosed areas of letters such as B and R, may take a few attempts to shape neatly.
Attach, paint, and install the lights
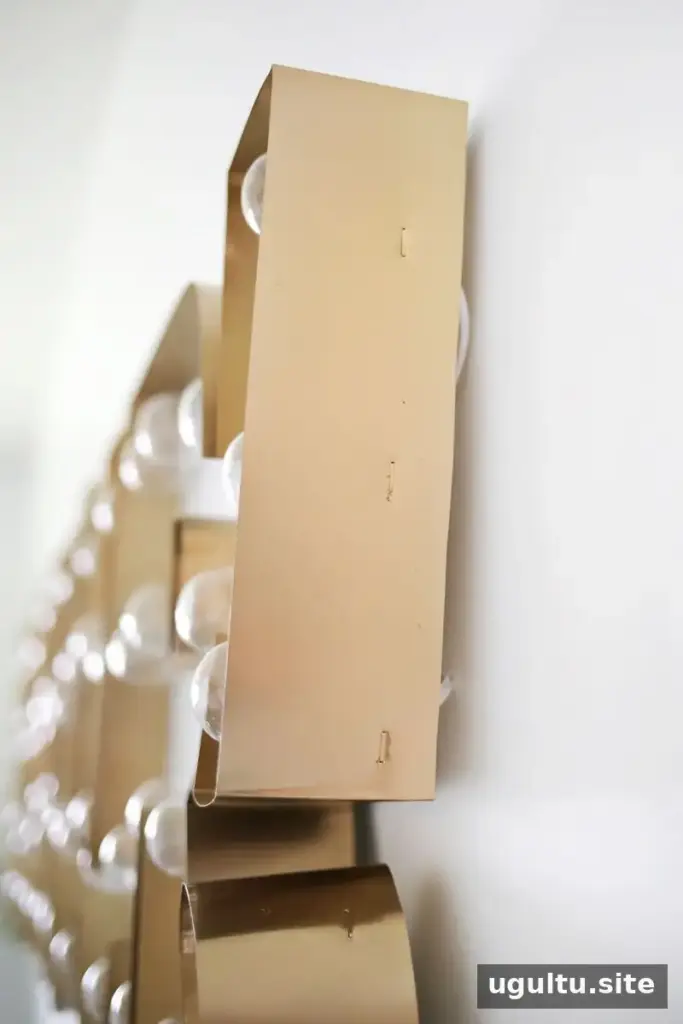
Hold each shaped section against the side of the wooden base and fasten it with a staple gun. A second person can help keep the metal aligned during this step. For a consistent border, mark a line 1.5 inches from the top edge of each metal section and align that mark with the wood as you attach the pieces.
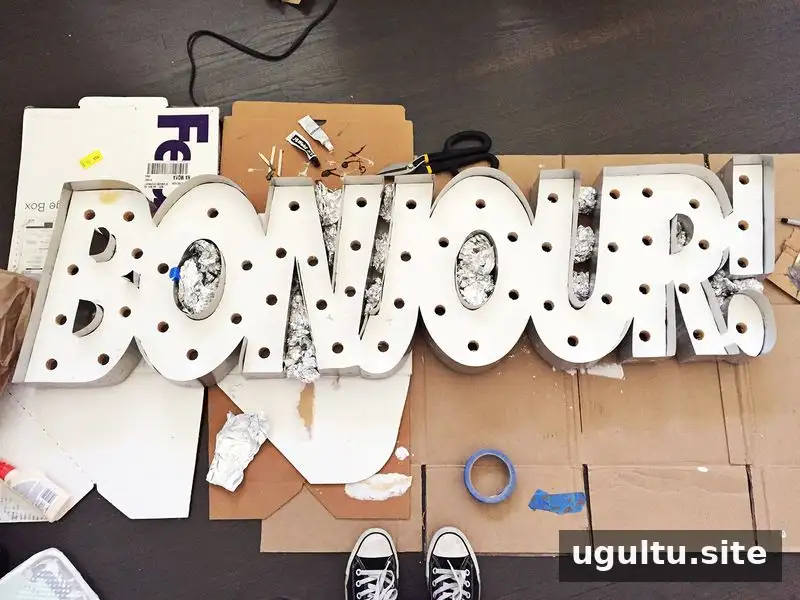
Use epoxy glue where the staple gun cannot reach, such as tight crevices between letter strokes. Hold glued sections in position until the adhesive dries, following the glue maker’s directions. Once the metal is secure, attach two long loops of picture wire to the back for hanging.
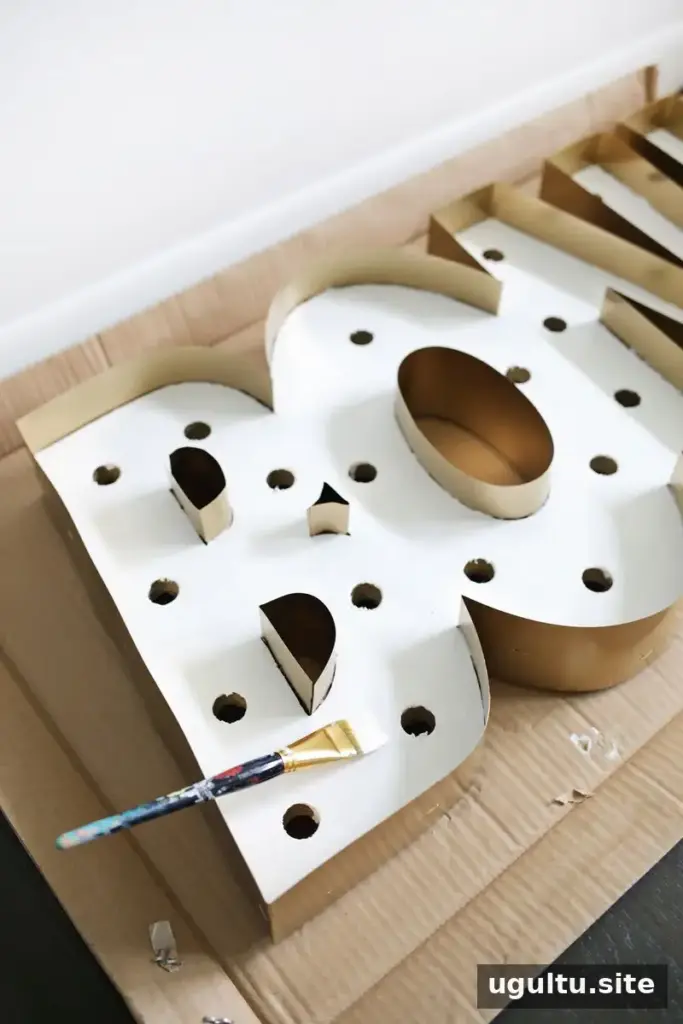
Paint the inside and outside metal edges gold, then paint the wooden face white for contrast. Allow the paint to dry completely before fitting the lights. Use paint appropriate for the materials and follow the product instructions.
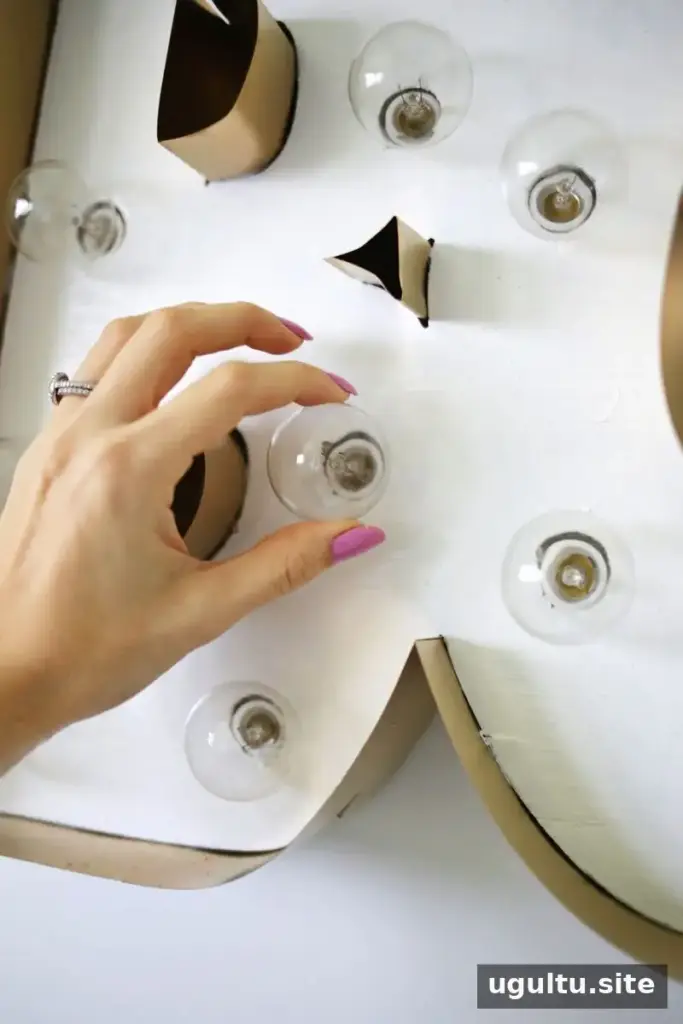
With the lights unplugged, weave the bulb wires across the back of the sign and install the bulbs from the front. Small zip ties can help keep the wires tidy and reduce the chance that they will be visible from the front. Connect the lights to an extension cord, then hang the finished marquee securely. Check that the lights and wiring are suitable for the location where the sign will be used.
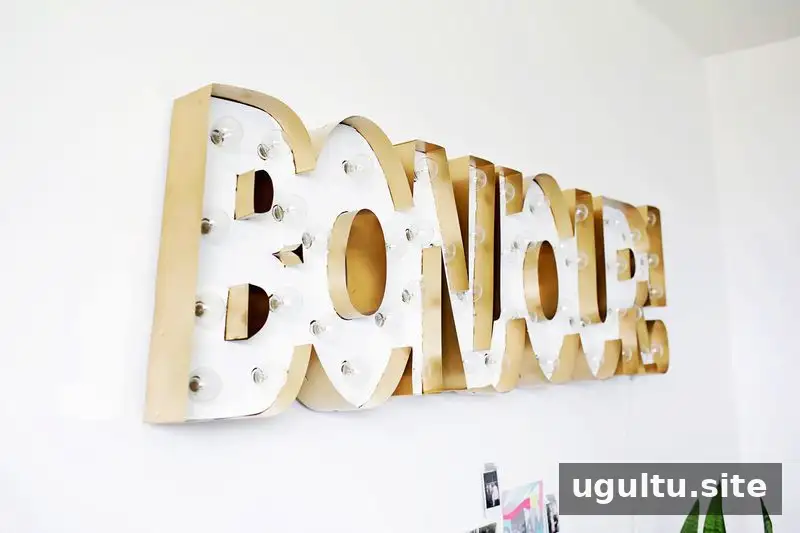
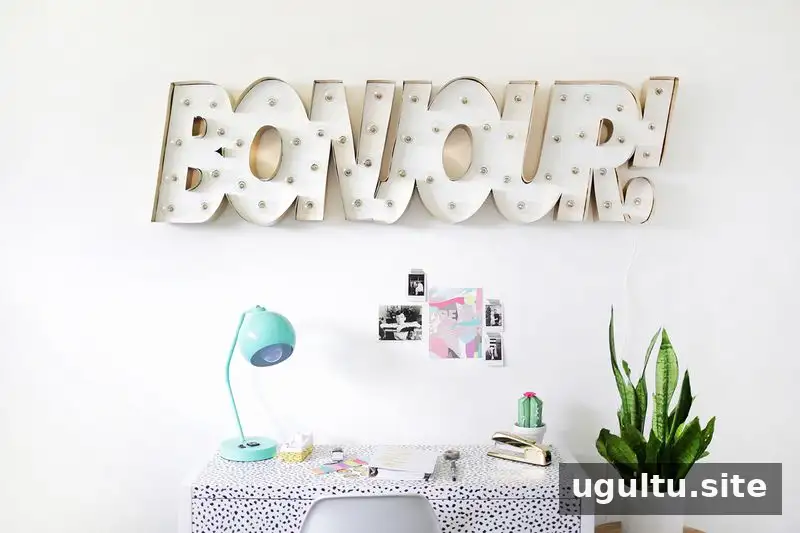
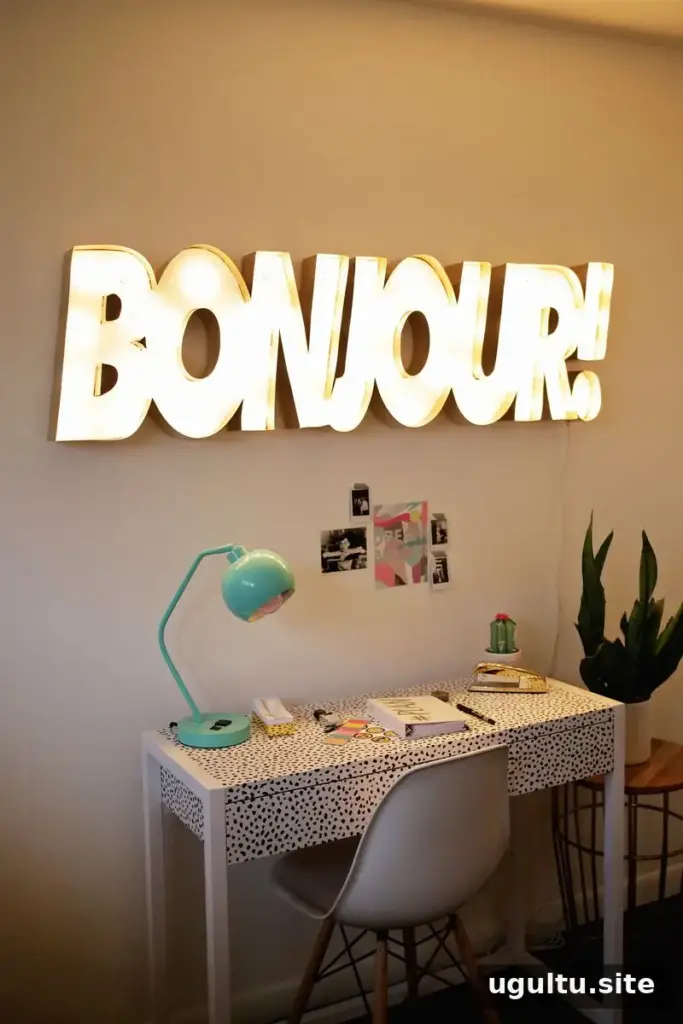
Finishing notes for a Metal Edge Marquee DIY sign
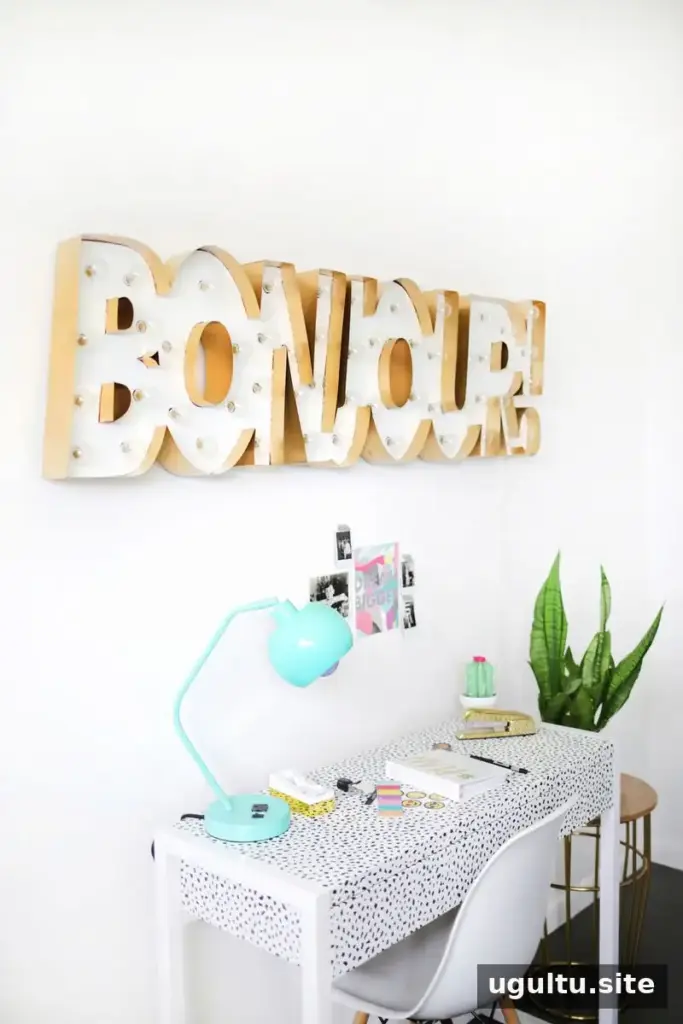
This project involves several careful stages, from cutting the lettering to shaping and attaching the flashing. The gold metal and white wooden face create a crisp contrast, while a bold italic font gives the sign a contemporary appearance. Allow enough time for accurate measuring, adhesive curing, paint drying, and safe light installation. The font used for this example was an italicized Function Pro bold font.
— Laura