
 admin
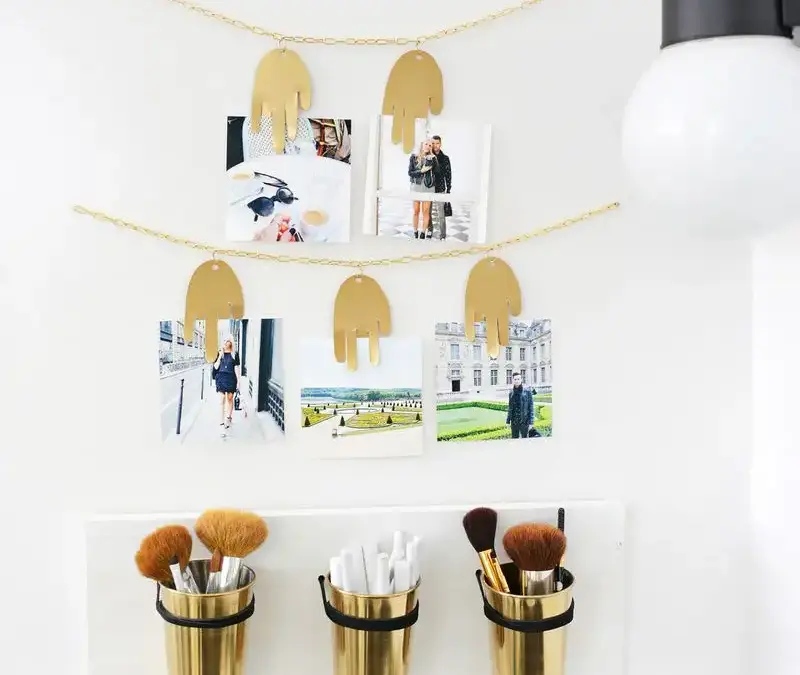
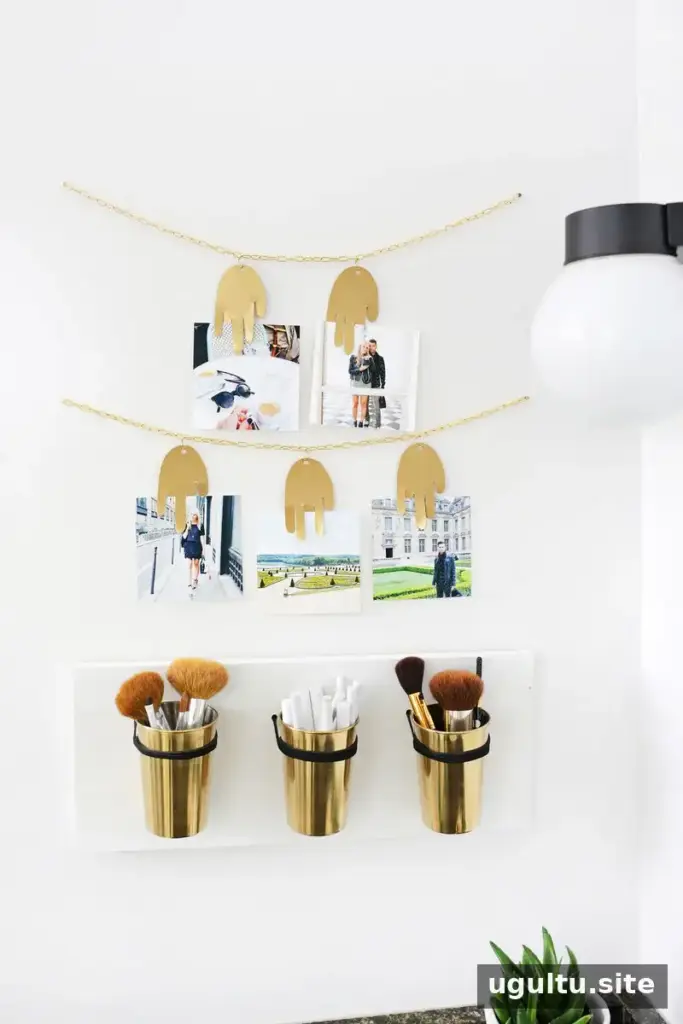
A metal hand photo garland is a playful way to display favorite pictures where you can enjoy them every day. This simple DIY combines lightweight aluminum shapes, gold-colored chain, and square photos to create a two-tier wall display. Hang it in a bathroom, bedroom, or another spot where photos can be seen without taking up shelf space.
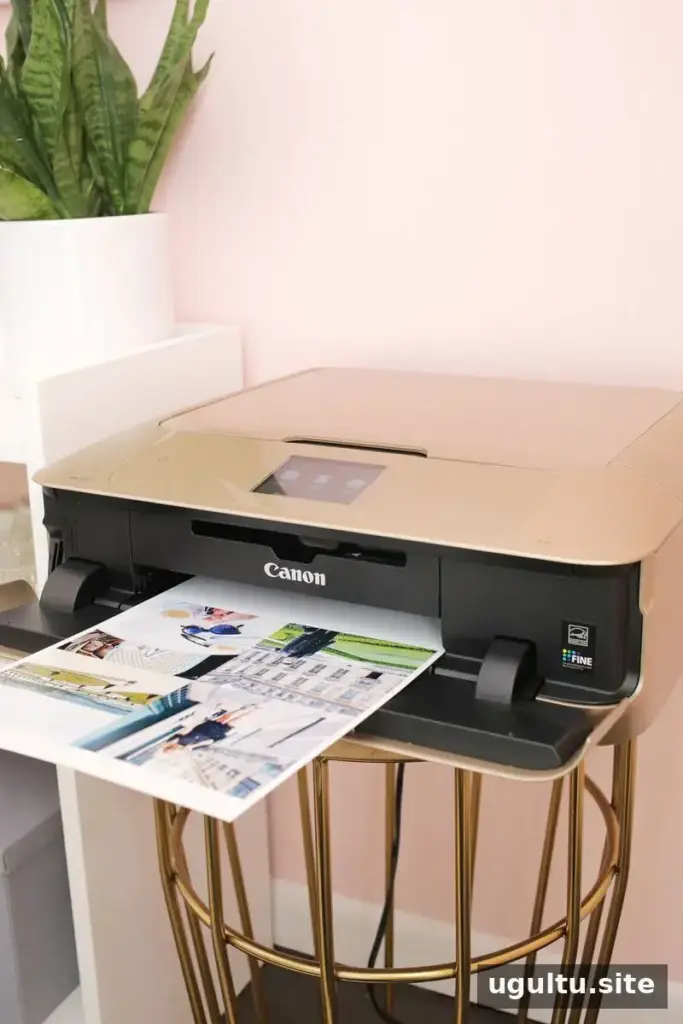
The example uses photographs from a trip and small hand-shaped clips to hold each print. You can choose pictures that suit your room, then adjust the number of hands and the garland’s length to fit the available wall area.
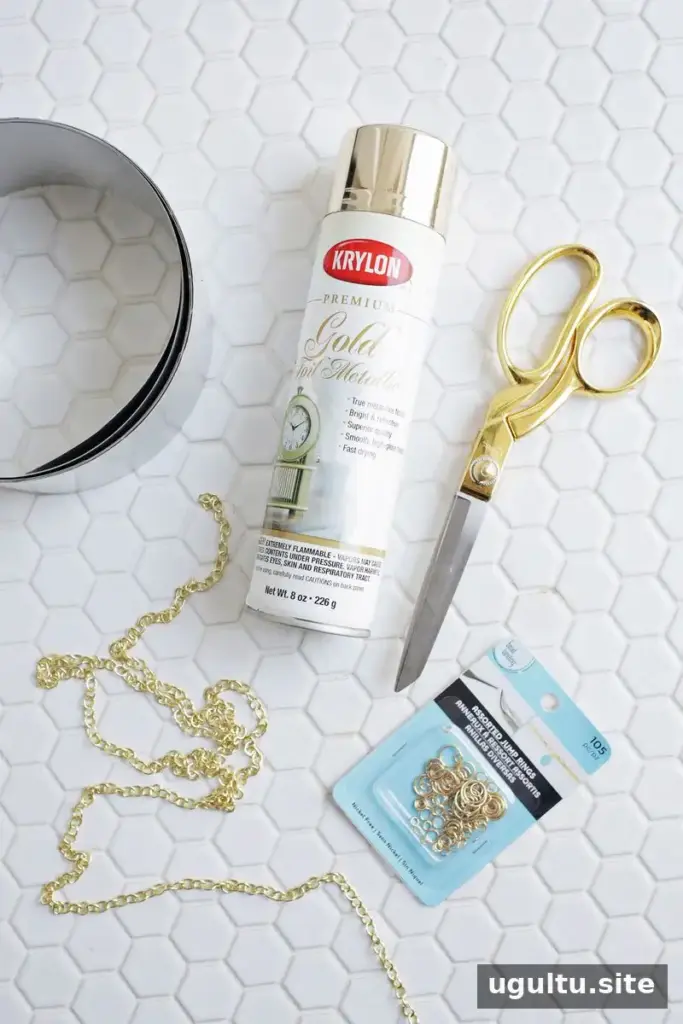
Materials for a Metal Hand Photo Garland
Gather the following supplies before starting. For easier photo preparation, several images can be arranged on a sheet of 8.5 × 11-inch photo paper and printed together. The example photos were resized to 4 × 4 inches.
- Aluminum roof flashing
- Marker and household scissors
- Gold spray paint
- Gold jewelry chain or small chain from a home improvement store
- Chain cutters, if using thick chain
- Large jump rings
- X-Acto knife and metal ruler
- Photo paper and printed photographs
- A Crop-A-Dile or another metal hole punch
How to Make the Garland
1. Print and trim the photos
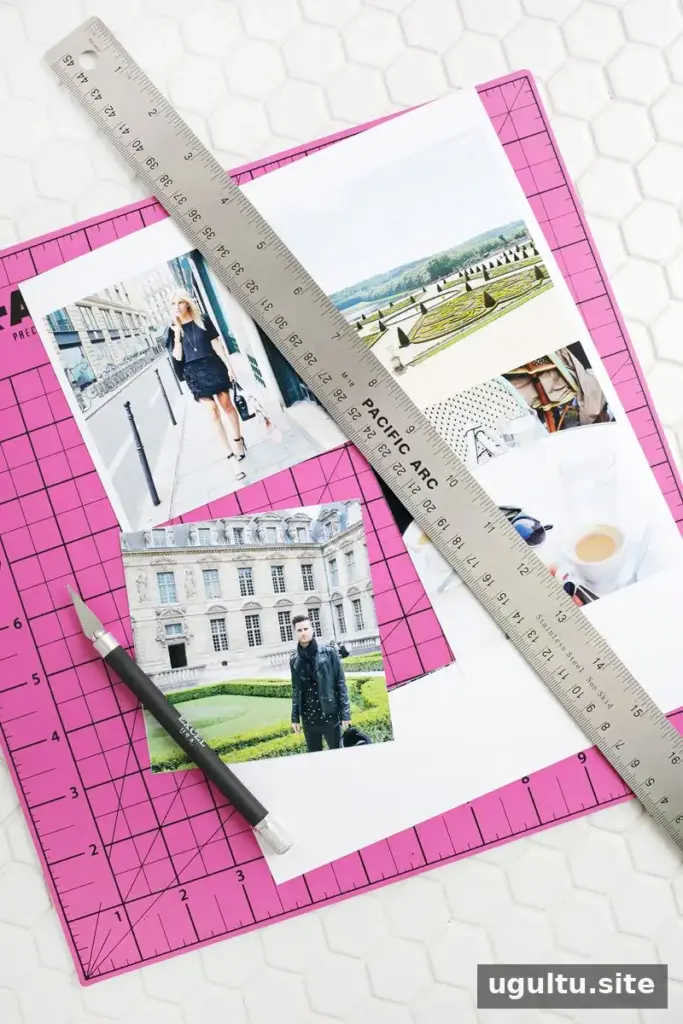
Choose the images for your display, resize them to 4 × 4 inches, and print them on photo paper. Cut each one out neatly. Consistent sizing helps the photos sit securely between the metal fingers.
2. Cut out the metal hands
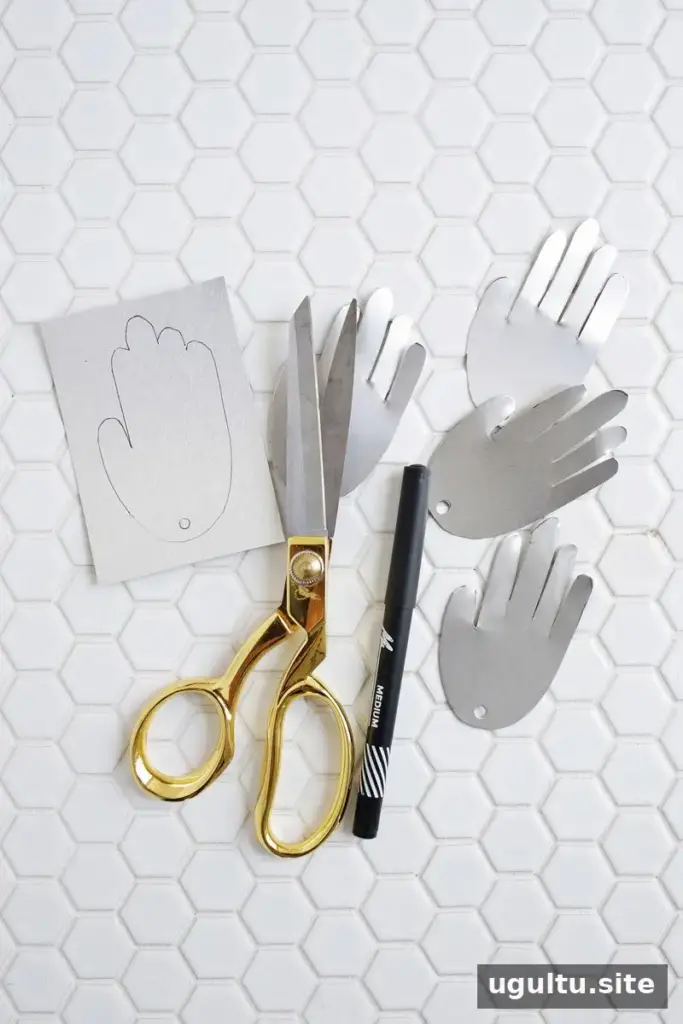
Draw a mitten-like hand with distinct fingertips on the aluminum flashing, making the shape about 3 inches tall. Cut around the outline with scissors. Then cut narrow, elongated V-shaped gaps between the fingers so the digits are separated. Use the first finished hand as a template for the remaining pieces to keep their shapes similar.
Thin flashing can have sharp edges. Handle the cutouts carefully, and smooth or trim any rough areas before attaching them to the chain.
3. Punch holes and paint
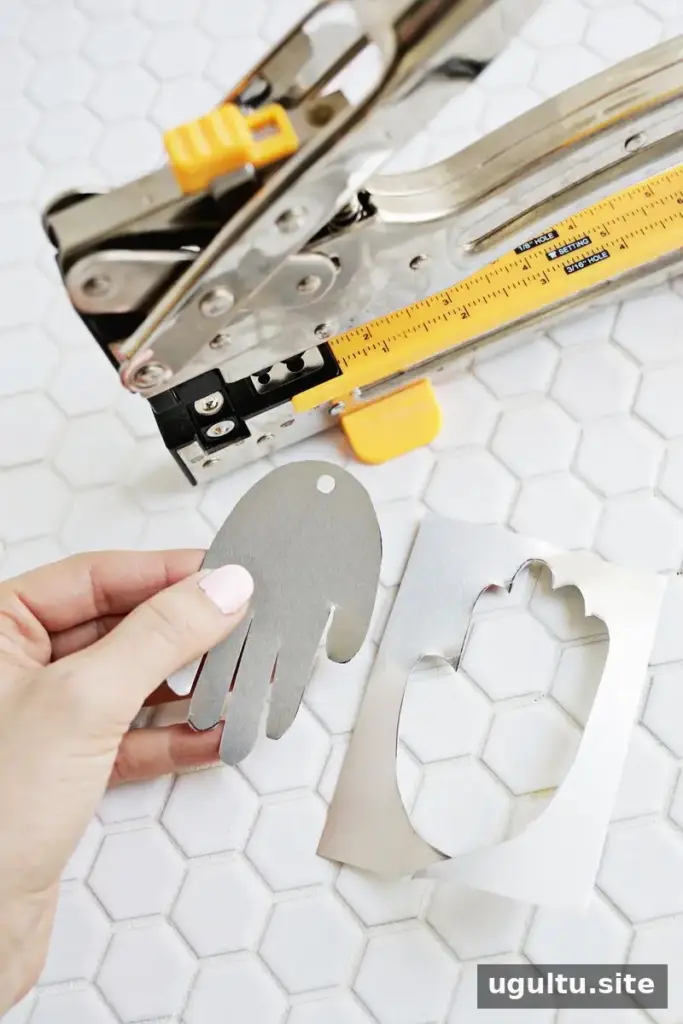
Punch one hole near the top of each hand. This opening is where the jump ring will connect the shape to the chain, so place it far enough from the edge to help prevent tearing.
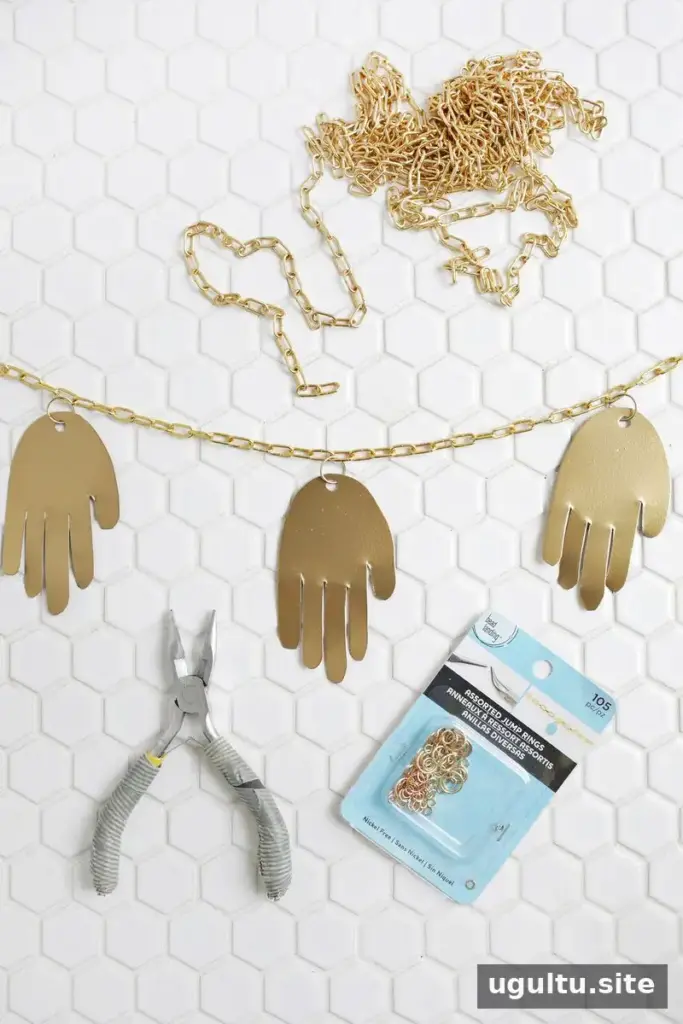
Spray-paint both sides of the hands gold and allow them to dry completely. Follow the paint’s safety instructions and work in a well-ventilated area. Attach each hand to the chain with a jump ring. Depending on the ring size, pliers may be needed to open and close it securely.
4. Arrange and hang the strands
Cut two equal lengths of chain to suit your wall. In the example, three hands were attached to the lower strand and two to the upper strand for a staggered arrangement. Hang the chain ends from suitable small nails, ensuring the supports are secure. Slide each photo between the fingers of a metal hand.
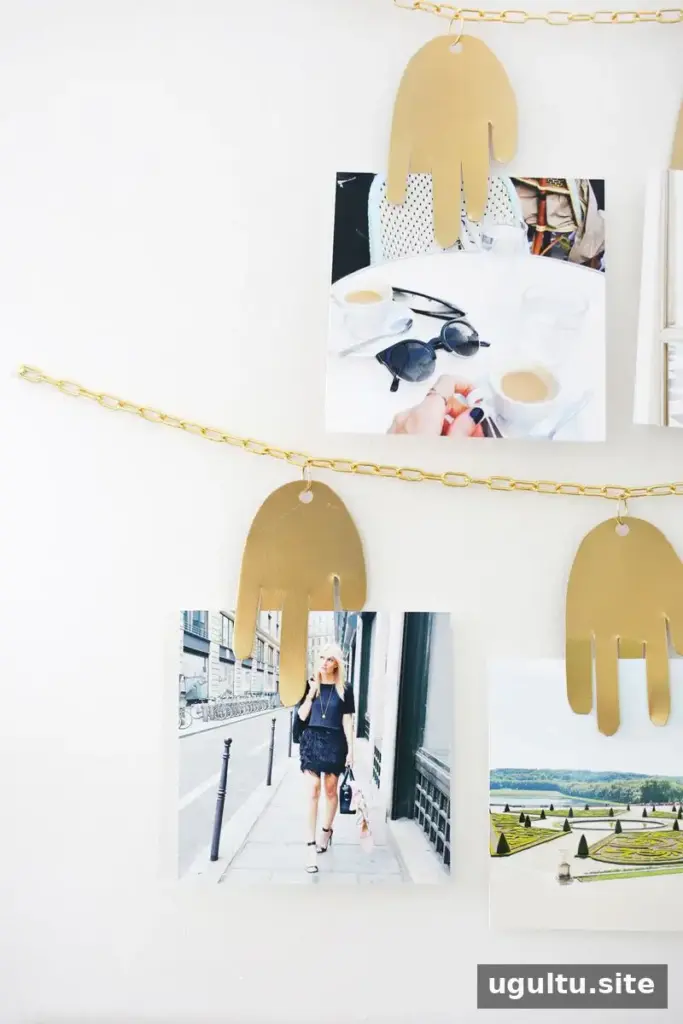
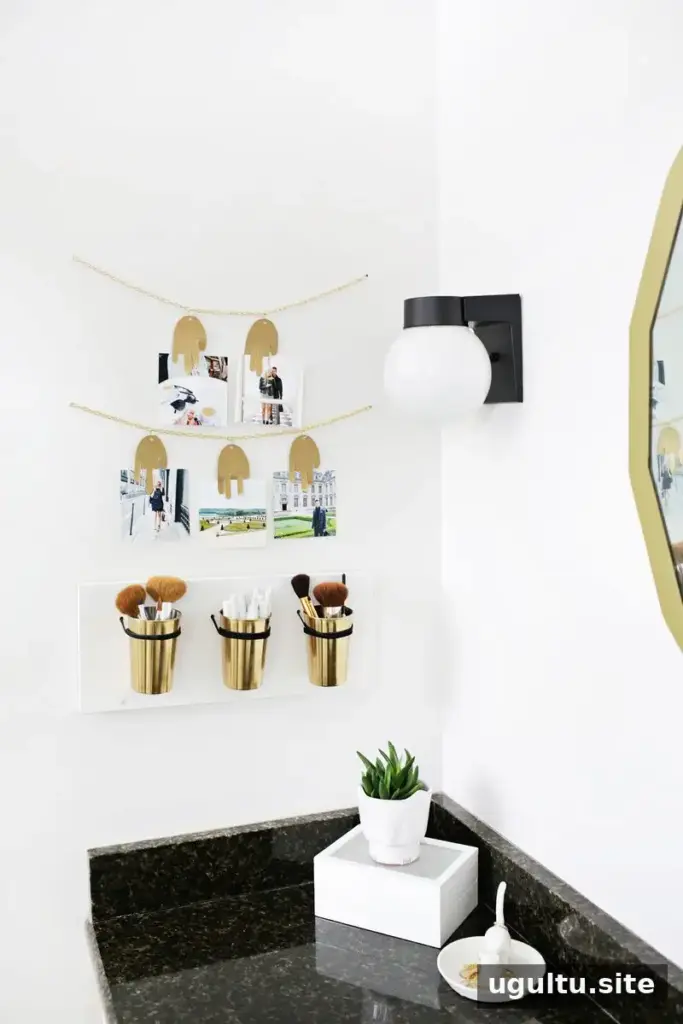
Personalize Your Photo Display
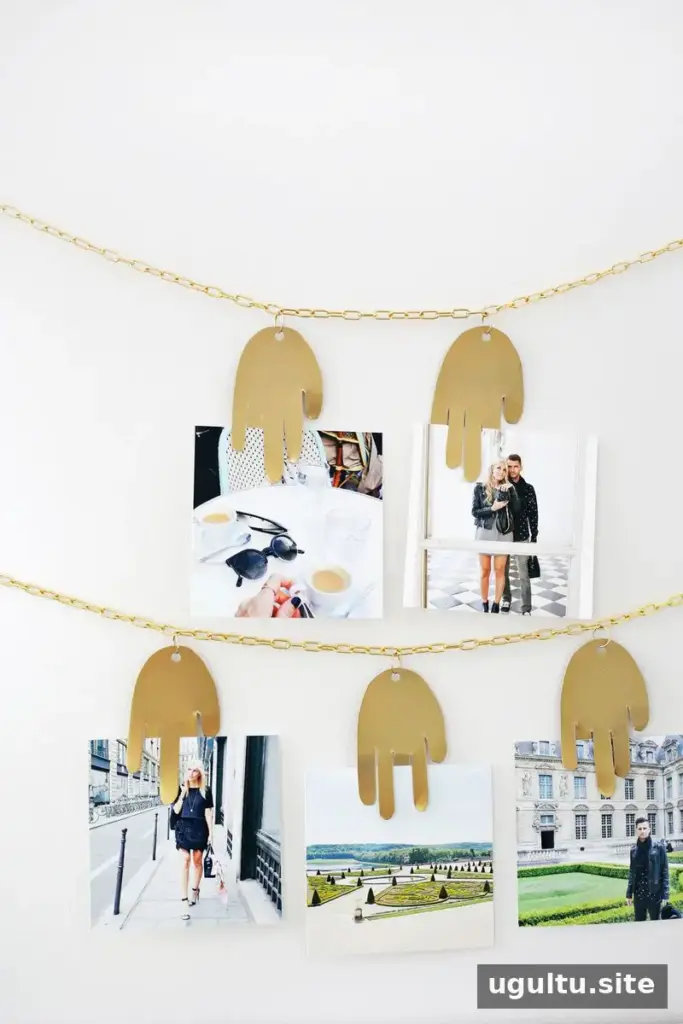
The contrast between the gold-colored hands and simple chain gives this project a fun, decorative look while keeping the photographs easy to change. Make the hands larger or smaller, add more shapes, or use one longer strand instead of two. Before hanging, check that each photo is held firmly and that the chain is level. A metal hand photo garland offers a customizable way to keep meaningful pictures in view without committing to a fixed photo arrangement.
Project by Laura.


