
 admin
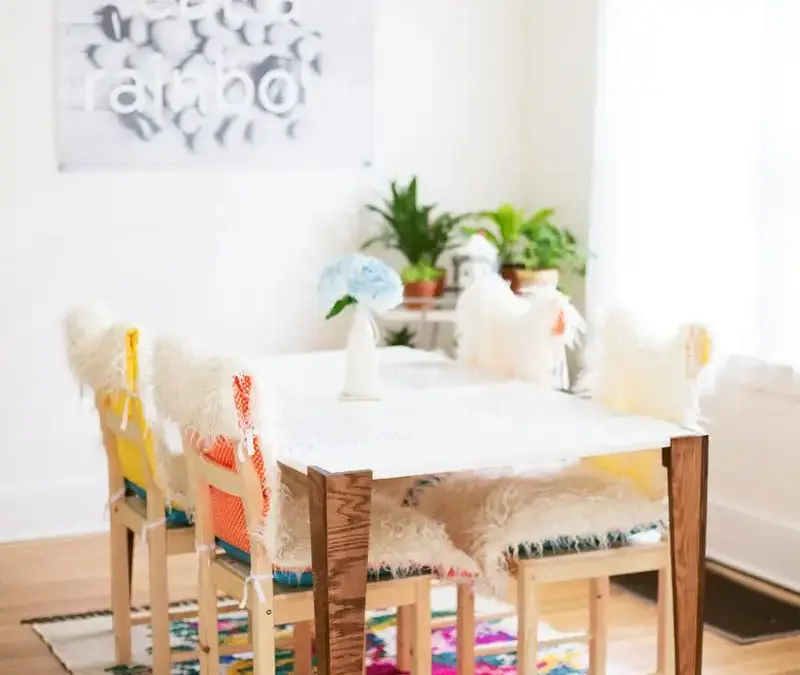
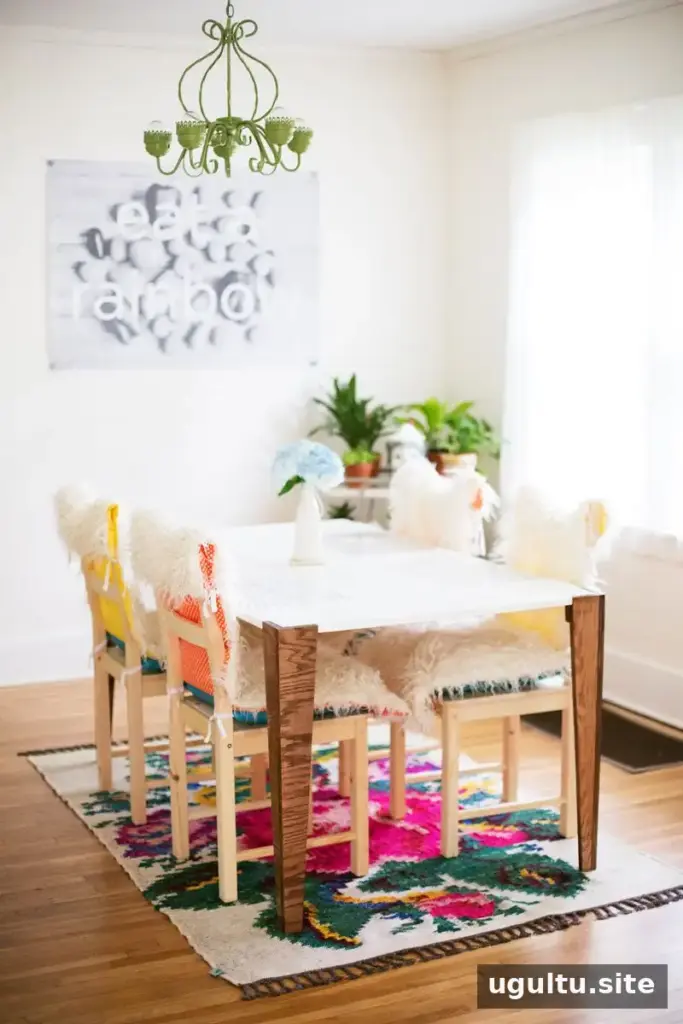
A midcentury kitchen table can bring clean lines and a custom fit to a dining space without requiring a large materials budget. This build is designed around a single 4-foot-by-8-foot sheet of 3/4-inch hardwood plywood, with an estimated material cost of about $75. Use the plans and diagrams alongside these steps, and check every measurement before cutting.
Materials and tools for a midcentury kitchen table
Gather the supplies and tools before starting. The source project estimates the table can be made for about $75; actual costs may vary depending on local prices and the finish selected.
Materials
- One 4-foot-by-8-foot sheet of 3/4-inch hardwood plywood
- Wood stain and paint or additional stain for the finish
- Wood screws
- Wood glue
- 3/8-inch doweling if using pocket screws
- Polyurethane
- Painter’s tape, preferably a type designed to seal along edges
Tools
- Table saw, jigsaw, circular saw, and hand saw
- Pocket-hole jig
- Measuring tape or measuring table, straightedge, and speed square
- Pencil, clamps, and sandpaper
Wear appropriate eye and hearing protection when operating power tools, secure the plywood before cutting, and follow each tool’s instructions. If you are new to a saw, practice on scrap wood first.
Step 1: Mark, cut, and sand the plywood
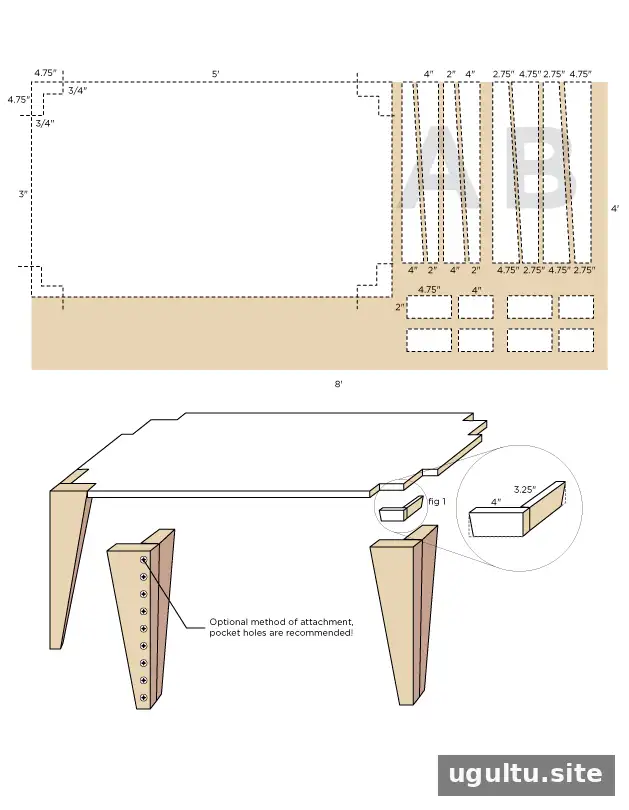
Review the project plan and keep it nearby as a reference. Set the plywood on a stable, level surface where it can be measured and marked safely. Lay out every part before making cuts, and measure twice so the pieces match the diagrams.
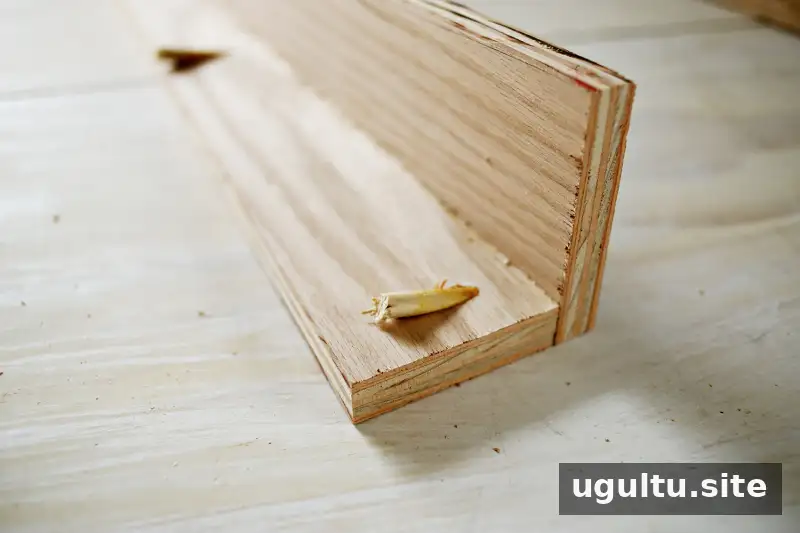
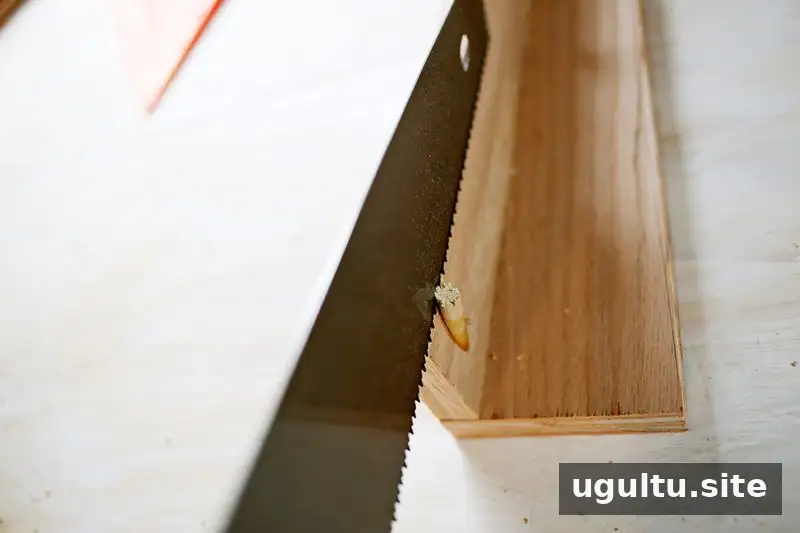
Cut the marked pieces using a suitable saw. Long, straight cuts are especially visible in a design with simple geometric lines, so guide the saw carefully and avoid rushing. Sand the cut edges and surfaces, beginning with a coarser grit such as 80 and moving to a finer finish grit of 220 or higher. Remove dust before applying stain or paint.
Step 2: Assemble the legs
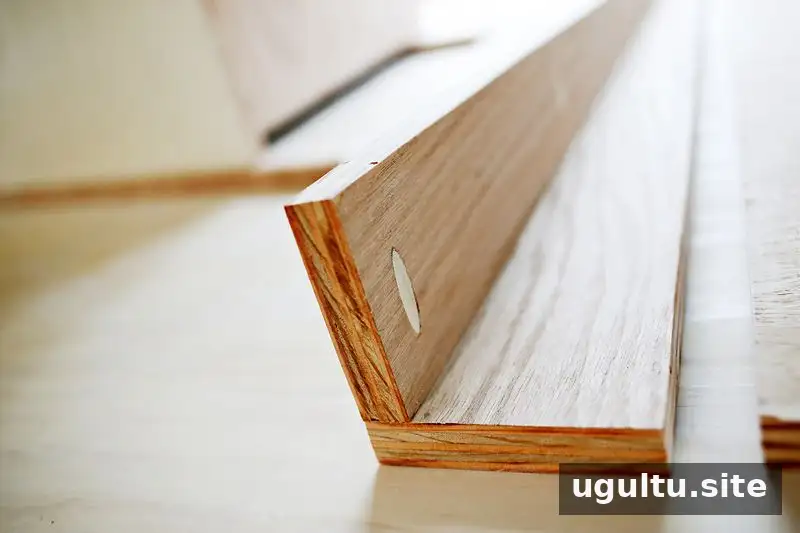
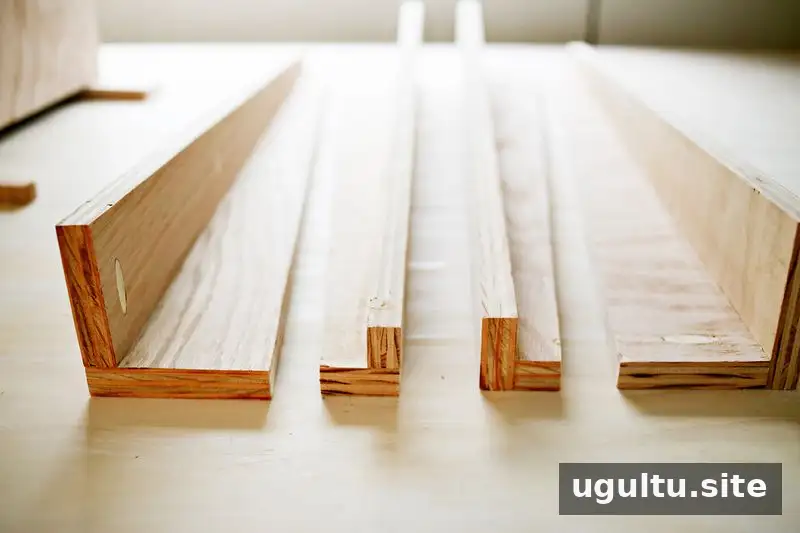
Join each pair of leg pieces, labeled A and B in the plans. Pocket-hole screws can help keep the fasteners less visible; 3/8-inch doweling can be used to conceal the holes. Apply wood glue at the joints and clamp the pieces while fastening them. Check that each assembly is square and aligned before the glue sets.
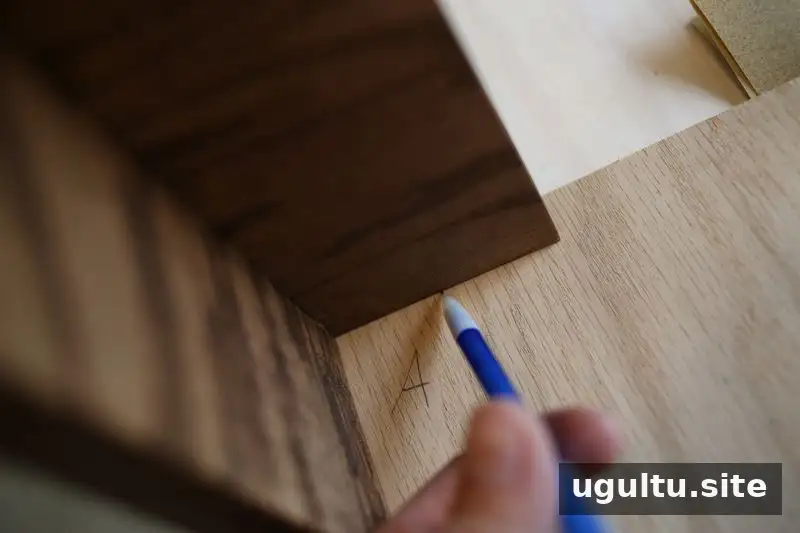
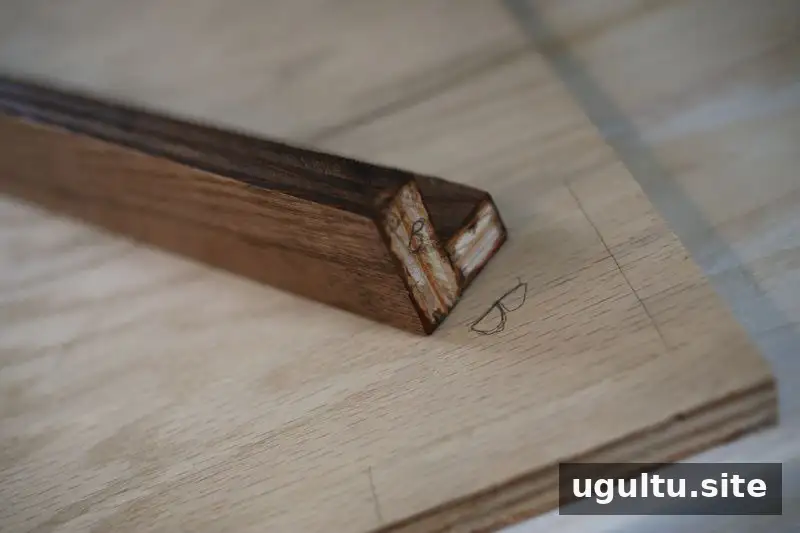
Keep the labeled parts organized during assembly. A simple marking system helps prevent mixing up pieces that need to fit specific corners.
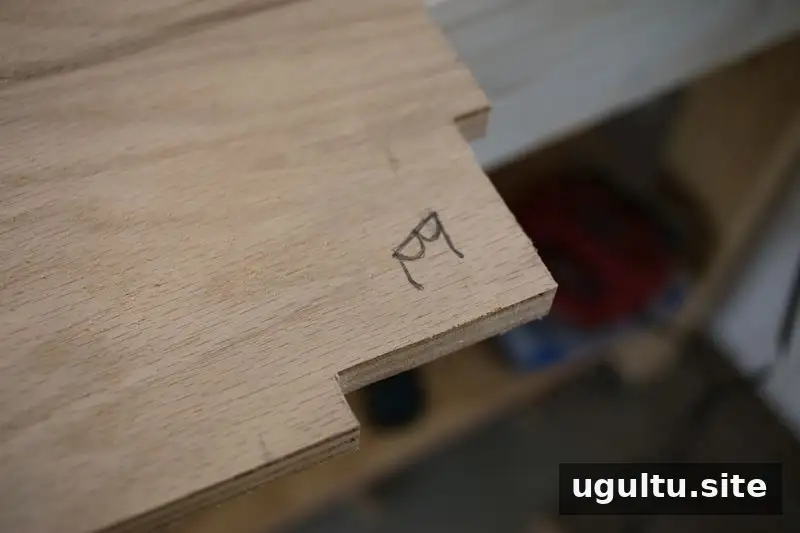
Step 3: Finish the legs and notch the tabletop
Label each leg and its matching corner on the underside of the tabletop. This makes it easier to return each leg to the position where it was fitted. Apply stain according to its product instructions and allow it to dry fully. Between polyurethane coats, lightly sand with fine-grit paper, around 220 grit, and remove the dust before applying the next coat.
While the legs dry, cut the tabletop corner notches with a jigsaw, following the plan. Make a test cut in scrap material first if needed, and keep the cuts straight and square for a close fit.
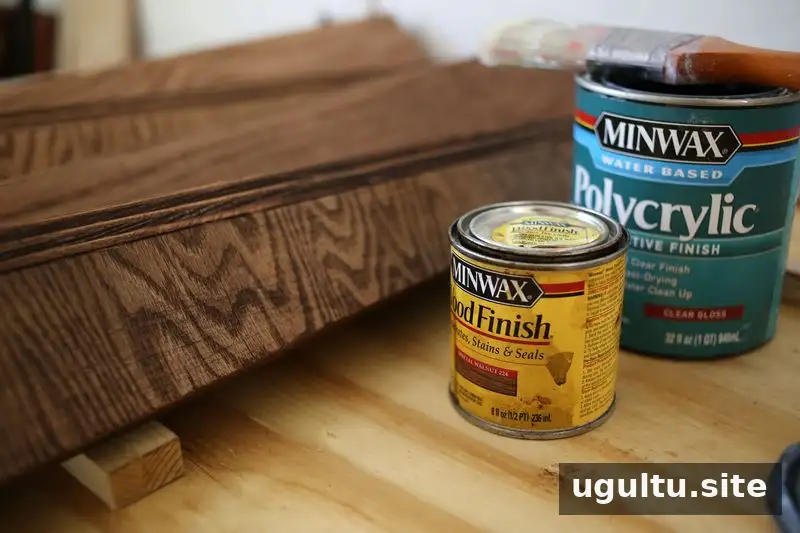
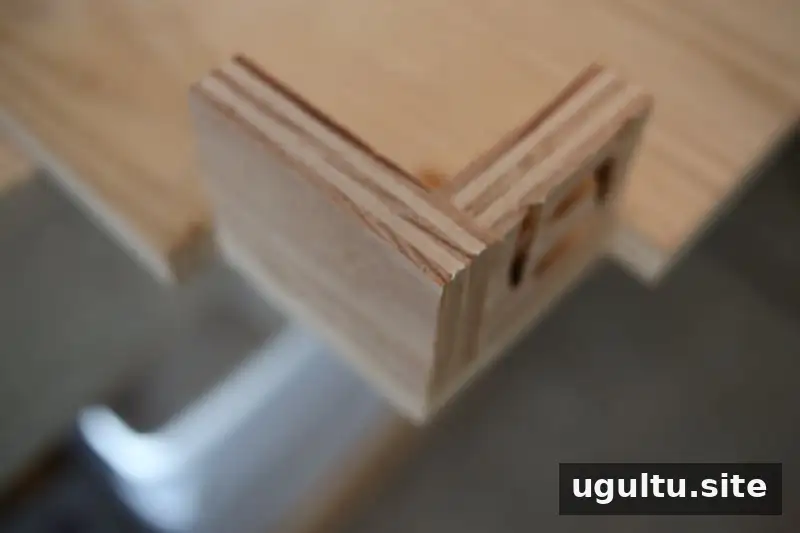
Step 4: Add the leg supports
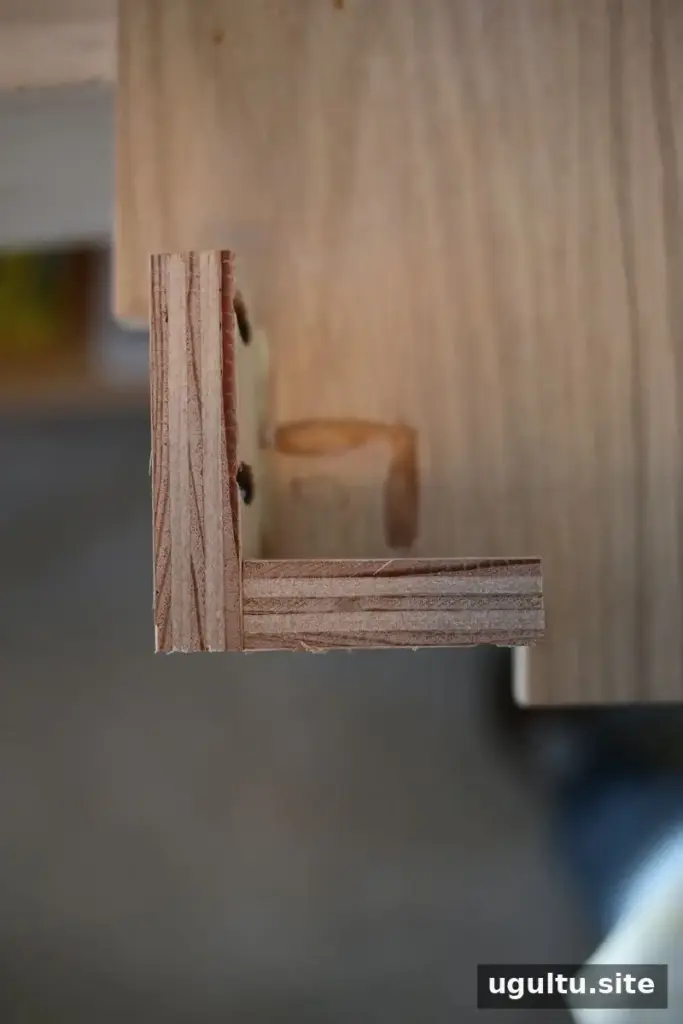
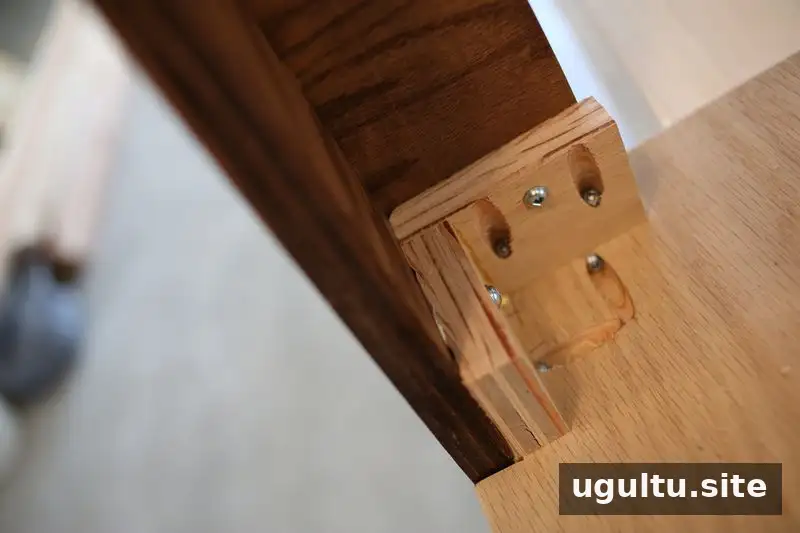
Build four supports as shown in the diagram. Each support is made by gluing and screwing two pieces of wood together. Cut the parts to the plan’s dimensions, then hold each support against the back of its leg and mark the leg angle. Trim the support to match that angle before attaching it. Test the fit first; shaping the supports to the legs can reduce gaps and make assembly easier.
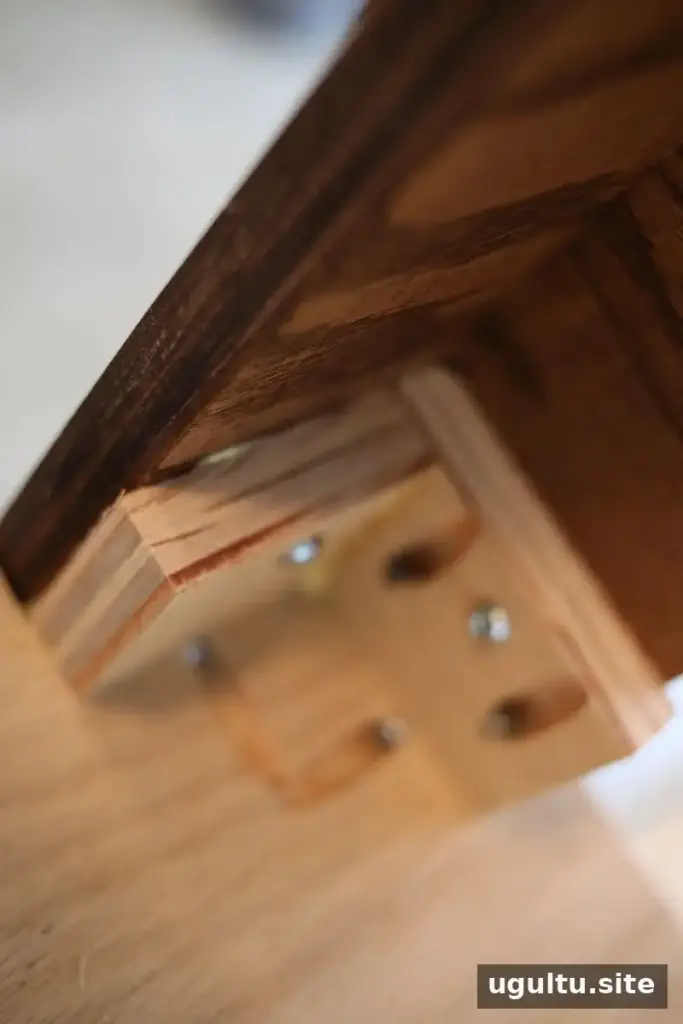
Place the tabletop upside down on a flat, protected surface. Apply wood glue generously to the support joints, wipe away excess glue with a rag, and secure the supports with screws. Keep the leg labels visible or remark them if they become covered.
Step 5: Attach the legs and finish the table
Fit each leg into its matching corner and make sure the top of each leg is flush with the tabletop. The project uses four screws per leg: two installed through the leg with pocket holes and two driven through the leg supports. Clamp and check the assembly before tightening the fasteners. Let the glue dry as directed before turning the table upright.
Once assembled, paint or stain the tabletop and legs as desired. Use painter’s tape to protect areas that should keep a different finish, and allow each coat to dry fully before putting the table into service. Check that the table stands level and that all joints and fasteners are secure before regular use.
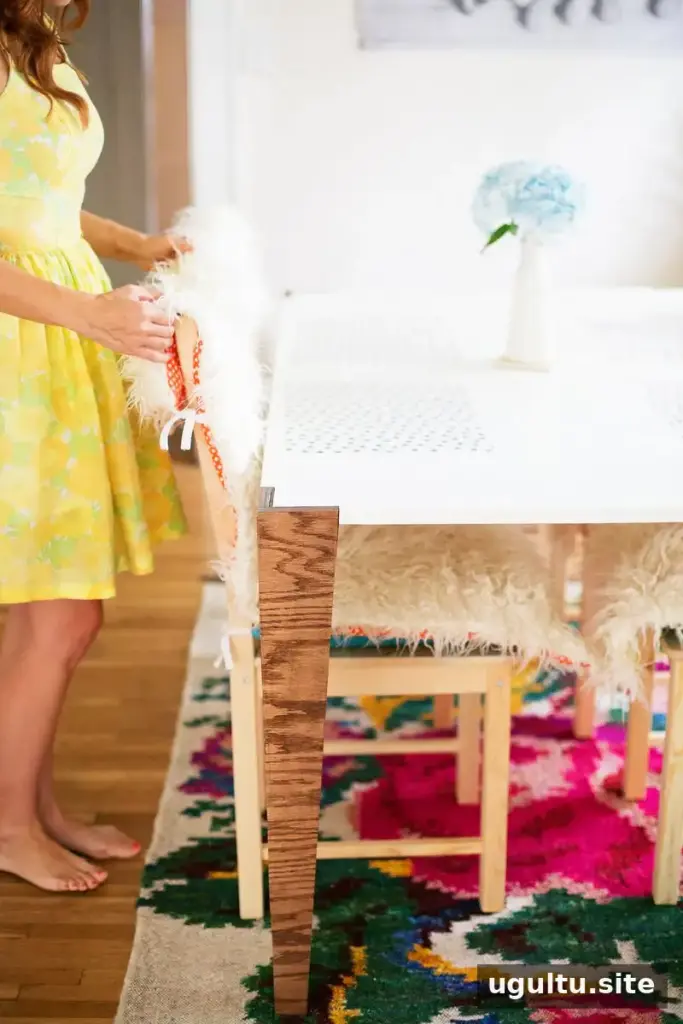
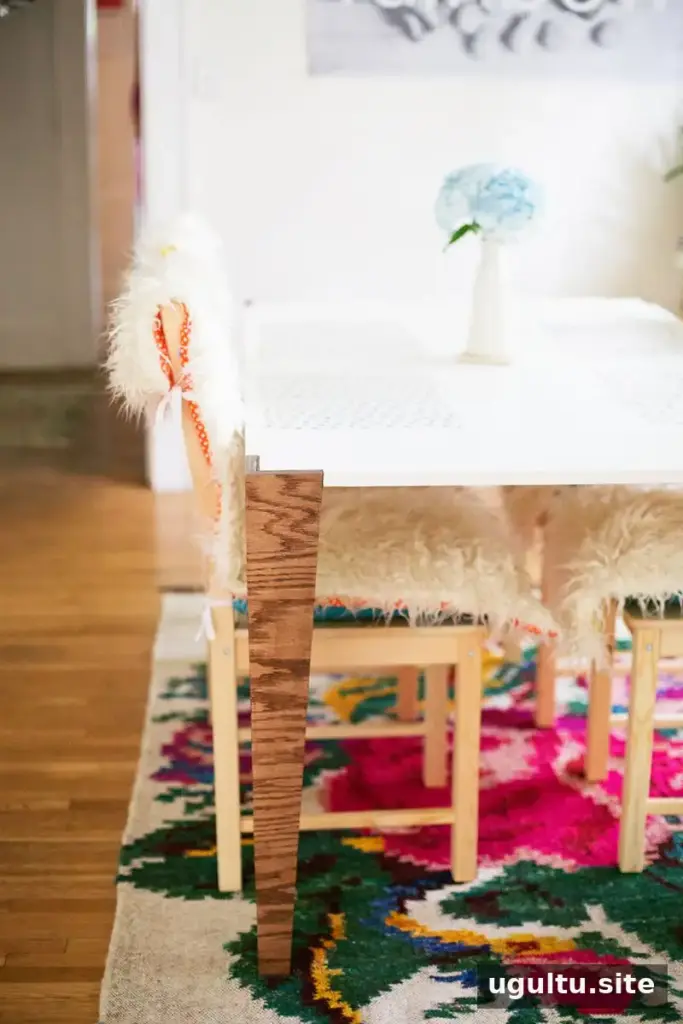
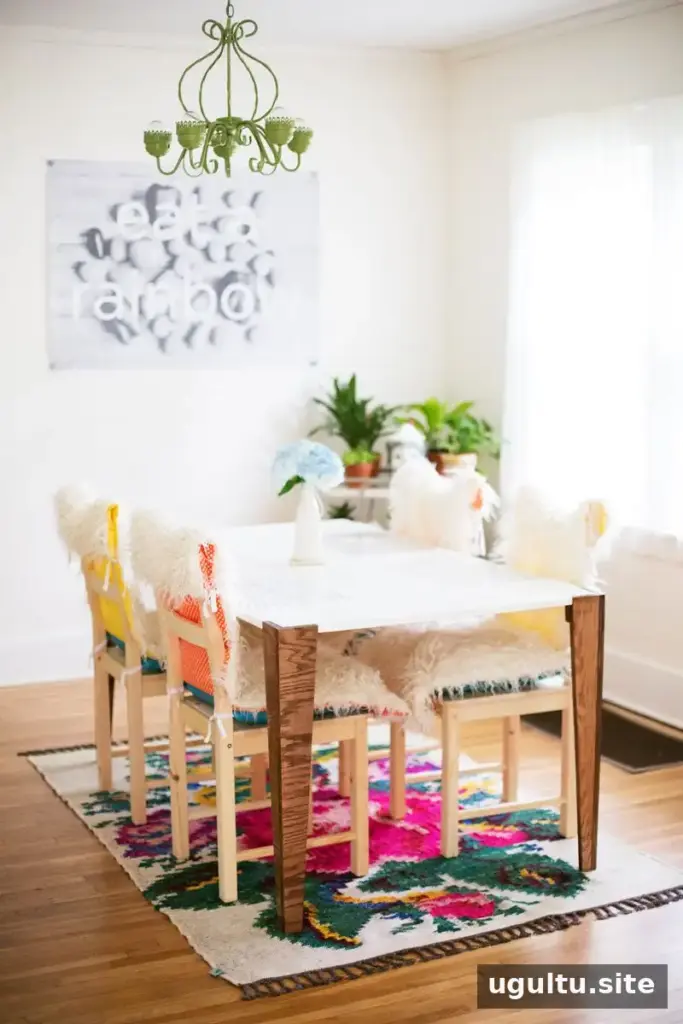
Building a midcentury kitchen table is a practical woodworking project that combines careful measuring, sturdy joints, and a finish suited to everyday dining. Keep the plans close, work safely, and verify the fit of each part before fastening it permanently.
—Josh


