
 admin
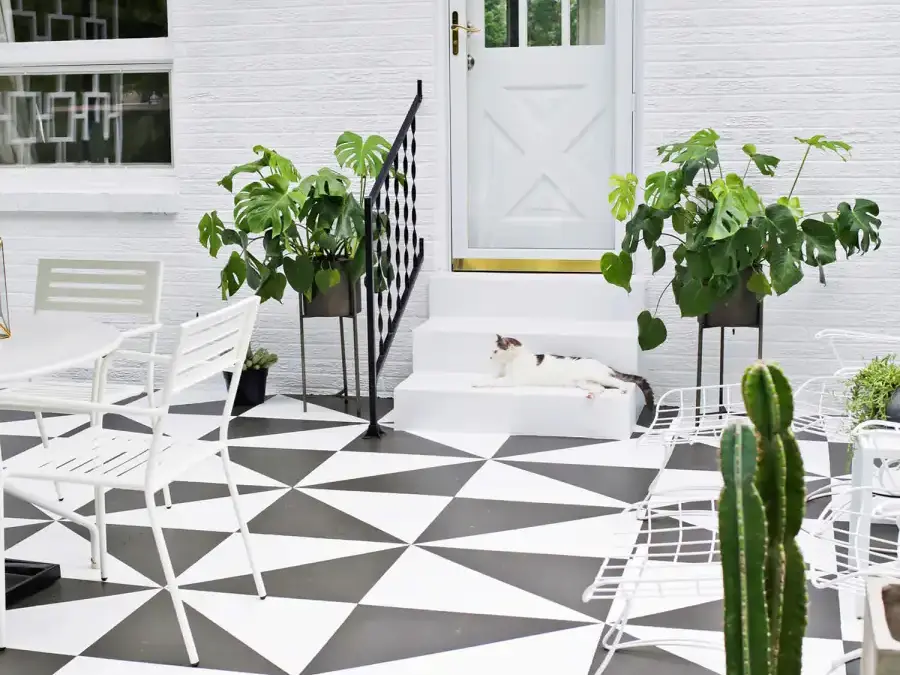
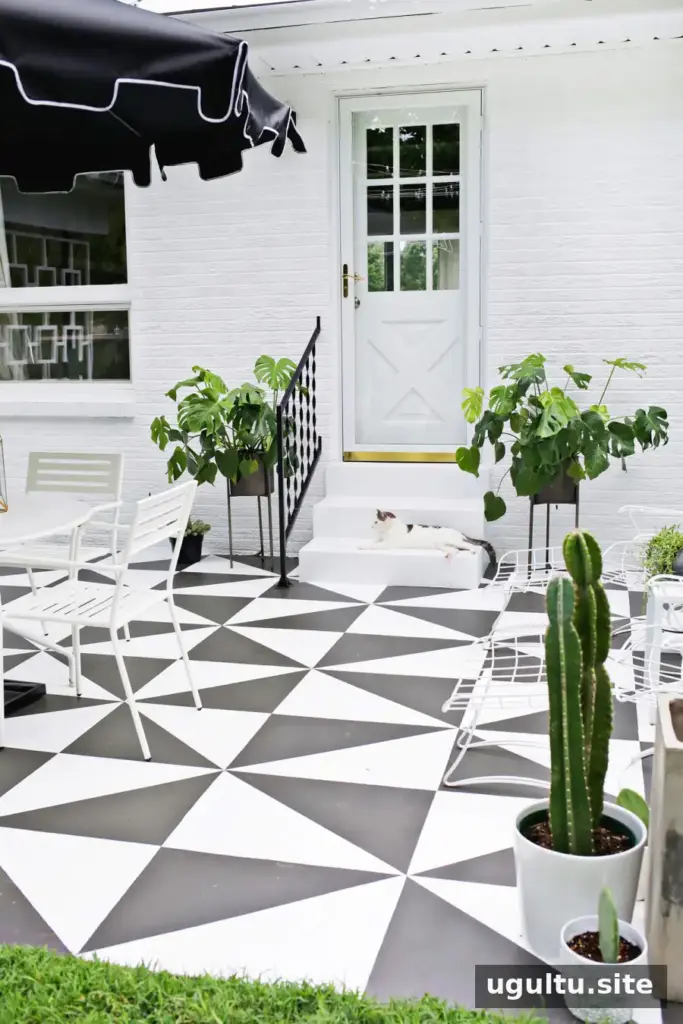
A painted patio tile project can give a plain concrete outdoor space a fresh, patterned look without the cost and work of installing real tile. This black-and-white design uses porch and floor paint to create the appearance of individual tiles, and it can be adjusted to suit the shape and size of the patio.
A small concrete patio may feel bare, but a graphic floor pattern can help define the area and make it feel more inviting. Before starting, plan the pattern around the actual dimensions of the concrete. A layout that fits the space is more important than making every tile a perfect square.
Painted Patio Tile: Prepare the Concrete
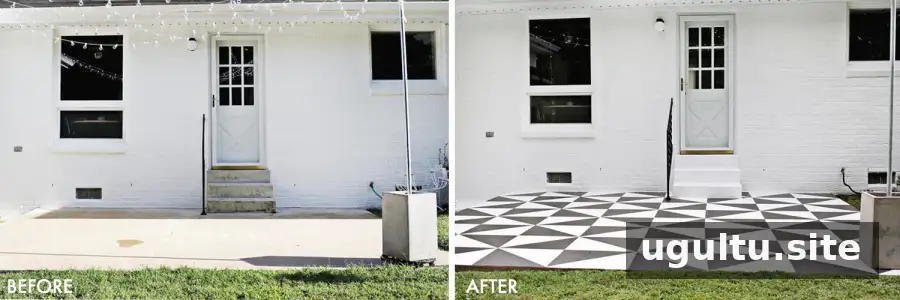
Start with a clean surface. Scrub the concrete with a degreaser and etcher and a long-handled, stiff-bristle broom. This helps remove grease and prepares the concrete to accept paint. Follow the cleaner’s directions, then allow the patio to dry completely before painting.
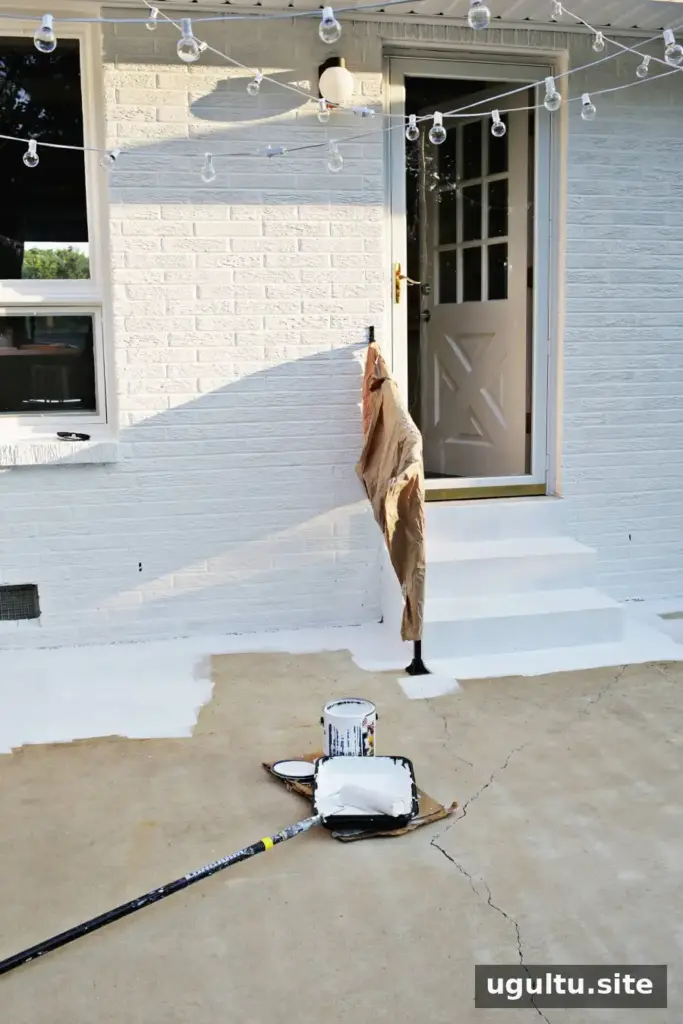
Apply two coats of porch and floor paint over the concrete. The base coat forms the light background for the pattern; in this project, the white paint was left untinted. Let the paint dry according to its instructions before marking out the design.
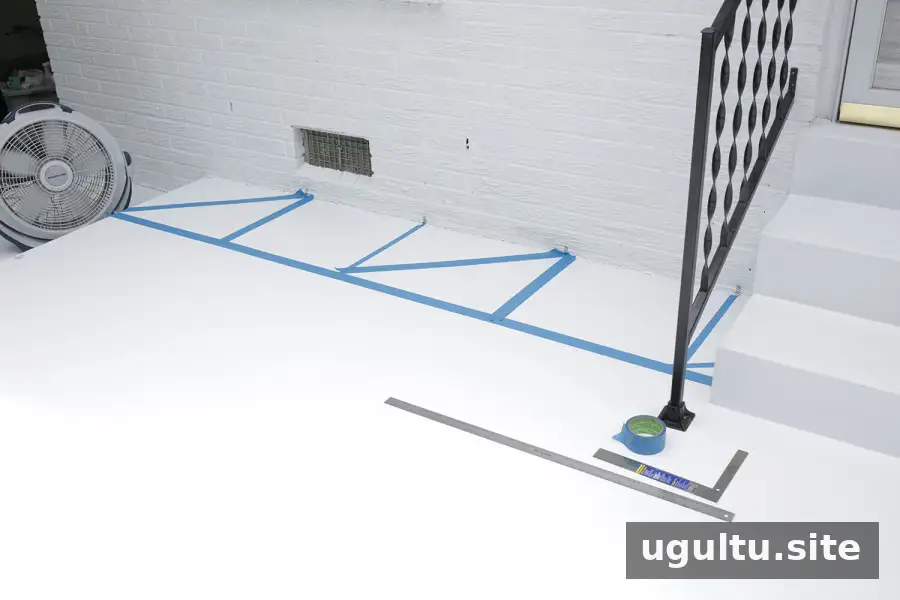
After allowing the base coat a day to set, use painter’s tape and a tape measure to divide the patio into eight even sections along each side. Connecting the marks creates 64 sections in total. If the concrete is not square, the resulting tiles may be rectangular. Adjust the spacing to avoid awkward partial tiles and keep the pattern balanced.
Mark and Paint the Tile Pattern
Connect matching marks across the patio with painter’s tape to create full rows. Then add tape within each row to outline the smaller sections. Working row by row makes it easier to keep the pattern aligned and manage the painting.
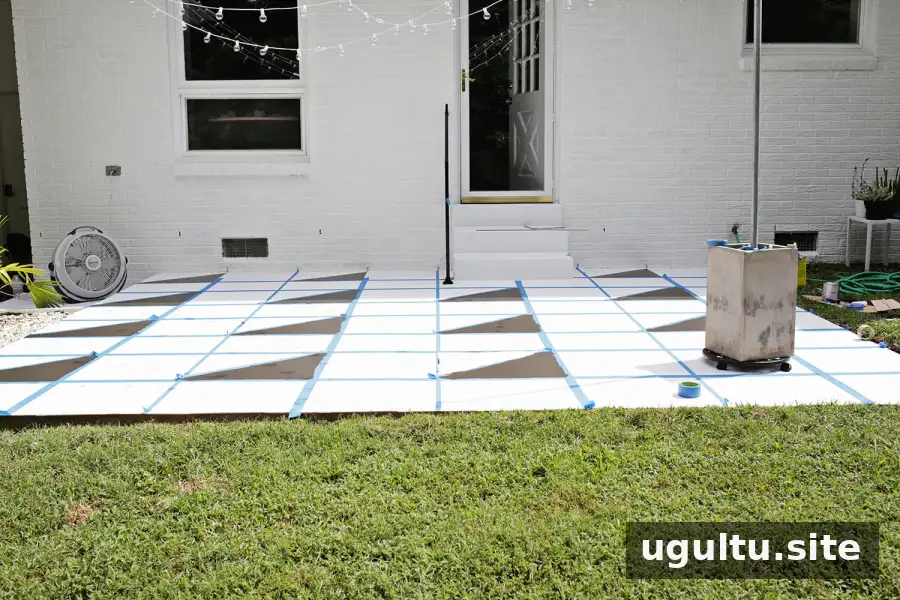
For a checkerboard-style effect, paint alternate sections in alternate rows with black porch and floor paint. In this layout, the first pass covers rows 2, 4, 6, and 8, painting every other section in each of those rows. Apply two coats, allowing the paint to dry between coats as directed.
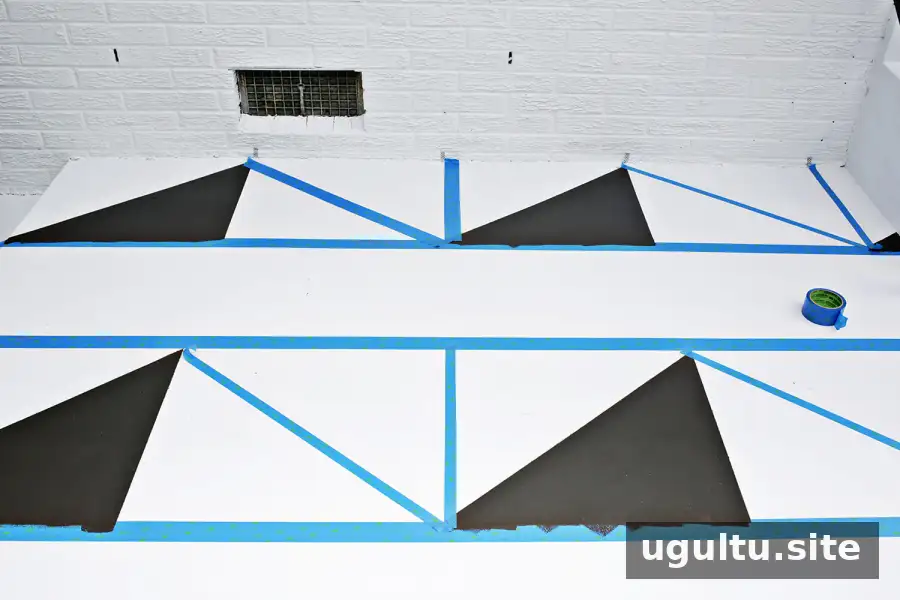
Once the painted sections are dry, remove the shorter vertical and angled pieces of tape while leaving the long horizontal row guides in place. Add new tape to outline the remaining sections in those rows, then paint them. This staged approach helps maintain clear edges and reduces the amount of exposed concrete being worked on at once.
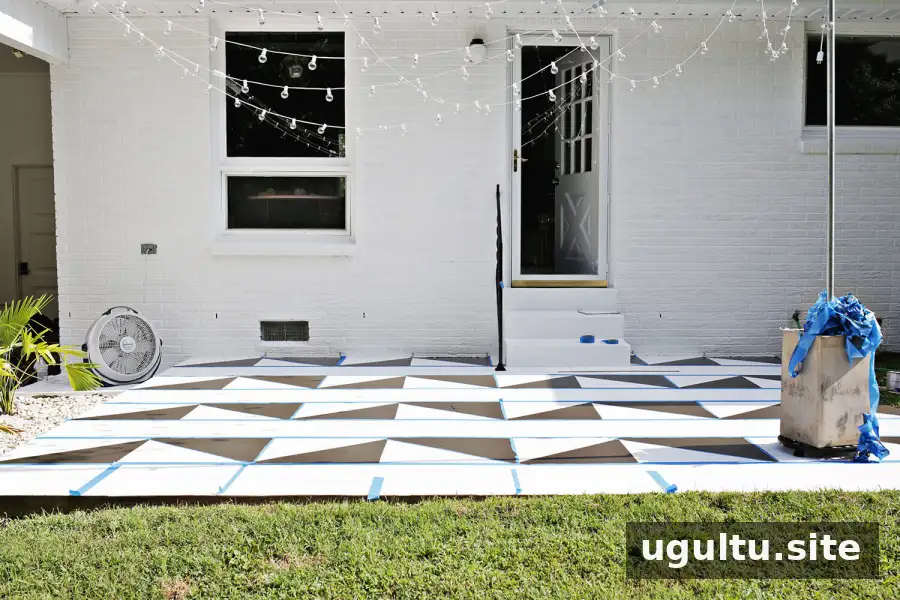
When half of the rows are complete, remove the tape from the finished areas and check that the pattern is developing evenly. Use the painted sections as guides for laying out the unpainted rows.
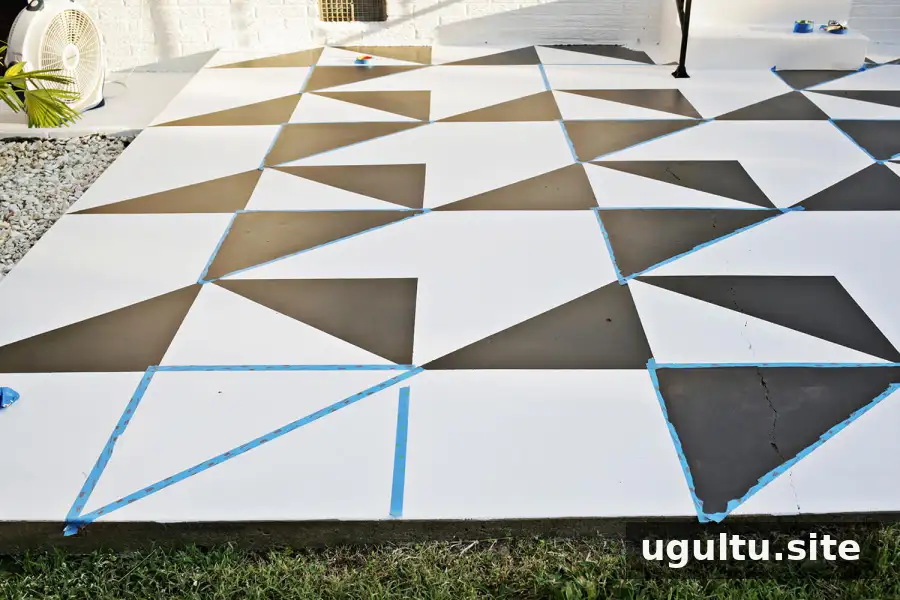
In the blank rows, tape off alternate sections by aligning them with the completed pattern in neighboring rows. Paint the outlined sections, let them dry, and repeat for the remaining areas until the design is filled in.
Touch Up the Painted Patio Tile
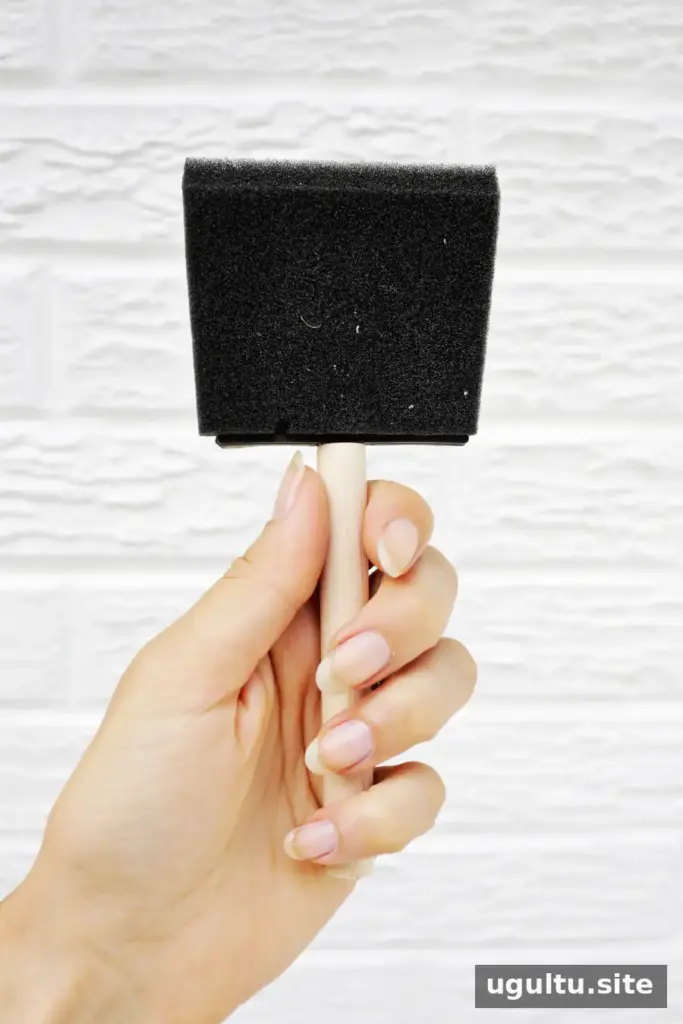
Concrete can have rough and smooth patches, so paint may occasionally seep beneath the tape. After the paint is dry, use a wide craft brush and a little of the white paint to sharpen any uneven edges. Remove tape carefully to help keep the lines neat.
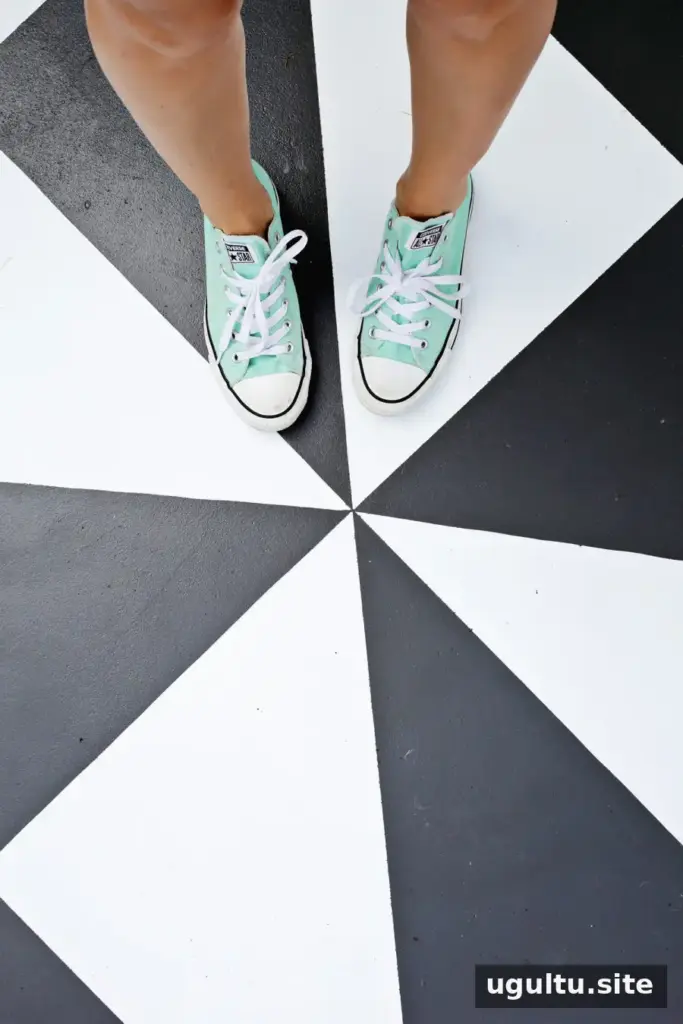
After touch-ups, allow the finished floor to dry fully before putting patio furniture or other items back in place. For best results, follow the paint manufacturer’s guidance on drying, curing, and outdoor use.
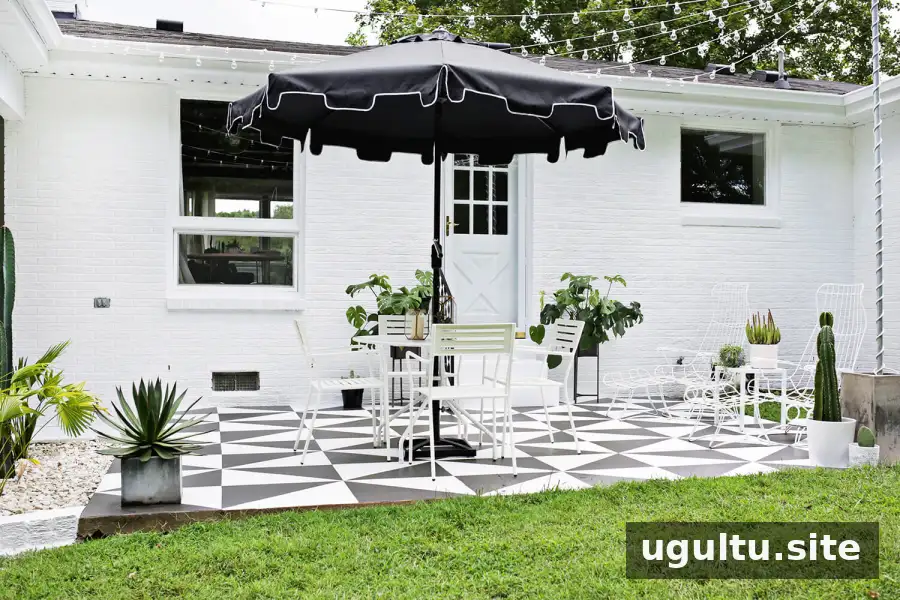
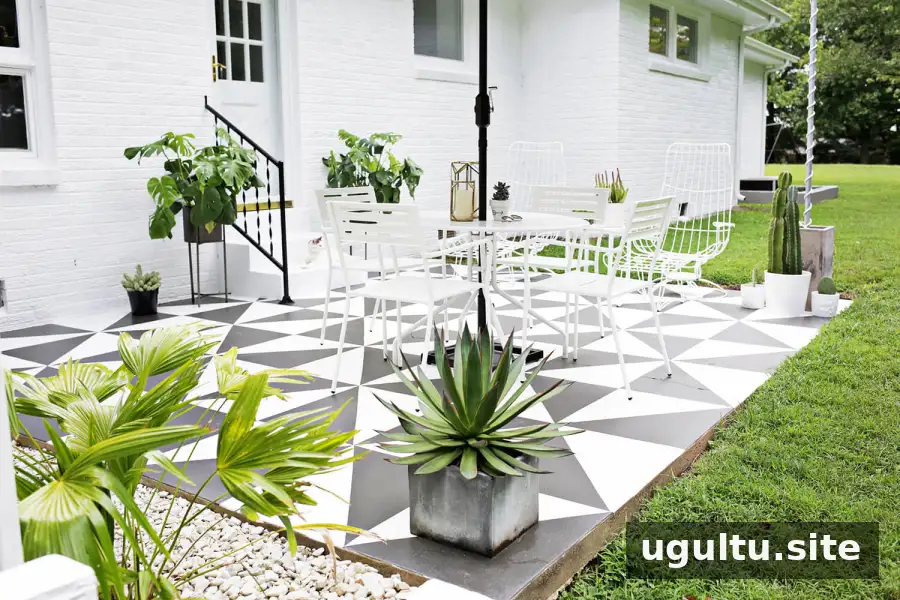
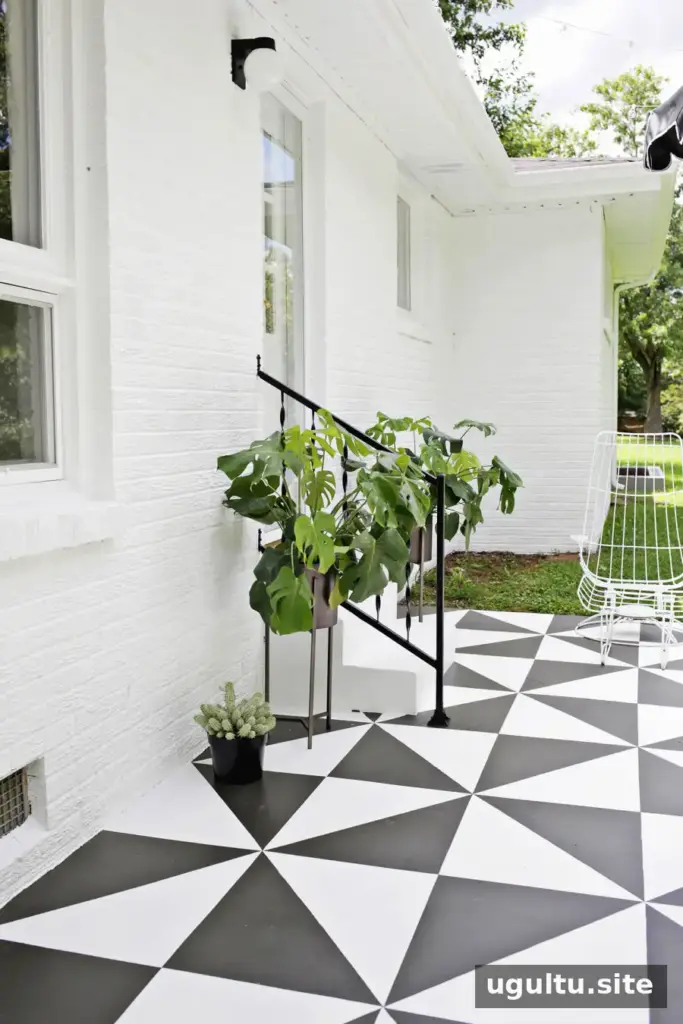
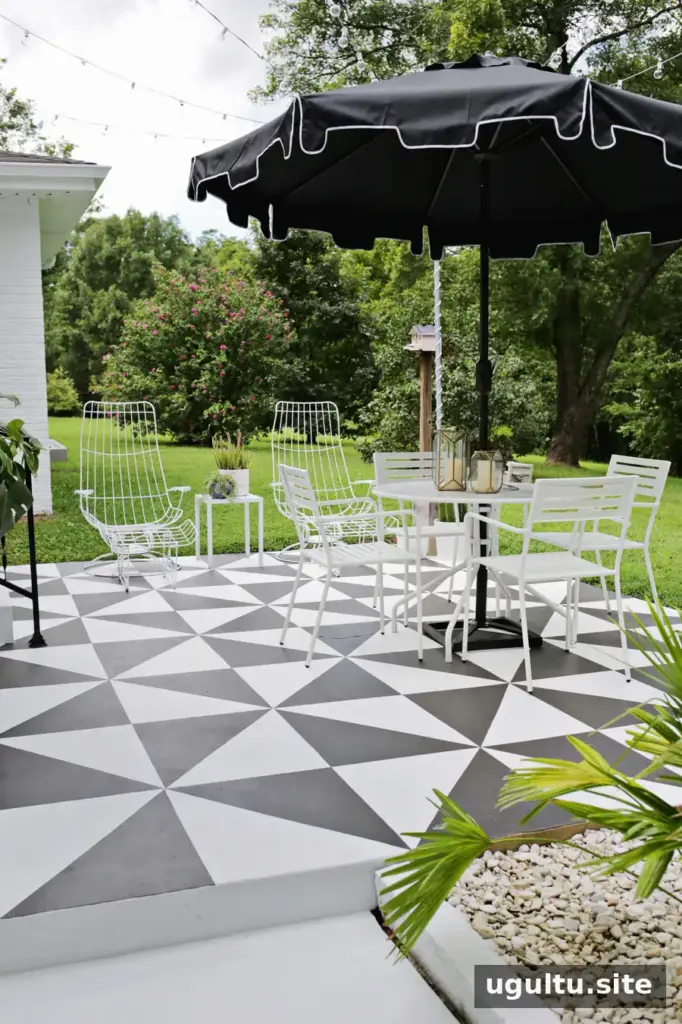
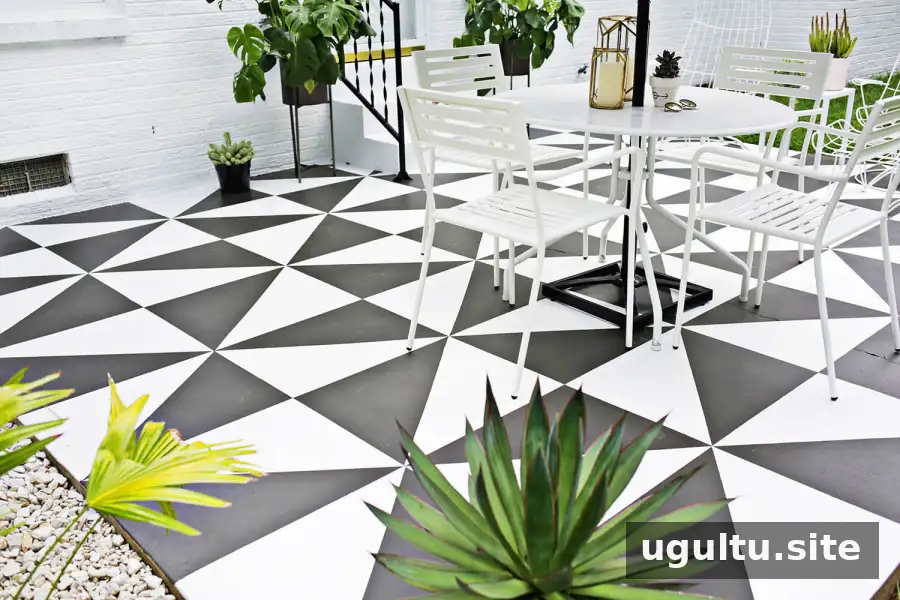
The finished faux-tile floor gives the patio a stronger sense of style, while green plants stand out against the black-and-white pattern. A painted patio tile design takes careful measuring and several painting stages, but it can be a practical alternative to installing tile when refreshing a concrete outdoor area. —Laura


