
 admin
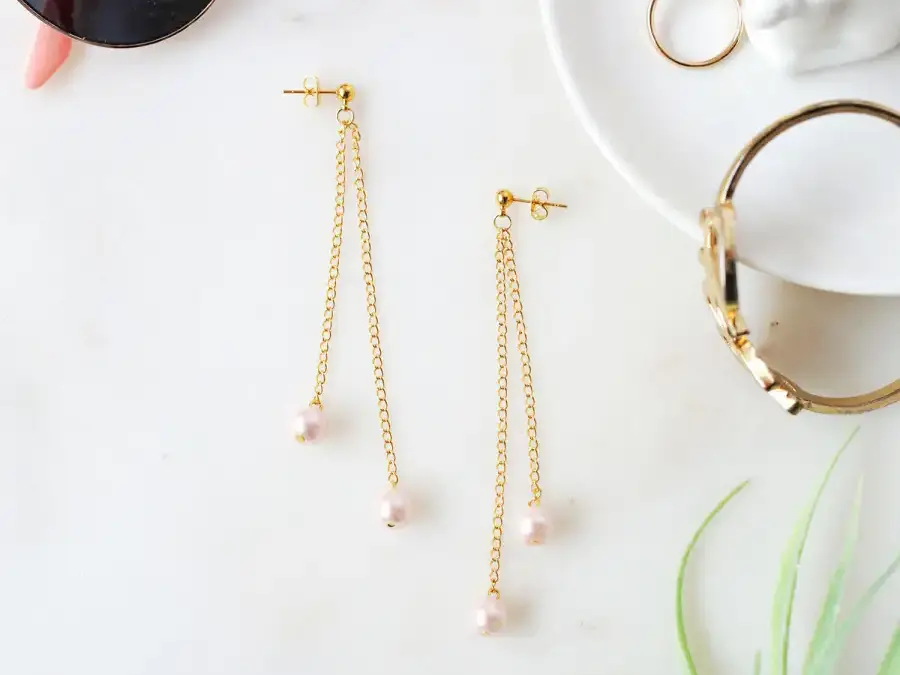
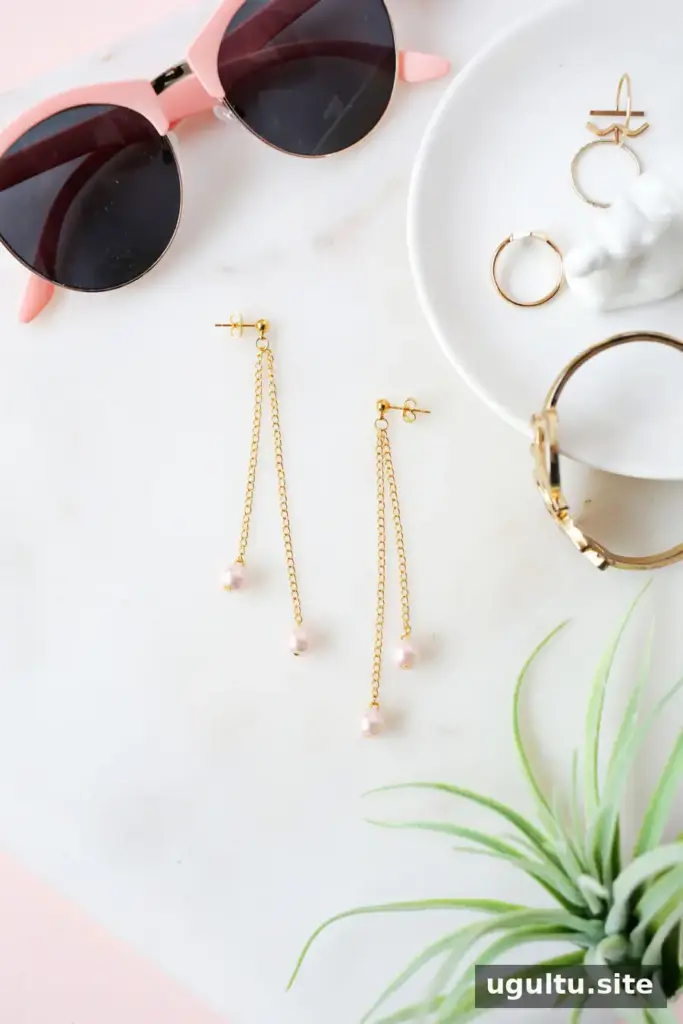
A pearl dangle earrings DIY project is a simple way to create jewelry that suits your style. This design pairs gold-tone chain with pink 8 mm pearl beads for a pretty, lightweight look. You can also adapt the same steps with other bead colors or chain finishes while keeping the basic construction the same.
Supplies for Pearl Dangle Earrings DIY
Gather the materials and tools before you begin. Having everything nearby makes the small jewelry components easier to handle.
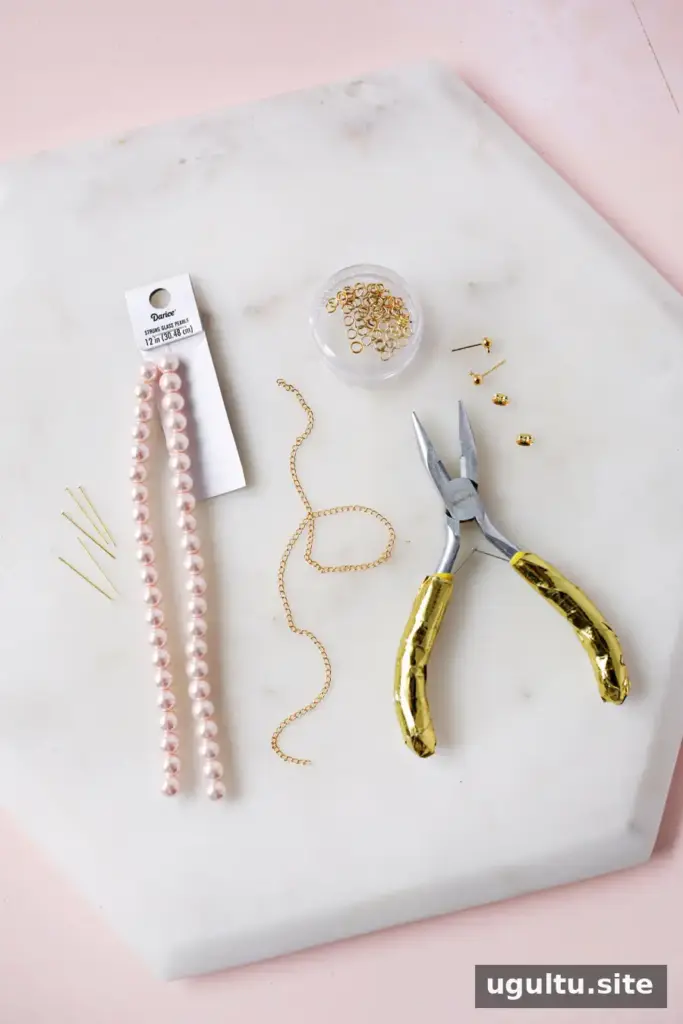
Supplies:
- Jump rings and head pins
- Link chain
- Jewelry side cutters
- Needle-nose pliers
- Round-nose pliers
- Ball earring posts
- 8 mm pink pearl beads
If you do not already have the pliers, jewelry tool sets may include the main types used for this project. Choose tools designed for jewelry work so you can grip and shape the small findings with control.
Cut the Chain to Length
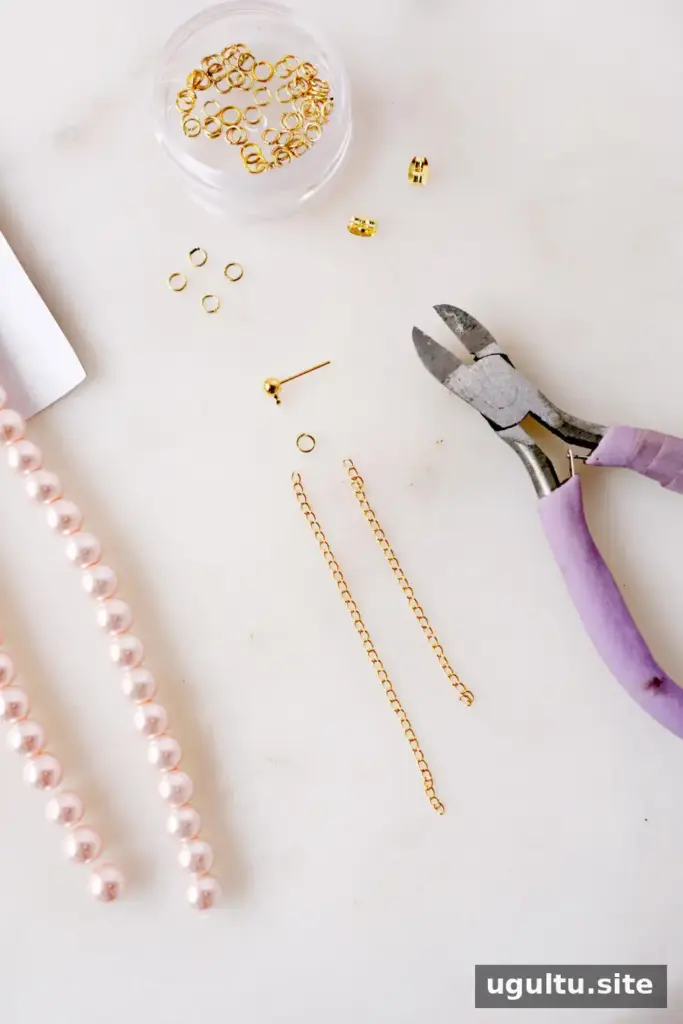
Use the side cutters to make two chain pieces for each earring: one piece measuring 3 inches and one measuring 2 1/4 inches. Repeat the measurements for the second earring so the pair has matching lengths.
For a tidy result, check the pieces against one another before attaching them. Take care when cutting chain, and keep the cut ends pointed away from your hands.
Attach the Chains to the Earring Posts
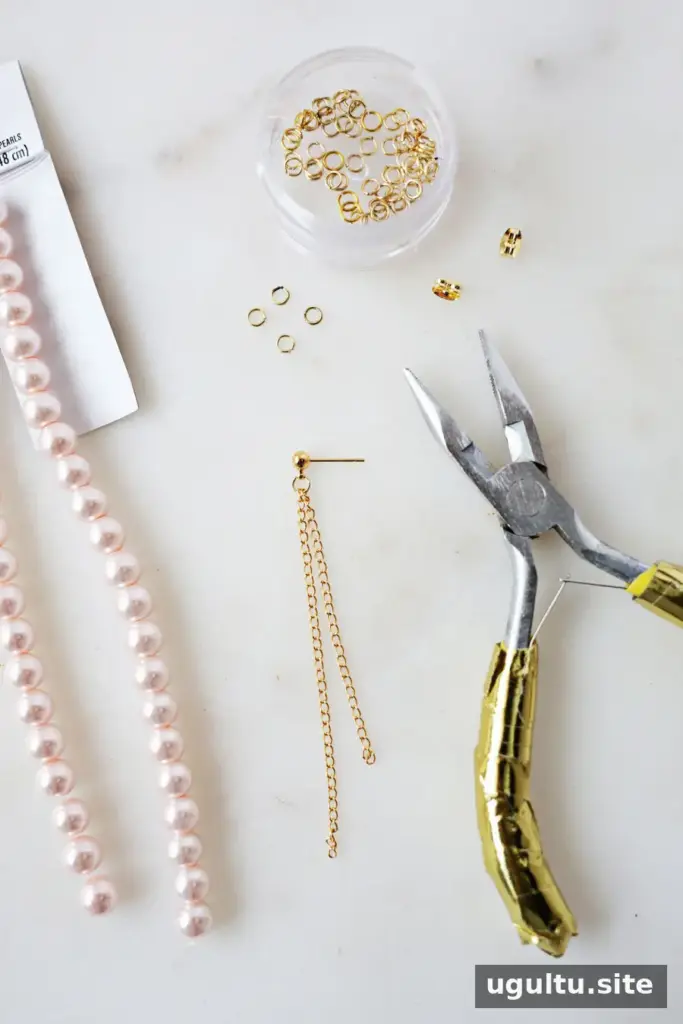
Open a jump ring by holding each side with pliers and gently turning the ends in opposite directions. Avoid pulling the ring outward, as that can distort its shape. Thread the tops of both chain pieces onto the open ring, then attach the ring to a ball earring post. Use the pliers to twist the ends back together until the ring is closed.
Add the Pearl Beads
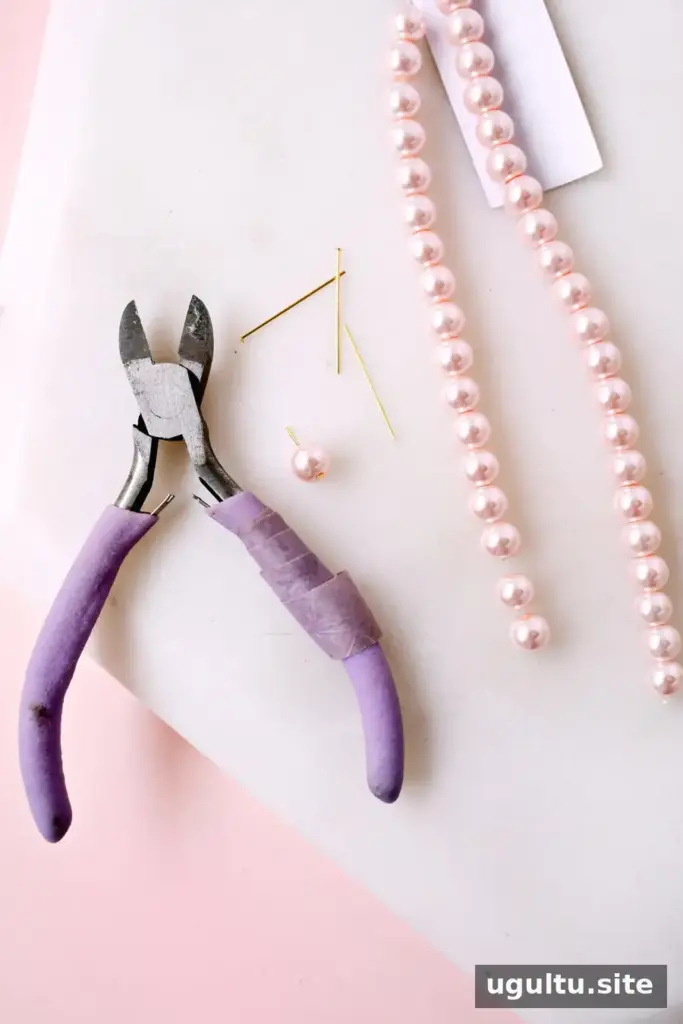
Slide a head pin through one pink bead. With the side cutters, trim the pin so a little more than 1/4 inch remains above the bead. Leave enough wire to form a loop that can connect securely to the chain.
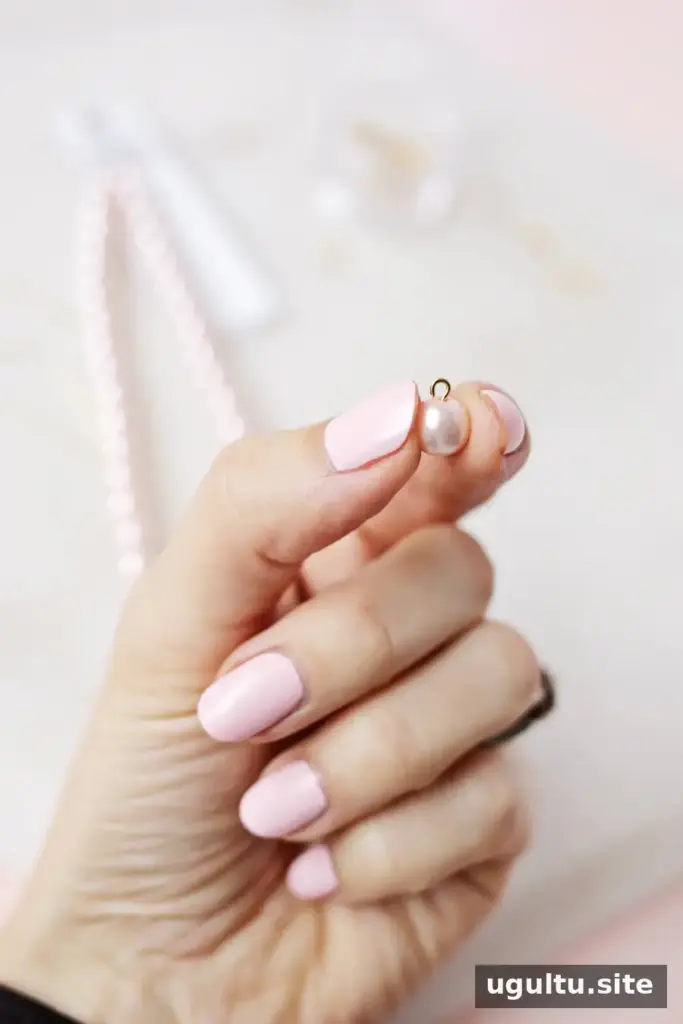
Use the round-nose pliers to bend the wire tip into a rounded hook. Before closing the loop completely, connect it to the bottom of one chain segment. Then close the loop with the pliers so the pearl hangs from the chain.
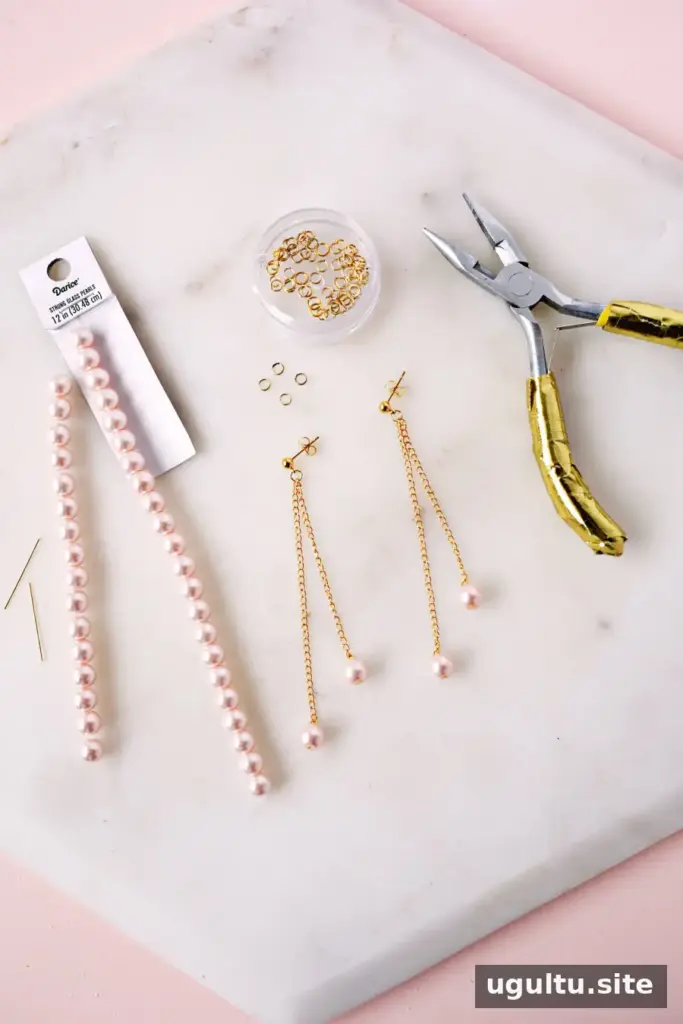
Repeat these steps three more times. Each of the four chain segments should have one pearl bead attached to its end. Check that every loop is closed and that the beads hang freely.
Customize and Finish Your Earrings

The finished earrings combine two chain lengths on each post, with a pearl at the end of every strand. To personalize the design, try different bead colors, adjust the chain lengths, or add more segments. If you change the number of strands, make sure the jump ring can hold them without becoming crowded.
Before wearing the earrings, gently check each connection. Store them where the chains will not tangle, and handle the loops carefully when putting them on or taking them off. This pearl dangle earrings DIY is a straightforward project for practicing basic jewelry-making techniques and creating a pair tailored to your preferred colors and materials.
Designed by Laura.


