
 admin
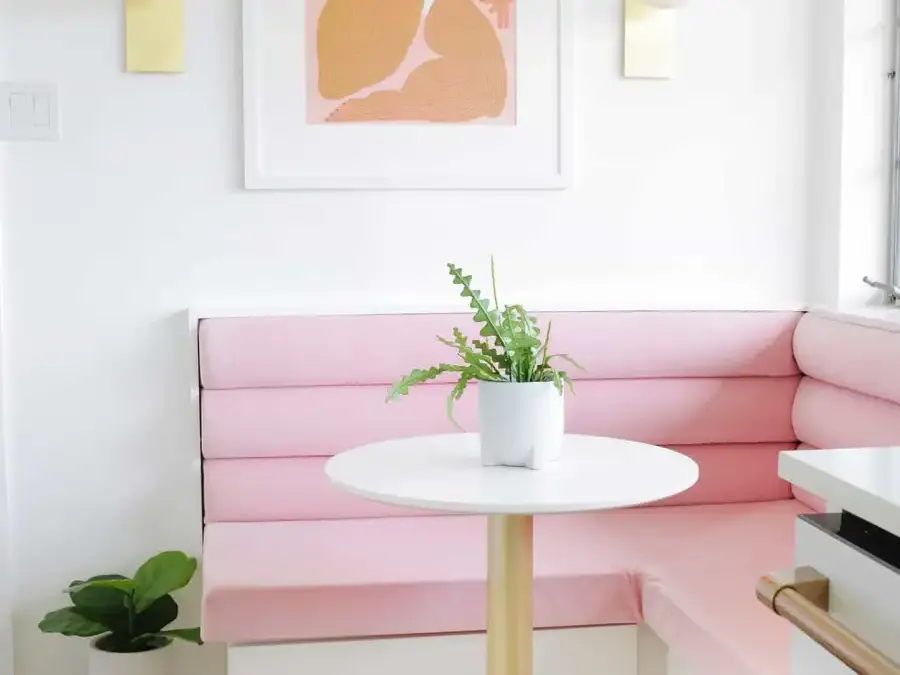
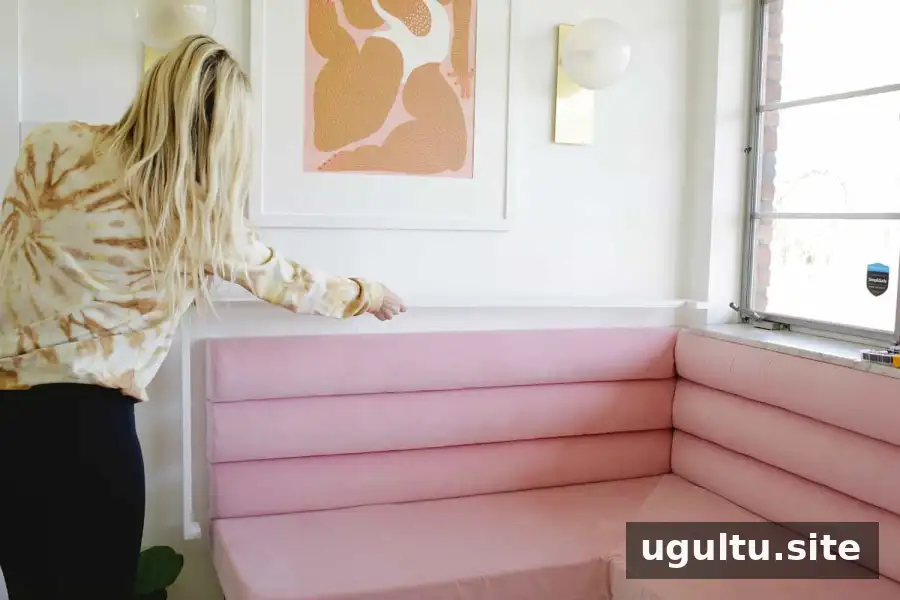
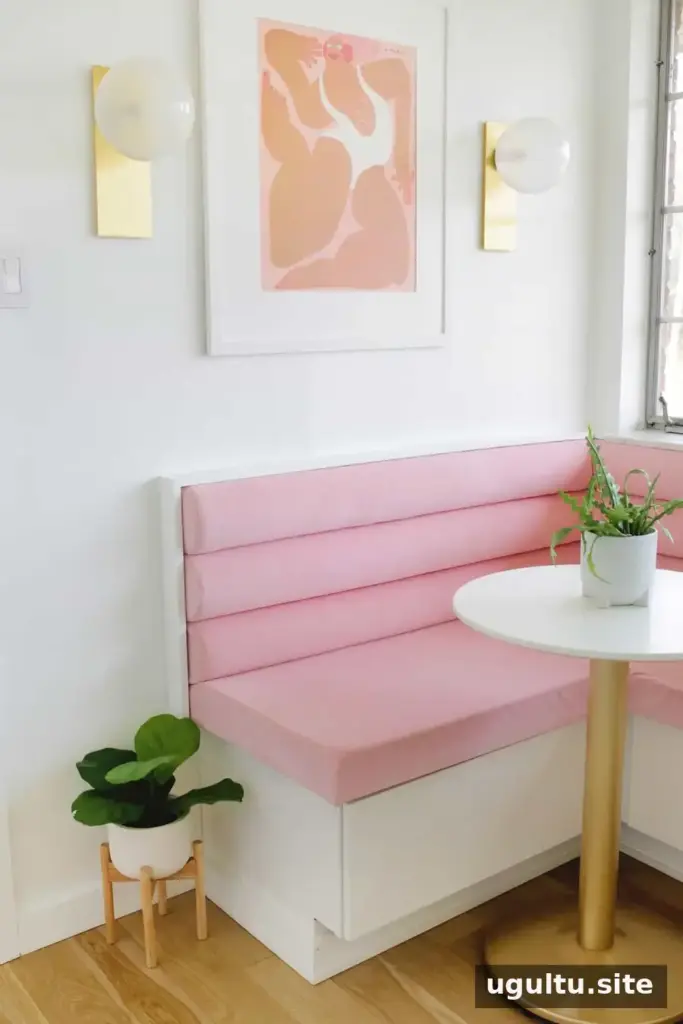
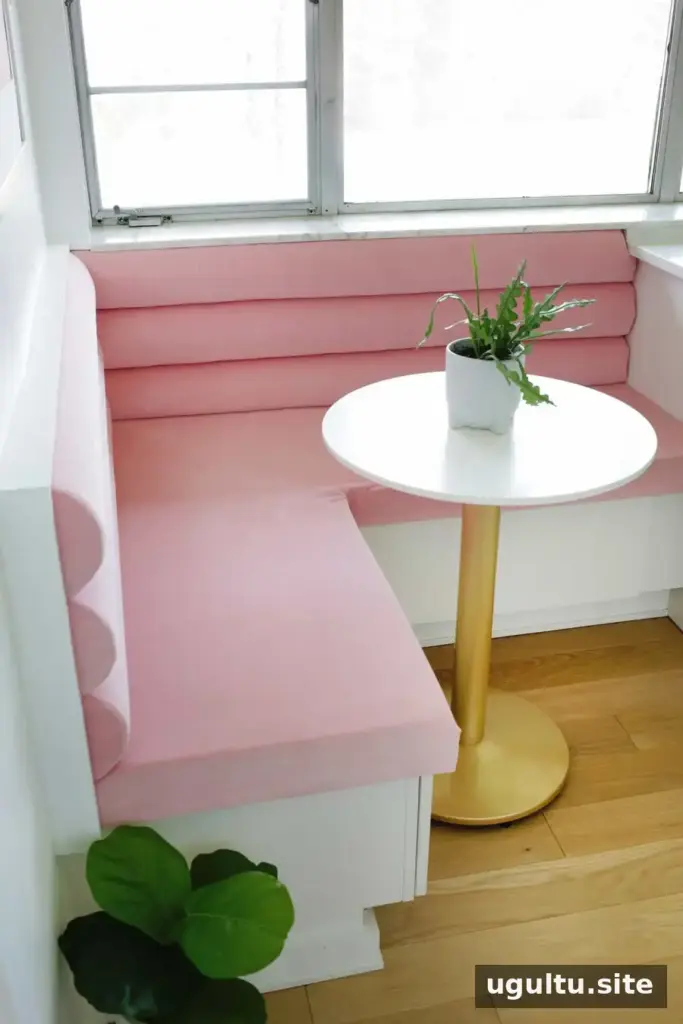
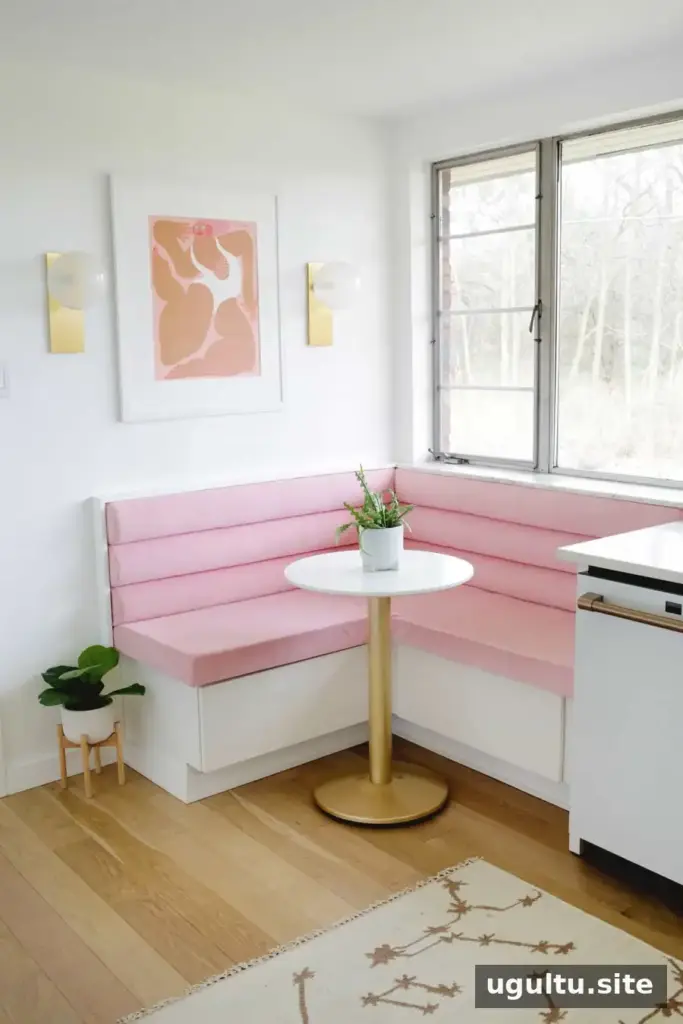
A pink channel tufted banquette can turn an awkward kitchen corner into a comfortable breakfast nook and a distinctive design feature. This project combines a plywood seat, velvet upholstery, foam-backed channel sections, and wall-mounted supports. An L-shaped layout takes extra measuring and fitting, but planning each piece before cutting helps make the work more manageable.
The design was inspired by the look of a pink velvet banquette, with channel tufting adding texture to the back. The steps below can be adapted to a straight bench or a corner configuration. Project notes are credited to Laura.
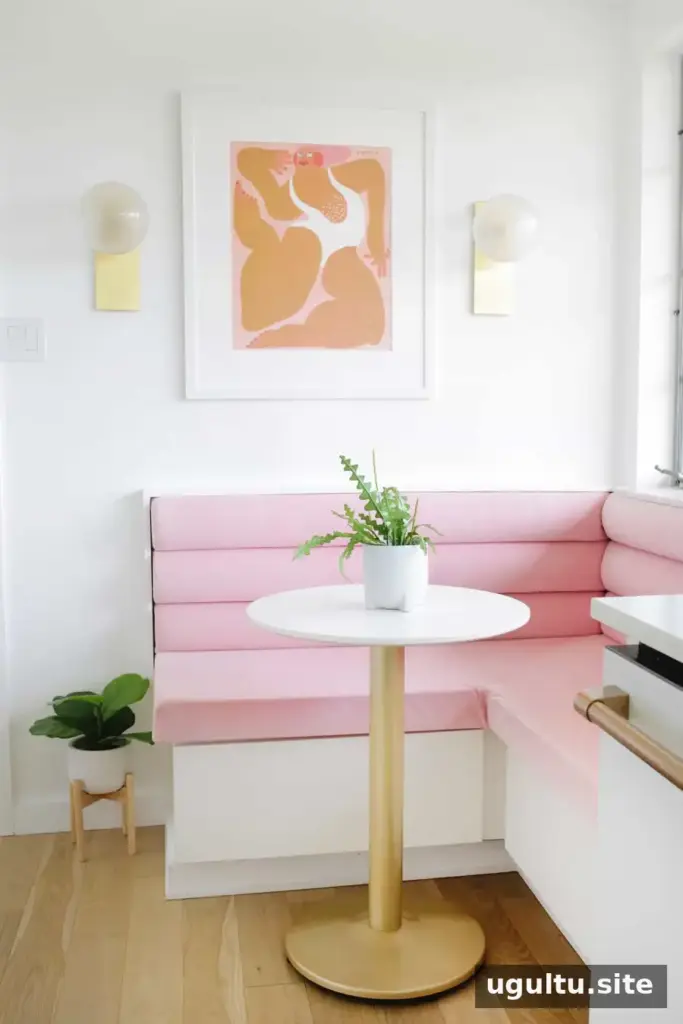
Materials and tools for a pink channel tufted banquette
Gather the materials before starting, and measure the nook so you can estimate the fabric and board lengths needed. The original project used:
- 6–7 yards of velvet upholstery fabric in Bowie pink
- Batting to place between the velvet and foam
- 6-inch pine boards for the backs of the half-round bolsters
- 6-inch-wide half-round bolsters, cut in half
- Eight metal strap ties, with four for each section
- 3-inch upholstery foam
- Plywood for the seat base
- A sewing machine, depending on the cushion shape and finish
- A jigsaw or circular saw for straight cuts in plywood or 3/4-inch boards
- A miter saw for 45-degree cuts on a corner banquette
- A staple gun, preferably electric
- Construction adhesive, optional
- L-shaped corner braces
- 3-inch or 4-inch trim boards, optional
Before buying fabric, account for the seat, channel sections, seams, and fabric that will wrap around the edges. Check the measurements twice, especially where the two sides of an L-shaped seat meet.
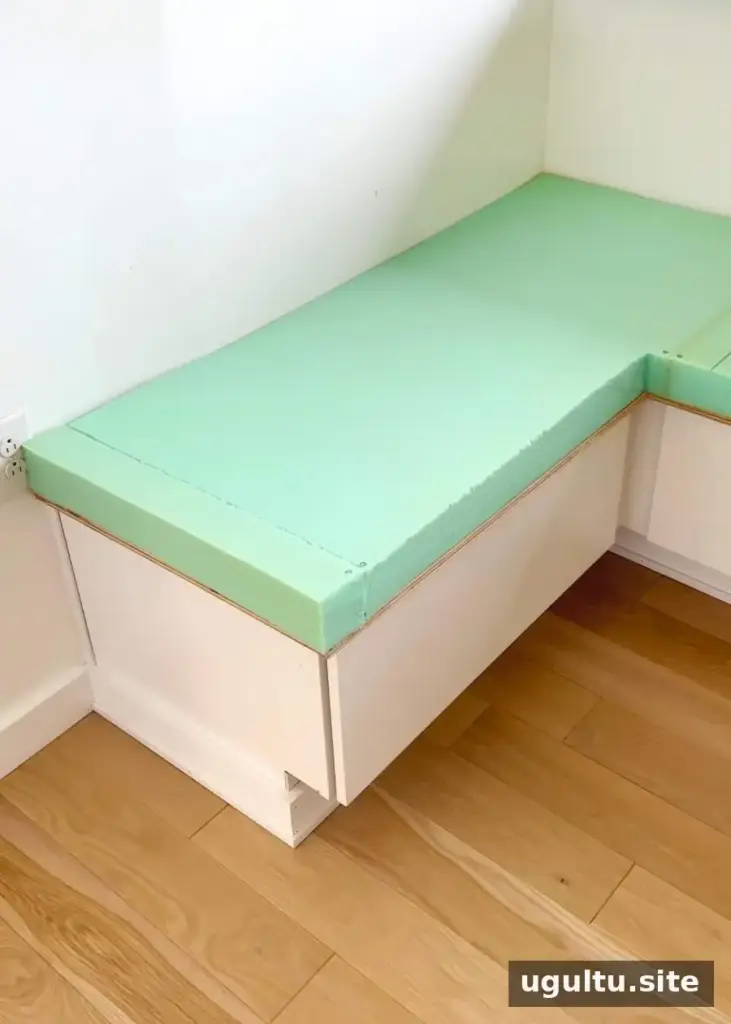
Make the L-shaped seat base
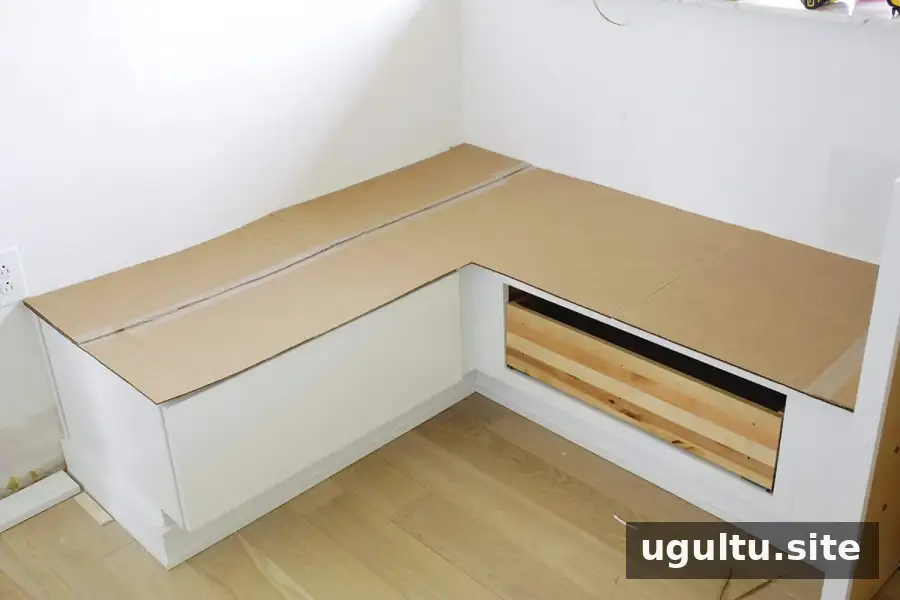
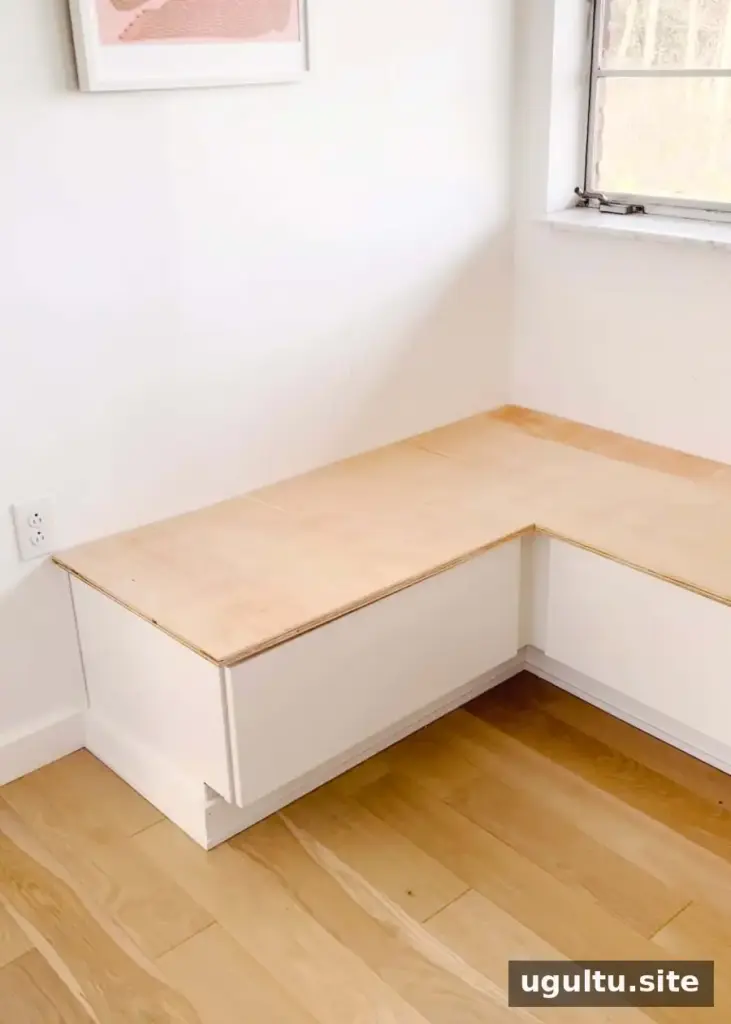
Cut a sheet of plywood to fit the nook. In this project, the seat base was built over existing kitchen base cabinets; a freestanding banquette would need its own supporting base. Allow about a 1-inch overhang at the front and sides if that suits the layout.
A full-size cardboard template is useful for checking the shape before cutting plywood. Place it in the space and confirm that it clears nearby cabinets, counters, and other fixed features. Once the template fits, trace it onto the plywood and cut the seat base with a jigsaw.
Arrange two pieces of foam into an L shape on the base and mark where they need trimming. An electric bread knife or a standard bread knife can cut upholstery foam. Cut gradually and test the fit on the plywood rather than removing too much material at once.
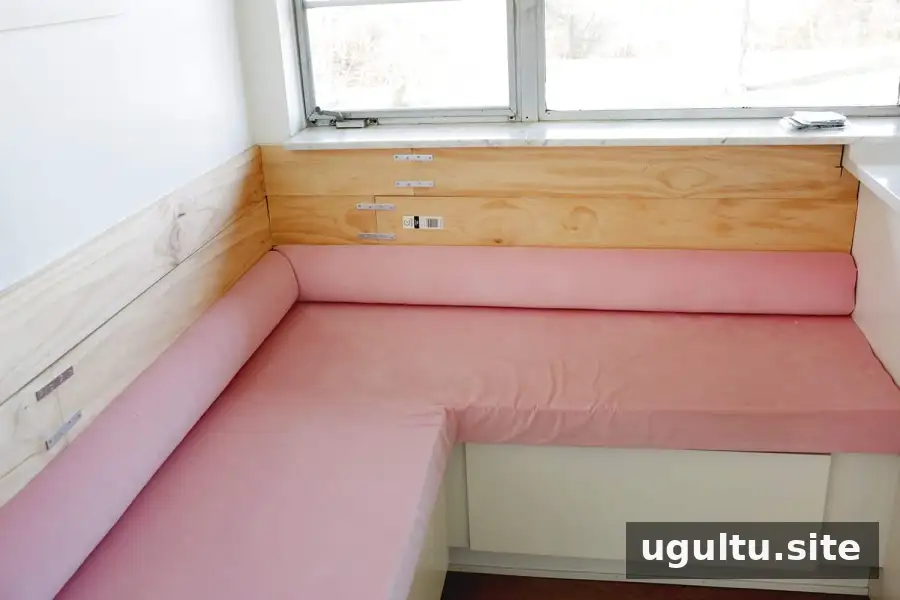
Upholster the seat cushion
Lay the velvet face down, add batting, then position the seat upside down with the foam against the batting. For a straight bench, pull the fabric over the seat edges and staple it to the underside of the plywood every few inches. Fold the corners neatly, much like wrapping a present.
An L-shaped cushion may need a seam where the two sections meet. Pin and sew the fabric along the meeting line before wrapping and stapling it to the underside. The front corner where the fabric falls over the cushion can become bulky. Fold and staple the excess underneath, or sew a seam to reduce the extra fabric before trimming it.
For hidden corners, wrapping and stapling is a practical finish. On an exposed corner, a sewn box corner can create a neater appearance. When working with velvet, keep the fabric pile facing the same direction across all pieces; a change in direction can make sections appear to differ in color.
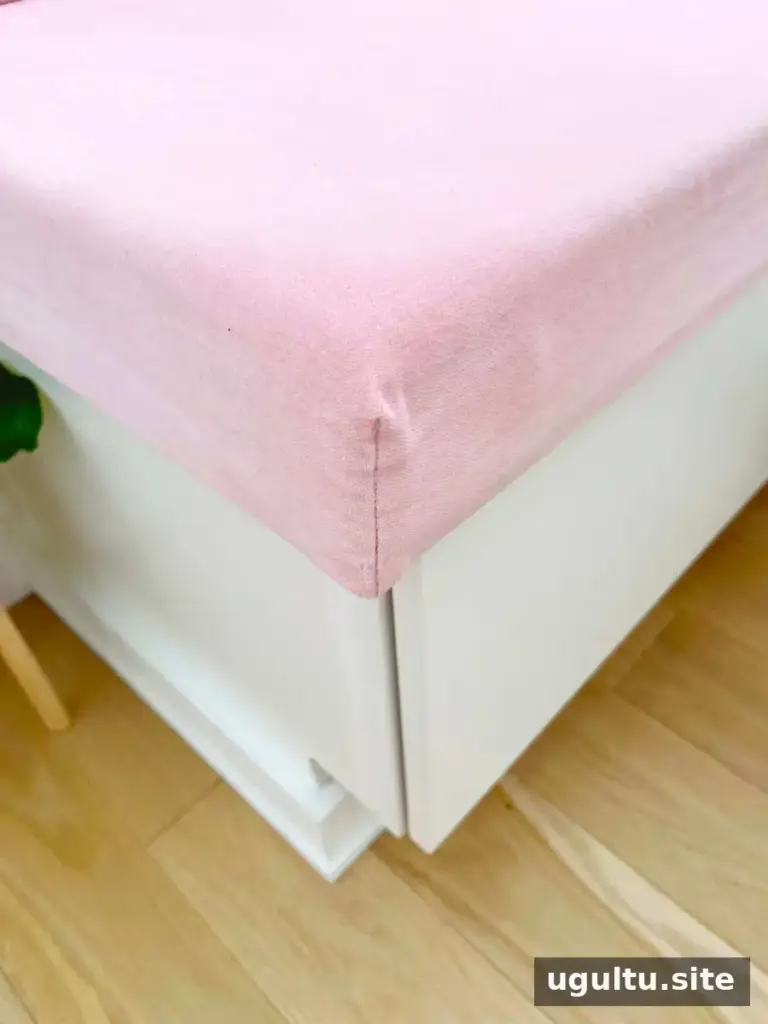
Choose the method that matches the visibility of each edge and your sewing experience. An unseen edge usually does not need the extra work of a sewn finish.
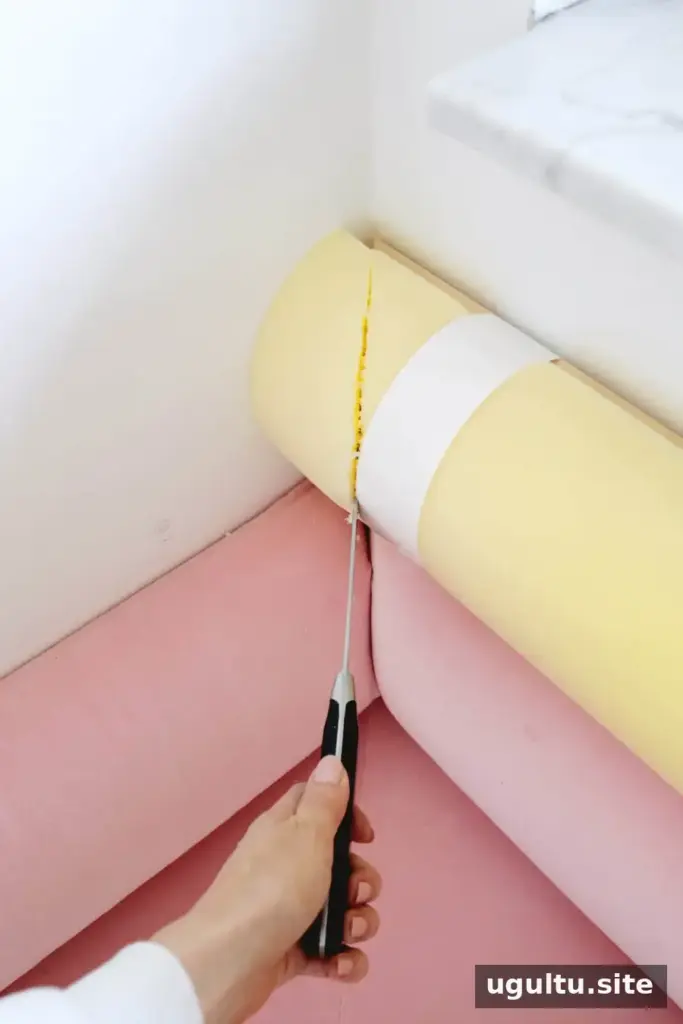
Build and cover the channel tufted back
Cut the boards and foam
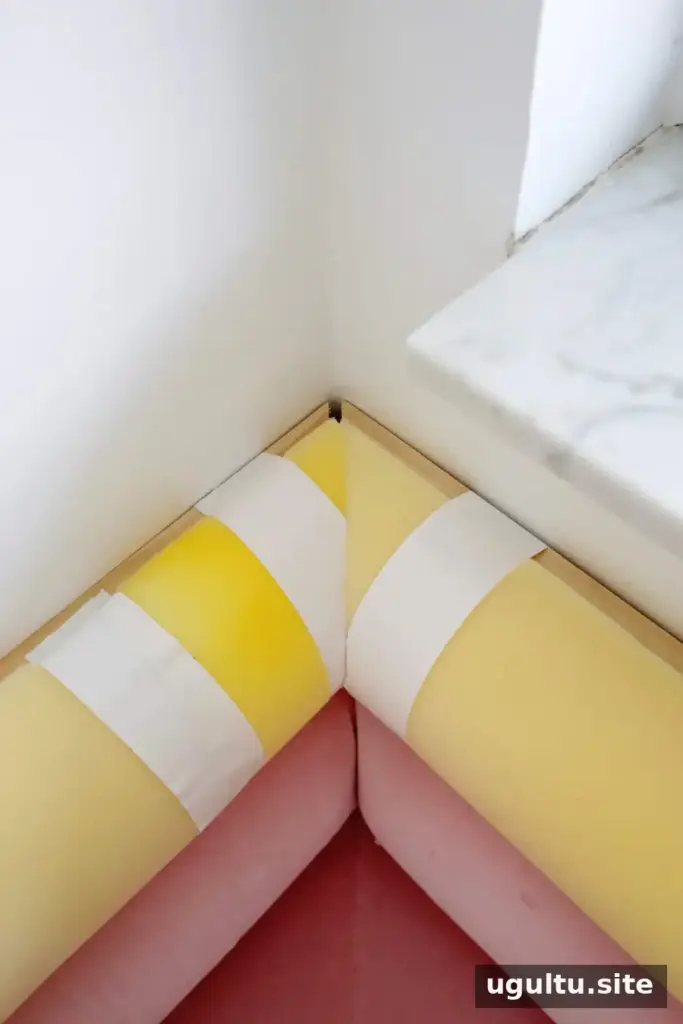
Cut 3/4-inch boards to match the lengths of the left and right back sections. The original layout used three pieces on each side. For a corner, miter the meeting edges at 45 degrees so the sections can join neatly.
Set each half-round bolster on its board and trim it to the required length. Cut the straight outer end first. At the corner, hold the piece in position and mark the angled cut carefully before trimming. Test-fit the pieces as you go; small adjustments are easier before the foam is covered.
Wrap each channel section
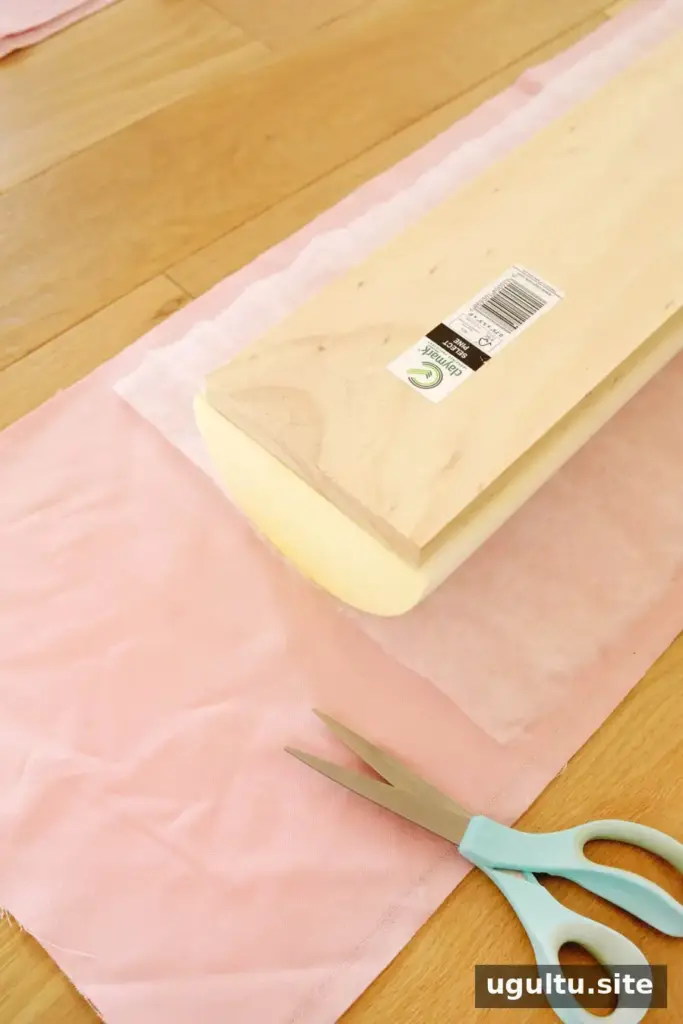
Cut velvet strips wide and long enough to cover the front of each section and wrap around the back for stapling. Lay the fabric face down, place batting over it, and set the board and foam on top with the foam facing the batting. Pull the fabric taut and staple it on the back.
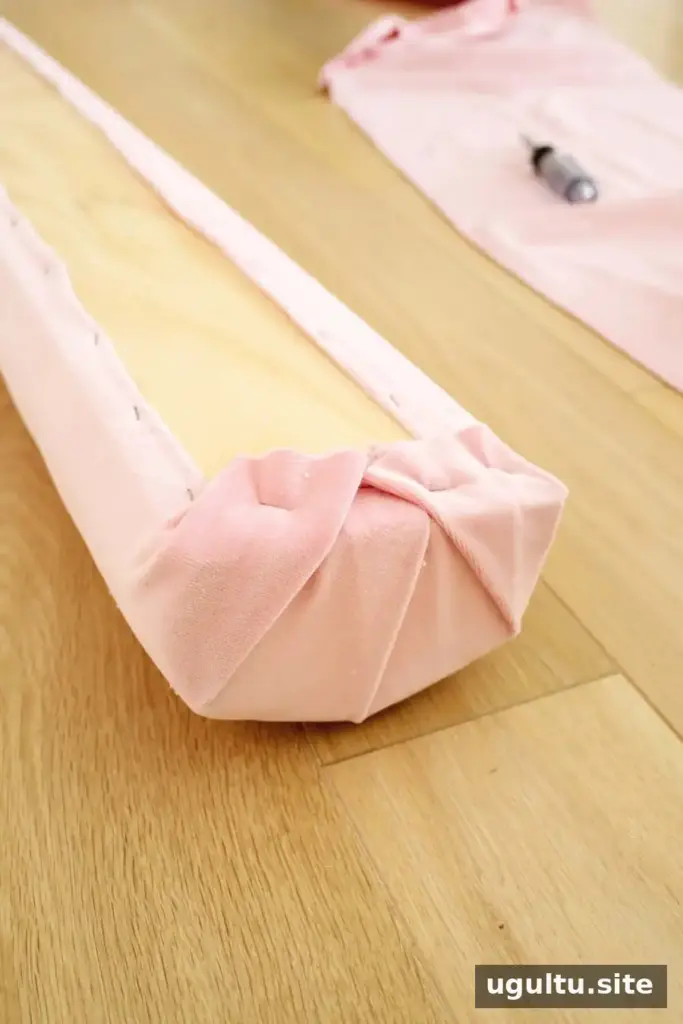
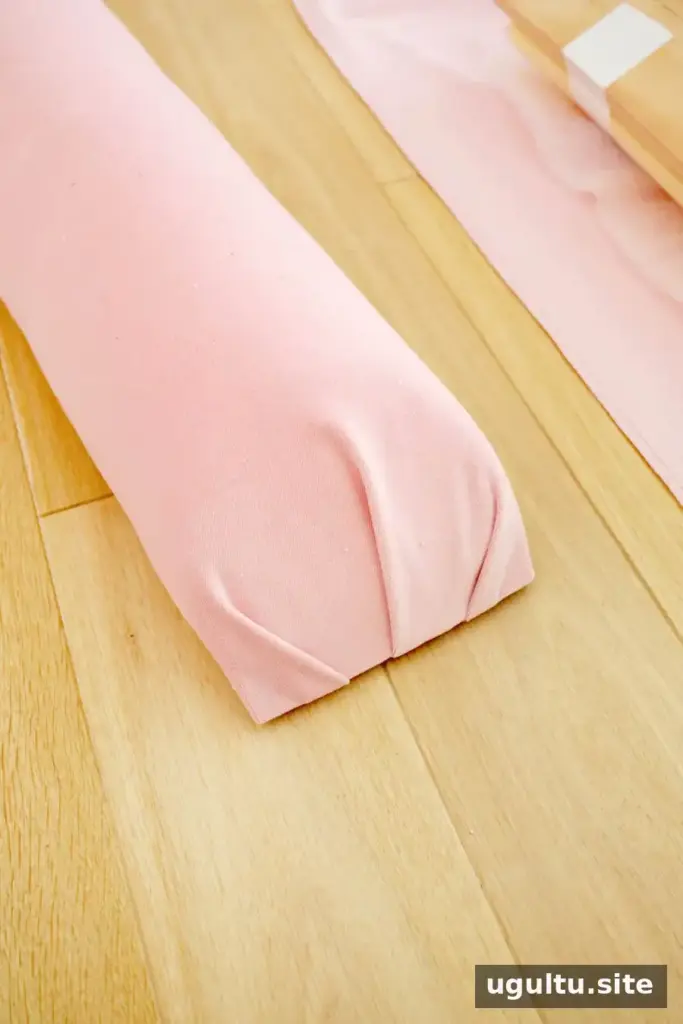
At the mitered corner, fold the fabric underneath and staple it in place. The same wrapping method works on edges that will be hidden by cabinets or walls. For visible ends, sew a half-circle piece of fabric to the main covering, with the right sides together, then turn it right side out and fit it over the foam. Leave extra fabric around the edge so it can be folded underneath and stapled.
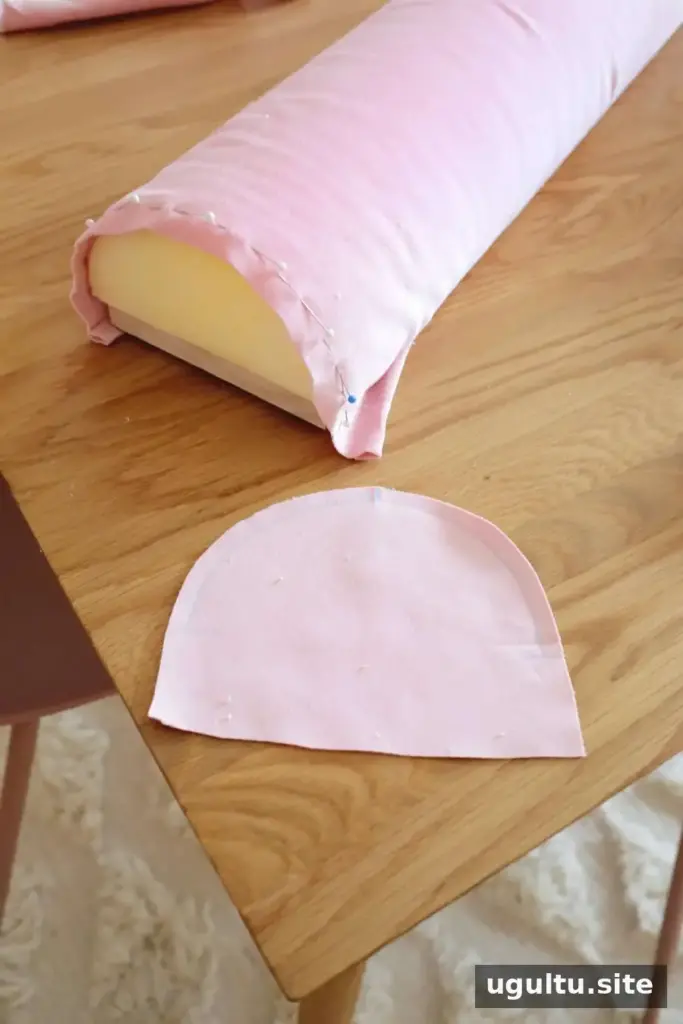
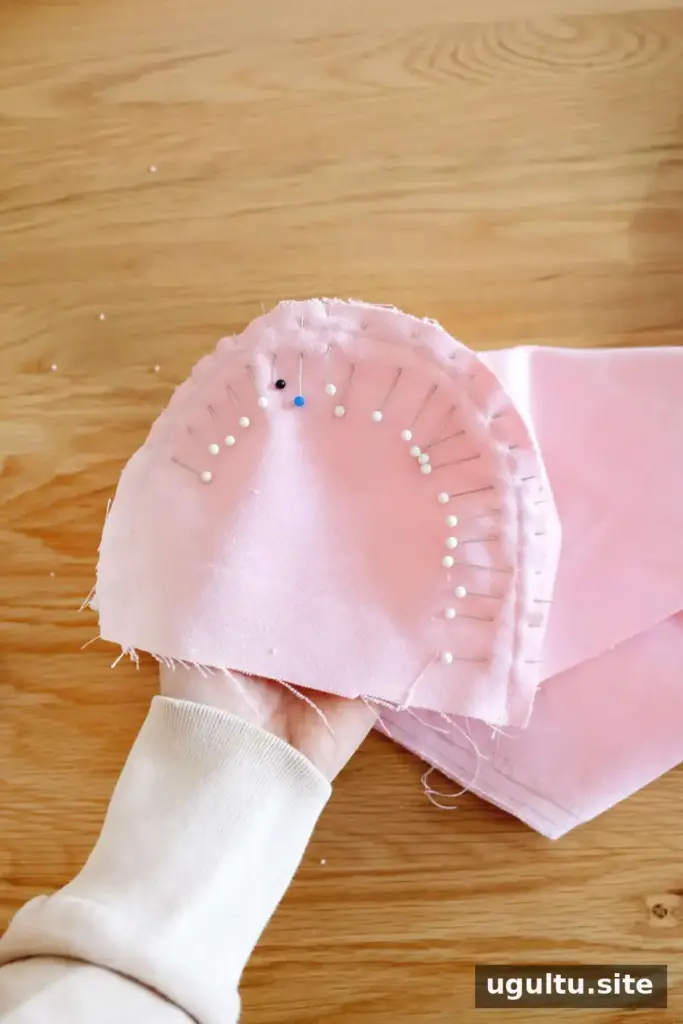
Sewing the exposed ends can give them a more finished look, while folding and stapling is quicker for concealed ends. Pin and check the fit before sewing, especially if the bolster shape or cut is not perfectly uniform.
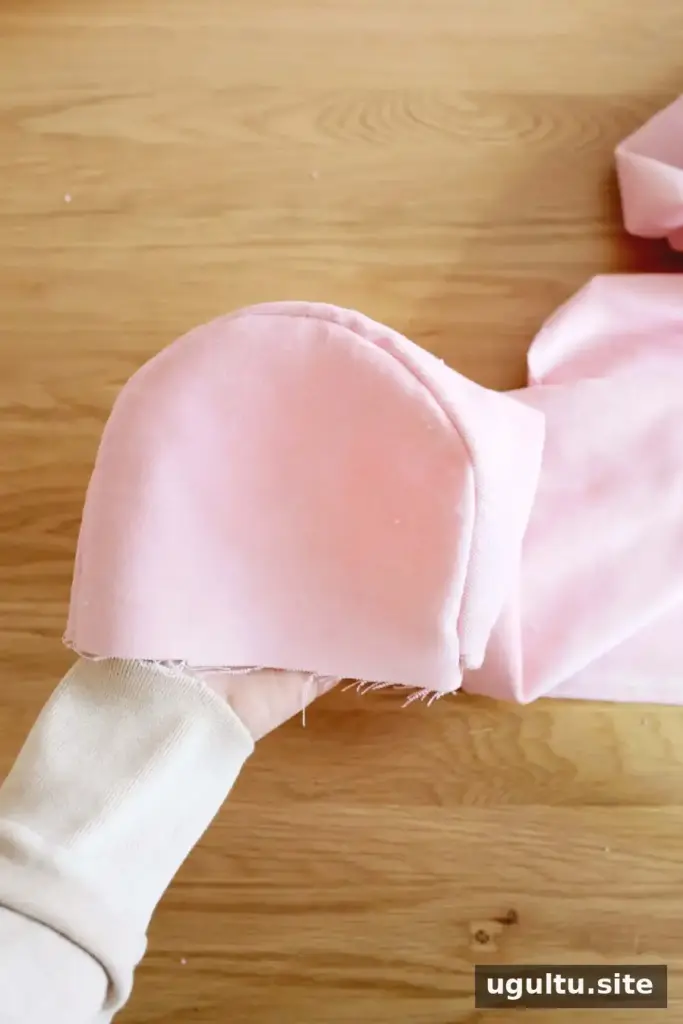
Join the sections and mount them
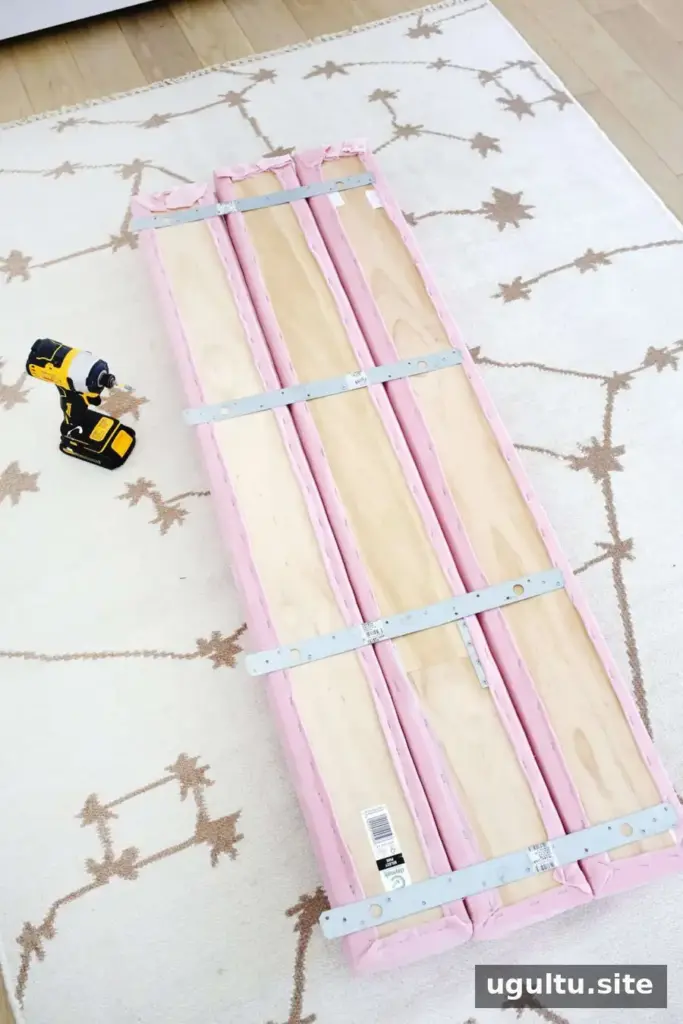
Once the three covered pieces for each grouping are ready, connect them with metal strap ties. In this project, four ties were used for each section. Leave part of each tie extending below the assembly so it can be screwed into the wall to help secure the lower portion.
Use painter’s tape to mark the intended top edge on the wall. L-shaped brackets can support the upper part of the banquette and provide a fixing point for optional trim. Check the height and alignment against nearby features, such as a windowsill, before fastening the brackets.
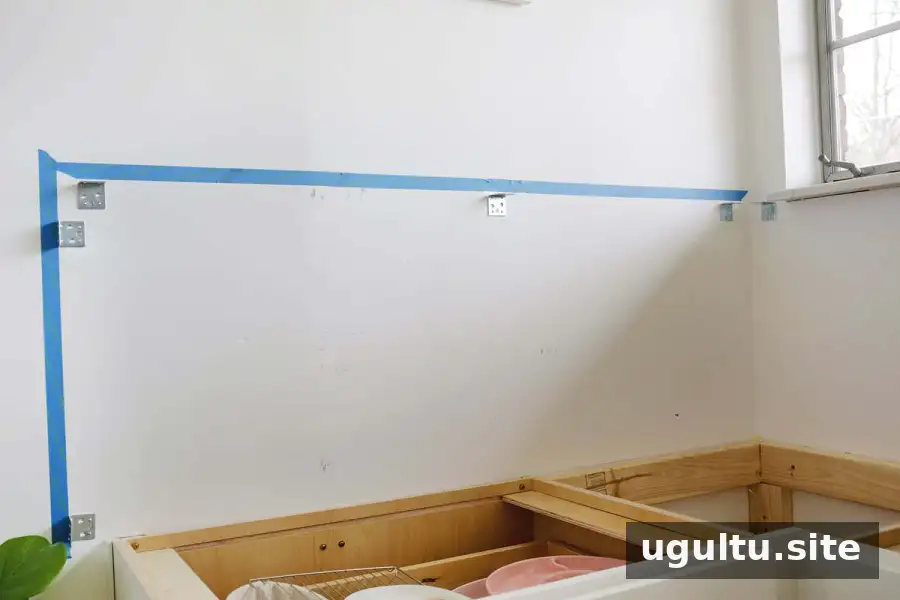
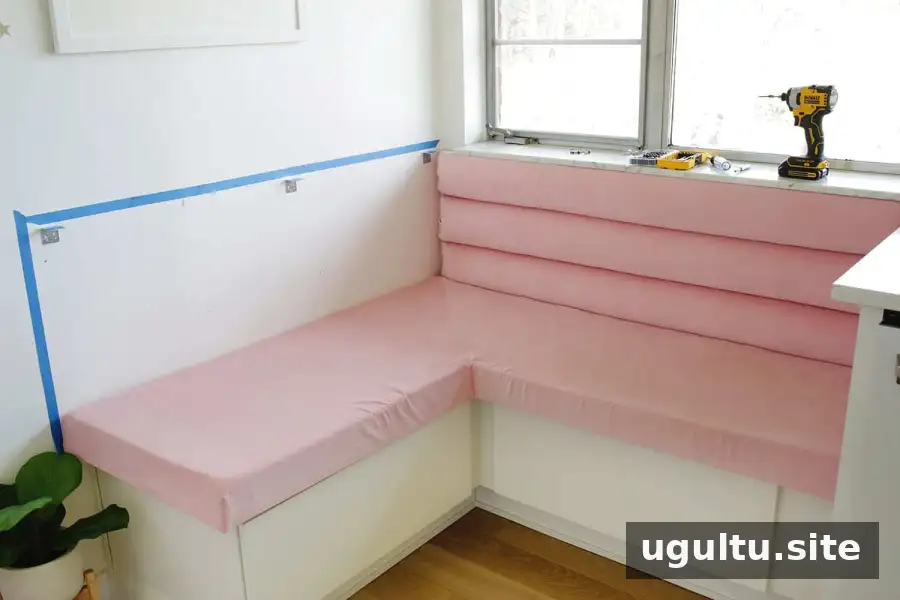
Plan the installation order around the room. Installing the back sections before the seat may be easiest, but counters or other obstructions can prevent a section from being angled into place afterward. Dry-fit the pieces first so you can determine whether the seat needs to go in before one of the backs.
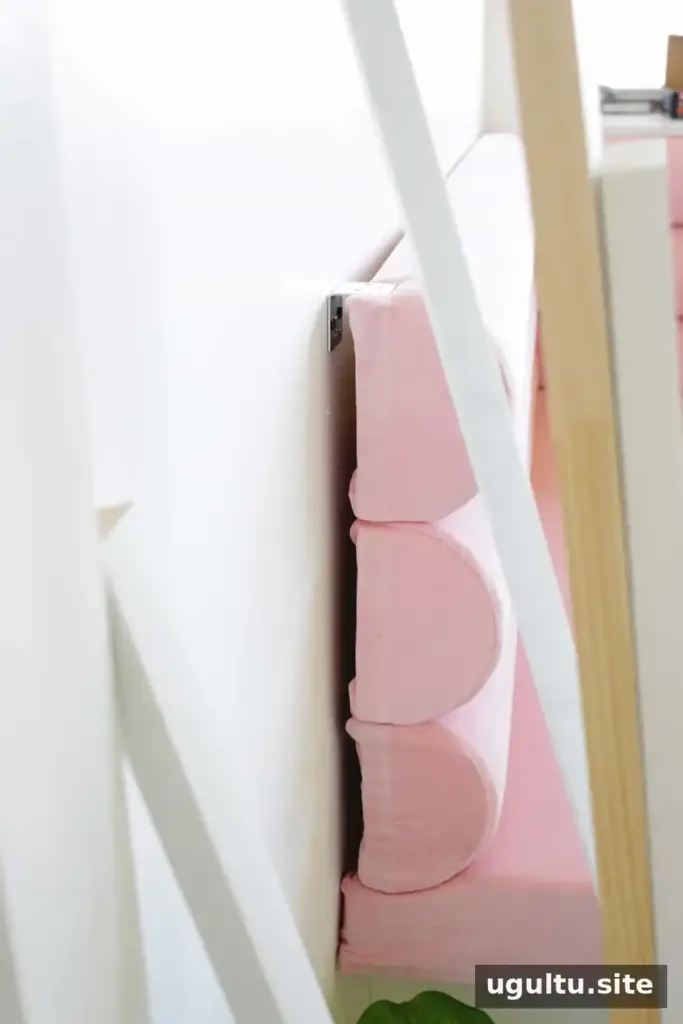
Add trim to cover wall gaps
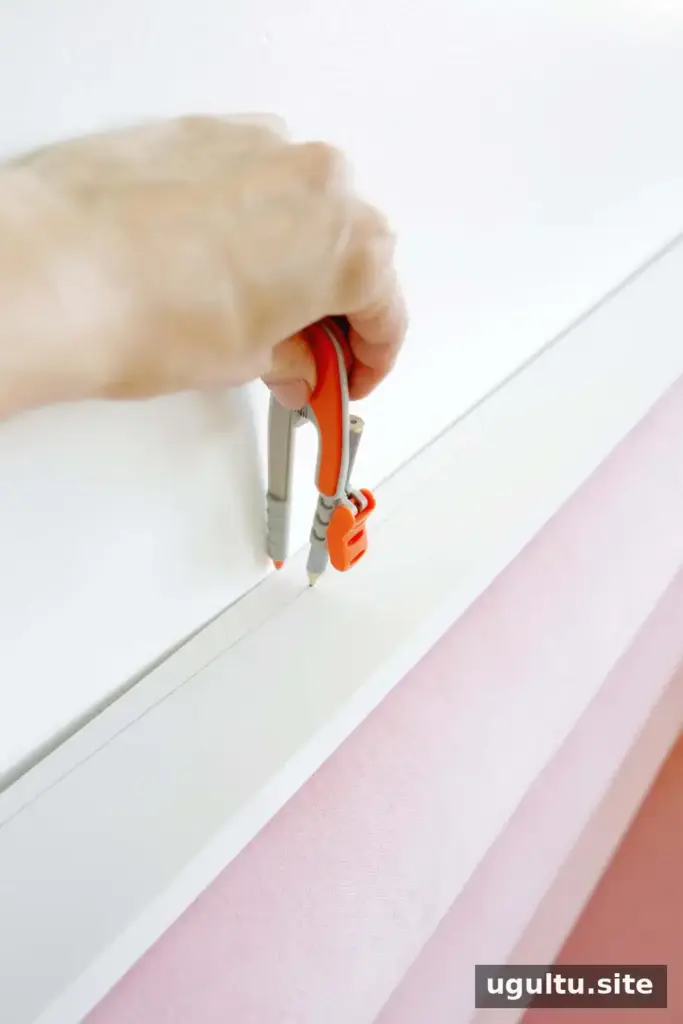
Trim is optional, but it can conceal gaps where an older or uneven wall does not meet the banquette cleanly. To fit a board to a curved wall, use a compass or a small spacer to transfer the wall’s shape onto the wood. Cut along the marked line with a jigsaw and test the fit before installing.
Additional trim pieces can be cut to cover other gaps, joined with wood glue, painted, and attached to the brackets or the wood backing. If the wall is even and no gap needs covering, trim may not be necessary. Choose fasteners or adhesive that are suitable for the materials and installation surface.
Take care when cutting and fastening boards: support the material securely, follow tool safety instructions, and check for concealed services before drilling into a wall.
Final tips for a pink channel tufted banquette
An L-shaped banquette can take longer than a simple straight bench, especially when the space has uneven walls, a nearby countertop, or a windowsill to work around. Measure carefully, use a template for the seat, and test-fit the back sections before upholstery wherever possible. These checks can reduce avoidable re-cutting and help the finished pieces align.
The pink channel tufted banquette brings seating and a bold upholstered detail into an otherwise difficult corner. Adapt the construction steps to the shape of your nook, use sewn finishes where edges are visible, and keep hidden edges simple. With careful planning and fitting, the result can make a kitchen corner more useful as well as more inviting.


