
 admin
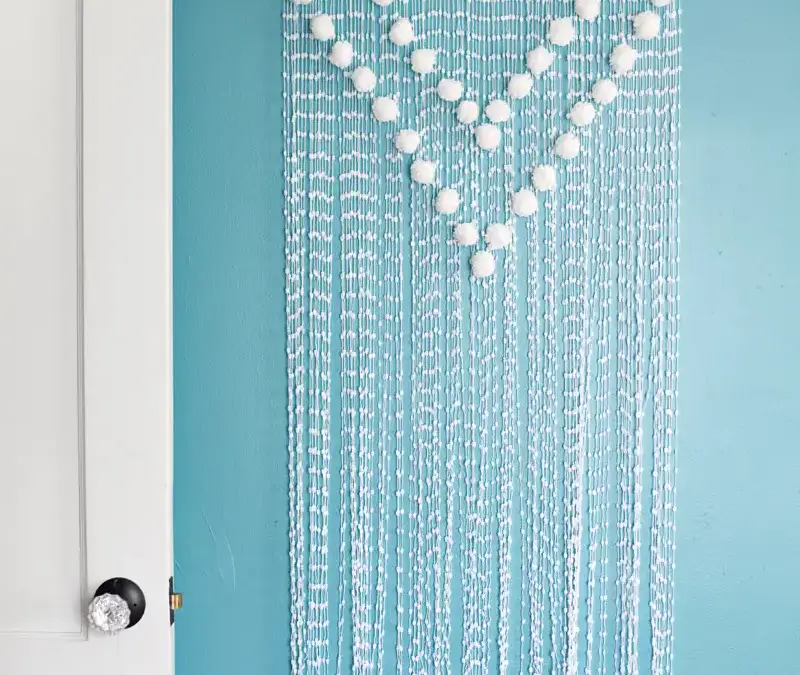
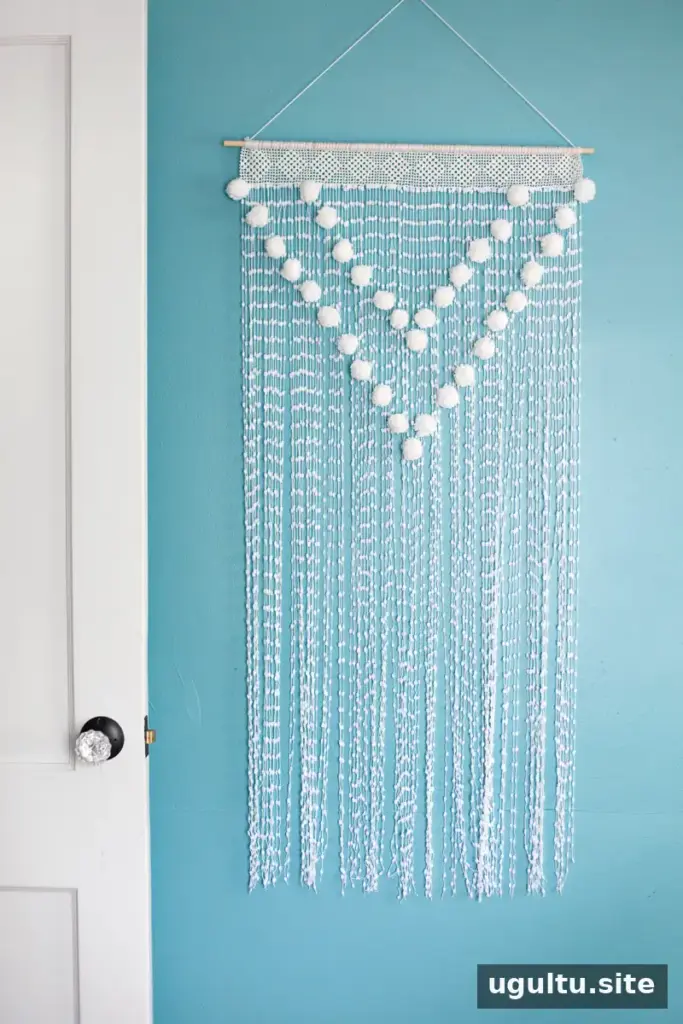
A pom pom wall hanging adds soft texture and a delicate handmade touch to a room. This simple project combines lace ribbon, yarn, and handmade pom poms, and it can be customized to suit different spaces and color schemes. The steps below explain how to assemble the hanging and adjust its final shape.
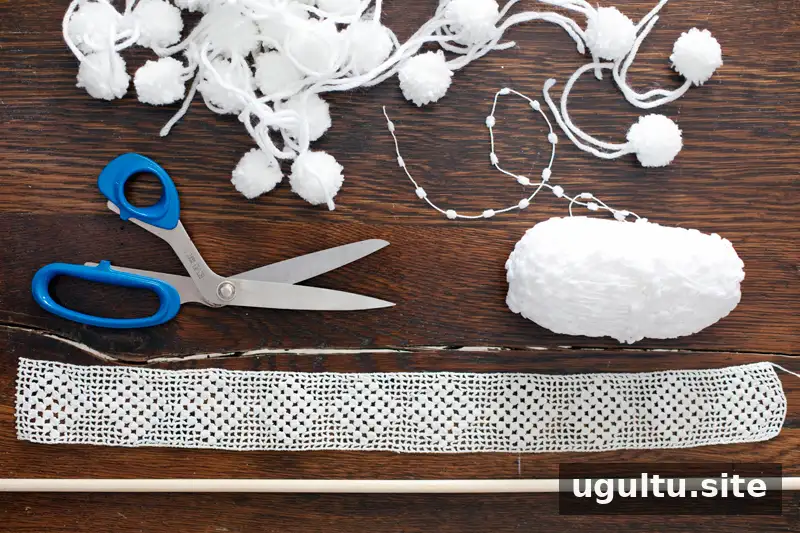
Supplies:
- Handmade pom poms with their tails still attached
- Yarn; a delicate pom pom yarn can add extra texture
- Sharp scissors
- Lace ribbon in the length and style you prefer
- A wooden dowel 2 inches longer than the lace
- An embroidery needle, which is not shown
Before starting, lay out the lace and pom poms to get a sense of the arrangement. This makes it easier to choose a balanced pattern and check that the dowel extends beyond both ends of the ribbon.
How to Make a Pom Pom Wall Hanging
Step 1: Attach the lace to the dowel
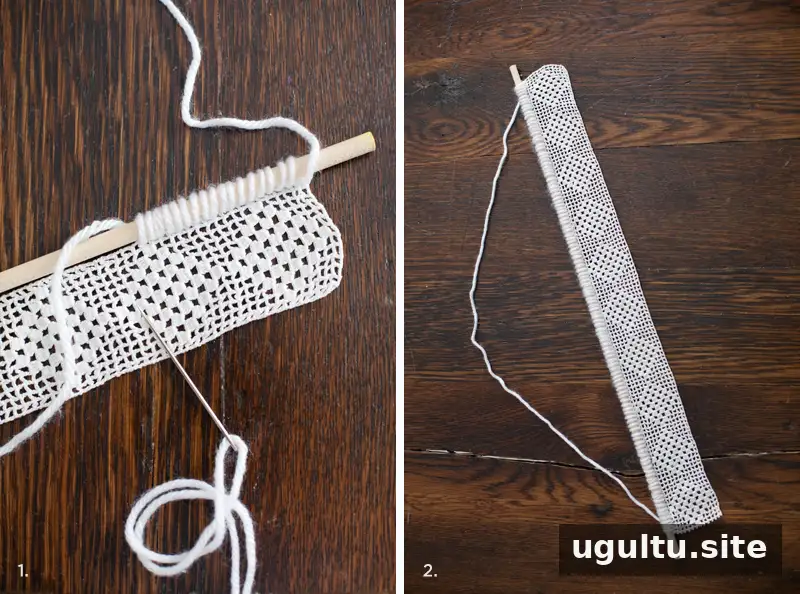
Thread plain yarn through the lace and around the wooden dowel. An embroidery or darning needle can help guide the yarn through the openings. Leave a long yarn tail for the next step. If you run short, knot a new length onto the remaining strand, then use the needle to tuck the loose end into the loops around the dowel.
Keep the yarn loops reasonably secure while working, but check that the lace hangs evenly from the dowel. This helps prevent one side from sitting lower than the other.
Step 2: Secure the dowel and make a hanger
Knot the ends of the looped yarn to hold the lace in place around the dowel. Use a yarn tail to form a hanging string, then knot it securely. With the embroidery needle, tuck the knot ends into the yarn wrapped around the dowel for a neater finish.
Step 3: Add hanging yarn strands
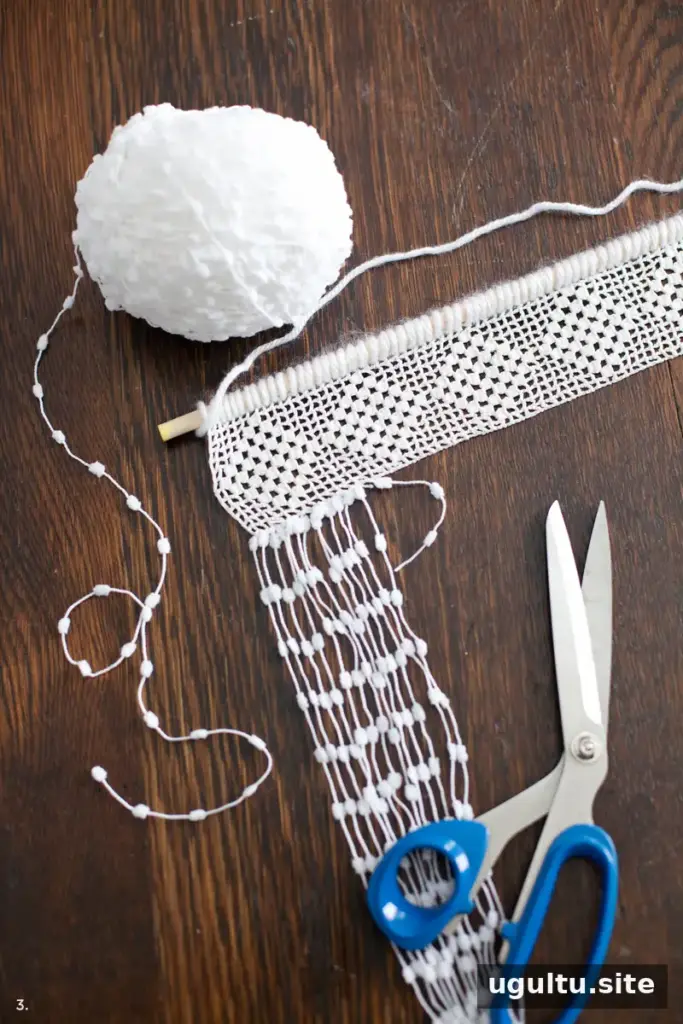
Tie lengths of yarn through the openings along the bottom edge of the lace ribbon. Make firm knots and trim away the excess yarn. The strands do not need to be identical in length at this stage; you can trim them after arranging the pom poms.
For a tidy result, check that each strand is attached securely before adding decorations. Leave enough length to position the pom poms where you want them.
Step 4: Arrange and attach the pom poms
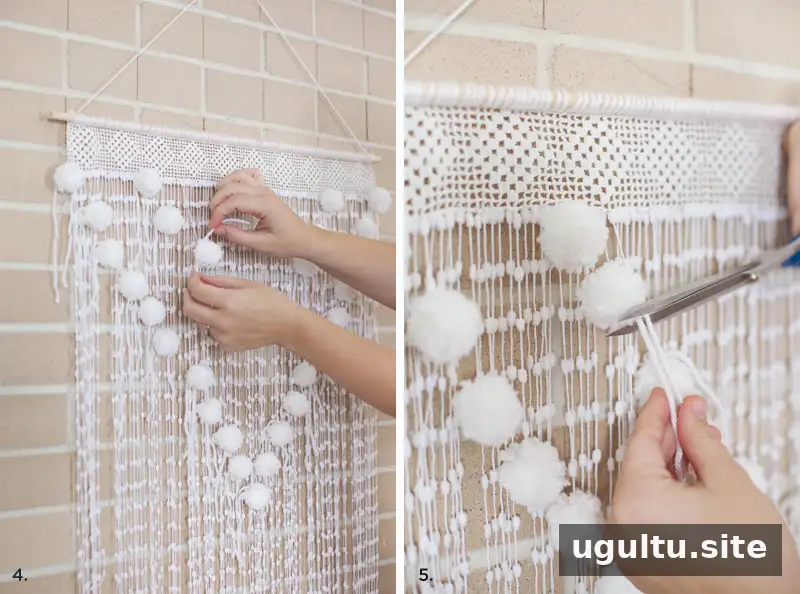
Use the tails on the pom poms to tie them onto the hanging yarn strands. Arrange them in a repeating pattern or place them at varied heights for a more relaxed look. Step back occasionally to assess the overall spacing before securing the final arrangement.
Step 5: Finish the design
Once the pom poms are positioned, knot them in place and trim their tails. You can also even out the hanging yarn lengths now, using sharp scissors and trimming a little at a time to avoid cutting them shorter than intended.
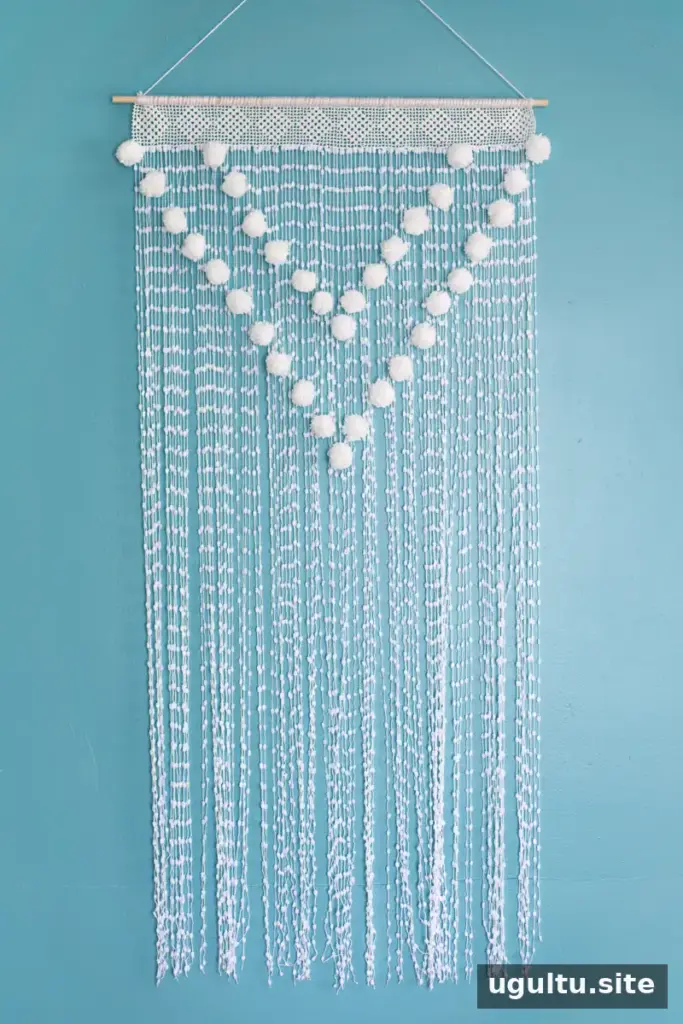
Customize Your Pom Pom Wall Hanging
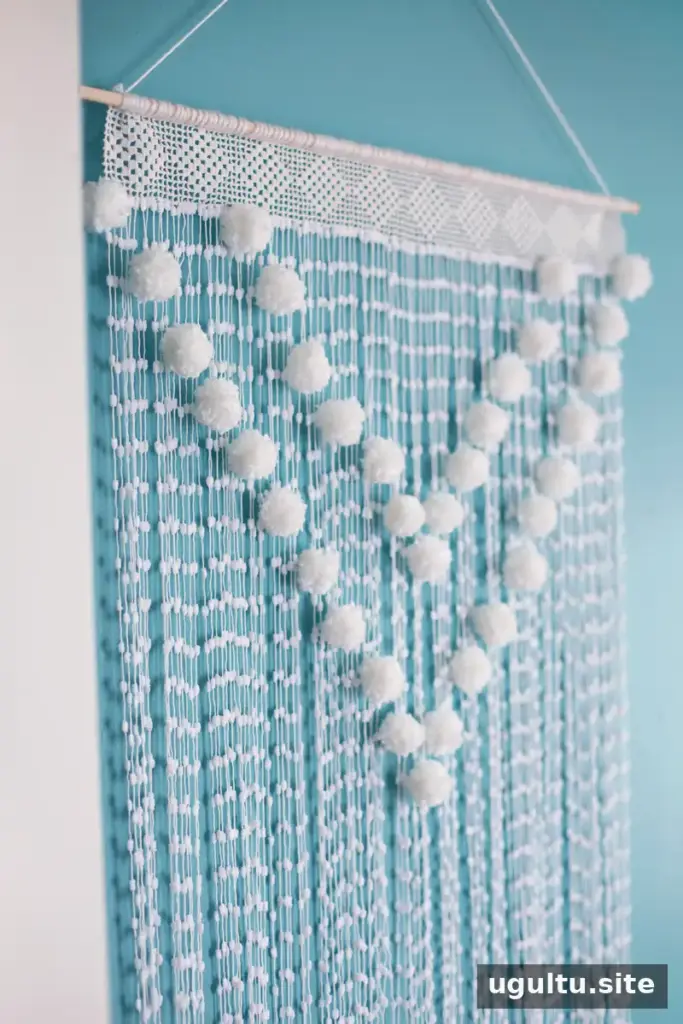
This project offers a straightforward way to create a large-scale wall decoration, with plenty of room to adapt the finished piece. Try different yarn textures, lace styles, pom pom sizes, and arrangements to create a design that works with your room. Before hanging it, make sure the hanging string and knots are secure. —Mandi


