
 admin
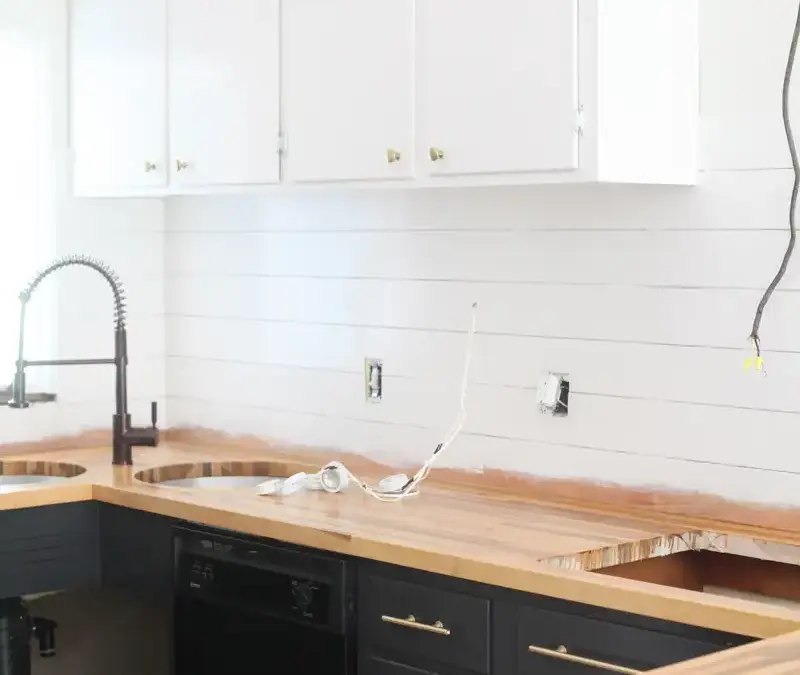
Refinishing kitchen cabinets can give a kitchen a brighter, updated look without the expense of replacing the cabinetry. Keeping the existing cabinets can be a practical choice when the layout works and the budget is limited, although worn or uneven surfaces may need extra preparation before painting.
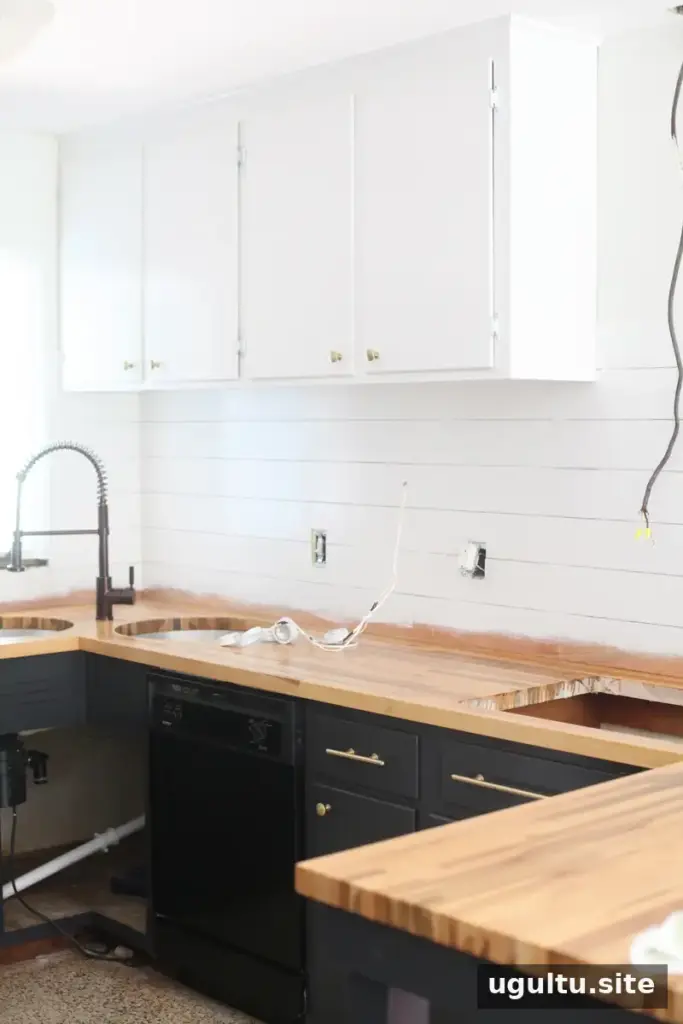
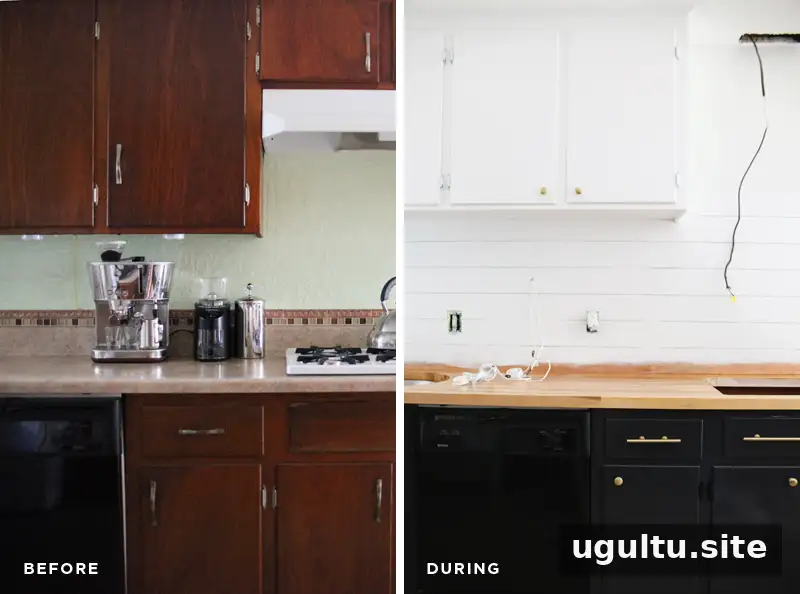
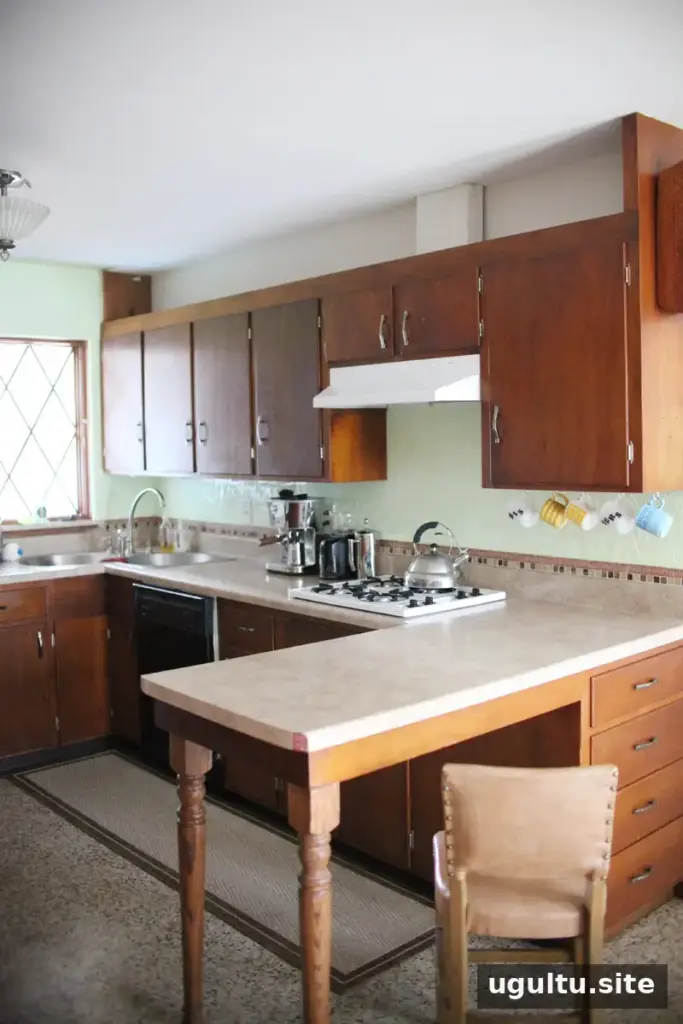
In this project, simple plywood cabinets were repaired, primed, and painted. White upper cabinets and dark charcoal-gray lower cabinets helped brighten the room while adding contrast. The process also involved new hardware, careful scheduling, and time for the paint to cure.
Refinishing Kitchen Cabinets: What to Consider First
Before starting, inspect the cabinet frames, doors, and drawers. Painting can improve their appearance, but it will not correct structural damage or a poor layout. Chipped edges, holes, and dents can be filled and sanded; badly damaged components may need repair or replacement.
Plan where cabinet contents will go while the kitchen is out of use. If the sink, stove, or counters will be unavailable, arrange a temporary place to prepare meals. A written schedule can also help coordinate work sessions, borrowed tools, and helpers.
Choose a Paint Finish and Color
A two-tone design is one way to add contrast while keeping the upper part of the kitchen light. This project used untinted white semi-gloss paint on the upper cabinets and a dark charcoal-gray semi-gloss paint on the lower cabinets.
Semi-gloss paint is relatively easy to wipe clean, but fingerprints can be noticeable. Using cabinet knobs or pulls instead of pushing directly on the painted surface can help limit marks. Select a coating suitable for cabinets and follow its label for application, thinning, drying, and curing instructions.
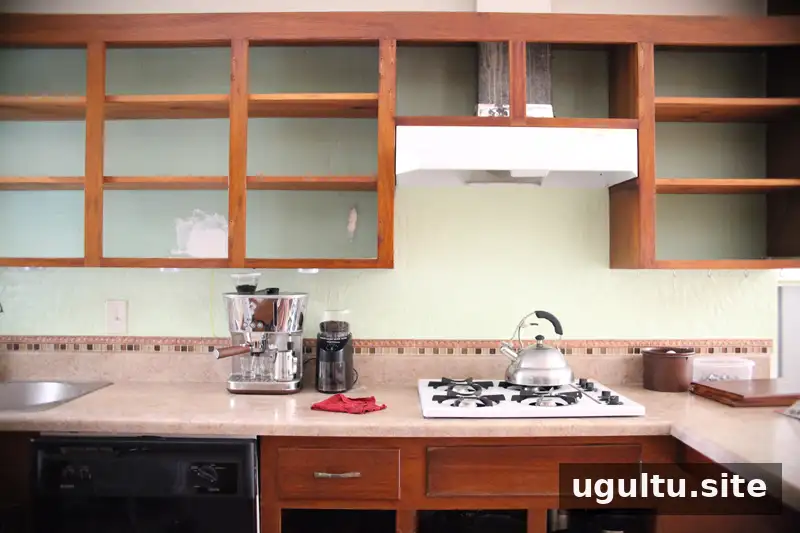
Make a Realistic Project Timeline
Cabinet refinishing involves several stages, and drying time can make the project take longer than expected. This six-day work plan involved different numbers of helpers and did not include the additional week recommended in the project before reinstalling doors and drawers.
- Day one: Empty the cabinets and drawers, then organize their contents in boxes and on folding tables. Two people completed this in one evening.
- Day two: Remove the upper cabinets if needed, take off doors and drawers, remove hardware, sand the old finish, fill defects, and sand again after the filler dries. Three people worked through an afternoon and late evening.
- Day three: Mask drawer sides and interiors, spray on primer, wet-sand the primed surfaces, and apply another coat of primer. Two people spent a morning and afternoon on this stage.
- Day four: Mask cabinet interiors, prime the cabinet faces with two coats, and apply two coats of paint. Two people worked into the evening, including time for coats to dry.
- Day five: Spray two coats of paint on the doors and drawers, then leave them to dry on wax paper. Two people spent a morning and afternoon on the task.
- Day six: Rehang the upper cabinets and fit the new hardware. Three people worked in the evening.
- Day seven: Hang the doors with new hinges. Two people completed this in one evening.
Allow the coating to cure fully before putting doors and drawers back into regular use. In this project, the recommendation was to wait one week after painting; check the paint label, since curing times can vary. Handling painted pieces too soon can cause surfaces to stick together or become damaged.
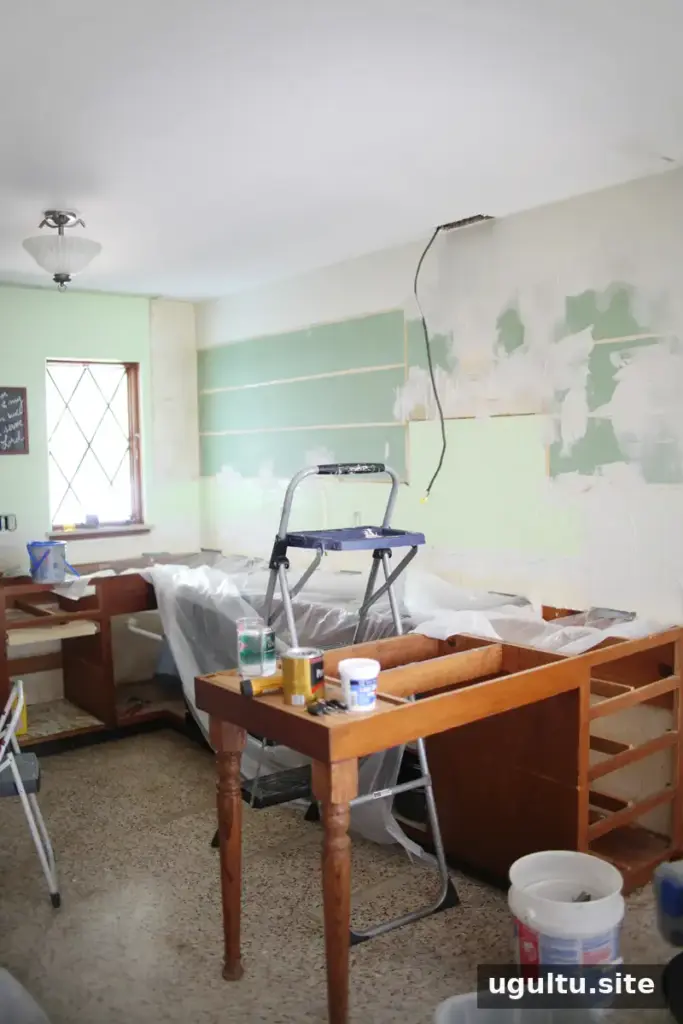
Materials and Tools
The project used the following supplies. Quantities are included as reported, but the amount needed for another kitchen will depend on its size and the number of coats required.
- One gallon of tinted primer for use beneath dark paint
- One gallon of regular primer
- One gallon of untinted white semi-gloss paint
- One gallon of dark charcoal-gray semi-gloss paint
- 120-grit, 180-grit, and 400-grit wet/dry sandpaper
- Latex wood filler
- Rags, buckets, a palm sander, a spray gun, an air compressor, a power drill with drill bits, and breathing masks
Use suitable protective equipment and follow product and equipment instructions. Spraying can create airborne paint particles, so prepare the work area and use appropriate respiratory protection.
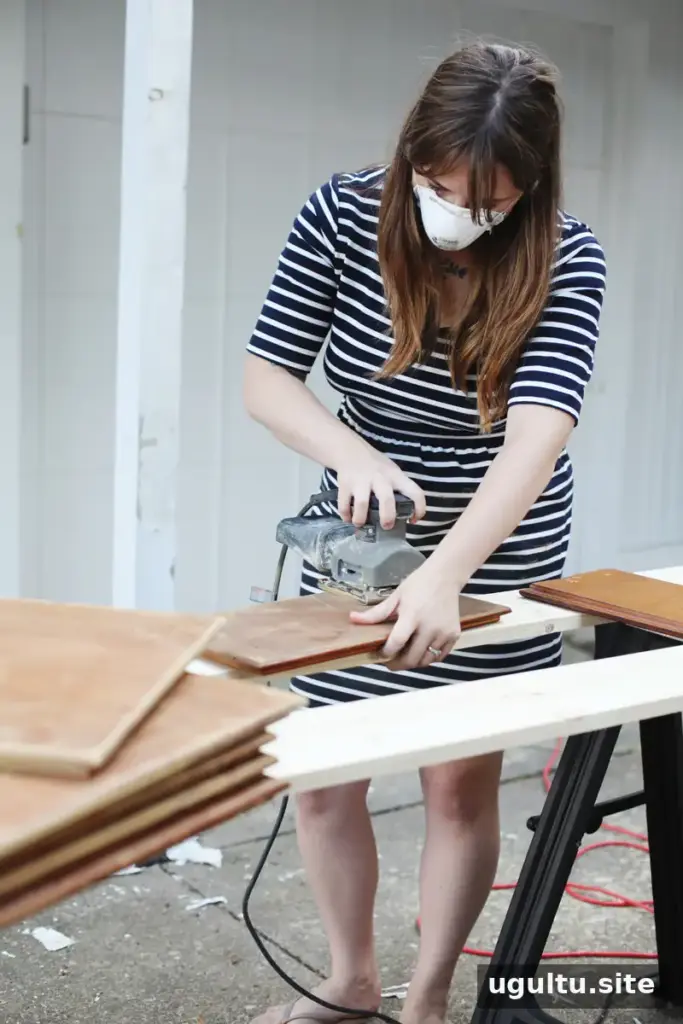
Prepare the Cabinet Surfaces
Remove doors, drawers, and hardware before sanding. The project used 120-grit sandpaper followed by 180-grit to remove the existing finish and prepare the wood for primer. Keep track of hardware and label doors or hinges if that will make reassembly easier.
Fill holes that will not be reused, along with chips and other surface defects. Press wood filler firmly into the holes, smooth away excess, and allow it to dry completely. Sand the repaired areas with 180-grit paper. Filler may shrink as it dries, so inspect the surface and repeat the filling and sanding process until it is smooth.
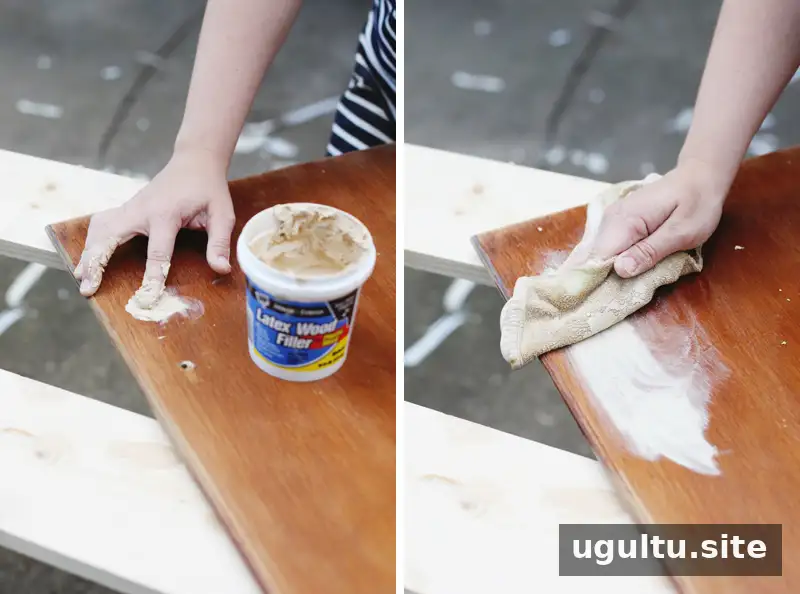
In this project, the old hinge holes were filled before new hinges were installed. Starting with filled holes avoided relying on existing placements that might not line up evenly. The drawer hardware used the same hole spacing as the previous pulls, so those drawer holes did not need filling.
Mask drawer sides and interiors if only the visible fronts are being painted. This can reduce unnecessary painting and help keep the inside surfaces protected.
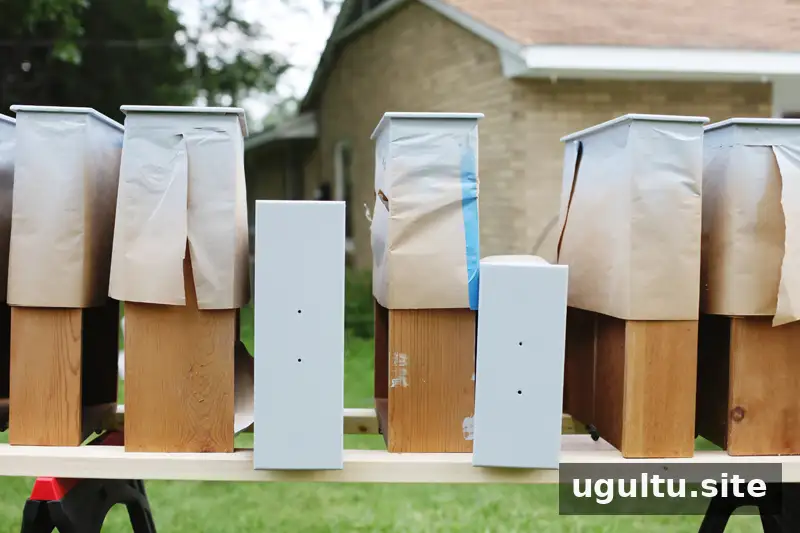
Prime, Sand, and Paint
Apply primer to the prepared doors, drawers, and cabinet faces. Once the primer has set, lightly wet-sand the surfaces with 400-grit wet/dry sandpaper. Sanding can smooth raised wood fibers and the grainy texture that may show through primer.
Keep the sandpaper wet while working and rinse it as needed to prevent paint residue from clogging the surface. After sanding, rinse and dry the pieces. If sanding has exposed wood at edges or corners, apply another coat of primer before painting.
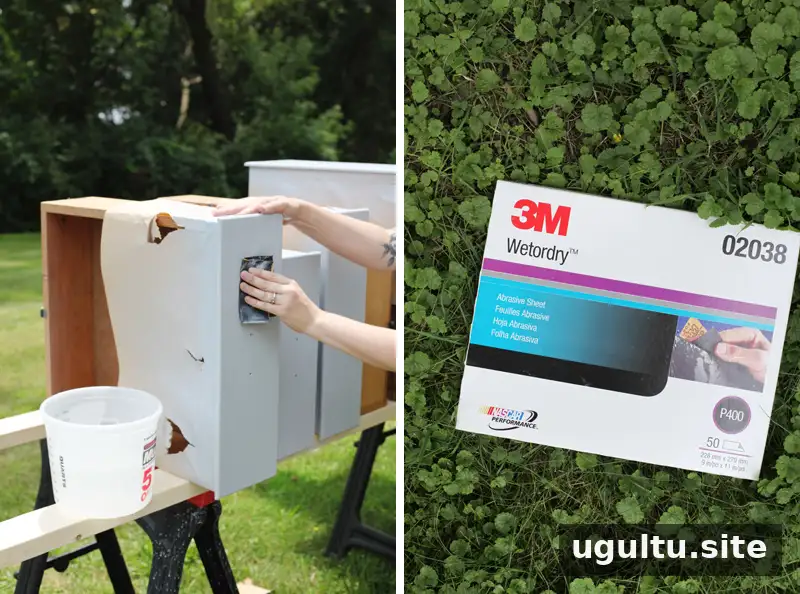
Spray painting was used for the doors and drawers, while the cabinet faces were primed and painted in place. Work in suitable weather and avoid painting when insects or dust are likely to settle on wet surfaces. Prepare a stable drying area before spraying so freshly painted pieces can be moved without touching one another.
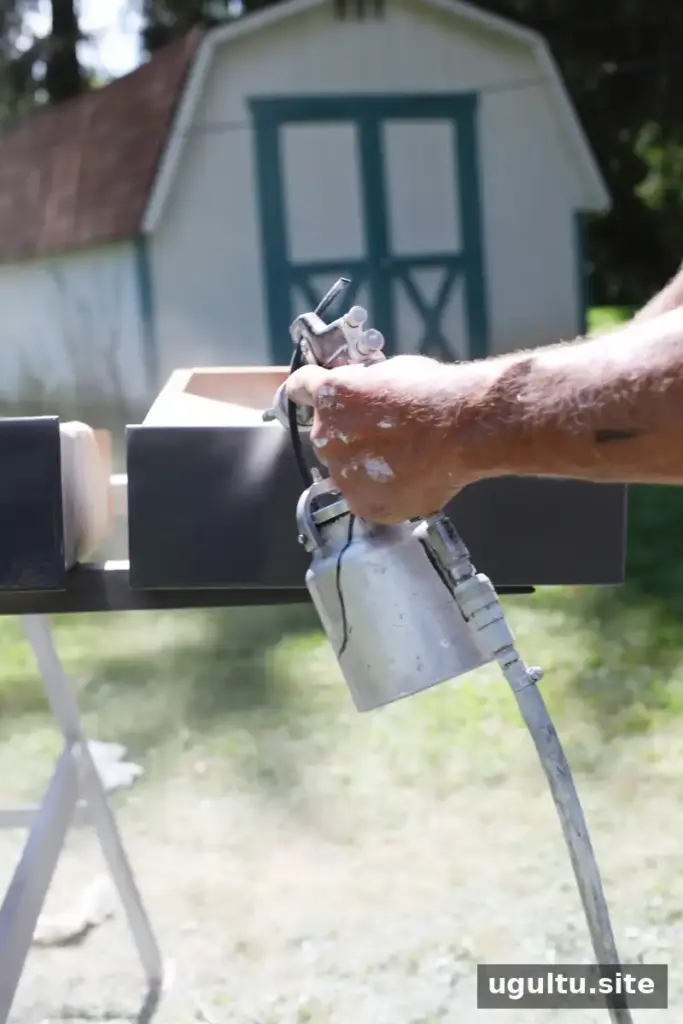
Using a Spray Gun
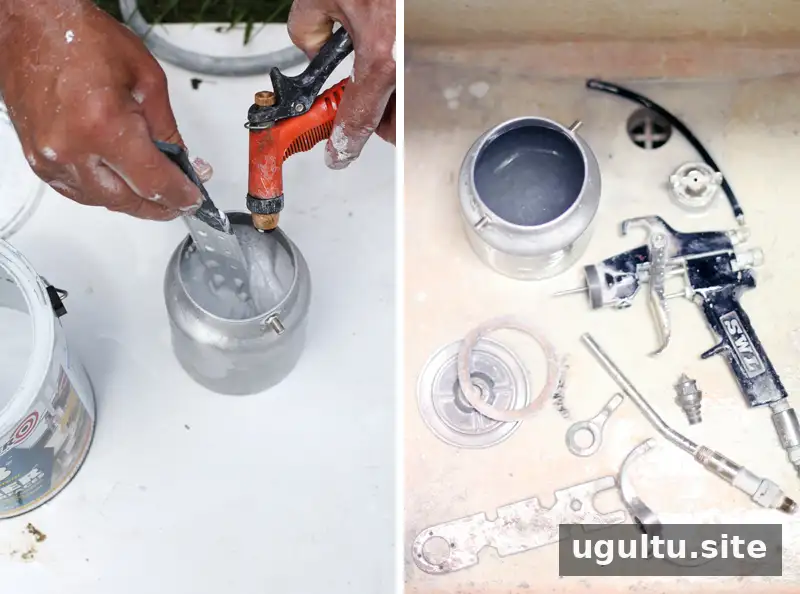
A spray gun can produce a smooth finish, but it requires setup and thorough cleaning. A pneumatic model needs an air hose and compressor; compressor capacity can affect how continuously the work proceeds. Equipment without a hose or compressor may be an alternative, though the tool itself can be heavier to hold.
Some paints need to be thinned for spraying. The required consistency depends on the coating and the spray equipment, so follow the paint and sprayer instructions rather than relying on a single formula. For the latex paint used in this project, water was added. The sprayed finish appeared less shiny than the paint applied by brush or roller, so the amount of water was kept as low as practical.

After applying two coats, place the doors and drawers on a clean surface such as wax paper, with the appropriate side facing down, and allow them to cure. High humidity can affect drying, so choose a protected area with suitable temperature and humidity conditions.
Select Hardware That Fits
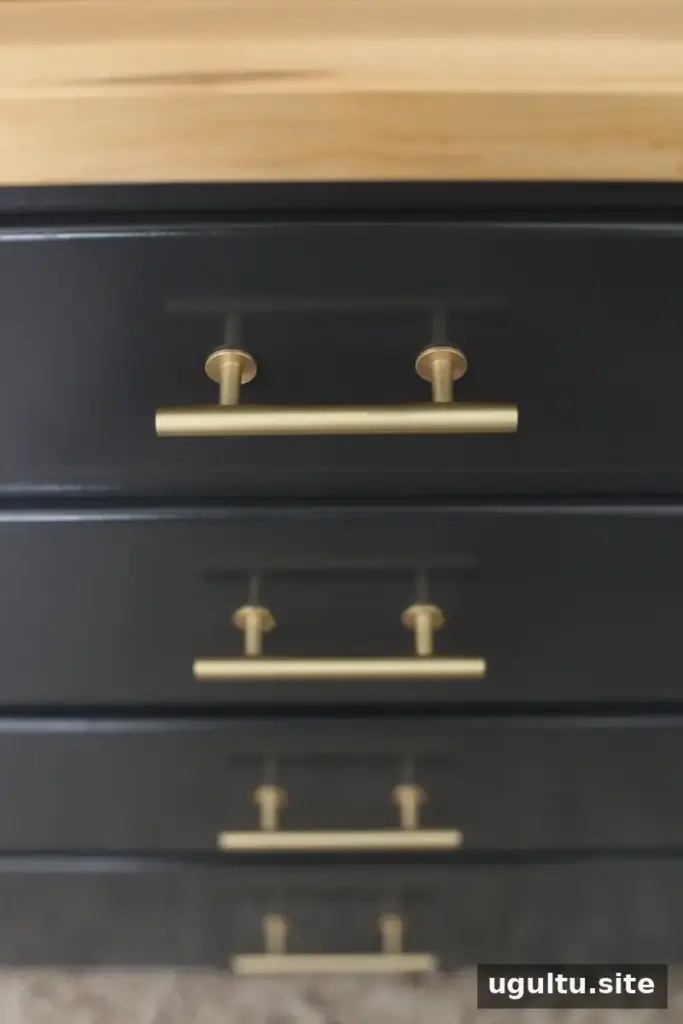
New knobs, pulls, and hinges can change the look of refinished cabinets. Before choosing drawer pulls, measure the distance between the existing screw holes. Matching that center-to-center measurement can avoid filling and redrilling holes.
Mixing knobs and bar pulls is another option if a matching set exceeds the budget. In this project, smaller bar pulls were used on drawers and coordinating brass knobs were selected for doors. The combination saved $452 compared with using the originally planned pulls throughout; the planned hardware total was $660.
Hinges can blend in with the cabinet color or provide a contrasting detail. This project used white hinges on the upper cabinets and black hinges on the lower cabinets, while retaining the original style of hinge rather than cutting recesses for concealed hardware.

Conclusion: Is Refinishing Kitchen Cabinets Right for You?
Refinishing kitchen cabinets can be a cost-conscious way to refresh a kitchen when the existing cabinetry is serviceable. Careful surface preparation, a realistic schedule, compatible paint and primer, and adequate curing time all contribute to a more durable result. Check the cabinet condition and product instructions before starting, and plan hardware measurements in advance to avoid unnecessary repairs. —Mandi


