
 admin

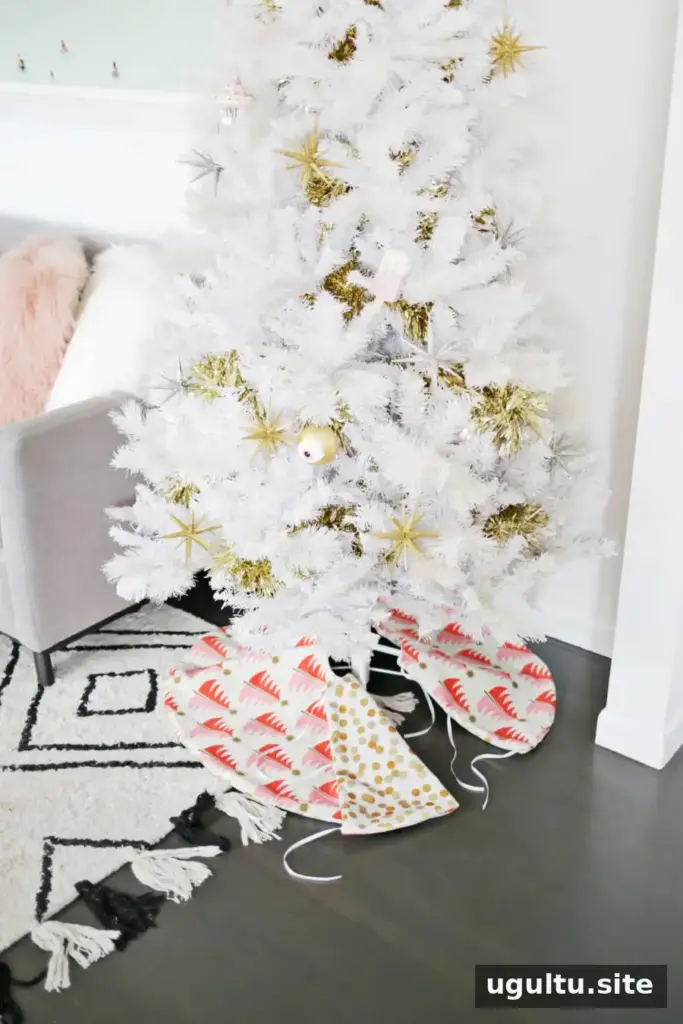
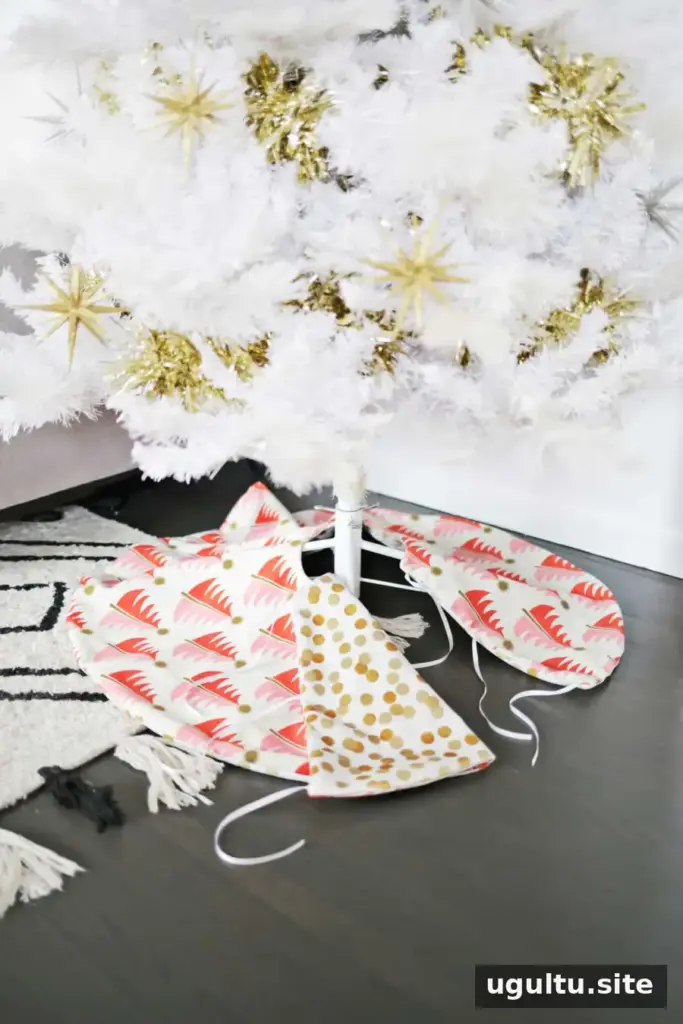
A reversible tree skirt DIY is a simple way to give your Christmas tree two different looks with one handmade project. Choose a festive print for one side and a more understated fabric for the other, then flip the skirt to suit your decorations each season.
This project uses two fabric layers, a basic sewing machine, and ribbon ties to close the skirt around the tree trunk. The instructions below demonstrate the process in a smaller version; use the same steps and adjust the measurements to fit your tree.

Celosia Velvet fabric is one option for this project. The fabric is 54 inches wide, which can help when making a larger skirt. A colorful tree print and a gold dot design offer contrasting styles. Although the fabric is not metallic, a shiny-looking print can create a faux-metallic effect.
Supplies for a Reversible Tree Skirt DIY
Gather the materials before cutting. For a full-size skirt, check that the fabric quantity and width will accommodate your chosen dimensions.
- At least one yard of wide-bolt fabric for each side
- Fabric scissors
- Straight pins
- Sewing machine
- Ribbon for the ties

Place the two fabrics with their right sides facing each other. Velvet can shift while you cut, so use plenty of pins to hold the layers in place.
How to Make the Tree Skirt
1. Cut the outer circle
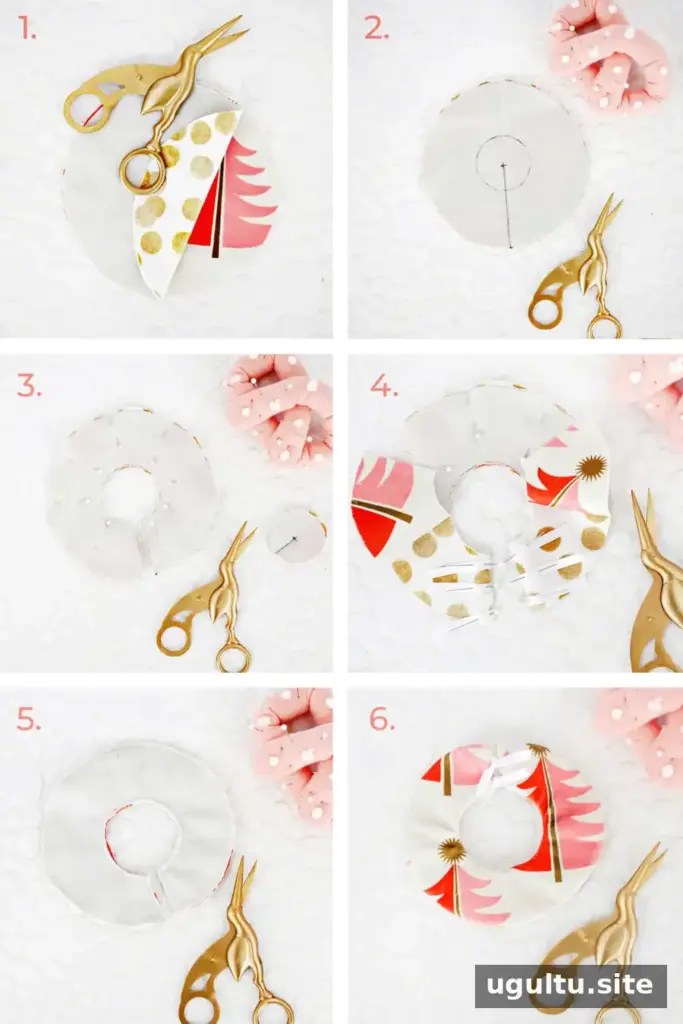
Trace a circle on the top fabric that is 1 inch larger than your intended finished tree skirt. This allows for a 1/2-inch seam allowance around the edge. Pin the layers together, then cut through both fabrics along the traced line.
2. Mark the opening and trunk hole
Draw a straight line from the circle’s center to its outer edge to mark the opening. Use a cereal bowl to trace a smaller circle in the center for the tree trunk. Add pins along both sides of the marked line and around the center circle to keep the layers from shifting.
3. Cut the opening
Cut along the straight line from the edge to the center, then cut out the small middle circle. Keep the two fabric layers aligned as you cut.
4. Add ribbon ties
Cut four or six pieces of ribbon, each 10 inches long. Use half the ties on each side of the opening. Position them between the fabric layers where you want the closures, with the ribbon ends pointing inward and the ends to be sewn extending slightly beyond the fabric edge.
5. Sew around the skirt
Tuck the ribbons inside the skirt so their free ends stay clear of the seam allowance. Sew around the perimeter, leaving a 4–6-inch gap for turning the skirt right side out. Trim bulky corners or excess fabric carefully without cutting into the stitching.
6. Turn and finish
Turn the skirt right side out through the gap. Fold the raw edges inward and close the opening with a blind stitch, or use fabric glue to secure the folded hem. Let glue dry according to its instructions before placing the skirt beneath the tree.
Choosing the Size and Fabric
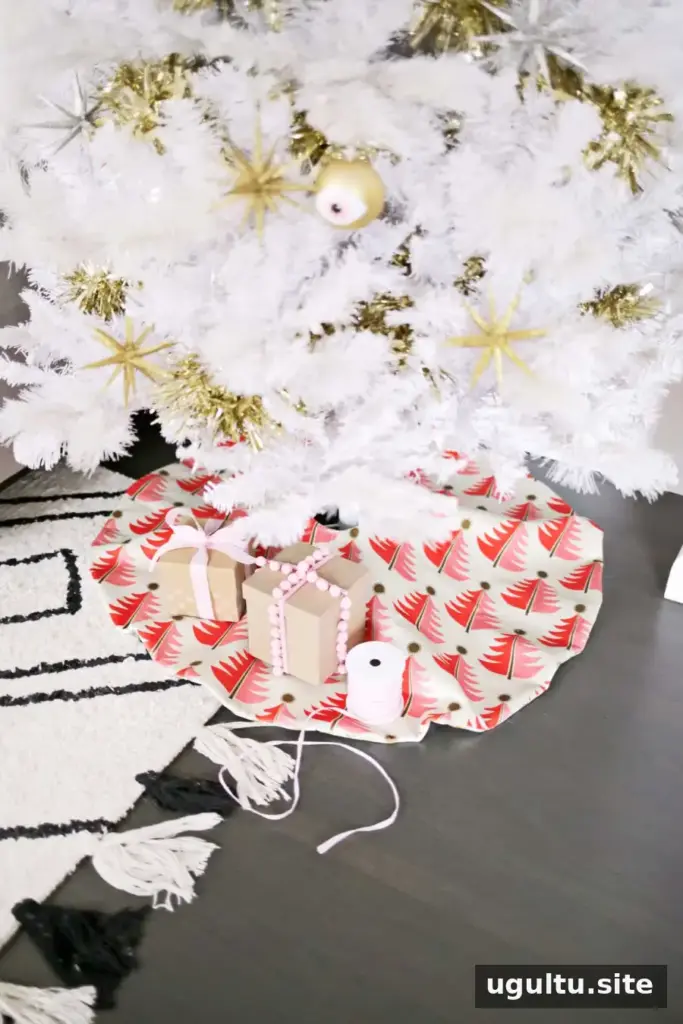
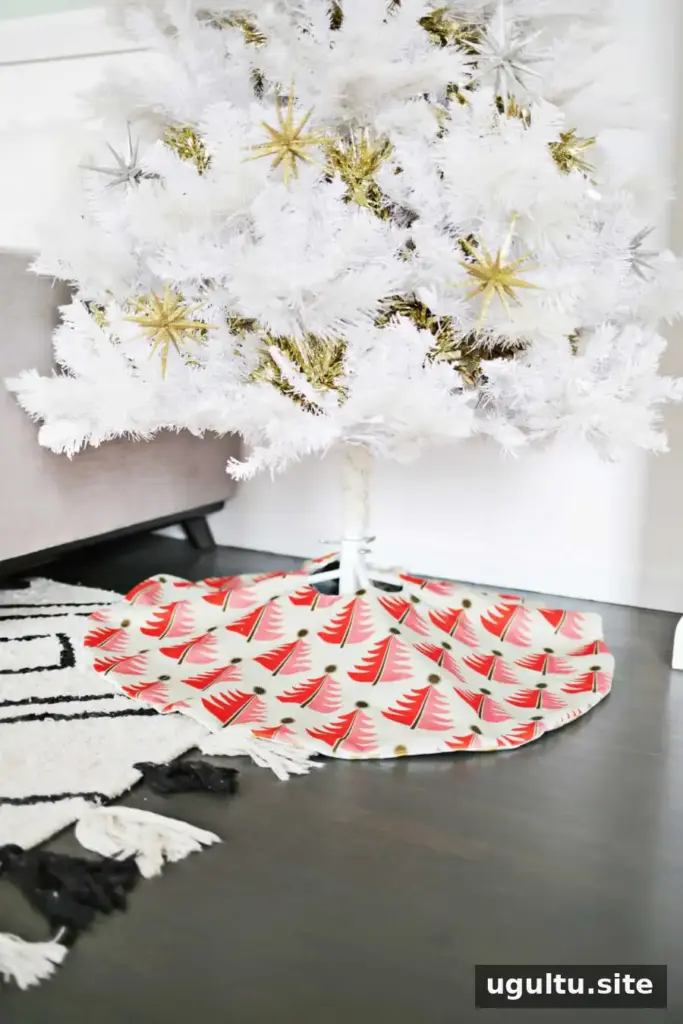
The finished dimensions are flexible, so measure the space around your tree before cutting. If you want a wider skirt than your fabric allows, you can sew two fabric pieces together to create a larger circle. For a polished finish, choose fabrics that coordinate with your ornaments and check that both sides are suitable for the intended use.
A reversible tree skirt DIY lets you change the look of your holiday setup without making a second skirt. Pick the side that suits your decorations, secure the ribbon ties around the opening, and flip it in a future season for a fresh look.


