admin

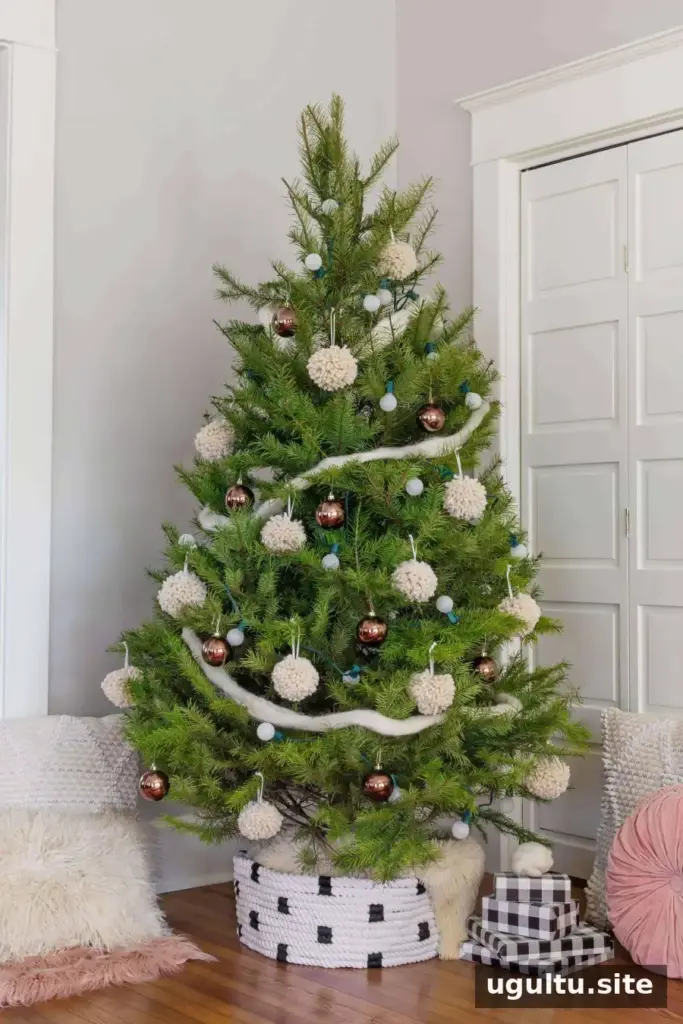
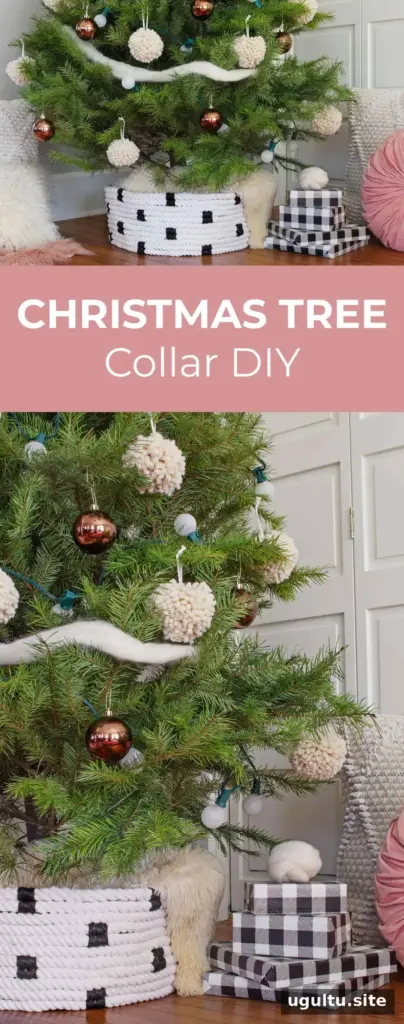
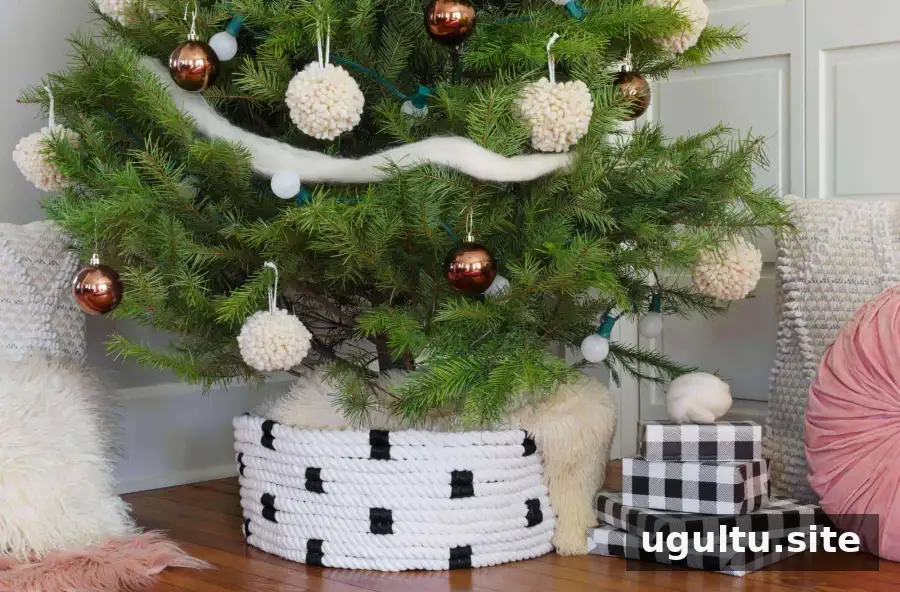
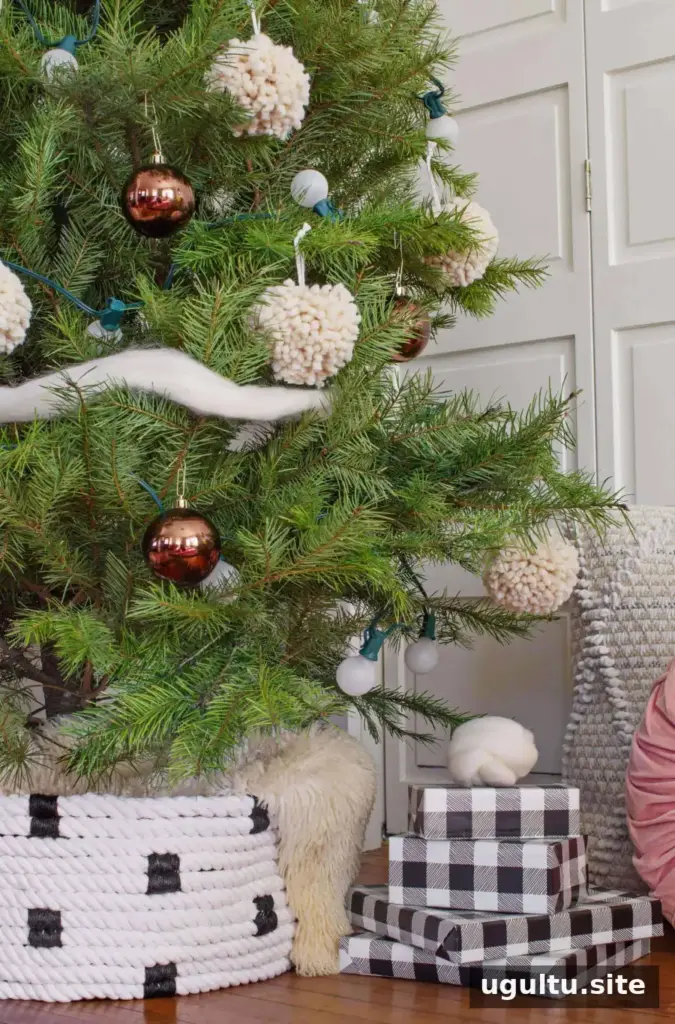
A rope Christmas tree collar is a practical alternative to a traditional tree skirt. It conceals the stand and lower branches while leaving space for presents and access to water a live tree. This DIY version uses thick cotton rope, hot glue, and jute stitching, and a cardboard guide helps keep the collar an even width as you build it.
The neutral cotton and black jute suit a range of holiday decorations. For a more colorful finish, the cotton rope can be dyed before assembly; test your chosen dye on a small section first and let the rope dry completely.
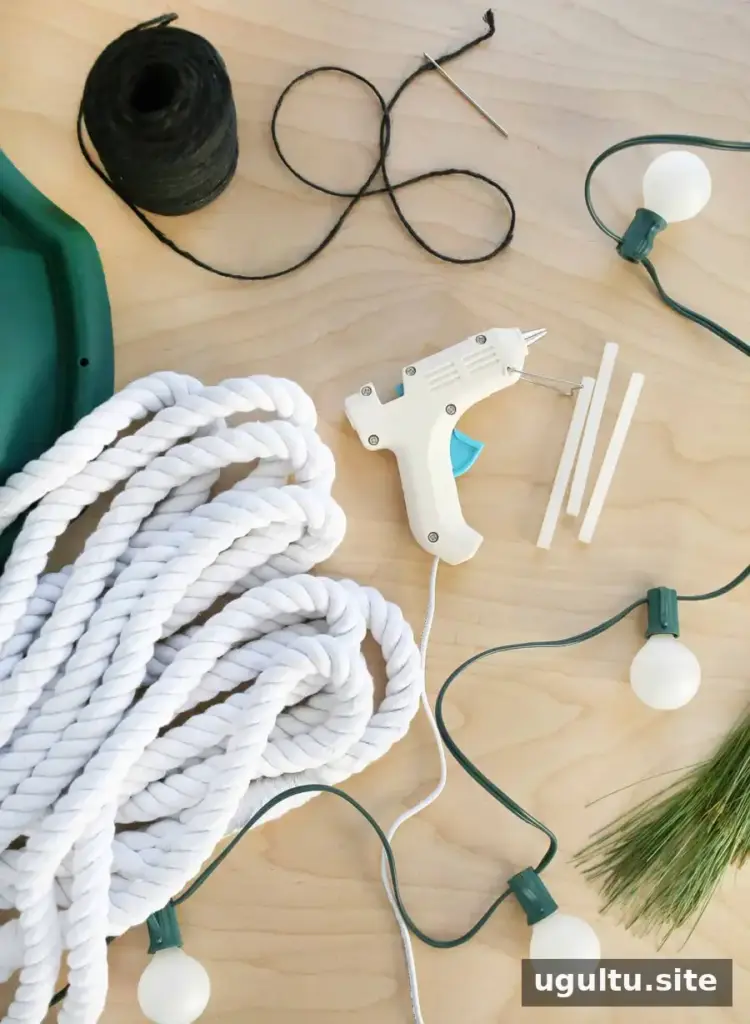
Supplies
- Three 3/4-inch by 25-foot white cotton lunge lines, or 75 feet of 3/4-inch cotton rope
- 50 yards of black jute cord
- 3-inch tapestry needle
- Hot glue gun and glue
- Cardboard box to use as a guide
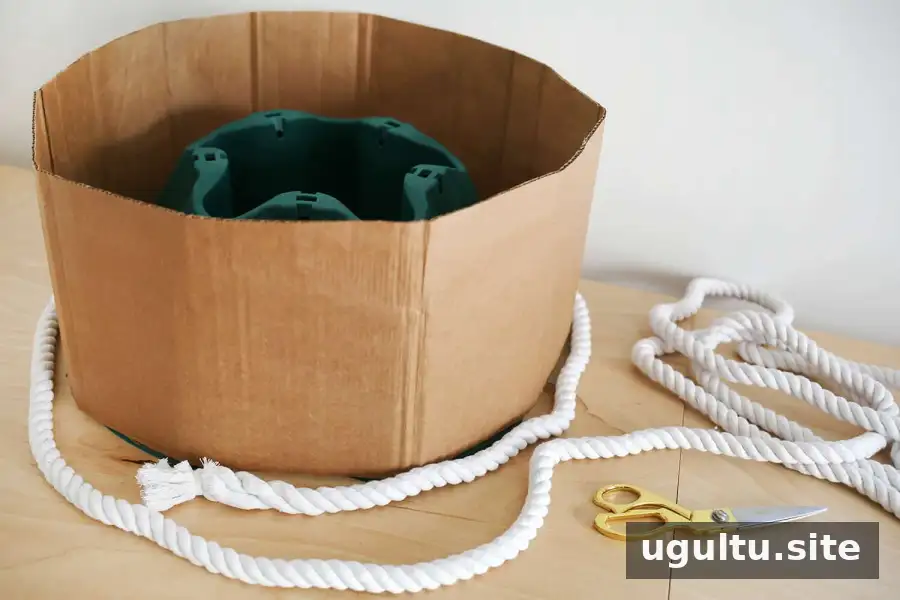
Cut off the cotton wrapping that forms the loop at each end of the lunge lines. Carefully twist the loose strands back together where they naturally meet; this adds about 18 inches to each line. Tie the strands with a piece of the removed cotton and knot the end temporarily to keep it from unraveling.
Cut the cardboard into a long rectangle that is about 3 inches taller than the tree stand and long enough to go around its perimeter. Tape multiple pieces together if needed. The guide helps keep the collar from gradually widening or narrowing as you stack the rope.
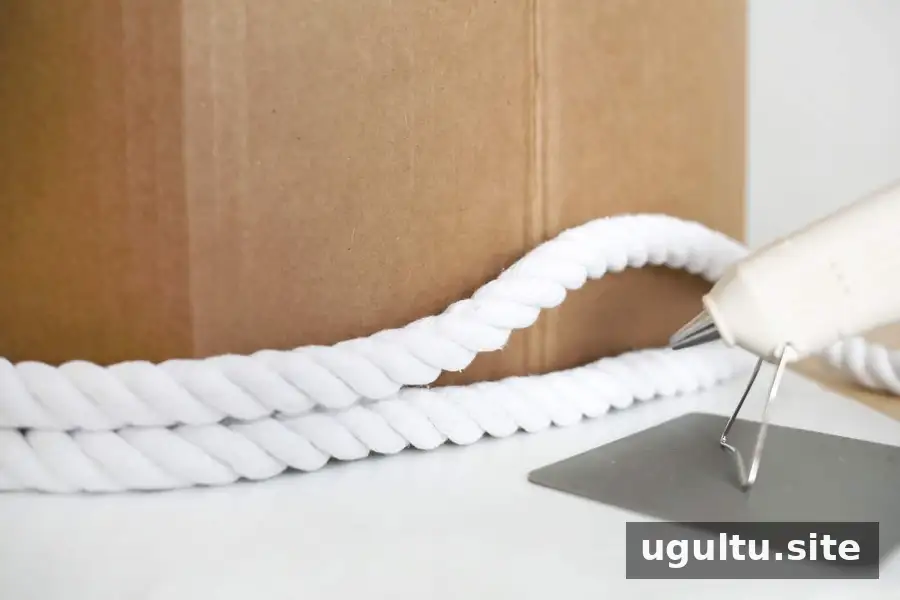
Wrap the rope around the cardboard guide. Apply a neat line of hot glue where the second row rests on the first, then press the rope into place. Use enough glue to secure the rows without leaving large blobs visible between them. Work carefully, as hot glue can burn skin.
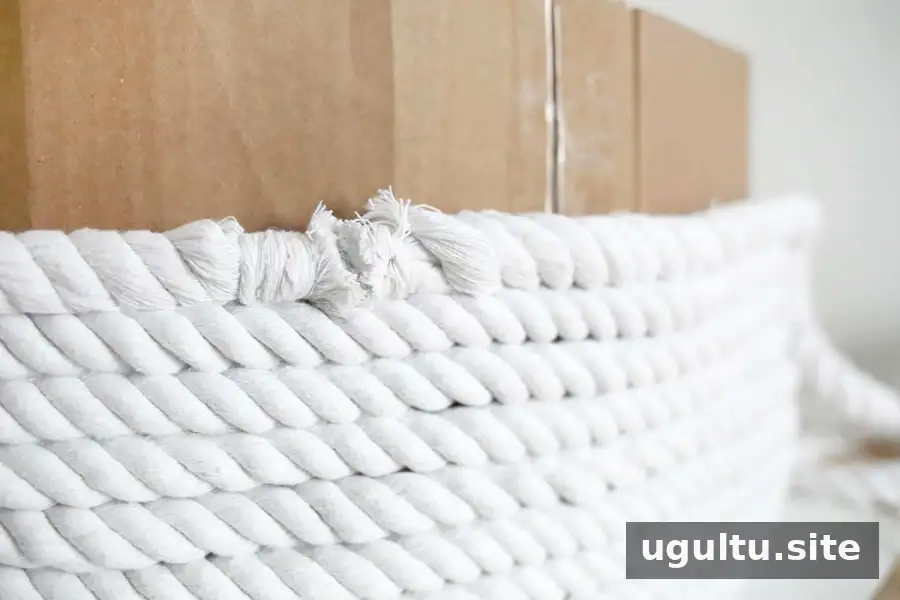
When one rope section ends, trim the loose strands close to the temporary knot. Trim the next section in the same way and position its end as close as possible to the previous one. Continue adding rows until the collar reaches at least 2 inches above the top of the tree stand.
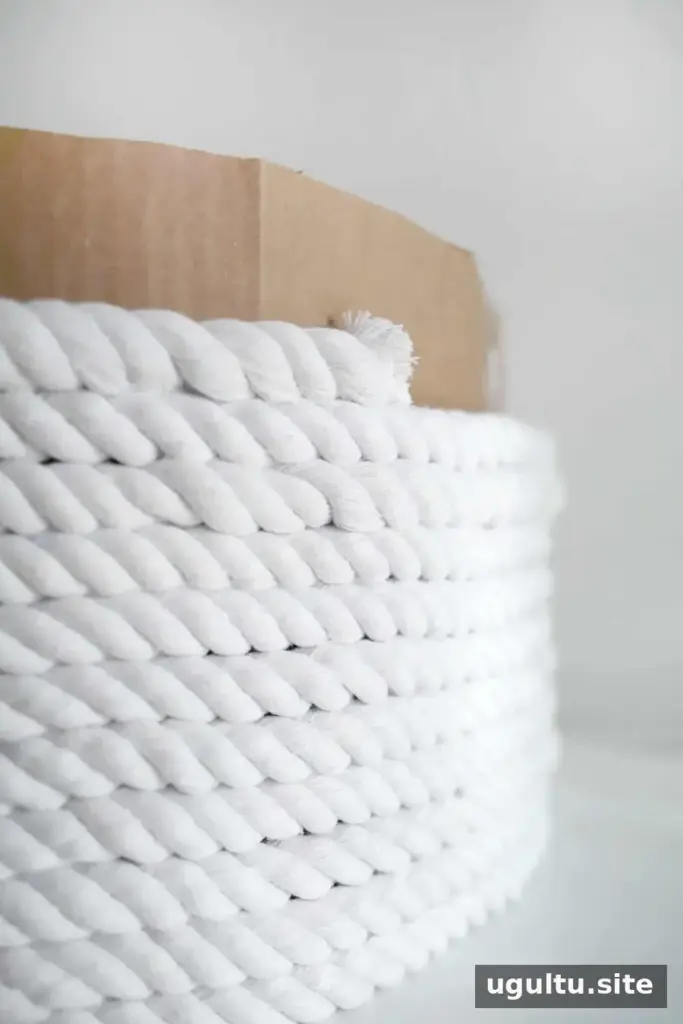
The final rope end will sit higher than the rest. If possible, position this end near the starting point at the bottom, where both joins can face the back of the tree. Remove the cardboard guide before adding the jute stitching.
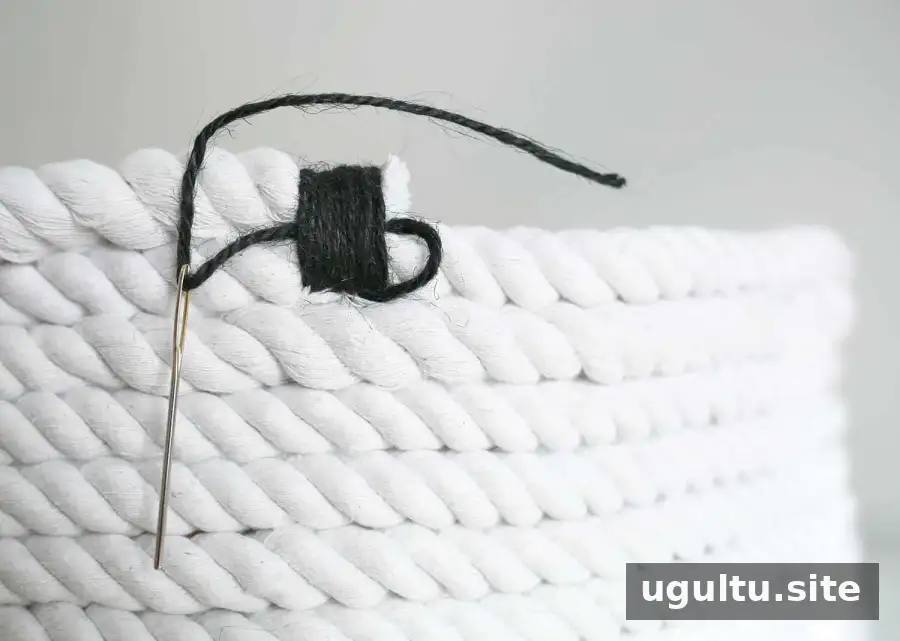
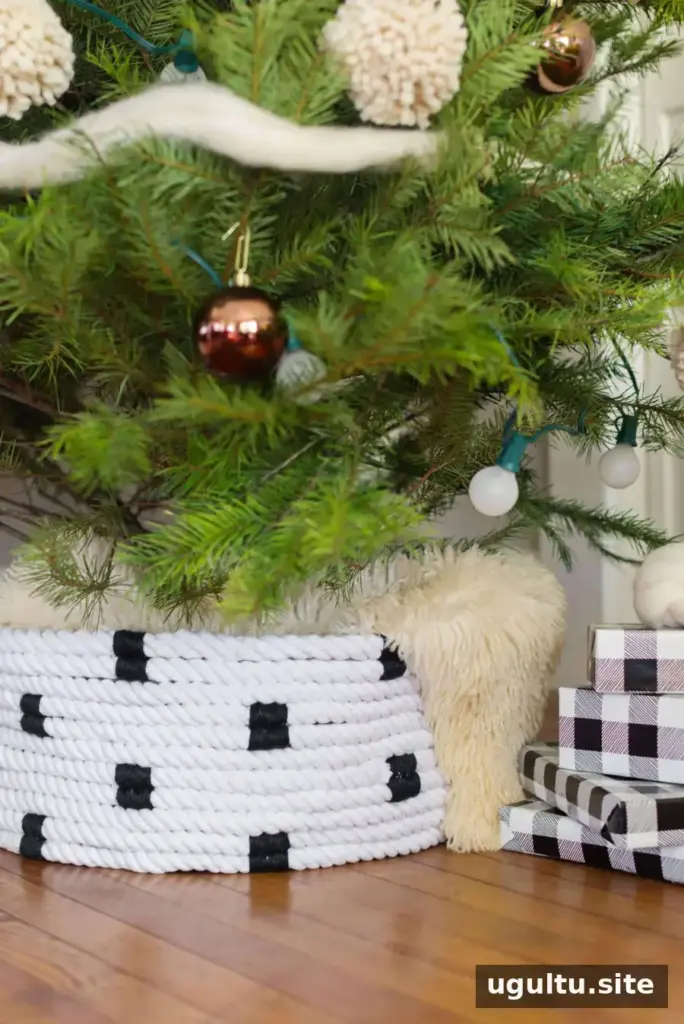
Cut about 2 feet of jute and thread the tapestry needle. Tie a double knot around the top rope end on the inside of the collar. Stitch around the row below, then around the top row again. Make a figure-eight stitch or loop the jute around both rows. Continue until the band is about 1 inch wide, then pass the needle between the rows and pull the cord through. Tie the starting and ending tails together on the inside and trim them.
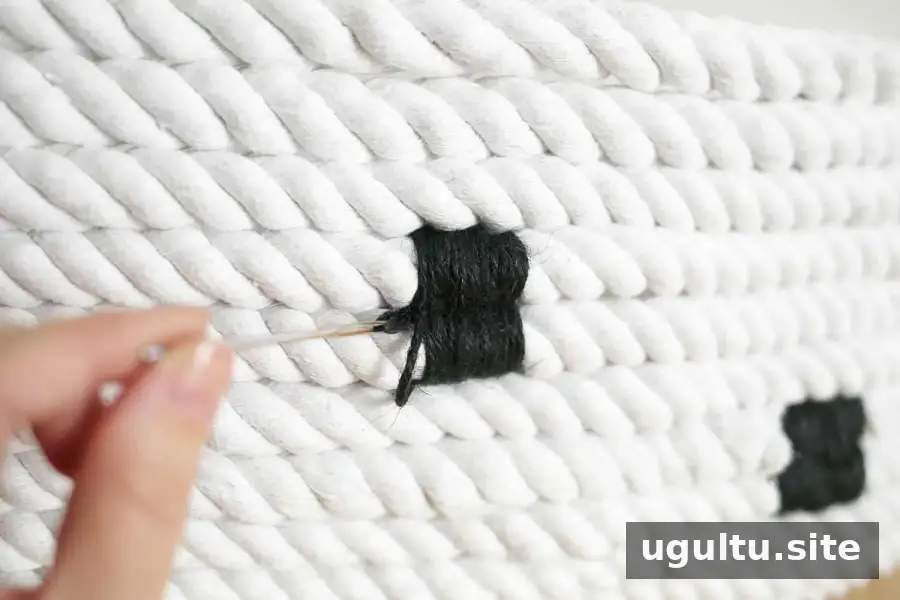
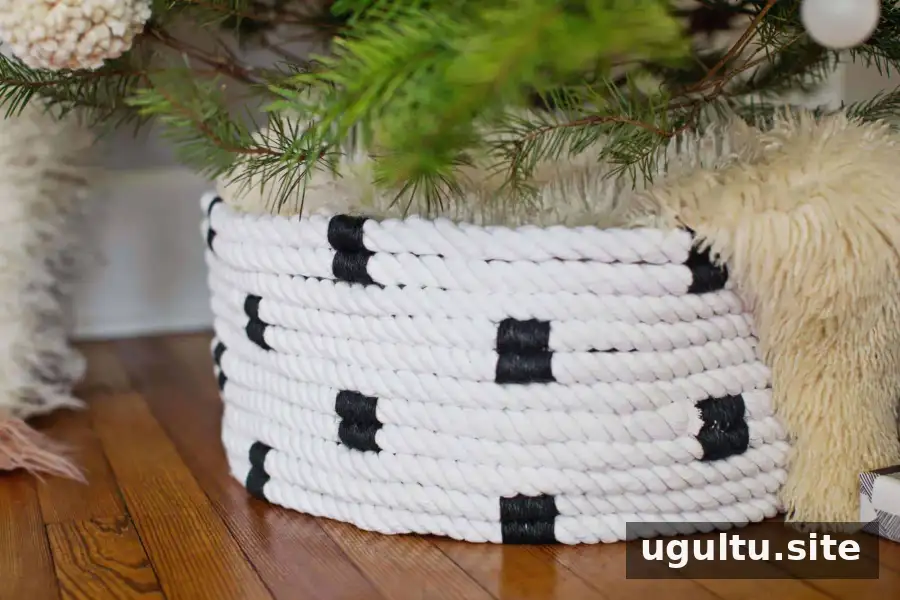
Continue stitching between the rope rows, choosing spacing that suits your design. For a diamond grid, measure the collar’s perimeter and divide it by 9 to plan the stitch positions around the top two rows. Skip the third rope row, then stitch the fourth and fifth rows, centering these stitches between the first set. Repeat the alternating pattern farther down the collar. Even spacing and consistent stitch width help create a tidy finish.
Thinner rope projects are sometimes joined with a sewing machine, but the thick rope used here may not feed easily through one. If trying a machine-sewn version, use thinner rope and check that your machine and needle are suitable before beginning.

To install the collar, have another person lift the tree and stand while you slide the collar underneath and around the stand. Keep the collar clear of the water reservoir so you can continue caring for a live tree. If the collar needs extra support, trim the cardboard guide and place it inside as a stabilizer. Check that the finished piece sits securely and does not interfere with the tree stand.
This rope Christmas tree collar can be customized with different rope colors or jute patterns while keeping the same basic construction. Measure your stand before cutting the guide, and test the fit before placing gifts around the tree.
Project by Rachel.