admin
Shrinky Dinks are a hands-on way to turn decorated plastic into small, sturdy crafts. The pieces are colored, cut out, and heated until they shrink and thicken, making them useful for charms, keychains, jewelry, pins, and other projects. With the right material and a close eye on the oven, this activity can suit a range of ages. An adult should handle the baking and hot pieces, especially when children are involved.
This guide covers how shrink art works, which materials to look for, how to make a version from recycled plastic, and what to do if a piece curls during baking.
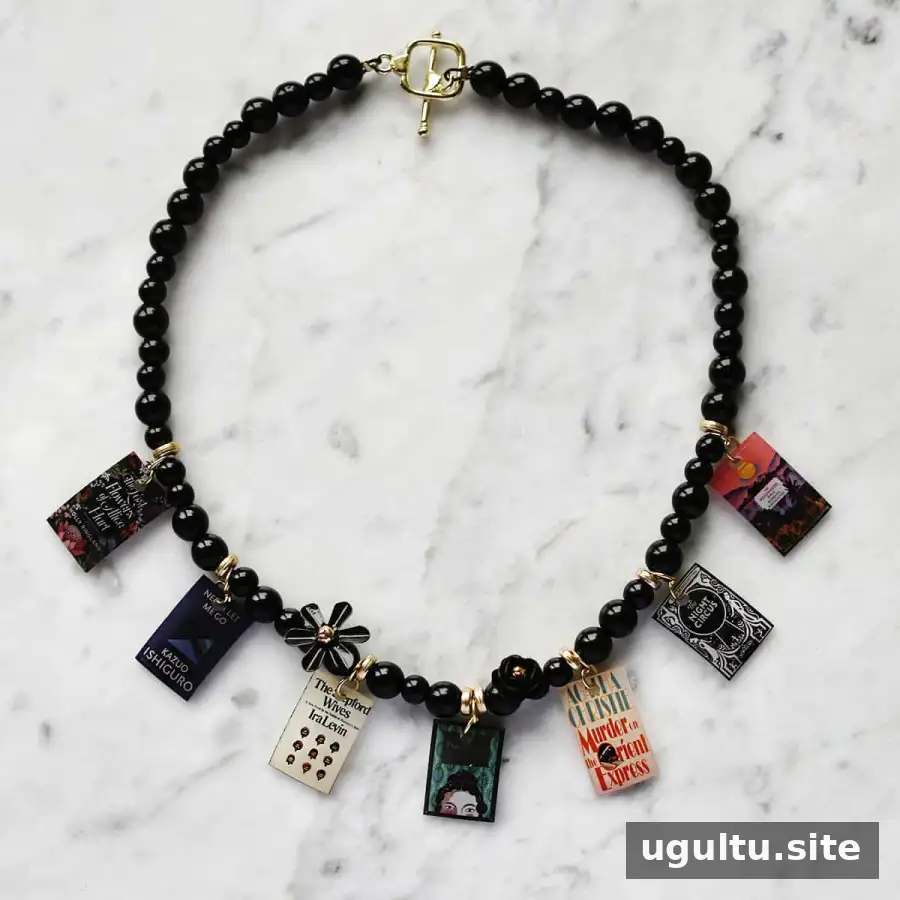
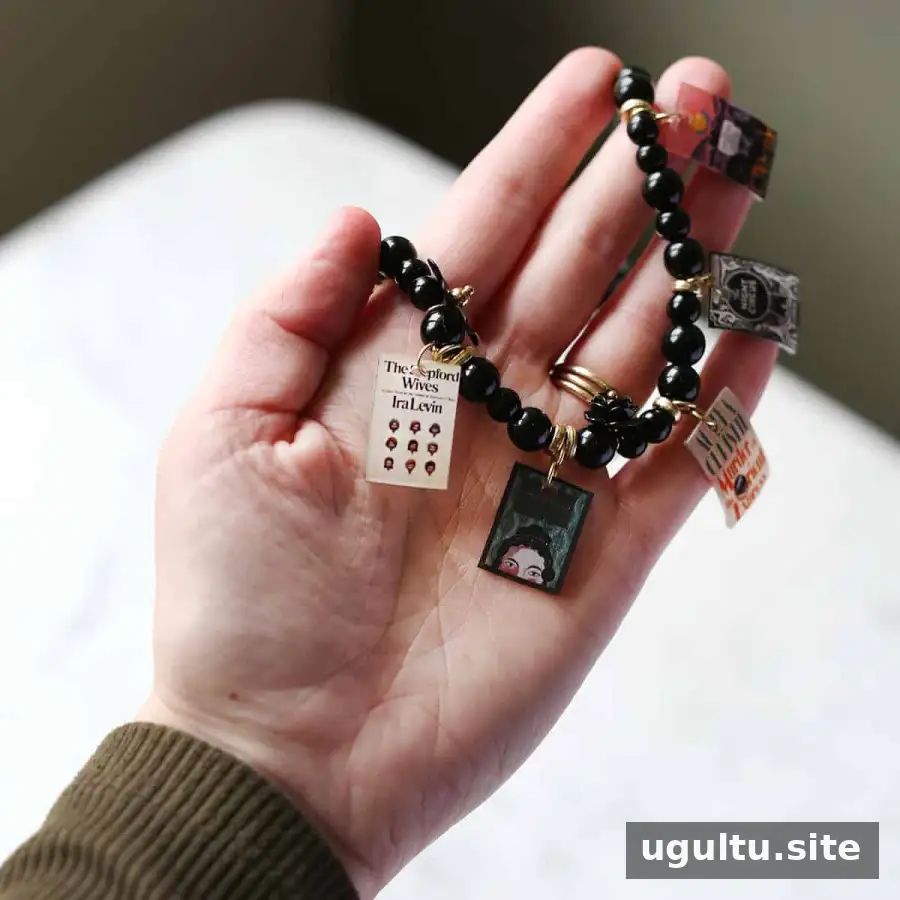
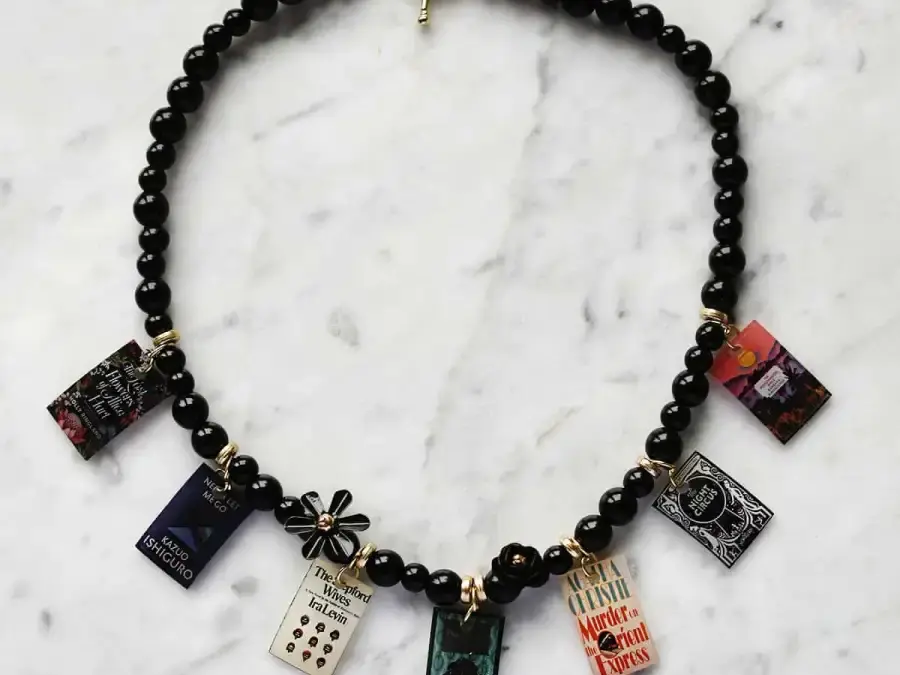
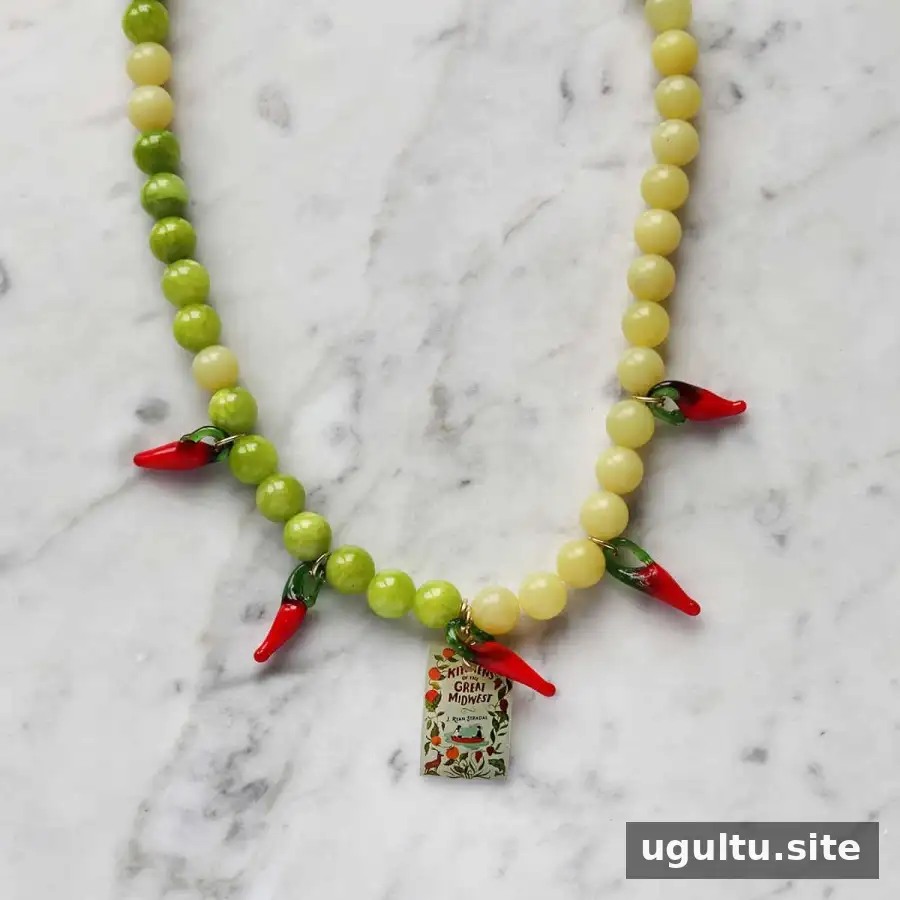
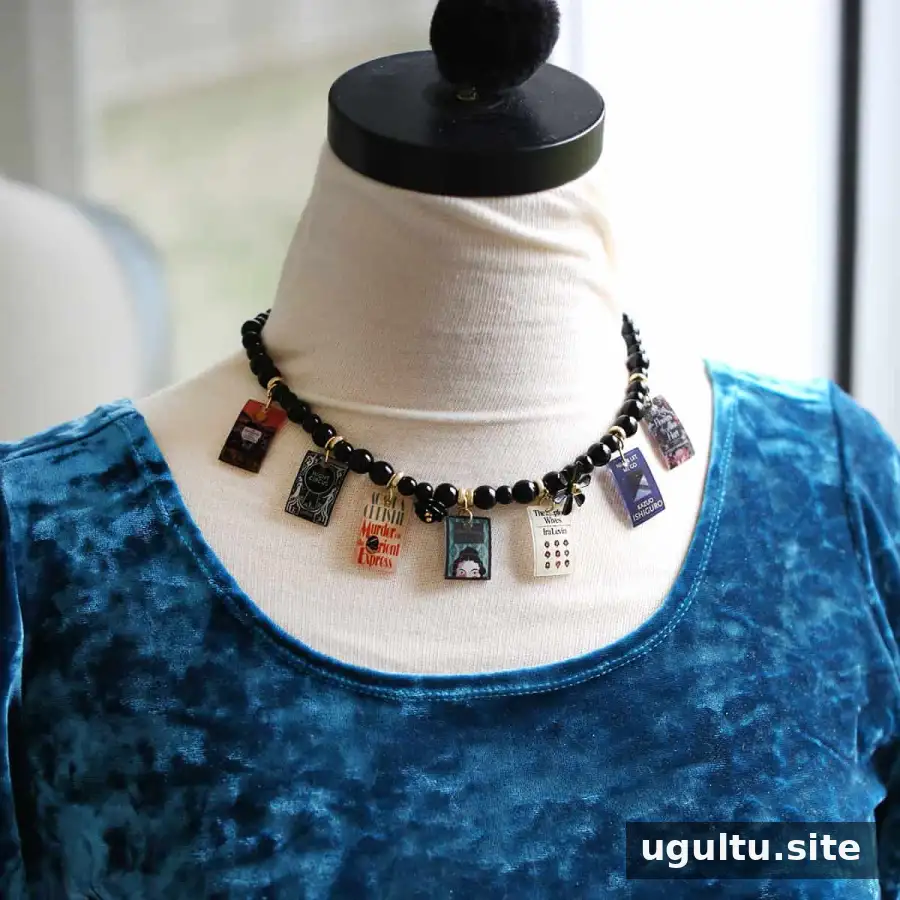
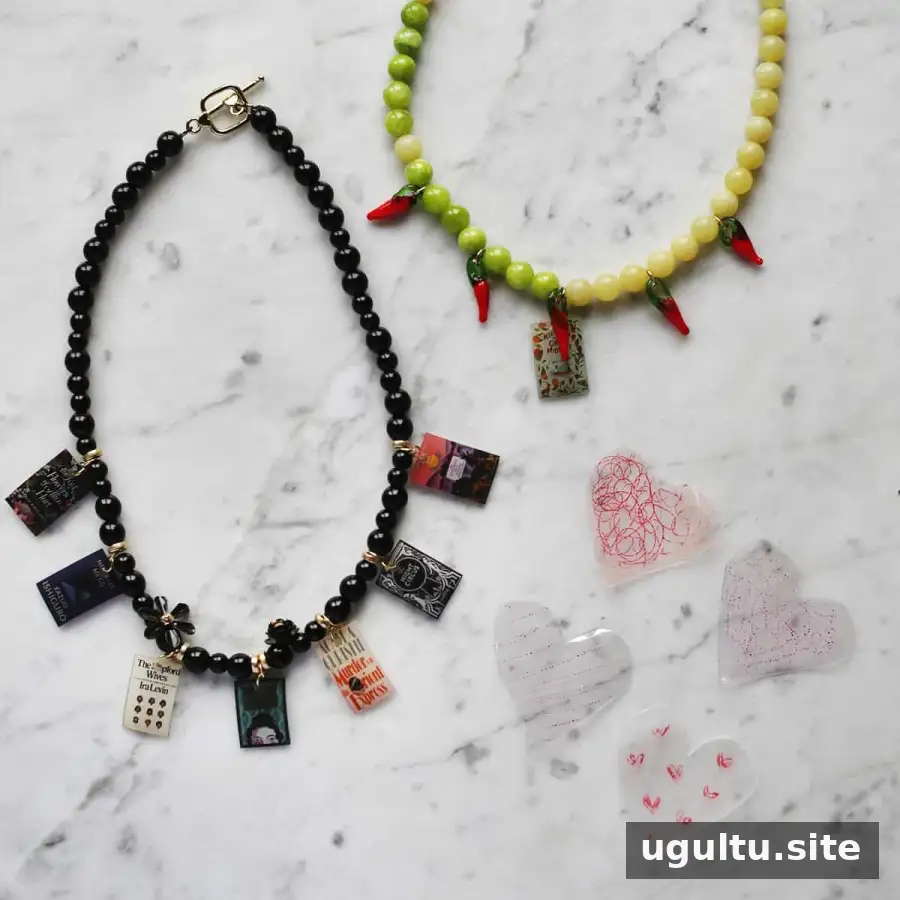
A charm necklace can feature miniature illustrations or book-cover designs. Examples shown here include The Lost Flowers of Alice Hart, Never Let Me Go, The Stepford Wives, Pride and Prejudice, Murder on the Orient Express, The Night Circus, The Poisonwood Bible, and Kitchens of the Great Midwest. For a coordinated look, choose a shared color palette or theme before drawing.
What Are Shrinky Dinks?
Shrinky Dinks, also known as shrink art, are made from polystyrene plastic. When the plastic is decorated and heated, it contracts, becoming smaller, thicker, and more intensely colored. The craft became popular in the 1980s and 1990s. Betty Morris and Kate Bloomberg developed it as a project with their sons for Cub Scouts, and toy companies later sold kits and related products.
Although it is often introduced as a children’s craft, shrink art can also be used for jewelry, decorative objects, and educational projects. Its changing size and shape can make it a practical way to explore materials and simple design concepts.
Choosing Shrinky Dinks Kits and Paper
Ready-made kits and shrink-plastic sheets are available in several formats. Some sheets work with inkjet printers, while other kits include designs to color and supplies for making jewelry or keychains. Choose based on the project and the maker’s age; simpler, pre-printed designs can be helpful for beginners.
- Printable shrink plastic: Useful for transferring custom artwork or designs. Check that the sheet is compatible with your printer before printing.
- Craft kits: Often include pre-drawn designs and basic project supplies, which can make setup easier.
- Plain sheets: A good option for freehand designs. Follow the manufacturer’s instructions for suitable pens, pencils, and baking conditions.
Materials vary, so check the package instructions rather than assuming that every sheet or coloring tool needs the same treatment.
Tips for Successful Shrinky Dinks
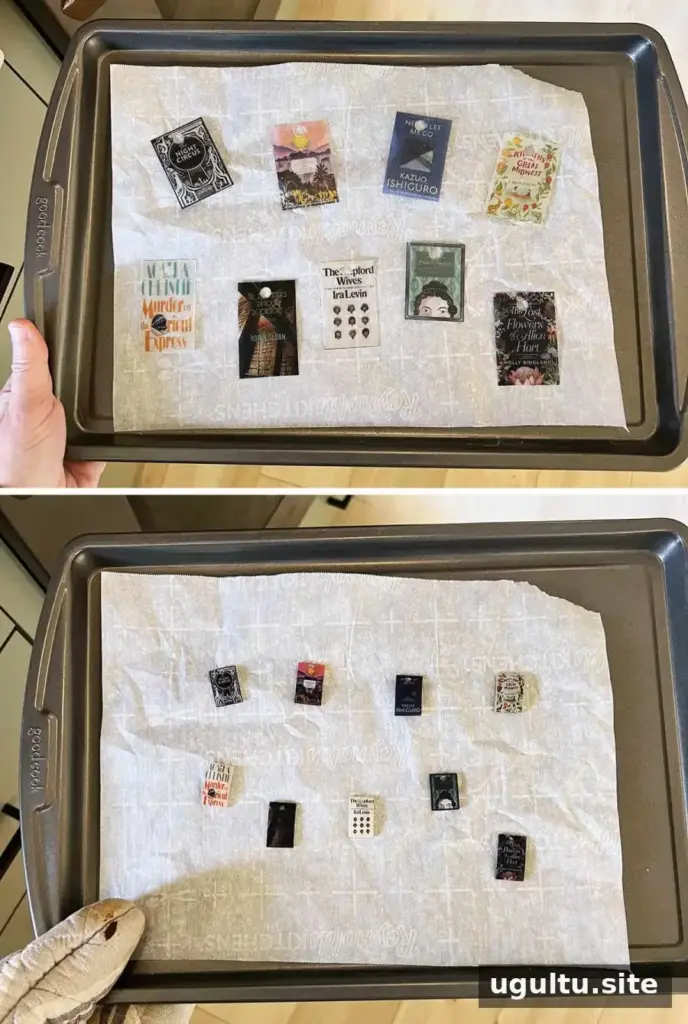
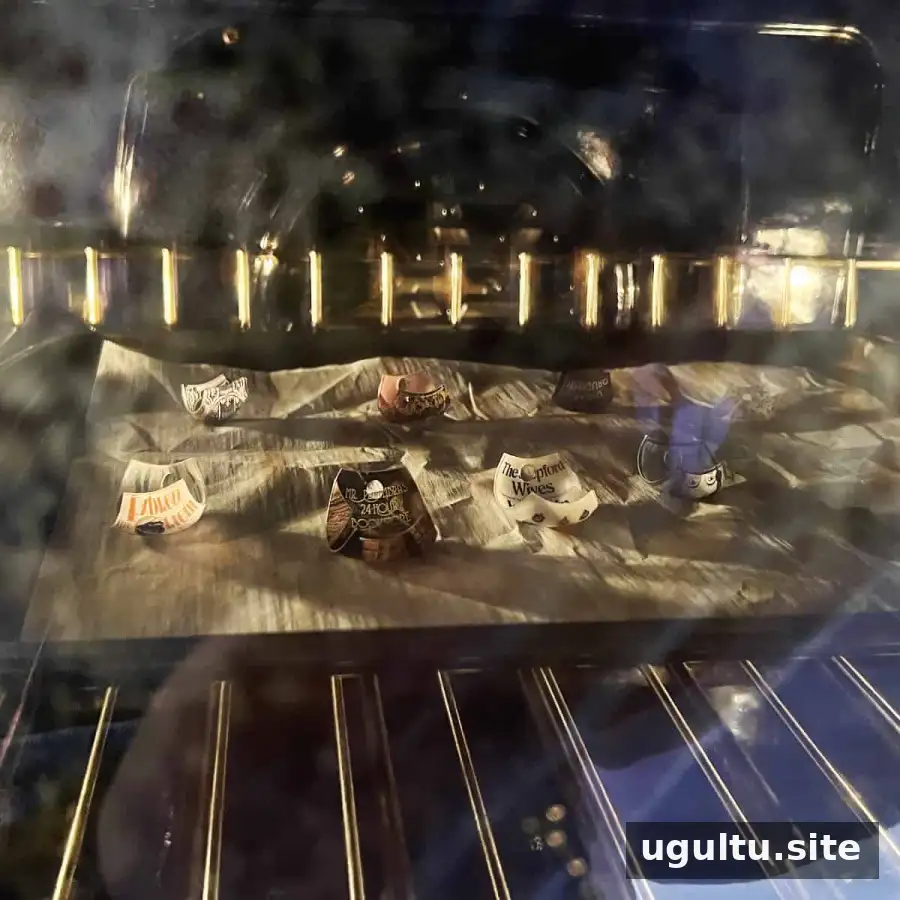
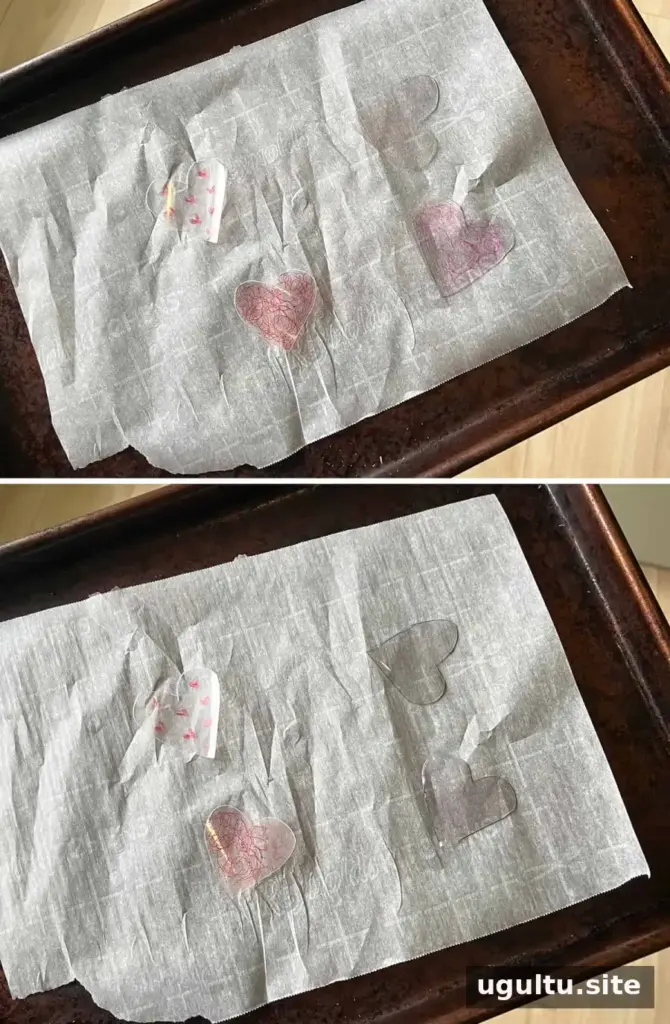
Use a heating appliance that lets you observe the pieces as they bake. They typically curl first and then flatten as they finish shrinking. The process may take about 1–2 minutes, but the exact time can vary with the material, oven, and piece size. Follow the instructions supplied with your shrink plastic.
- Arrange pieces on parchment paper with space between them.
- Watch continuously so you can see when a piece curls and then uncurls.
- Do not touch freshly baked plastic with bare fingers. It will be hot.
- If a piece remains slightly curled, an adult can carefully flatten it while it is still warm using a heavy, heat-safe object.
Use materials intended for heating whenever possible. Recycled packaging may not be designed for oven use; keep children away from the oven and follow appropriate safety precautions.
How to Make DIY Shrinky Dinks from Recycled Plastic
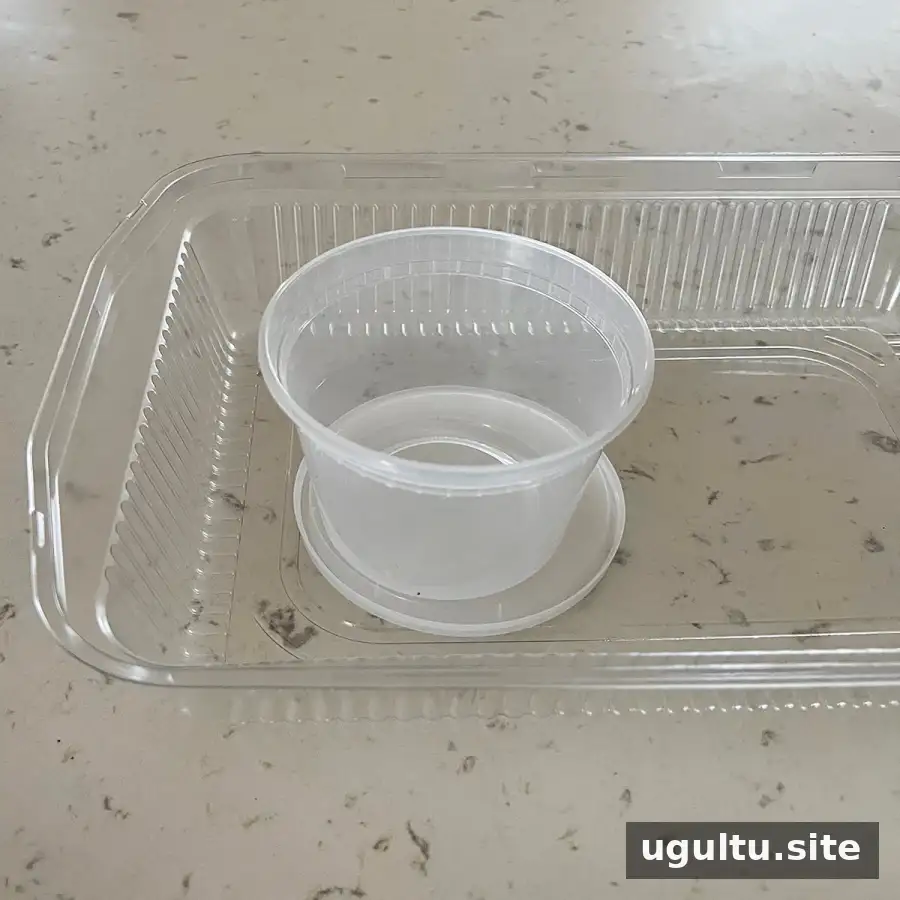
The basic materials described for this method are number 6 plastic and felt-tip pens. Look for the recycling symbol, usually a triangle of arrows with a number inside. Number 6 plastic is often found in some disposable food containers. Number 1 and number 5 plastics may shrink differently and are not as reliable for this project.
- Check the plastic’s recycling code and choose a clean, flat piece of number 6 plastic.
- Draw a design with felt-tip pens. Acrylic paint or other markers may also be used if they are suitable for the material and heating process.
- Cut out the design. If you are making a charm, add a hole before baking and make it large enough to remain usable after shrinking.
- Place the pieces on parchment paper and bake at 325°F for 1–2 minutes, watching closely. The pieces should curl and then uncurl when finished.
Recycled containers can behave inconsistently, so try a small piece first. Keep the work area well supervised, and do not use any plastic that is not clearly identified.
Shrinky Dinks FAQ
What are Shrinky Dinks made of?
Shrink-art sheets are made from polystyrene, a type of plastic. For the recycled-plastic method described here, the suggested material is number 6 plastic.
Can permanent felt-tip pens be used?
Permanent felt-tip pens are commonly used to color shrink plastic. Acrylic paint pens and colored pencils may also work, depending on the sheet. Check the material’s instructions and test a small area if you are unsure.
How can curling be managed?
Some curling during baking is expected. The plastic should flatten again as it finishes shrinking. If it is still slightly curled afterward, an adult can press it flat carefully while warm, using a heavy object and avoiding direct contact with the hot piece.
Conclusion
Shrinky Dinks can become colorful charms, jewelry, keychains, and keepsakes with a few basic materials and careful heating. Choose shrink plastic suited to your project, watch the pieces as they bake, and let an adult manage hot trays and finished designs. For recycled-plastic projects, confirm the material type and test a small piece before making a larger set.