
 admin

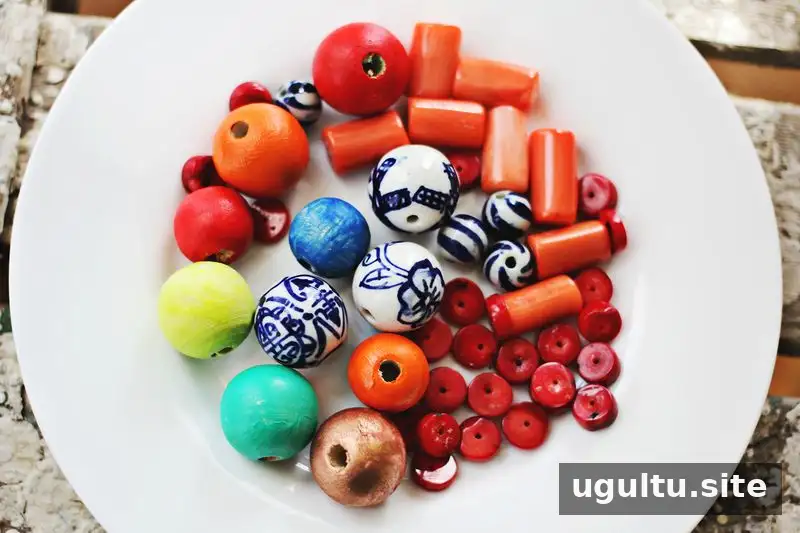
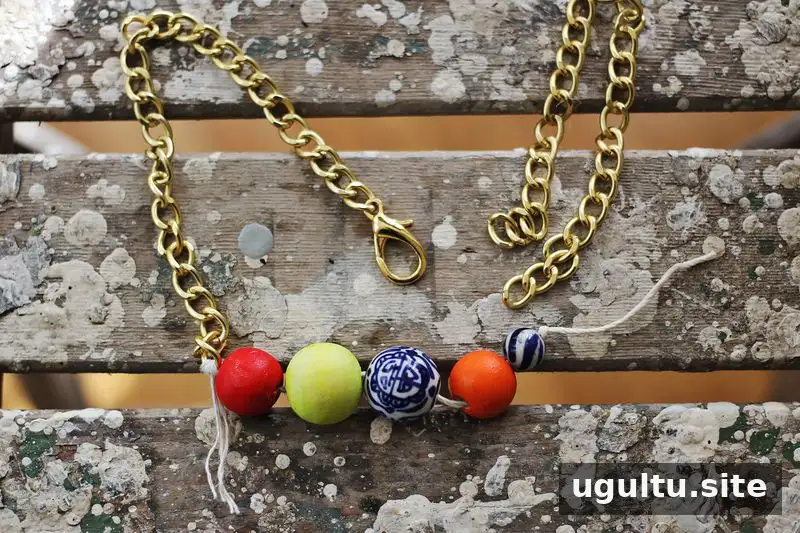
A beaded statement necklace DIY is a simple way to add color to a jewelry collection filled with everyday gold chains and minimalist pieces. These two designs use craft beads, necklace chain, and basic jewelry tools to create different looks: one with a relaxed, frayed-twine detail and another with individual beads attached along the chain.
Beaded Statement Necklace DIY: Two Colorful Designs
Before starting, choose beads in colors that work well together and lay them out beside the chain. This quick planning step helps you decide how much color and texture to include before you begin assembling the necklace.
Design 1: Beads and Twine
For the first necklace, use painted wooden beads, colorful beads from a craft store, a small piece of twine, a necklace chain, and a hook for the back. The twine gives this design a casual, slightly frayed finish.
- Thread five small beads onto a short piece of twine.
- Tie one end of the beaded twine to each side of the necklace chain.
- Add a hook at the back of the necklace so it can be fastened.
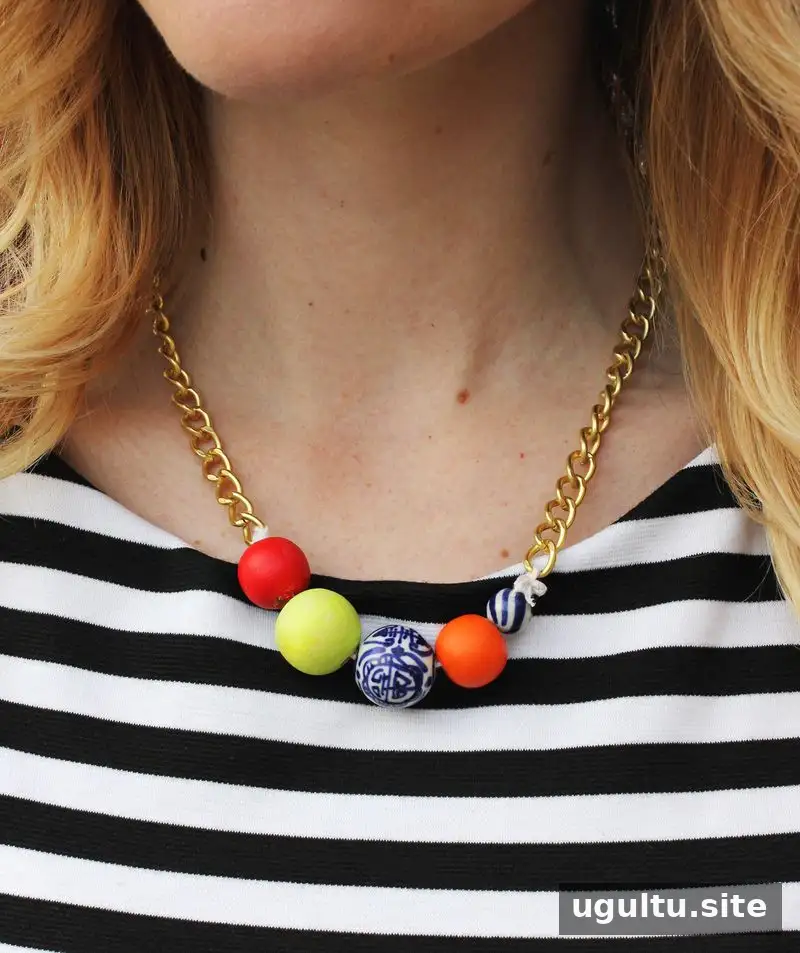
The finished necklace combines the shine of the chain with the softer texture of the twine. If you prefer a neater, more polished look, keep the knots tidy and trim any excess twine after checking that the beads sit where you want them.
Design 2: Beads on Head Pins
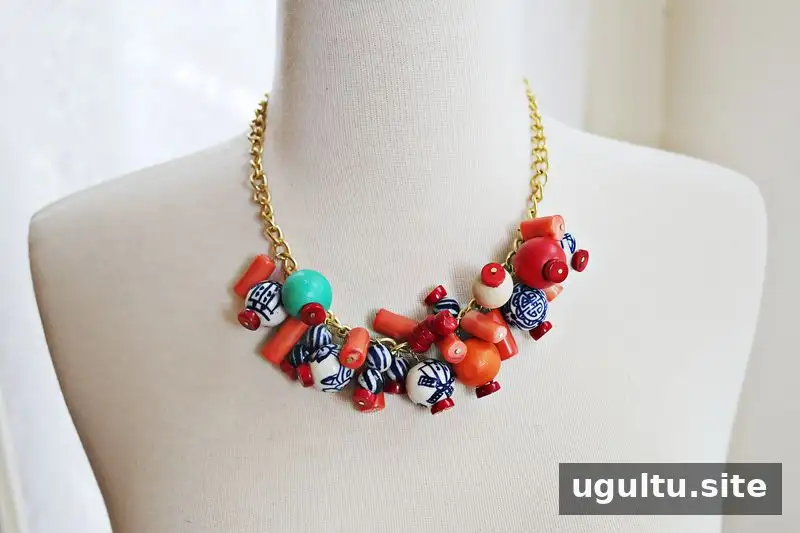
For a more finished-looking style, gather a pack of 2-inch head pins, jewelry pliers, wire cutters, chain, and beads of your choice. This design uses separate beaded pins along the chain, creating a colorful, clustered effect.
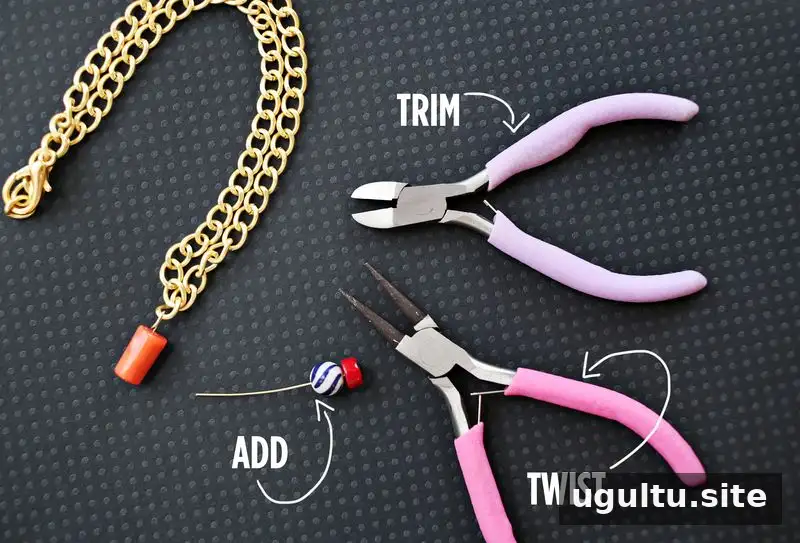
- Place one to three beads on each head pin.
- Twist the pin onto the chain to form a loop around a chain link.
- Use wire cutters to trim the excess wire, then press the loop together with jewelry pliers.
- Repeat along the chain until the necklace has the amount of color and coverage you like.
About 35 head pins were used for this design. The number you need may vary depending on the chain and the spacing you prefer. Before trimming each pin, check that the beads hang freely and that the loop is securely closed.
Finishing and Styling Tips
- Try different bead colors and sizes together before attaching them to the chain.
- For a balanced look, distribute the beaded sections evenly or concentrate them in one area for a more asymmetric design.
- Use jewelry pliers to check that wire loops are closed and smooth, especially before wearing the necklace.
Both ideas can be adapted to suit different outfits, from a casual twine-accented necklace to a more densely beaded chain. This beaded statement necklace DIY also makes it easy to experiment with a monochromatic palette or a mix of bright colors. — Elsie


