
 admin
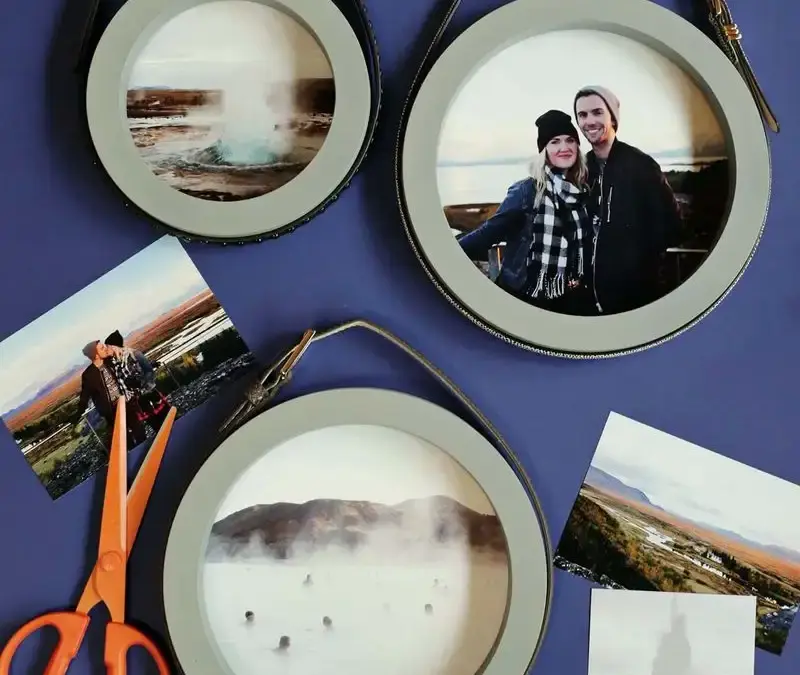
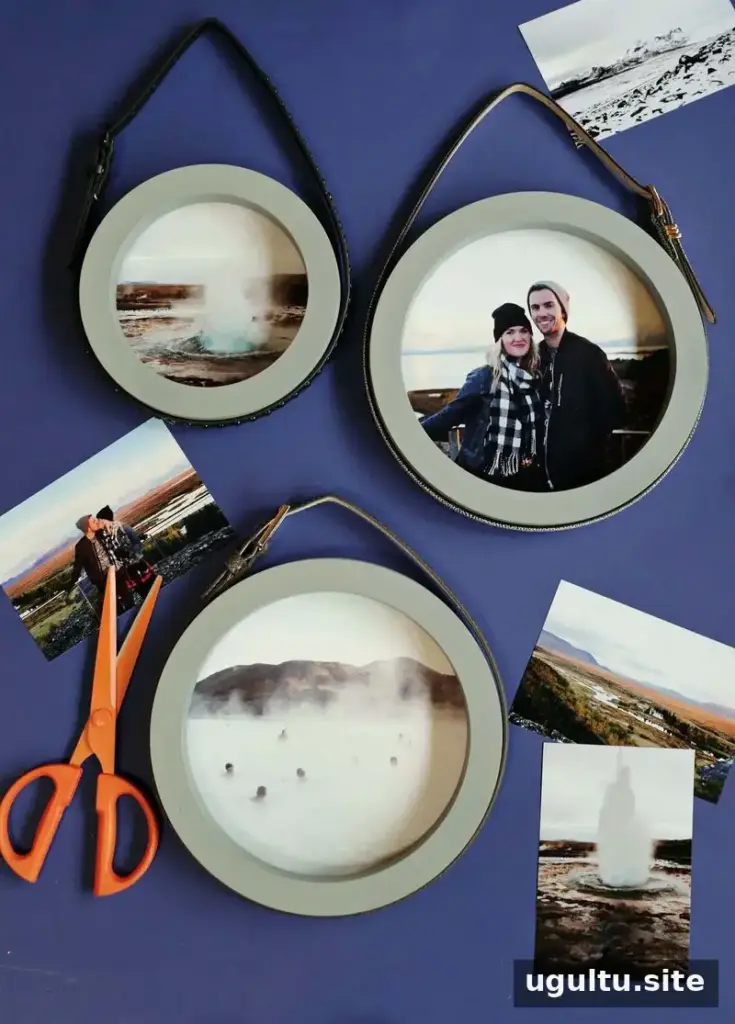
DIY circle photo frames offer a creative way to display travel memories and add a personal touch to an entryway. This simple project repurposes round mirror frames as picture frames, with belts used as decorative hanging straps. A coordinated set of three prints can make the display feel cohesive without requiring complicated materials or construction.
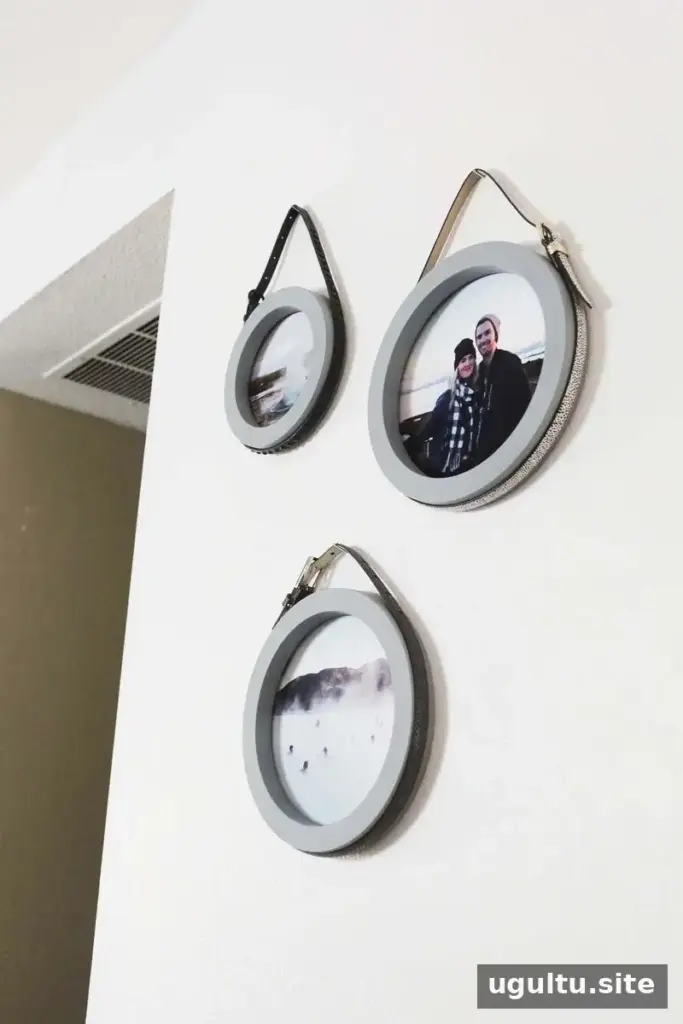
Plan a coordinated photo display
Choose three photographs that share a visual detail, such as a similar color palette. For this project, images with shades of blue helped tie the display together. Travel photographs are a natural choice, but family pictures, landscapes or other images can work just as well.
Before printing, check the visible opening of each frame and crop the photos to suit. Circle frames may cover the corners of a rectangular print, so place the main subject near the center. Printing a test copy or checking the crop on screen can help avoid losing important details.
Printed photographs can be stored in an album as well as displayed around the home. Keeping a regular photo album is one practical way to preserve memories over time, while framed prints make favorite images part of everyday surroundings.
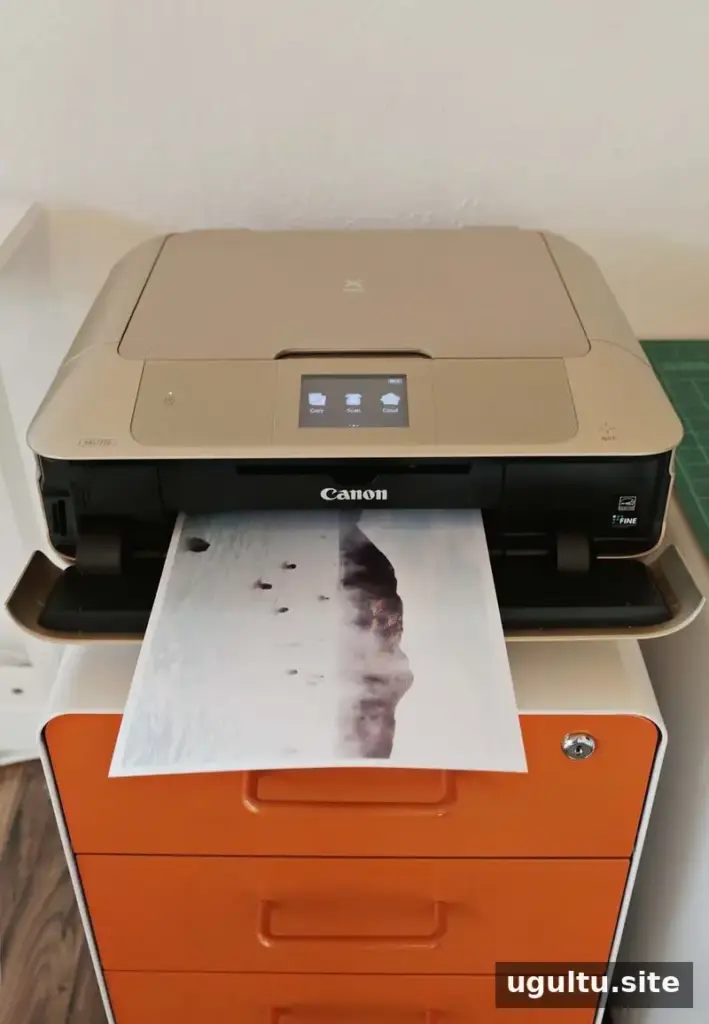
A small wall arrangement can also help make an entryway feel more personal. Consider the available wall space and the viewing distance when selecting print sizes. Lay the frames out on the floor first to check their spacing and order before hanging them.
How to make DIY circle photo frames
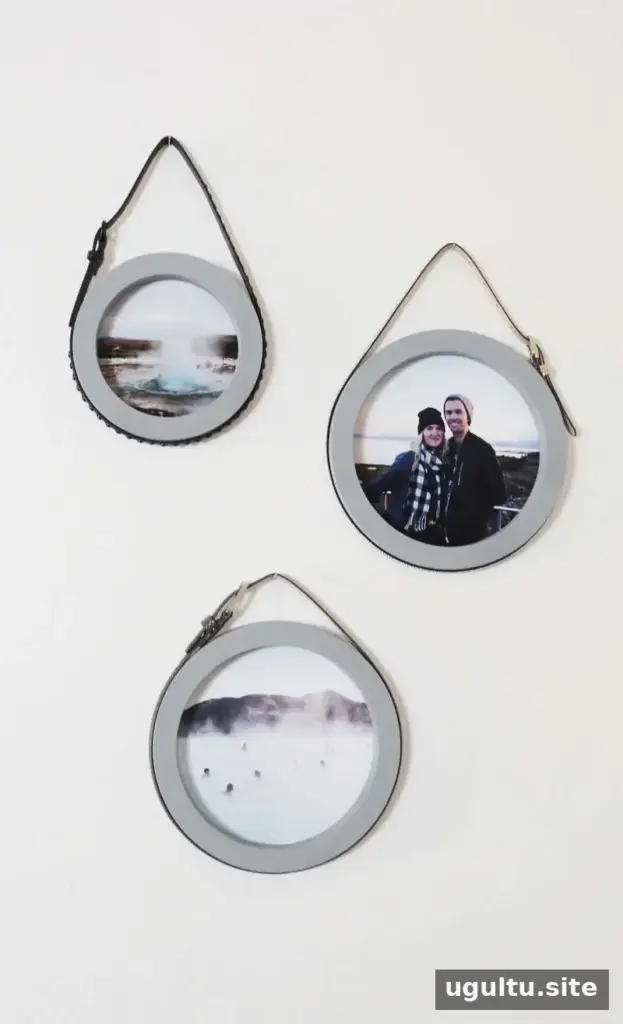
The frames used here began as three round mirrors. Their glass was removed, and the frames were painted gray before photographs were added. Belts were attached around the outer edges to create decorative hanging straps. The finished frames were displayed together in the front entryway.



The selected photographs share blue tones, which gives the group a consistent look. They also capture the cold conditions during the trip, including rosy noses in one image—a small detail that helps preserve the memory behind the photograph.
Practical tips before hanging
- Make sure the mirror glass is fully removed and handle it carefully if it needs to be disposed of.
- Test paint and adhesive on an inconspicuous area first, especially if the frames have a finished surface.
- Check that the belts are firmly attached and can support the weight of each frame.
- Use wall fasteners suited to the wall type and the combined weight of the frames.
- Arrange the photos and frames before fixing anything in place to make adjustments easier.
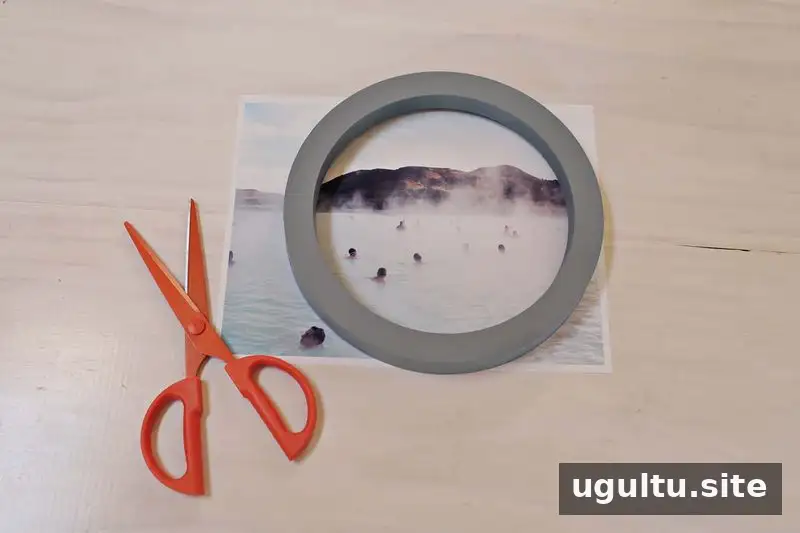
The project is adaptable: frame color, belt style and photographs can all be changed to suit the room. If repurposing mirrors, confirm that the frames have enough depth and a suitable backing for the prints. A simple, consistent color choice can help different photographs look like one intentional display.
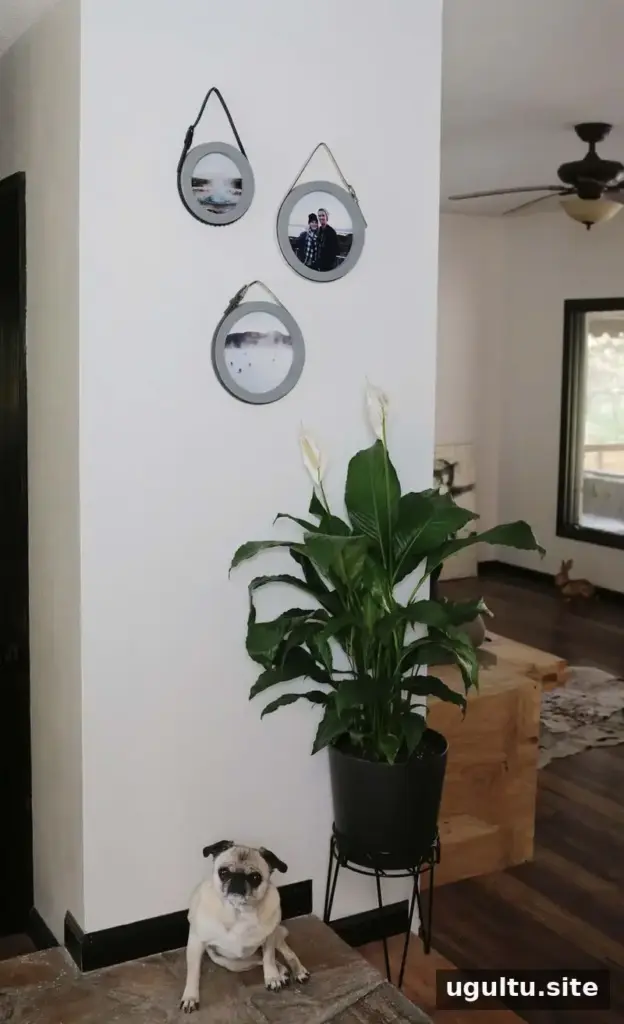
DIY circle photo frames are an easy way to turn meaningful photographs into wall decor. With three repurposed frames, coordinated images and secure hanging straps, a simple entryway arrangement can bring favorite memories into view every day.
Project by Emma.


