
 admin
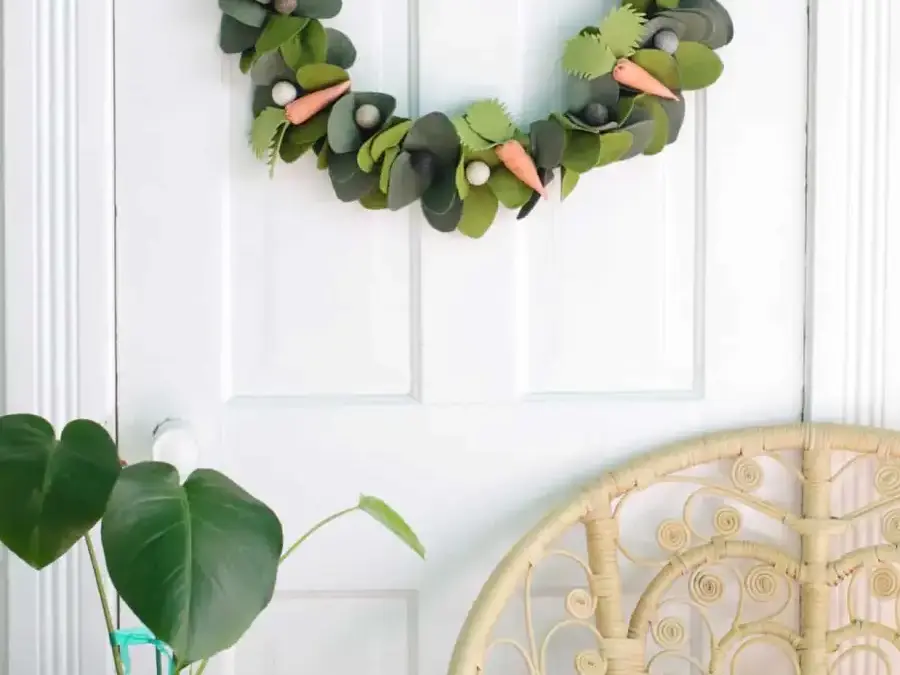
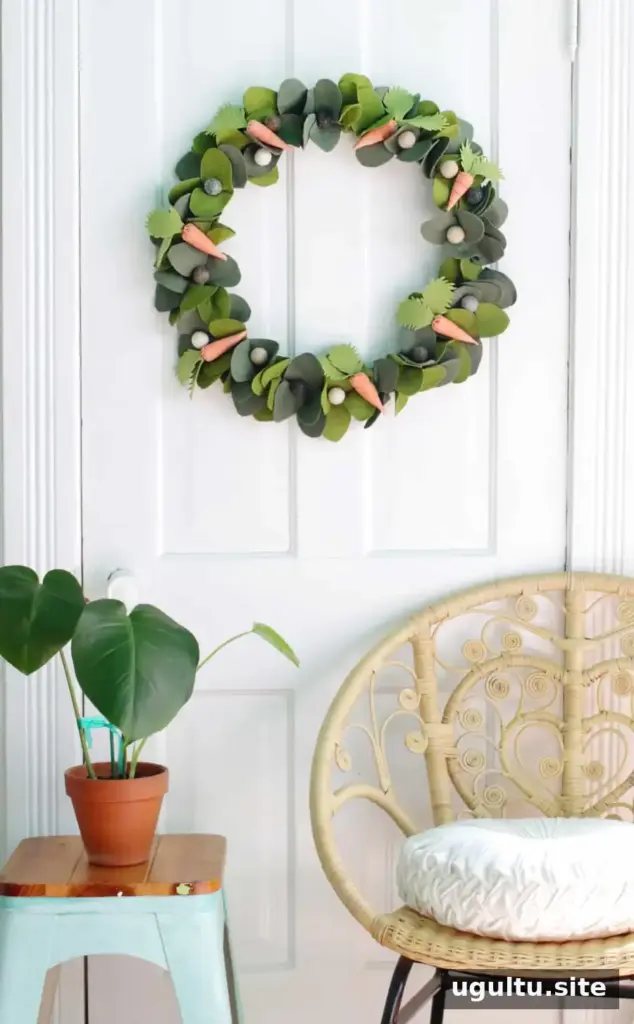
A Spring Wreath DIY is a simple way to add bright seasonal color to a front door or an indoor wall. This handmade design combines wool felt leaves, small stuffed carrots, and felt balls on a wreath base. Gather the supplies before starting, and use the pattern to help prepare the felt pieces.
Supplies for a Spring Wreath DIY
Set up a clear work surface and collect the following materials and tools. Keep the hot glue gun and wire cutters in a safe place while you work.
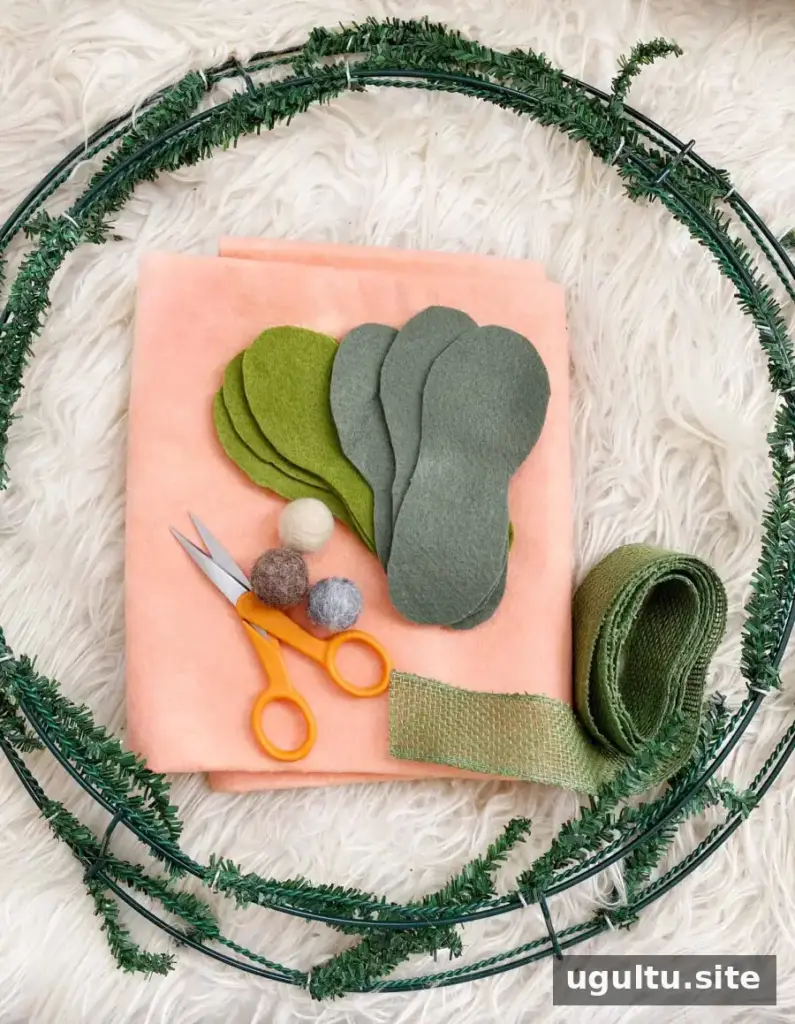
Supplies:
- Wreath base
- Wool felt
- Fiberfill
- Burlap ribbon
- Felt balls
- Needle and thread
- Hot glue gun
- Chopstick
- Scissors
- Wire cutters
- Spring wreath pattern
Prepare the wreath base and leaves
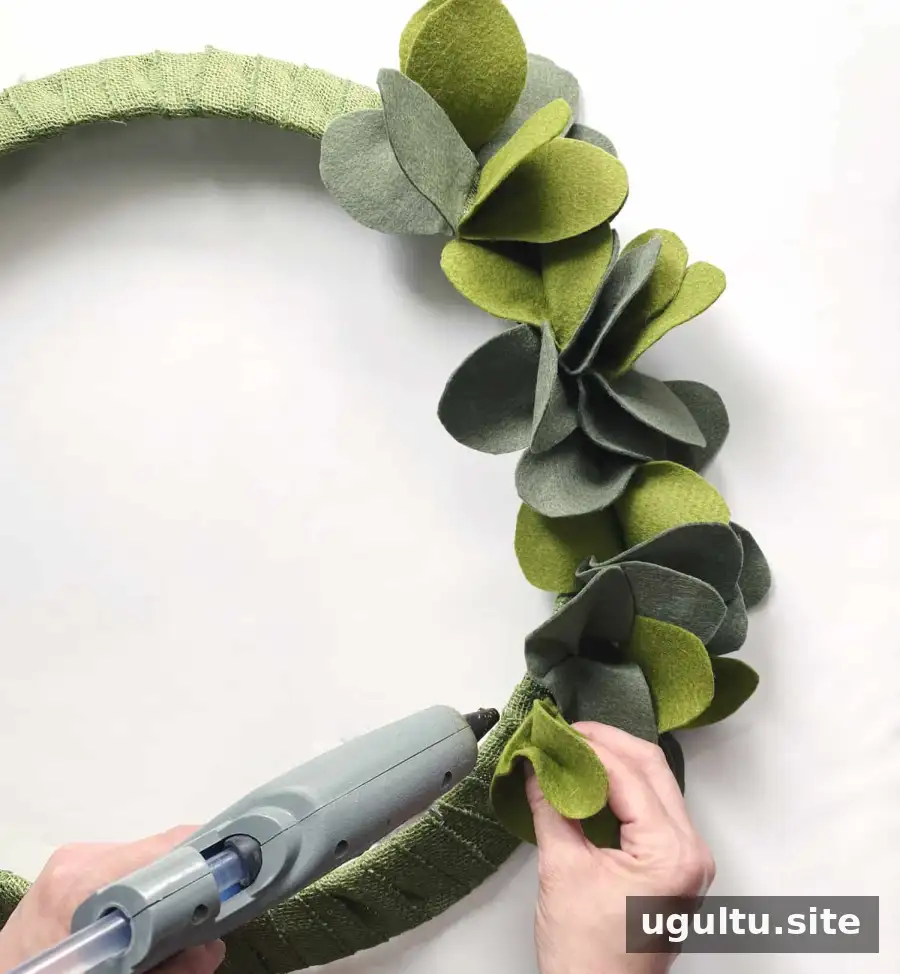
Print the spring wreath pattern and use it to cut the felt shapes. Trim the branches from the wreath base with wire cutters. Wrap the outer edge of the base with burlap ribbon, securing it as needed so the surface is ready for the felt decorations.
Fold each leaf in half and glue the leaves onto the wreath. Alternate colors and directions as you go to create a varied, balanced look. Before gluing each piece, place it loosely on the base to check the spacing and make adjustments.
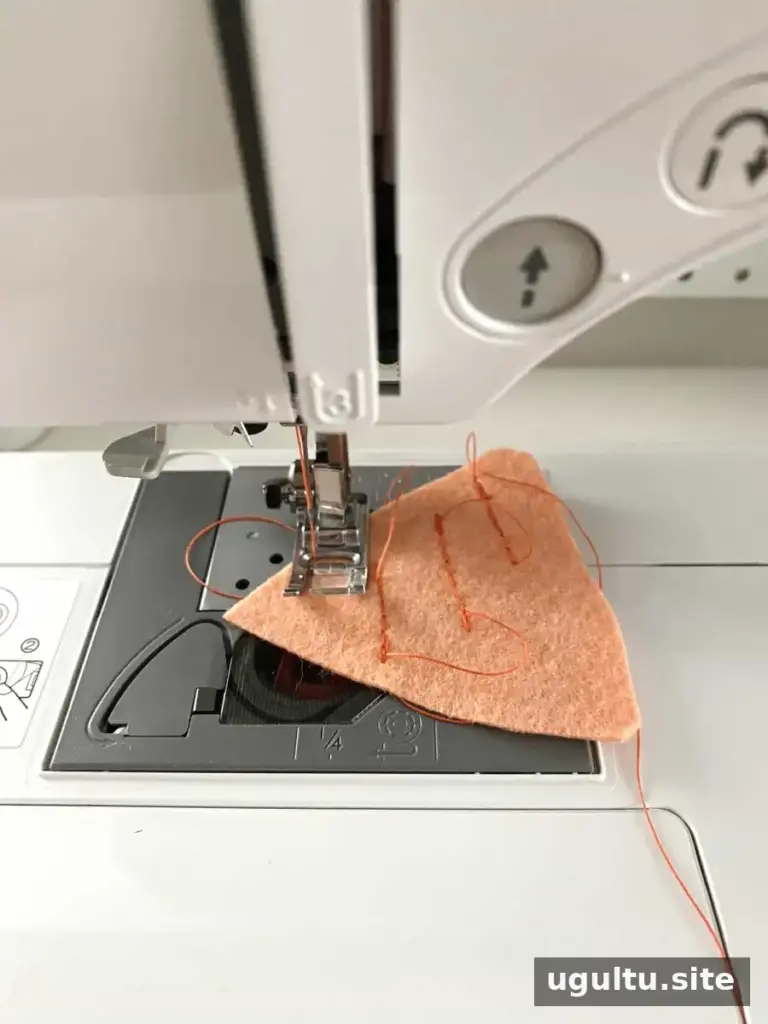
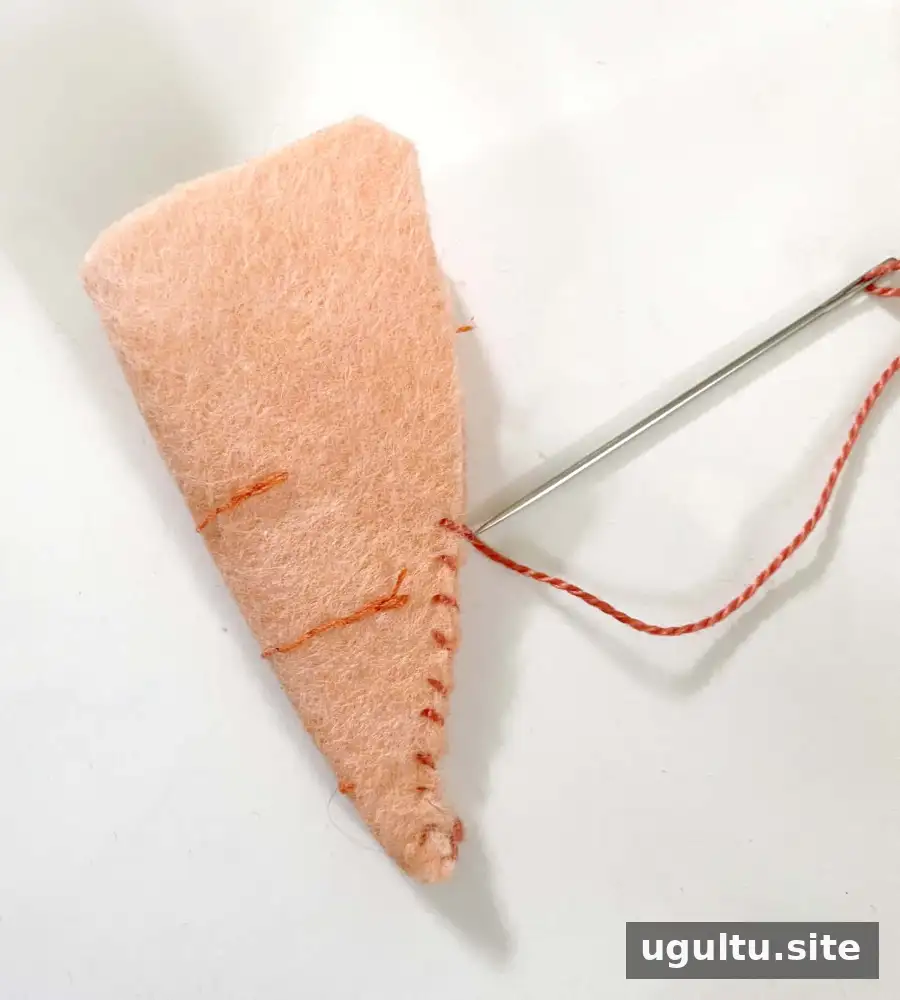
Sew and stuff the felt carrots
Add contrasting lines to each cut carrot piece with hand stitching or a sewing machine. Fold the felt lengthwise, then sew the back seam with a whipstitch. Keep the stitches close enough to hold the shape while leaving the top open for stuffing.
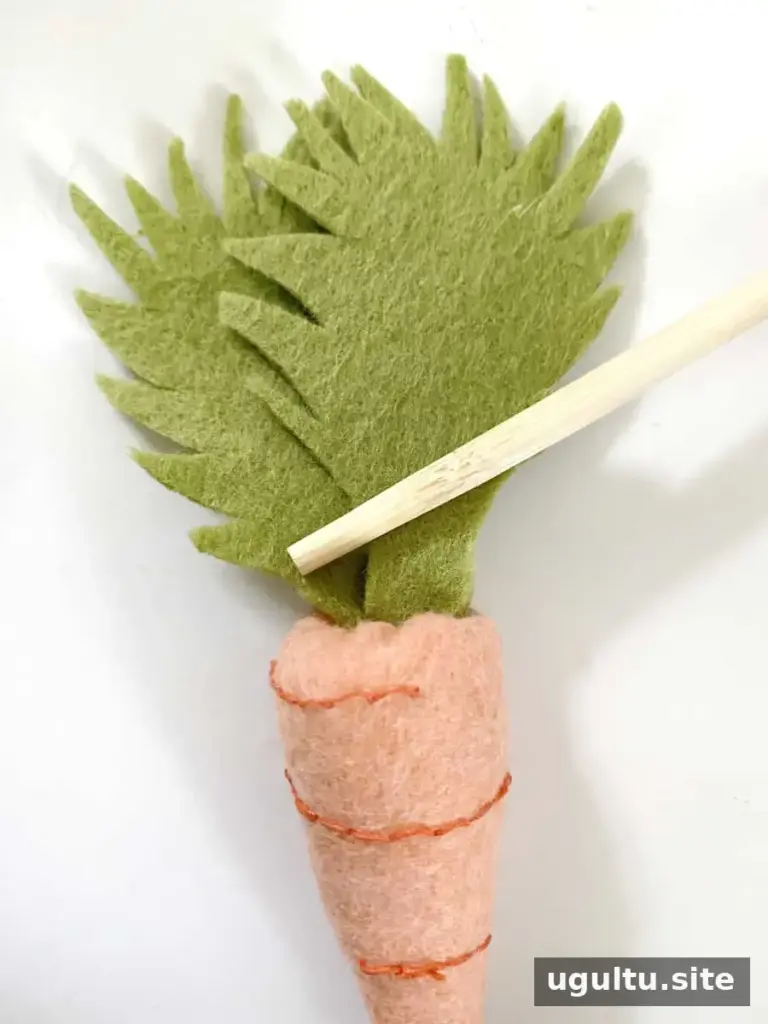
Fill the carrot with fiberfill. Close the top with a running stitch, then pull the thread snug to gather the opening. Push the carrot-top felt pieces into the small remaining gap with a chopstick. Work gently to avoid stretching or tearing the felt.
Attach the decorations and display the wreath

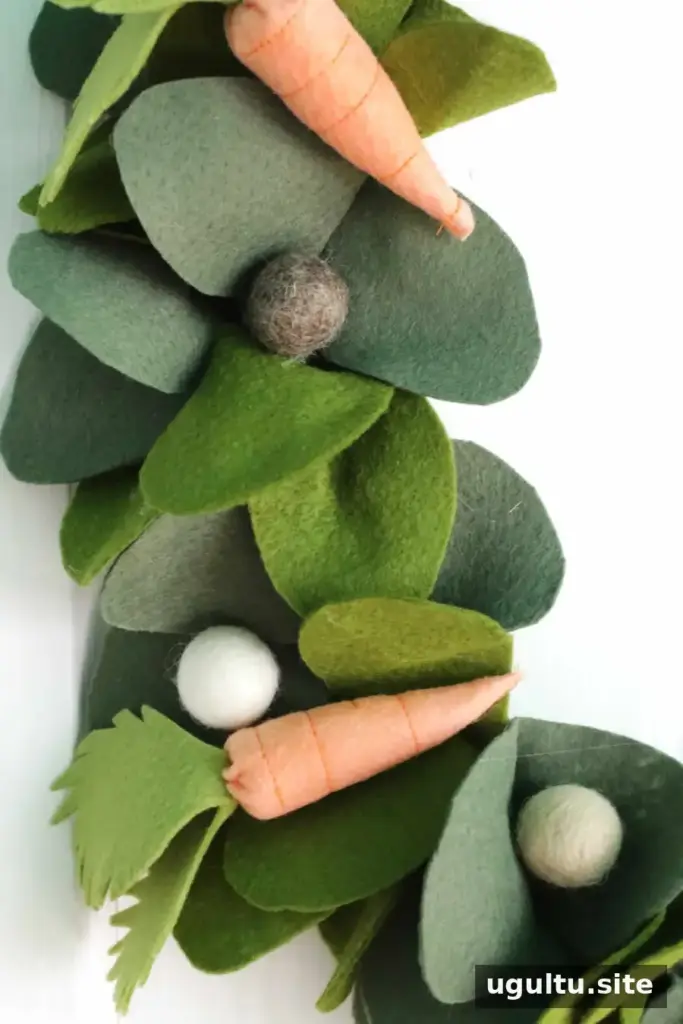
Use hot glue to attach the carrots and felt balls to the wreath. Allow the glued pieces to set before lifting or hanging the finished decoration. For a neat arrangement, position the larger carrot shapes first and fill open spaces with felt balls.
Display the wreath on an interior wall or on the front door, choosing a spot where it can be seen and is protected from rough handling. If using it outdoors, keep in mind that felt and burlap can be affected by moisture, so a sheltered location can help preserve the materials.
Finishing tips
This Spring Wreath DIY uses basic sewing and gluing techniques, making it easy to work through in stages. Cut all the felt pieces before assembling, keep the colors and decorations within reach, and take care when handling sharp tools or hot glue. Project by Katie.


