
 admin
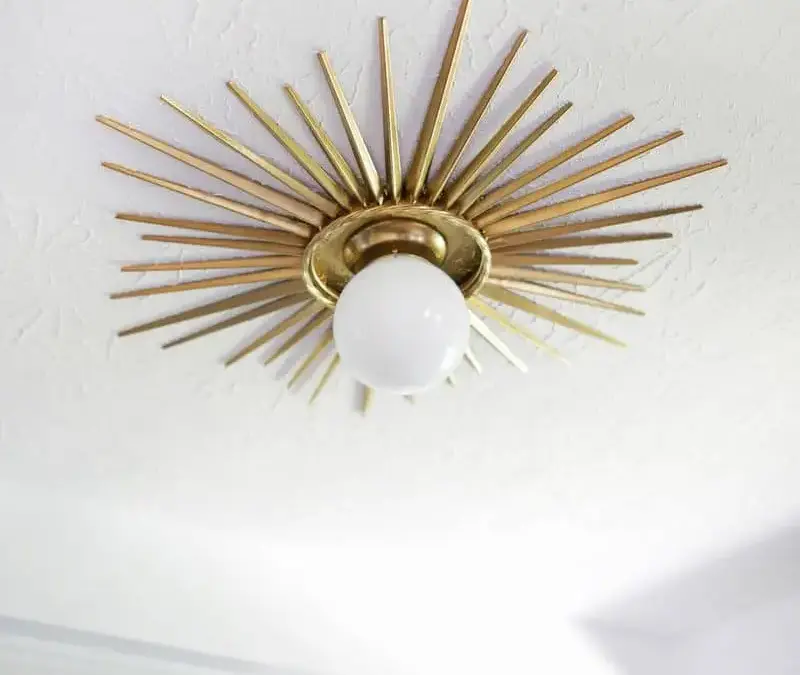
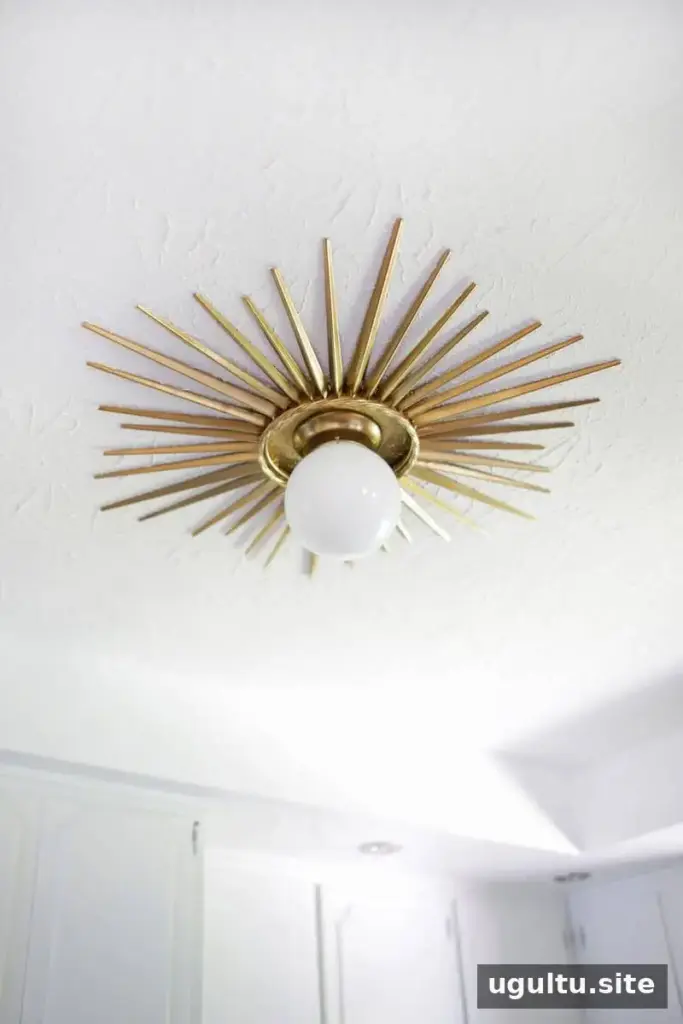
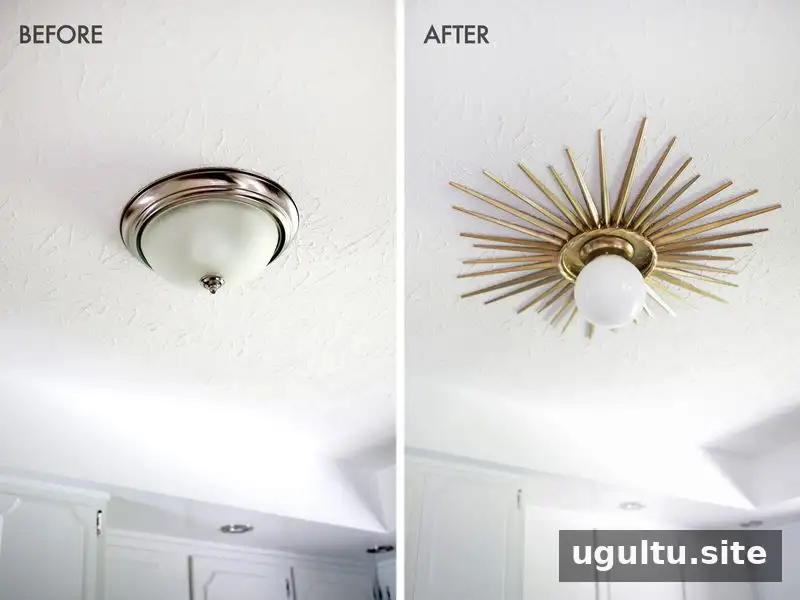
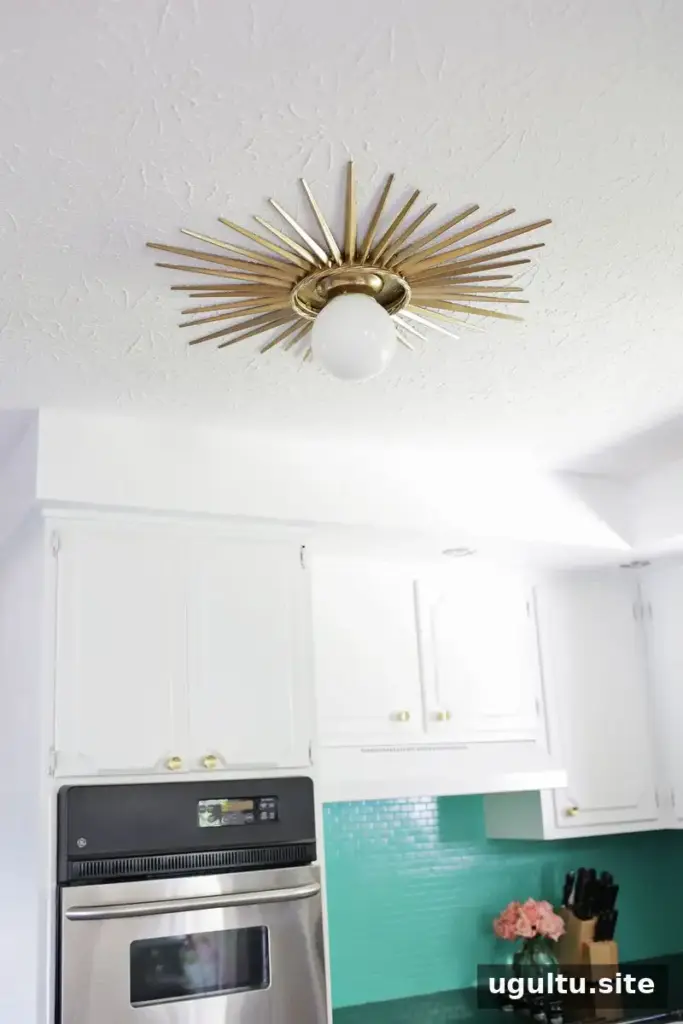
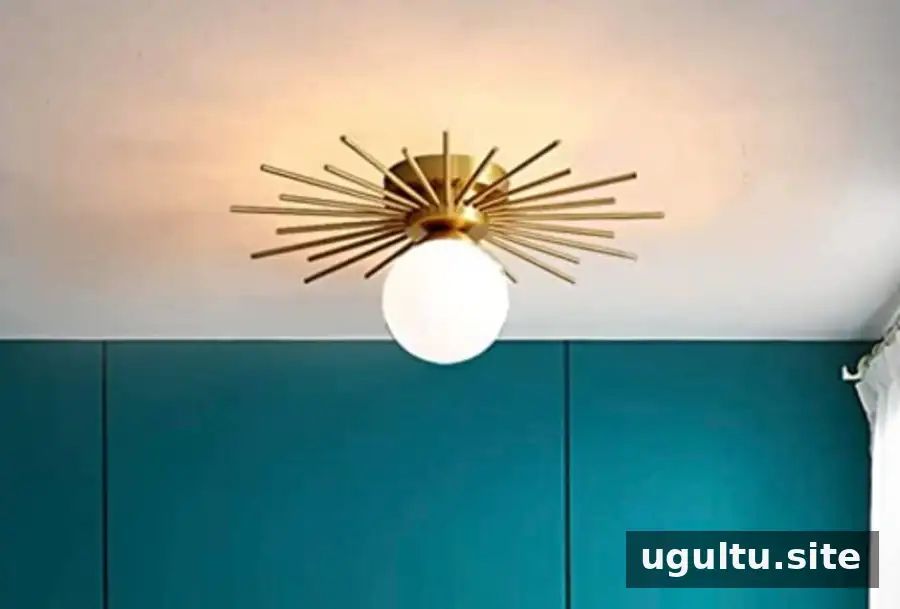
A sunburst mirror medallion can turn a basic flush-mount ceiling light into a more distinctive focal point. This DIY update pairs a mirror frame with a smaller light fixture to add a decorative, mid-century-inspired detail without replacing the entire ceiling fitting.
Materials for a Sunburst Mirror Medallion
Choose a frame large enough to surround the light, while ensuring the fixture can sit comfortably inside its center opening. The mirror needs to be removable so the frame can be used on its own.
- A sunburst mirror frame with a removable mirror
- A flush-mount ceiling light small enough to fit inside the frame
- Painter’s tape
- Screws and a drill
- Spray paint, if needed to coordinate the finishes
Prepare the Ceiling and Light Fixture
Installing or removing a hardwired ceiling light involves electrical work. The original project referenced Mandi’s guide to hardwiring light fixtures, but anyone unfamiliar with this work should hire a qualified electrician. Turn off power at the breaker and have the electrical connections handled safely; do not proceed if you cannot confirm the circuit is off.
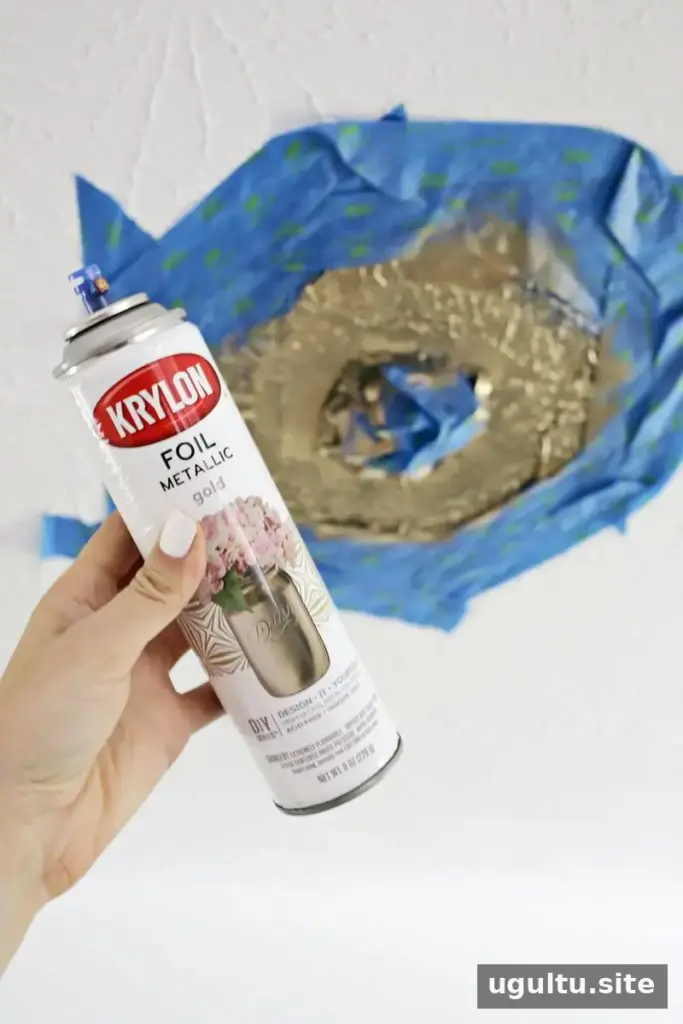
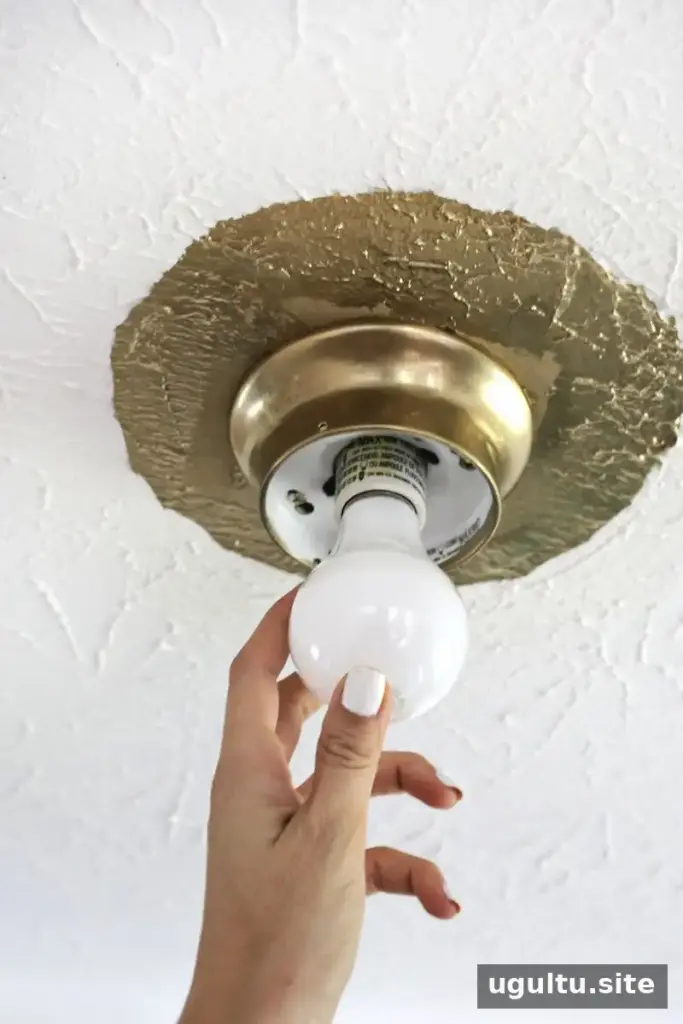
Once the existing fixture has been removed, compare the size of the new light with the mirror frame. If the light is smaller, the ceiling between the fixture and frame may remain visible. Position both pieces temporarily and mark the area that needs painting. Use painter’s tape to protect the surrounding ceiling.
To limit overspray, use a brush and regular paint instead of spraying indoors. If spray paint is used, follow its label directions and protect nearby surfaces. Allow the ceiling paint to dry before removing the tape.
Install the Flush-Mount Light
Paint the light’s base to match the mirror frame if desired. Carefully mask the back and interior so paint does not reach electrical components. Follow the fixture manufacturer’s installation instructions, then fit the bulb and globe shade. Check that the bulb is compatible with the fixture and that the light operates correctly before adding the decorative frame.
Prepare and Attach the Mirror Frame
Turn the mirror over and bend back the tabs holding the mirror in place. Remove the mirror and backing to leave an open frame. If the mirror is not designed to come out easily, do not force it; choose a frame that can be safely separated instead. Apply a matching coat of paint and let it dry completely.
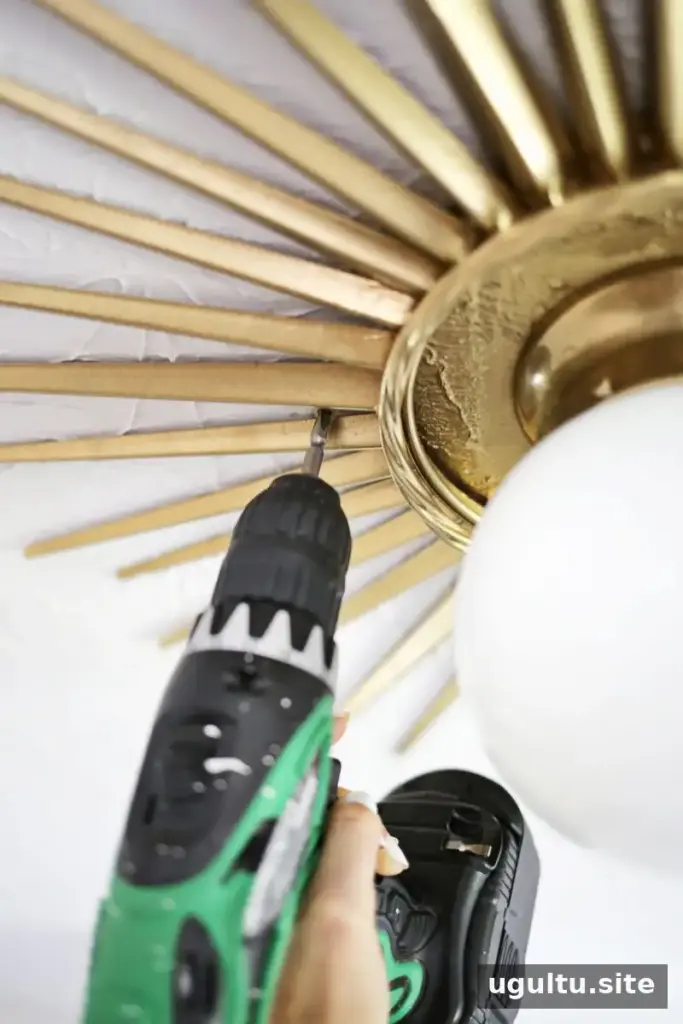
Place the frame around the installed light and secure it with four screws positioned between the spokes, as in this project. Use fasteners suitable for the frame and ceiling, and make sure the frame is firmly supported without pressing on or obstructing the light fixture. If the frame cannot be secured confidently, consult a professional rather than relying on a loose fit.
Finish the Ceiling Update
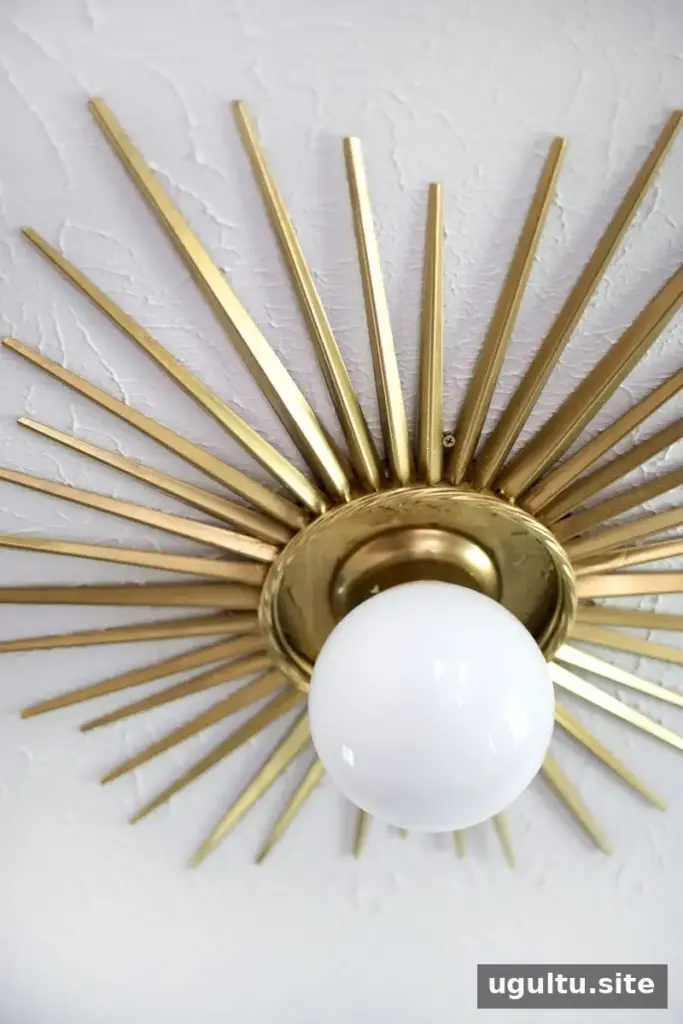
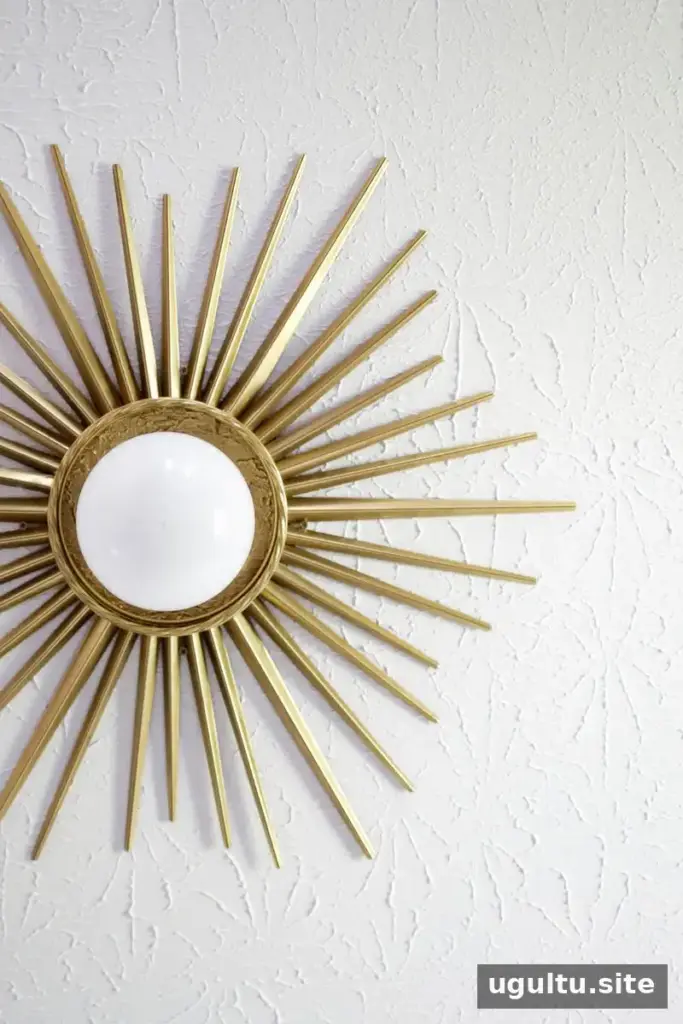
A repurposed mirror frame can add color, texture, and a sunburst shape to an otherwise simple ceiling light. For a subtler look, choose a frame with a less pronounced design; for more visual dimension, consider a pendant-style or Sputnik-inspired fixture instead. Before starting, measure the light and frame together so the proportions work and the frame does not interfere with installation or access to the fixture.
A sunburst mirror medallion is a straightforward decorative upgrade when the frame fits the light and is securely installed. Take time to plan the paint and placement, and leave electrical work to a qualified professional whenever you are unsure.
Project author: Laura.


