
 admin

Make tin-punched votive candle holders from empty cans for a simple, low-cost holiday decoration or handmade gift. A printed template guides the pattern, while frozen rice and water help support each can as you punch the holes. Choose letters, stars, snowflakes, or another design to create a personalized glow for a table or shelf.

Supplies and tools for tin-punched votive candle holders
Gather everything before starting, especially the template and punching tool. Clean cans thoroughly and let them dry before applying primer or paint.
- Empty tin cans
- Primer
- Gold and white spray paint, or multi-surface acrylic paint
- Rice and water
- Duct tape or other sturdy tape
- A printed template, such as large letters or a decorative pattern
- A mallet or hammer
- A punch tool or nail
- A brush if you are using paint that is not sprayed on
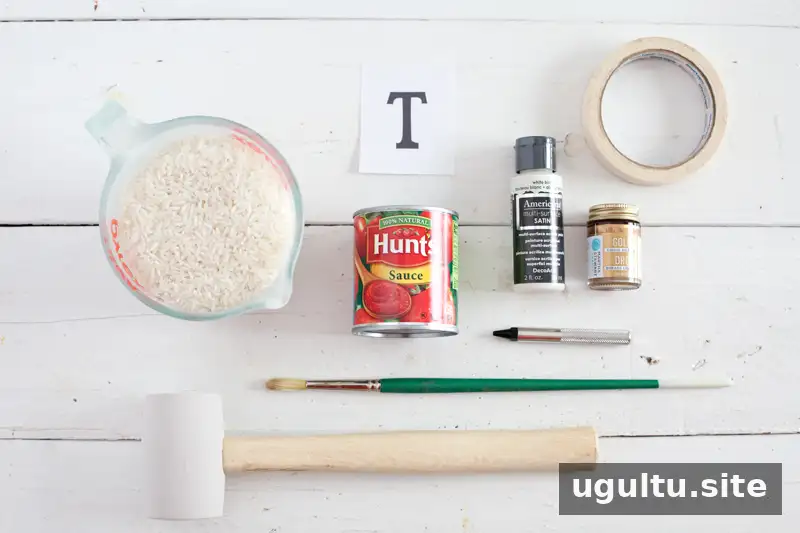
How to make tin-punched votive candle holders
1. Clean and prepare the cans
Remove the labels and any leftover adhesive, then wash the cans and dry them completely. A mixture of olive oil and baking soda can help remove stubborn label residue. Check the rims for sharp edges and handle the cans carefully throughout the project.
2. Freeze the cans for support
Fill each can with rice and water, leaving as little empty space as possible, and freeze it until solid. The frozen contents help the can keep its shape while you punch the pattern. Place cans upright in the freezer to reduce spills.
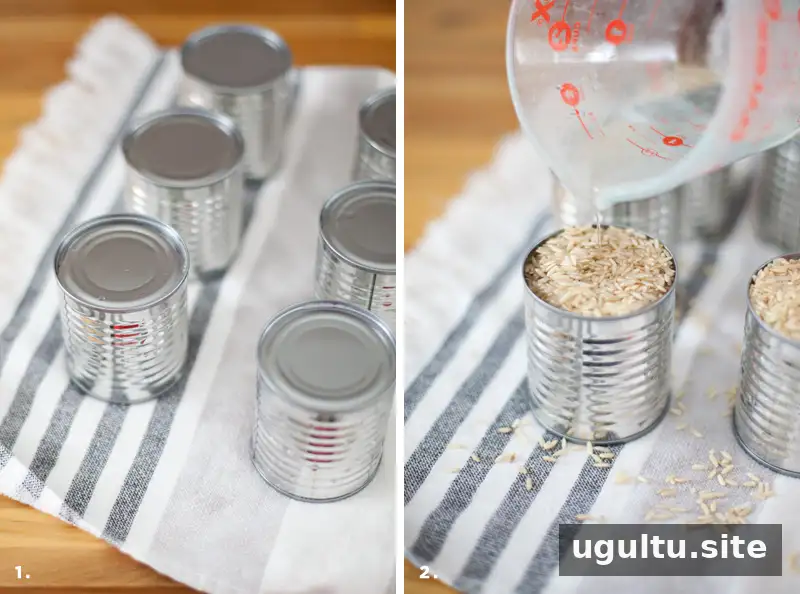
3. Attach the template and punch the design
Wrap the printed template around the frozen can and secure it with duct tape. Tape may not adhere directly to the frozen metal, so wrap it around the can to hold the paper in place. Using a punch tool or nail and a hammer, make holes along the outline of the design. Keep the holes at least as wide as a standard nail so candlelight can shine through.
When the pattern is complete, place the can in warm water for a few minutes. This loosens the frozen rice and water so you can empty the can; it does not need to thaw completely first.
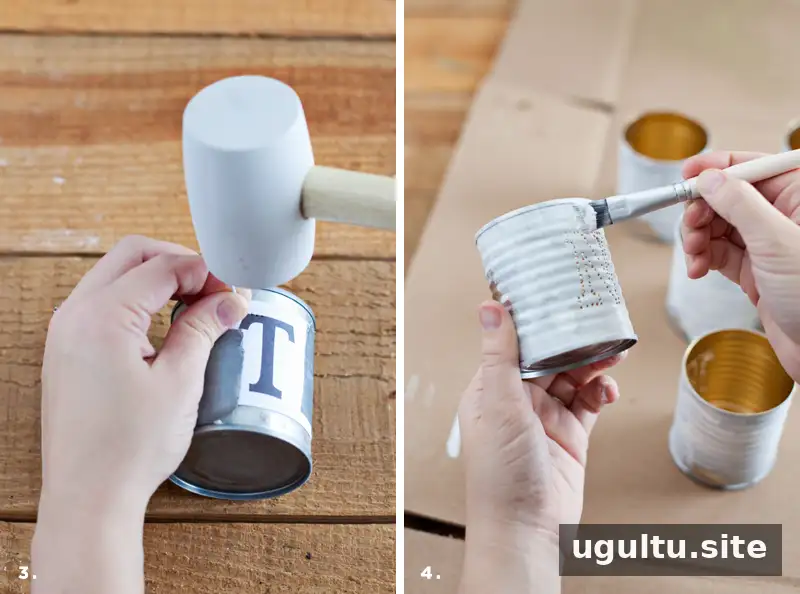
Layout tip: If you plan to arrange the holders down the center of a table, punch both sides of each can. Keep in mind that a word may appear in a different order from the opposite side, so plan the placement before making the second set of holes.
4. Prime and paint
Apply primer to help the paint adhere to the metal. Paint the inside gold and the outside white, or select colors that suit your decor. Spray paint can provide even coverage: coat the inside first, allow it to dry, then turn the can upside down and apply light coats to the exterior. Follow the paint label for application and drying directions.
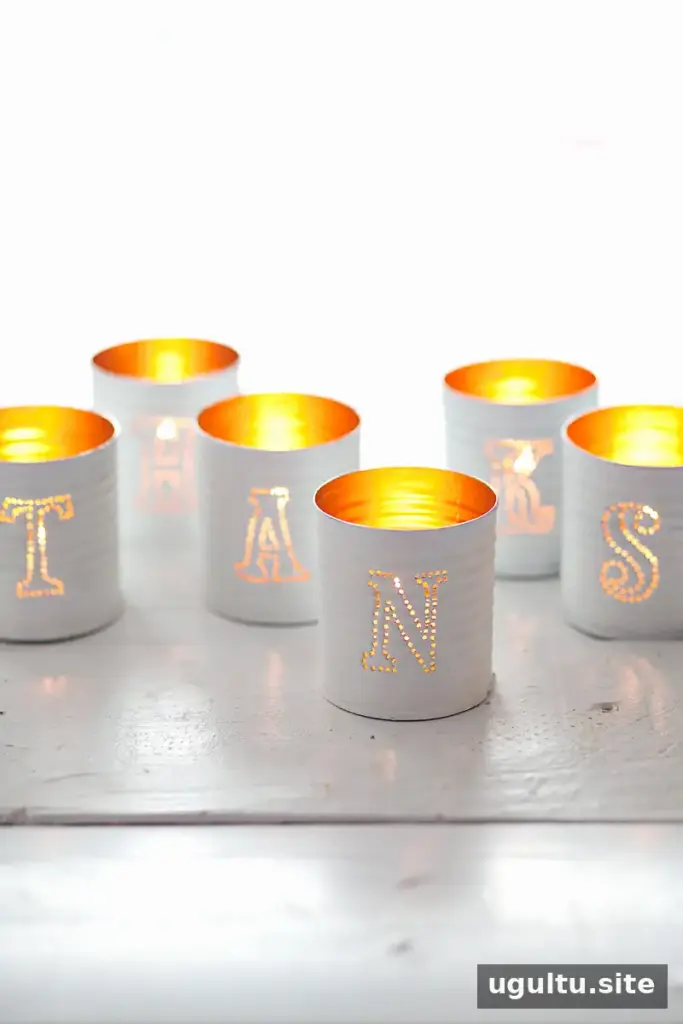
Using and displaying your finished holders
Allow spray paint to cure for 24 hours before using real candles, as recommended for this project. If you need to use the holders sooner, choose LED votives or tea lights. Keep any candle on a stable, heat-resistant surface and never leave a burning candle unattended.
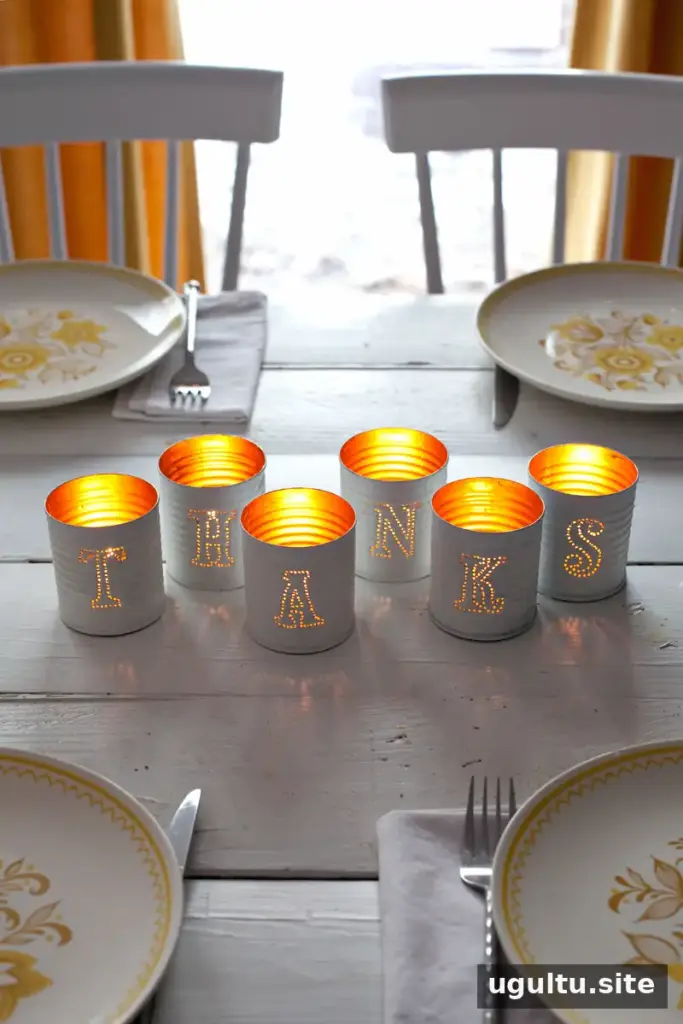
This is a suitable craft for children aged 9 and older with close adult supervision. An adult should handle the hammer, punch, sharp can edges, spray paint, and any lit candles. For a coordinated centerpiece, arrange several holders on a serving board and add greenery around them, keeping decorations well away from flames.
Conclusion
Tin-punched votive candle holders turn ordinary cans into custom decorations with a few basic supplies and a little preparation. Freeze the cans before punching, prime the metal before painting, and follow the paint and candle safety directions for a finished project that is both personal and practical.


