admin
A trash can screen can make an outdoor area look tidier while keeping bins easy to reach. This simple DIY design uses pre-primed boards and four posts to create a movable cover that suits the size of your space. The original project cost around $150 for the dimensions needed, though your total will depend on local material prices and the size you build.
Why build a trash can screen?
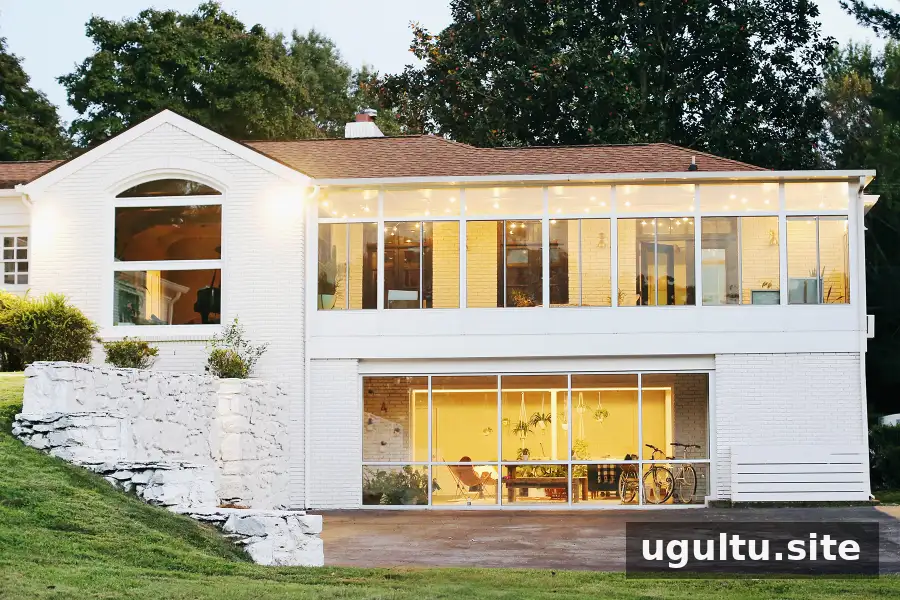
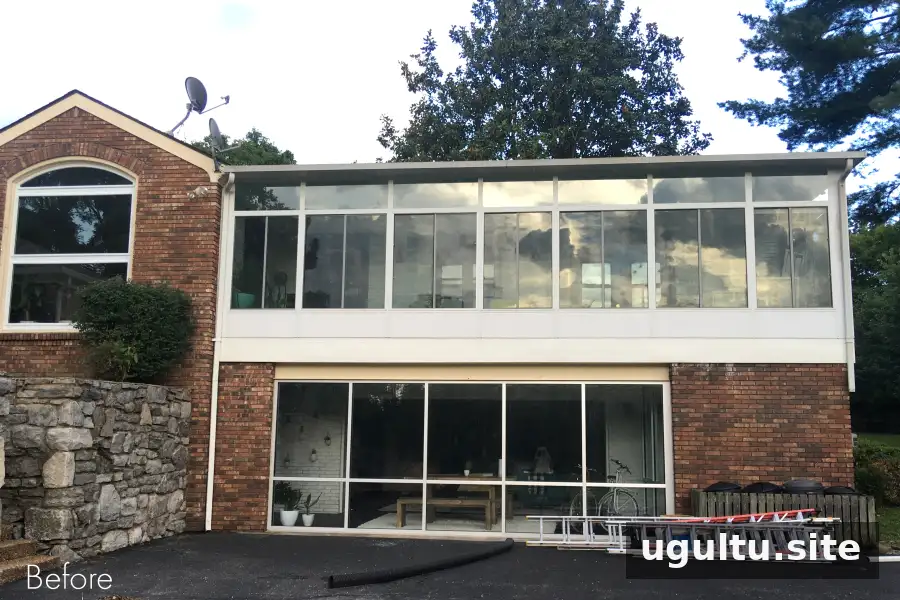
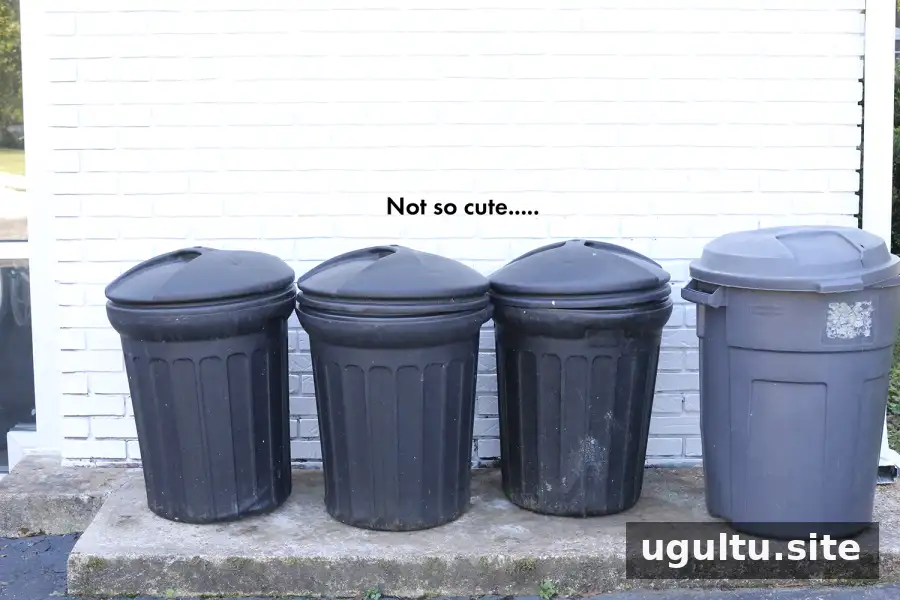
An older wooden enclosure can begin to look worn, especially after nearby siding or exterior walls are updated. In this project, the existing structure had moss and areas of wood rot, and the black bins stood out against the newly painted white house. A new, straightforward screen offered a cleaner appearance without the expense of a more elaborate masonry project.
Before planning your own, measure the available area and check how the bins need to be accessed. A screen should conceal the containers from the main viewing angle without blocking collection access, lids, or the route used to remove the bins.
Materials and measurements
The screen was made with pre-primed white boards measuring 6 inches tall by 3/4 inch wide, four posts measuring 2.5 inches by 2.5 inches, and wood screws. A power saw is also needed; a jigsaw, circular saw, or chop saw can be used to cut the boards.
- Pre-primed white boards, 6 inches tall by 3/4 inch wide
- Four posts, each 2.5 inches by 2.5 inches
- Wood screws
- Power saw, such as a jigsaw, circular saw, or chop saw
The board lengths depend on the width and depth you choose, so measure the intended location before cutting. Check that the finished screen leaves enough room to lift out or move each bin.
How to make the DIY trash can screen
- Measure the depth you want for the two sides. Cut 12 boards to that length, using six boards for each side.
- Measure the desired width of the front and cut six boards to that length.
- Use wood screws to attach the side boards between the posts. Space the six boards evenly and repeat to make the second side section.
- Attach the six front boards to the posts at matching intervals, keeping the spacing consistent with the sides.
- Position the completed screen around the bins and confirm that they remain accessible.
Because the design is made to fit a particular house and bin setup, take time to check the measurements before making cuts. Even spacing helps create a neat appearance, while leaving gaps between the boards keeps the structure open rather than fully enclosed.
Placement, access, and upkeep
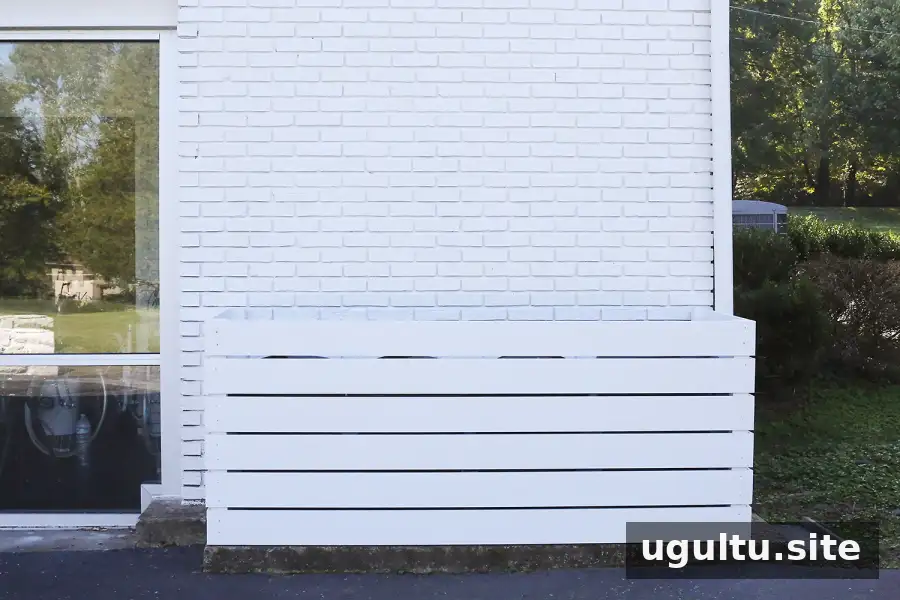
The finished screen was left movable rather than fixed to the ground. Its weight was considered sufficient for the location, and being able to move it makes it easier to hose down the area if a bin leaks or spills. Conditions differ from one property to another, however. If your screen will be exposed to strong winds or storms, assess whether it needs a more secure fixing.
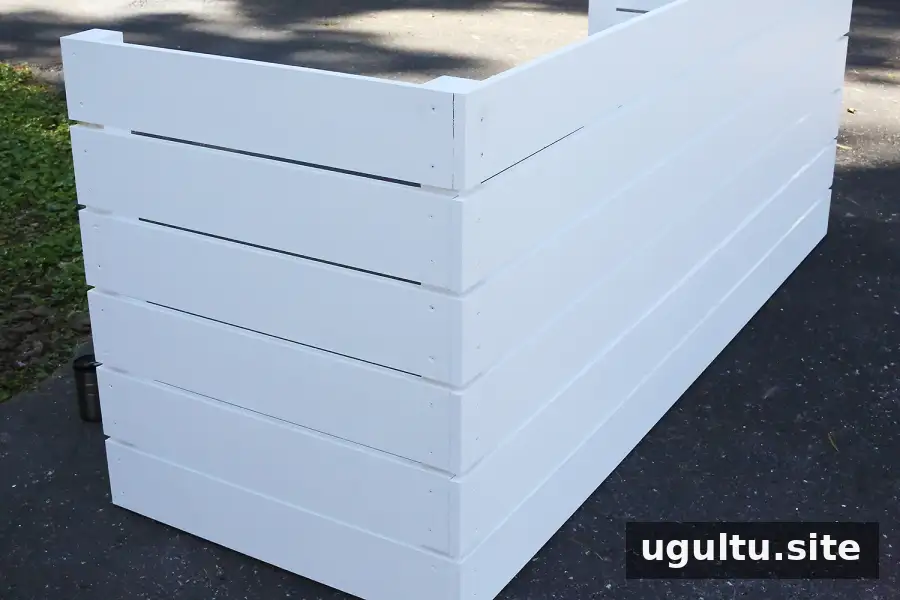
In this setup, the waste collection service drives up to the bins, so they do not need to be rolled to the curb. If your collection arrangement is different, make sure the screen can be moved or opened without slowing down collection day.
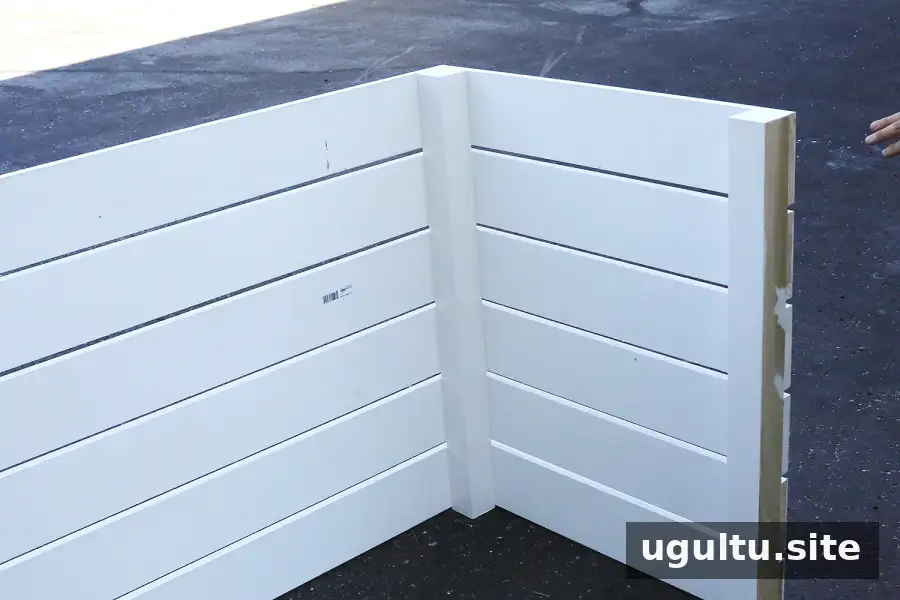
From the back, the construction is simple: boards are attached to posts with screws. The bins remain hidden from the front but accessible, and smaller bins can be lifted out easily. Keep enough clearance for the bin lids to open and for containers to be removed without scraping against the frame.
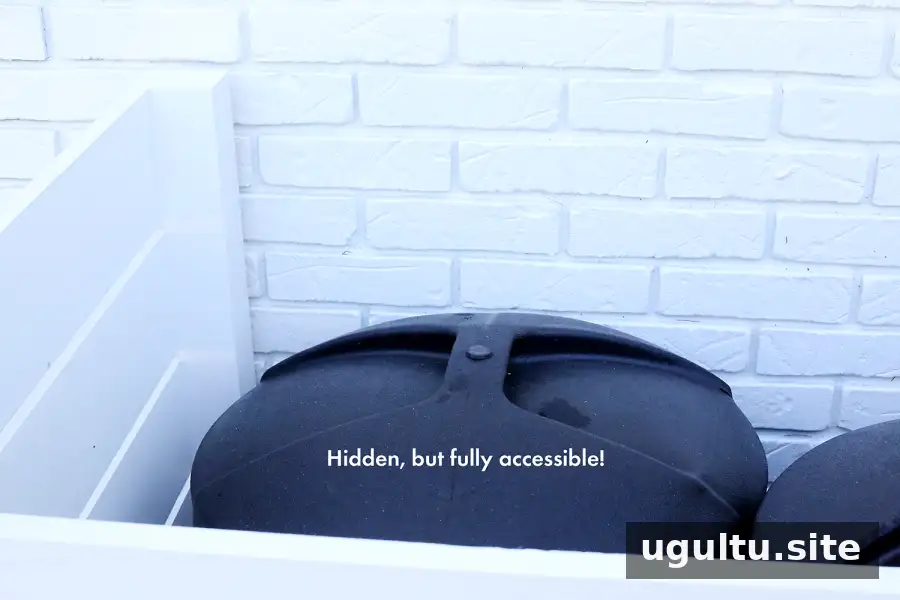
Is a movable trash can screen right for your yard?
This design may work well if you want a clean, modern-looking way to conceal outdoor bins without building a permanent enclosure. It uses basic materials and can be adapted to the space, but accurate measuring is essential because the board lengths are custom. Consider the bin dimensions, collection access, surface drainage, and wind exposure before assembling the screen.
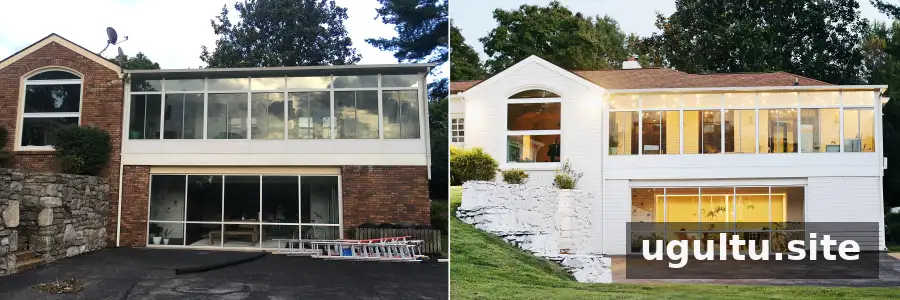
A well-planned trash can screen can hide bins while keeping them practical to use. Measure first, maintain clear access, and choose whether to leave the structure movable or secure it based on the conditions around your home.
— Elsie