
 admin

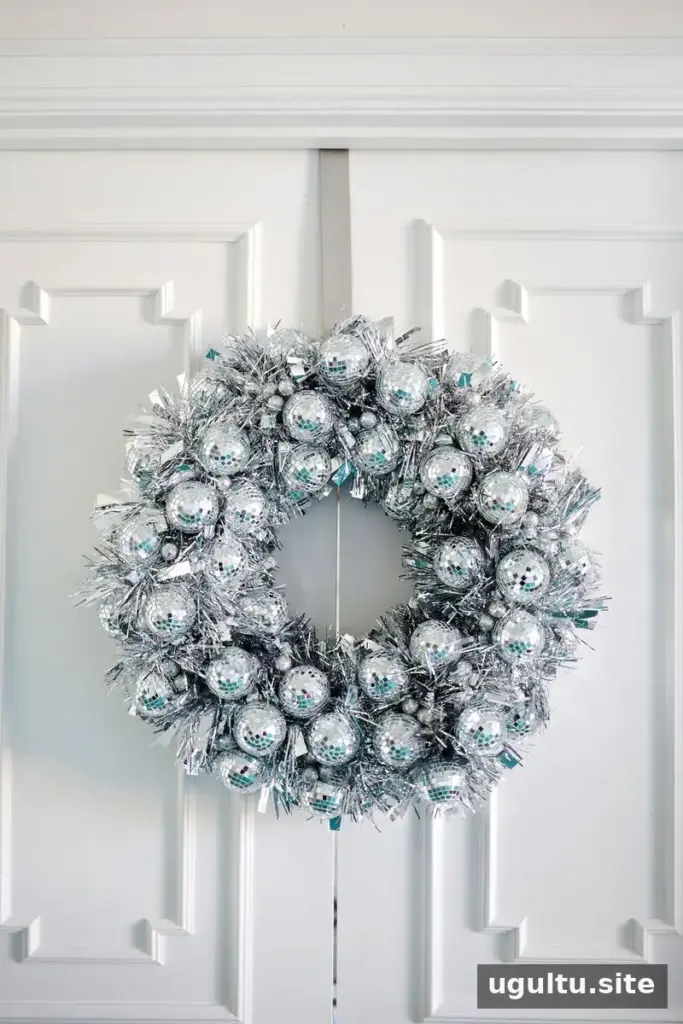
A disco ball wreath adds sparkle to holiday decor without requiring a complicated project. With a wreath form, two silver tinsel garlands, mini disco ball ornaments and hot glue, you can create a festive decoration in a few straightforward steps.
It is also easy to adjust the design to suit your space. Choose a wreath form that feels sturdy, and use the number of ornaments needed to cover it attractively. Any extra mini ornaments can be saved for another decoration or displayed in a bowl.
Supplies for a Disco Ball Wreath

Gather these materials before starting:
- One wreath form
- Two silver tinsel garlands; choose fluffy garland for fuller coverage
- Mini disco ball ornaments, about 2 inches or smaller
- Hot glue gun and glue sticks
The number of ornaments depends on the size of the wreath form and how closely you place them. About 2 inches is a useful ornament size for this project; larger ornaments may suit a much bigger wreath better.
Choose a sturdy wreath form
The wreath form provides the base for the garland and ornaments, so check that it is in good condition before decorating. Floral foam can break under pressure. A straw wreath form is another option; if it comes wrapped in plastic, leave the plastic in place while working to help contain loose straw.

The step-by-step photos are unavailable, but the process is simple to follow. Work on a protected surface and take care when handling hot glue.
How to Make the Wreath
- Cover the form. Use hot glue to attach the silver tinsel garland around the wreath form. Continue wrapping until the base is completely covered. Add the second garland if needed to achieve a fuller look.
- Prepare the ornaments. Remove the hanging hooks from the mini disco ball ornaments. If a hook does not come off easily, handle it carefully rather than pulling in a way that could damage the ornament.
- Arrange and attach. Place the ornaments around the wreath in a scattered arrangement, then glue them in place. Add ornaments gradually and step back occasionally to check that the spacing looks balanced.
Let the glue set before lifting or hanging the wreath. If you are unsure where an ornament should go, position it first without glue, then attach it once you are happy with the layout.
Finishing and Hanging Tips

A mix of visible tinsel and reflective ornaments gives the wreath its sparkling finish. Check the edges and center opening for any uncovered areas, and tuck loose garland ends securely into the design.


Before hanging the finished wreath, make sure the form and decorations feel secure. Choose a suitable hook or hanger for the wreath’s weight, and avoid placing it where it could be knocked or exposed to conditions that may damage its materials.
This project can be made with supplies commonly found at craft stores. The final look depends on the size of the wreath form, the fullness of the garland and how many mini ornaments you use, so adjust the arrangement to suit your decoration.
For another seasonal project, consider a wreath design that can be adapted for different times of year.
Project by Elsie.


