
 admin
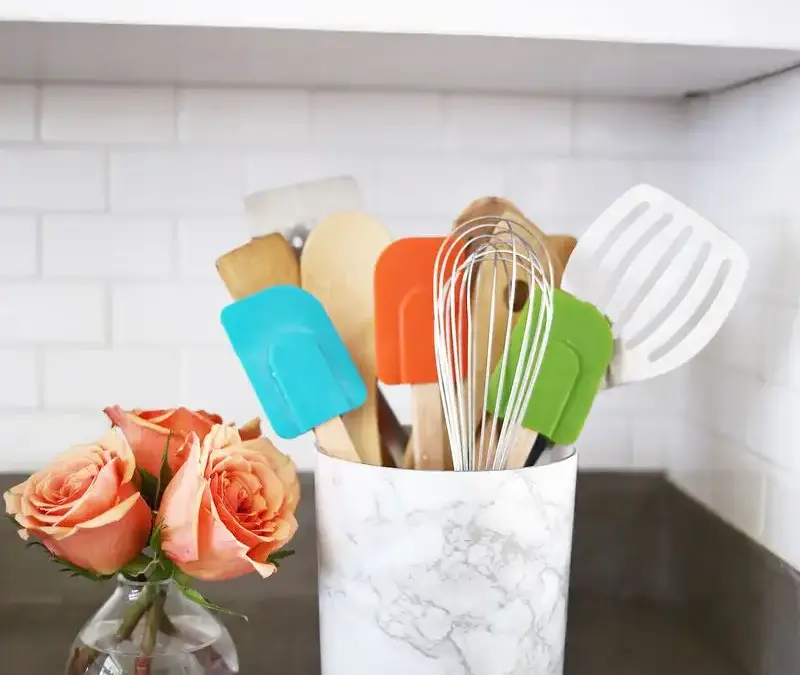
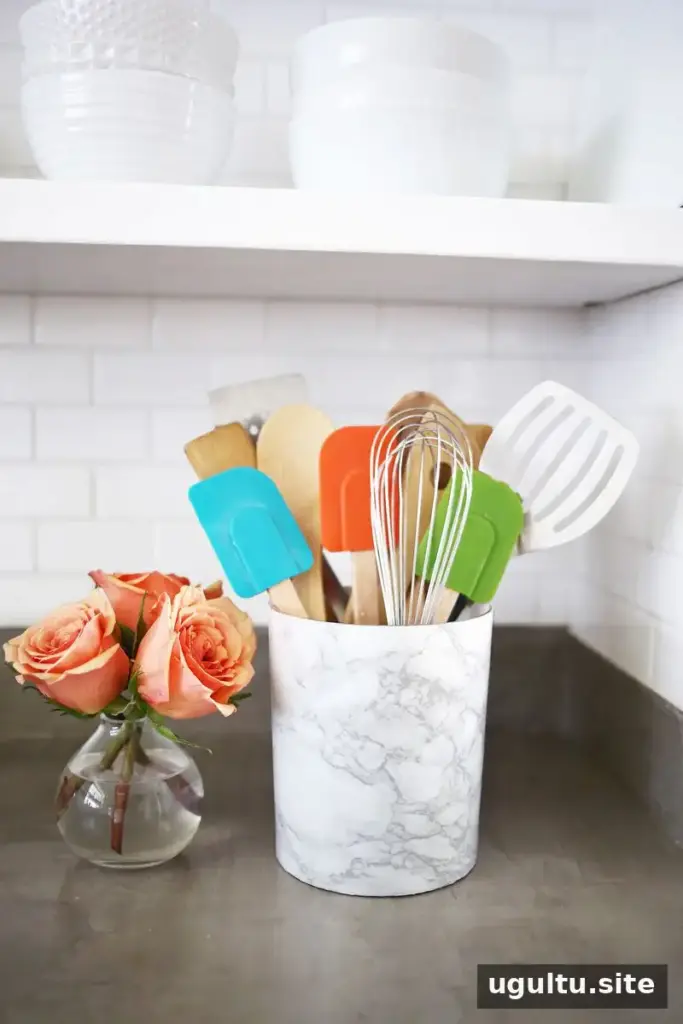
A marble utensil holder is a simple way to bring the look of stone into a kitchen without installing a marble countertop. Real marble can be costly and may stain more easily than some other countertop materials, so a marble-look finish offers a decorative alternative for smaller accessories. With realistic marble contact paper and a few basic tools, an existing utensil holder can get a fresh look in a short DIY project.
Why make a marble utensil holder?
A utensil holder is a practical kitchen item that can also contribute to the room’s style. Covering its exterior with contact paper adds a veined, stone-inspired pattern without the weight or expense of real marble. It is also a way to coordinate a holder with other marble-look accessories, such as a cheeseboard.
For the most convincing result, choose a contact paper pattern with natural-looking veining and a scale that suits the size of the holder. Check the product details before buying, since finishes and application instructions can vary.
Materials and preparation
You will need a utensil holder, marble-look contact paper, scissors, and a craft knife for trimming. A clean, dry outer surface helps the adhesive make good contact. If the holder is dusty or greasy, clean it according to its material’s care instructions and let it dry completely before applying the paper.
- Measure the height of the holder and cut the paper slightly taller than needed.
- Allow enough paper to wrap around the holder’s circumference, with a small overlap if required.
- Before removing the backing, check how the marble pattern will sit on the front of the holder.
How to apply marble contact paper
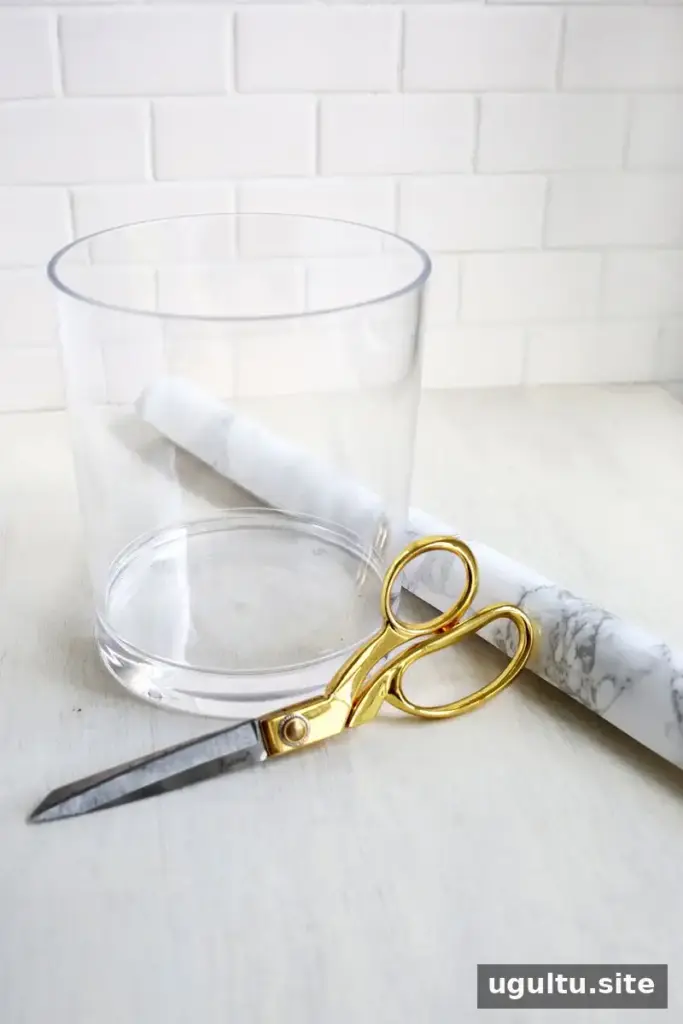
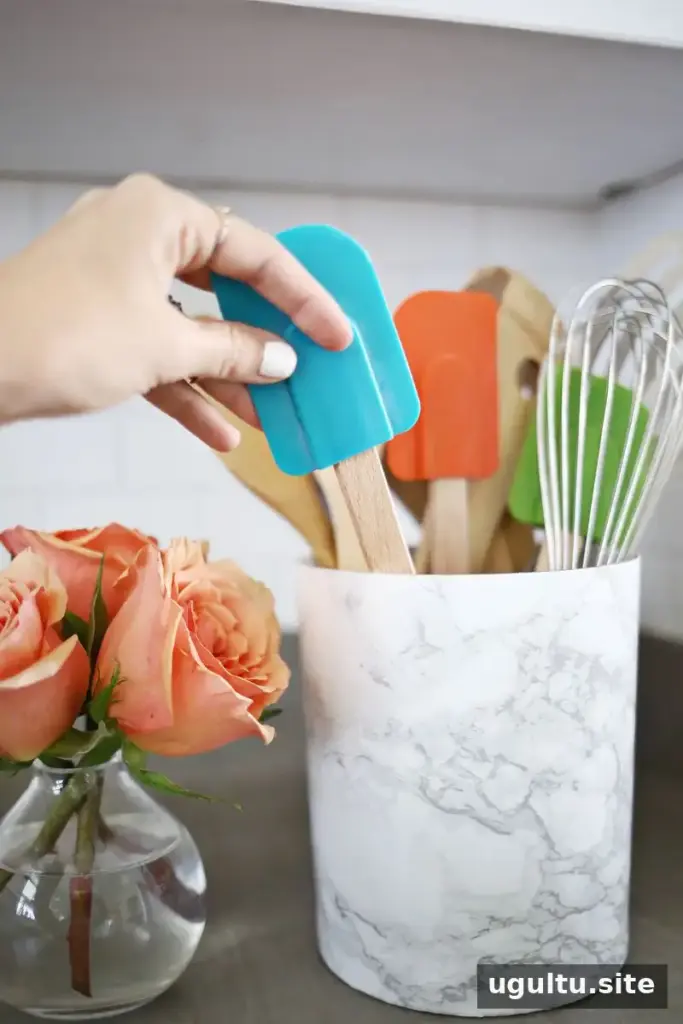
Start at one edge and gradually press the contact paper onto the outside of the utensil holder. Work slowly around the surface, smoothing the paper as you go to help limit wrinkles and air bubbles. Many adhesive papers can be lifted and repositioned during application, but follow the instructions for the specific product.
Once the paper is in place, use a craft knife to carefully trim the excess along the top and bottom edges. Keep the blade pointed away from your hands and work on a stable surface. Take care not to cut into the holder itself.
Practical finishing tips
- Apply the covering only to the exterior; keep adhesive paper away from the inside and any area that may touch utensils or food.
- If the holder has a curved shape, smooth the paper in small sections rather than stretching it quickly.
- For cleaning, follow the contact paper manufacturer’s care guidance instead of assuming it can be scrubbed or soaked.
An affordable kitchen update
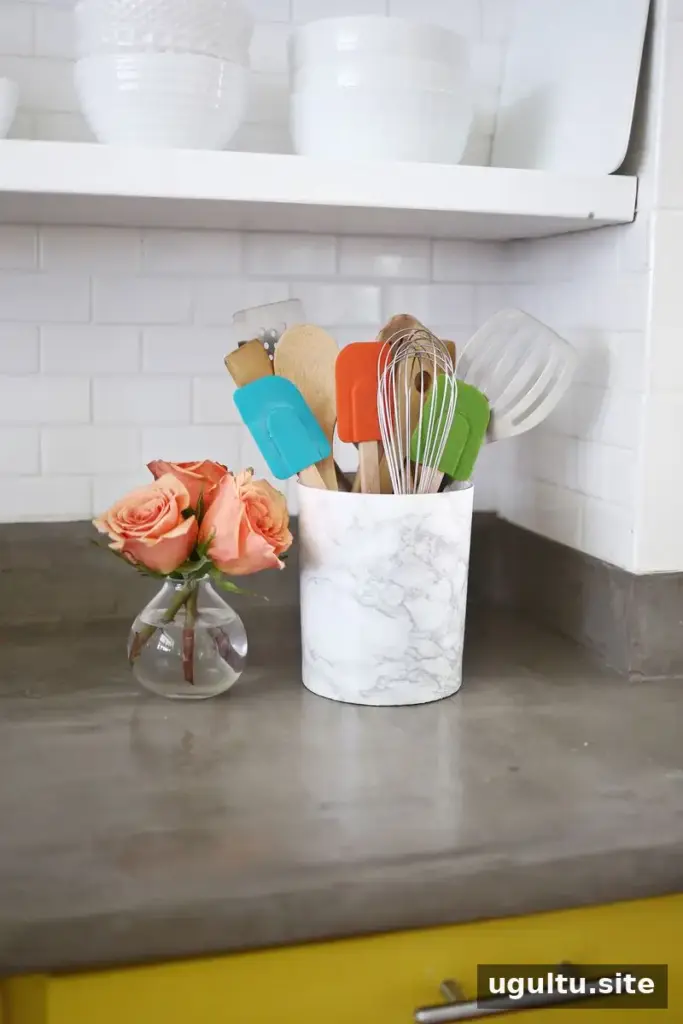
Marble-look contact paper can provide the appearance of marble for a fraction of the cost of a real stone accessory. This straightforward project also makes it possible to refresh a plain utensil holder without replacing it. Laura
Conclusion
This marble utensil holder DIY is an easy decorative update: measure the holder, apply marble-look contact paper to the exterior, and trim the edges carefully. Choose a suitable paper, prepare the surface, and follow its care instructions to help the finished piece look neat and remain practical in the kitchen.


