admin
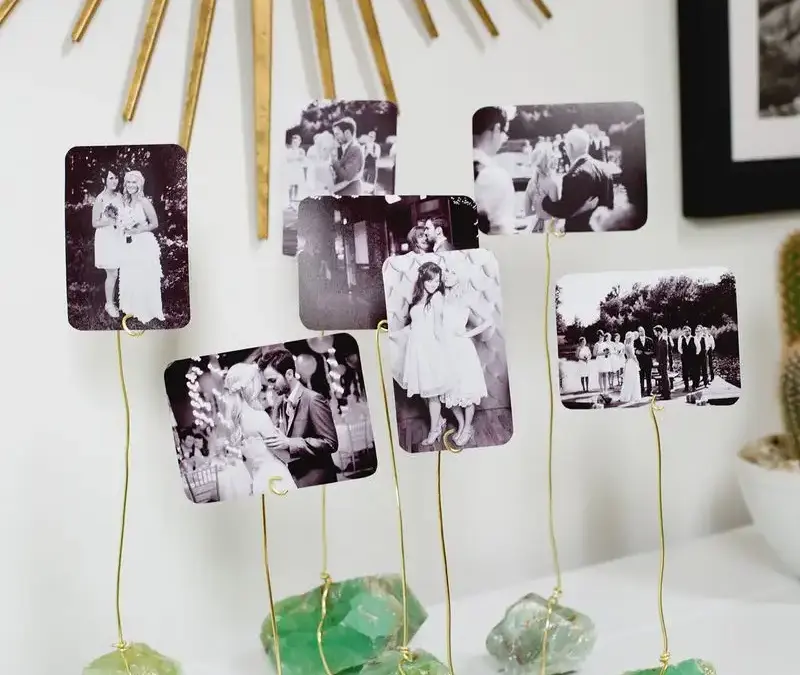
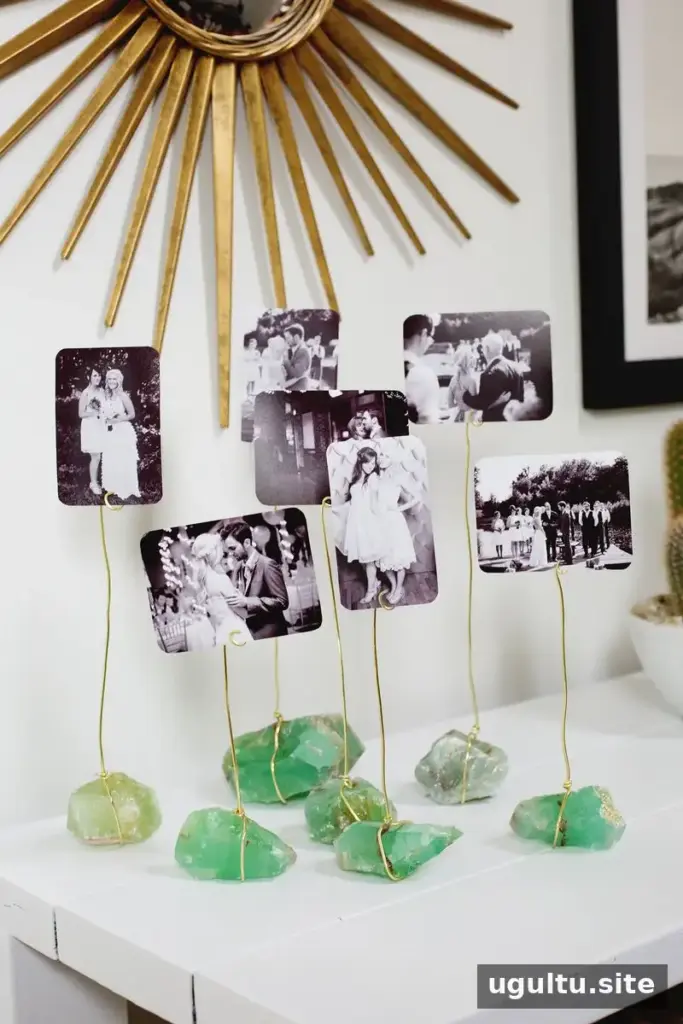
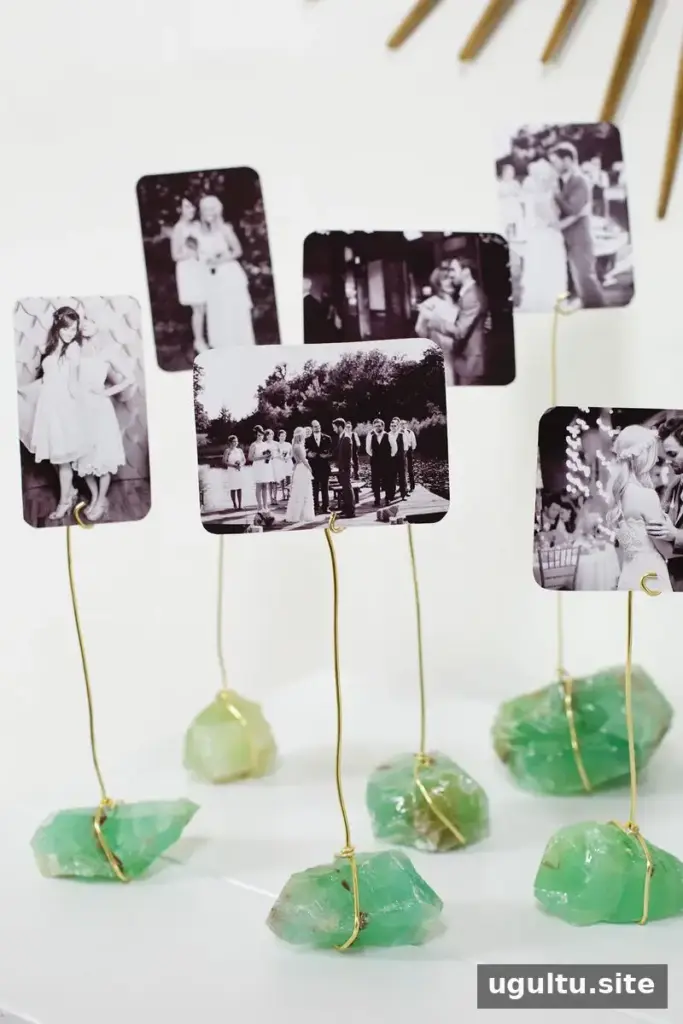
A mineral photo display brings together favorite photographs and natural stones in a simple decorative arrangement. With a few crystals or found rocks, wire, and printed pictures, you can make a small display for a shelf, dresser, or other flat surface. Planning the layout before adding your photographs helps protect them and makes it easier to achieve a balanced result.
How to Plan a Mineral Photo Display
Choose stones that suit the colors and style of the room. Green calcite crystals can add a vivid accent, while collected rocks offer a more natural, varied look. If you gather stones outdoors, choose pieces that sit securely on the surface and follow local rules about collecting.
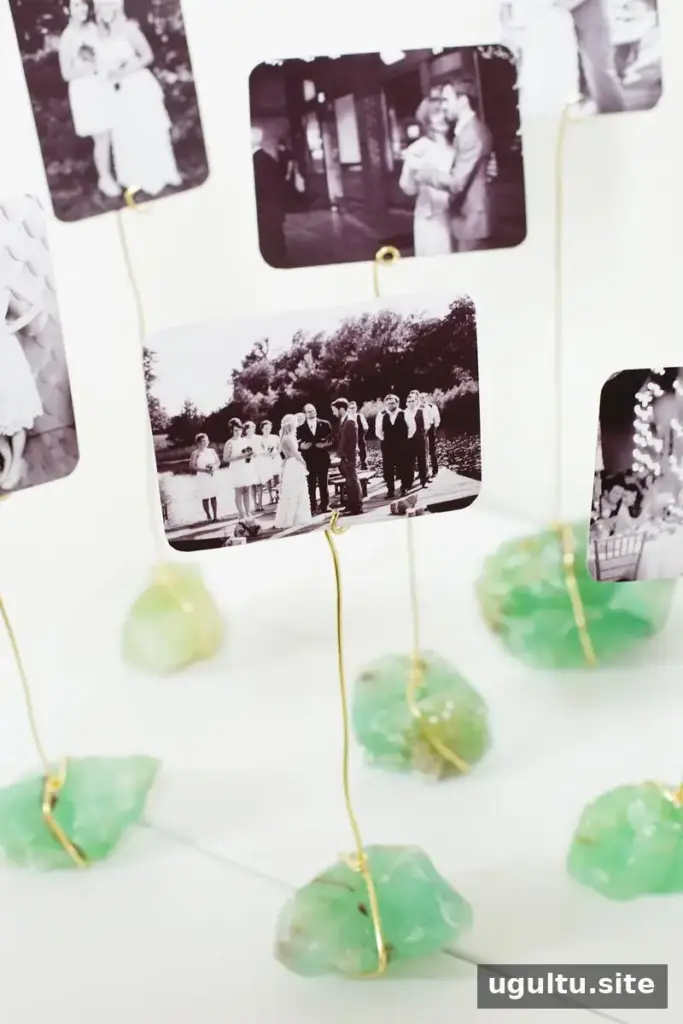
Before assembling the display, place the stones where you expect to use them and test a few arrangements. An odd number of crystals or rocks can be easier to layer, since it allows some pieces to sit slightly in front of others. Varying their heights and spacing can also help the arrangement feel less rigid.
Materials and Wire Tips
You will need crystals or rocks, wire, needle-nose pliers, and photographs. Select wire that can be shaped by hand but is sturdy enough to hold its form. Keep the wire ends tucked in and away from the photos and hands. Needle-nose pliers are useful for bending the ends inward more neatly than fingers alone.
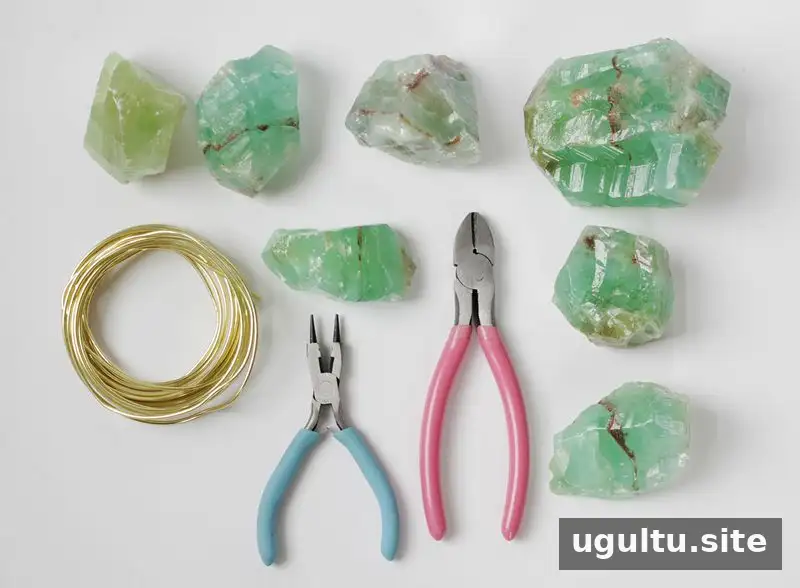
Arrange the stones first, then decide where each photo should sit. This makes it easier to estimate the height and position of the wire holders before cutting or shaping them. Take care when handling cut wire, as the ends may be sharp.
Shape the Photo Holders
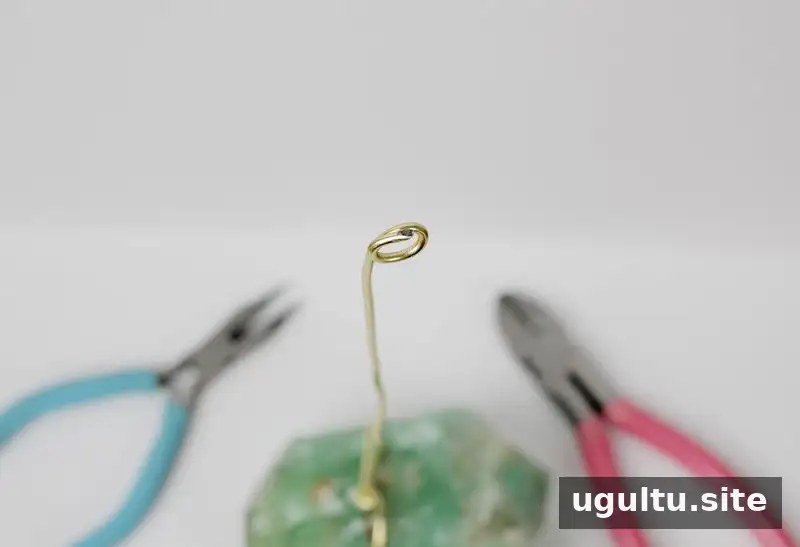
Bend the top of each wire into a small loop that can hold a photograph. Keep the loop wide enough to support the paper without pinching or creasing it. Adjust the wire gradually, checking its position against the arrangement as you work.
Test the Layout Before Using Photos
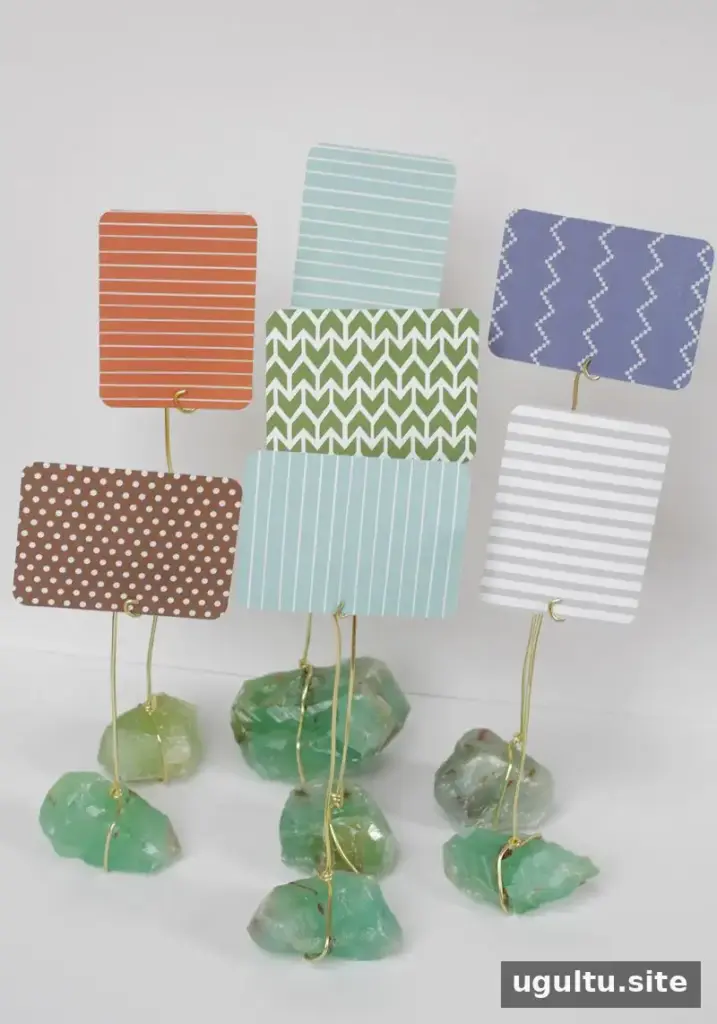
Use small 3″ x 4″ scrapbooking cards or pieces of paper as placeholders while testing the design. Move them around until the photos have enough space and sit at the heights you want. Planning with paper avoids repeatedly bending the wire around finished photographs and helps you see how much of the display each image will occupy.
Once the layout looks right, use the placeholders as a guide for trimming your pictures. If you want a consistent appearance, choose photos with a shared visual style, such as black-and-white images. This can make colorful stones stand out more clearly.
Print and Finish the Display
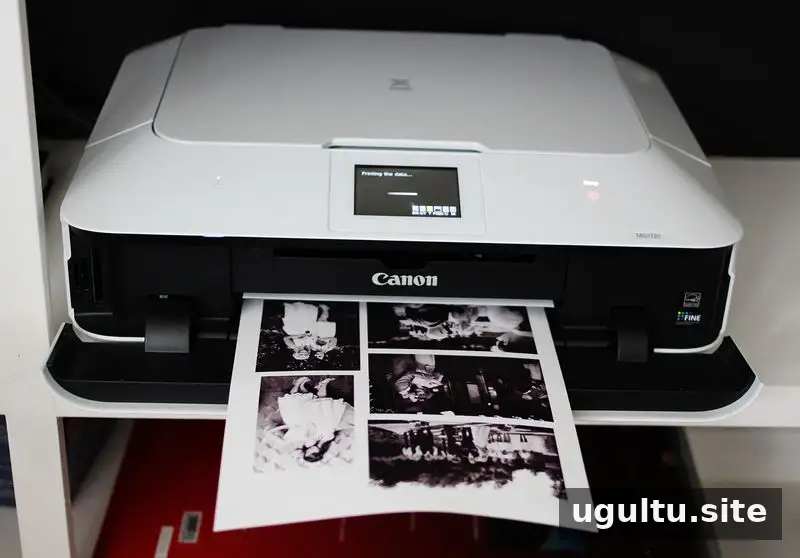
Several photos can be printed on one sheet of photo paper, then cut to fit the holders. Rounded corners are an optional finishing detail; straight edges work just as well. Make sure each photo is trimmed to sit securely in its wire loop without bending.
With the supplies ready, assembling this project can take about 15 minutes. Allow extra time to plan the arrangement, print the photos, and adjust the holders. If you later want to change the display, remove the wire and reuse the stones in another arrangement.
Conclusion: Make a Mineral Photo Display Your Own
A mineral photo display is an adaptable way to show favorite pictures alongside crystals or collected rocks. Test the layout with paper first, use needle-nose pliers to tuck wire ends safely inward, and choose photos that complement the stones. These small steps make the finished display easier to arrange and update.
Project by Emma.