
 admin
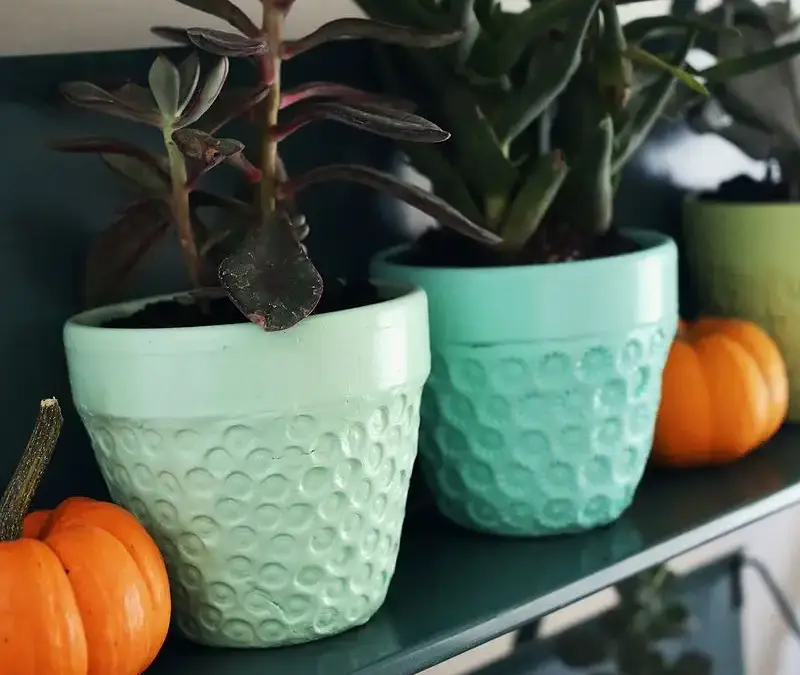
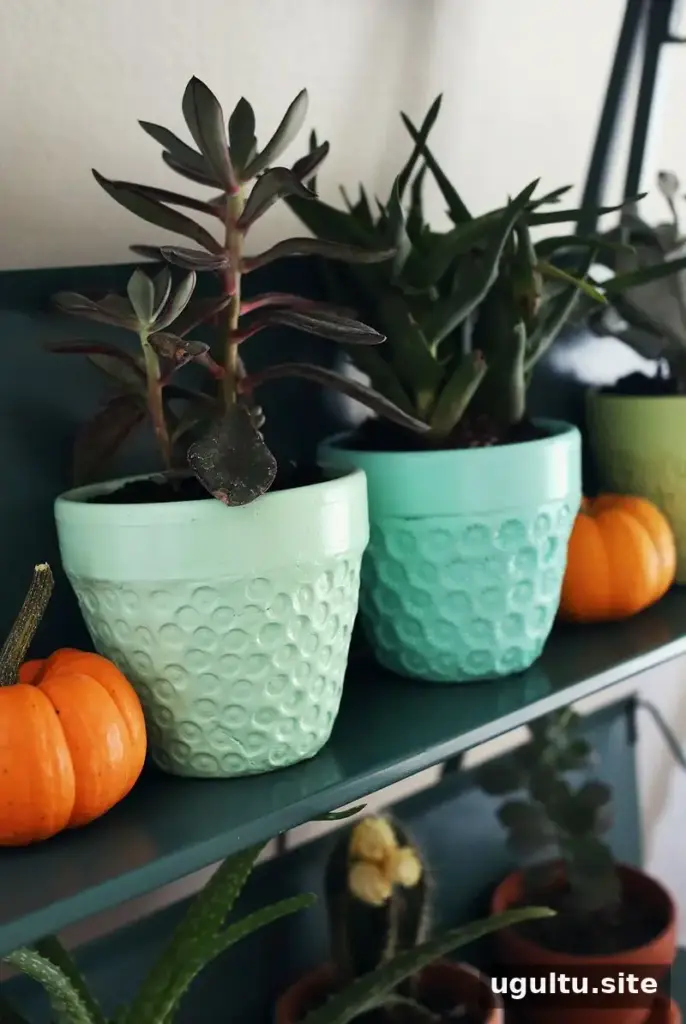
When temperatures begin to drop, outdoor plants and succulents may need a more suitable spot indoors. This textured planter project offers a simple way to give a plain terra cotta pot a decorative finish that complements your home. Paper clay and acrylic paint add pattern and color, while everyday objects can be used to make the texture.
Materials for the Textured Planter Project
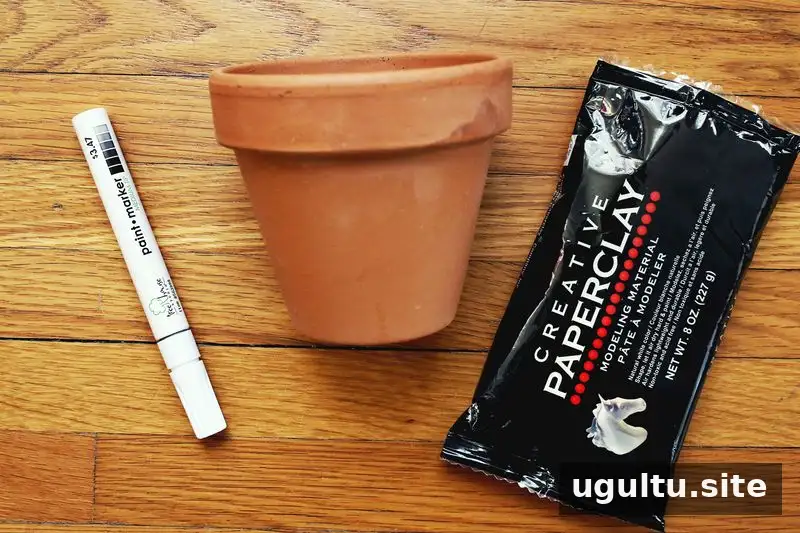
Gather the following supplies before you begin:
- One terra cotta pot
- Paper clay, approximately half a pack per planter
- A household object to press a pattern into the clay
- Acrylic paint in your chosen colors
Choose a pot with enough room for the plant you intend to display. If the plant needs drainage, make sure the pot’s drainage hole remains open and plan to use a saucer or an inner nursery pot.
How to Make a Textured Planter
1. Cover the pot with paper clay
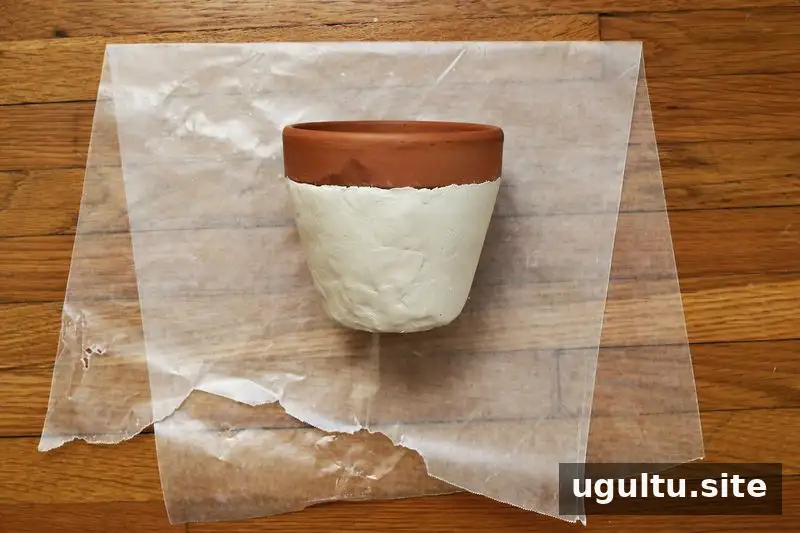
Smooth the paper clay over the outside of the terra cotta pot, starting just below the rim and working down to the base. Aim for an even layer, and take care not to cover the rim or block any drainage openings.
A little water on your fingers can help with smoothing if the clay feels difficult to shape. Follow the clay’s package directions for handling and drying.
2. Stamp a pattern into the surface
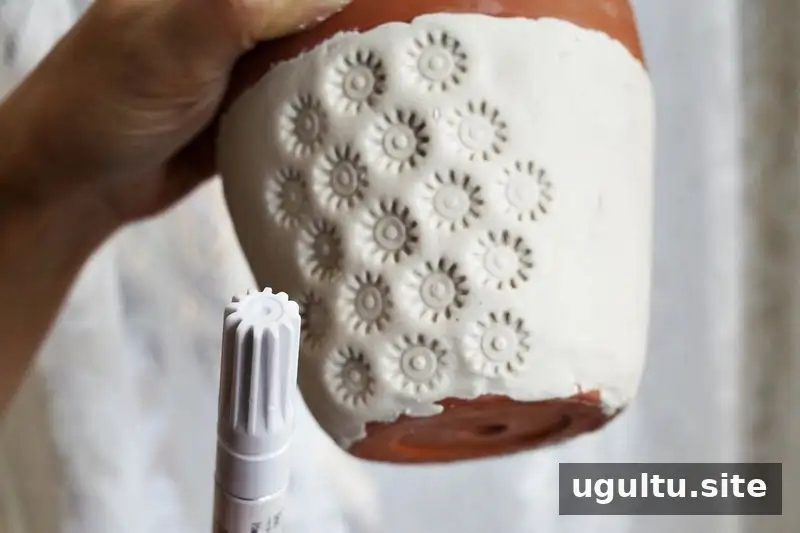
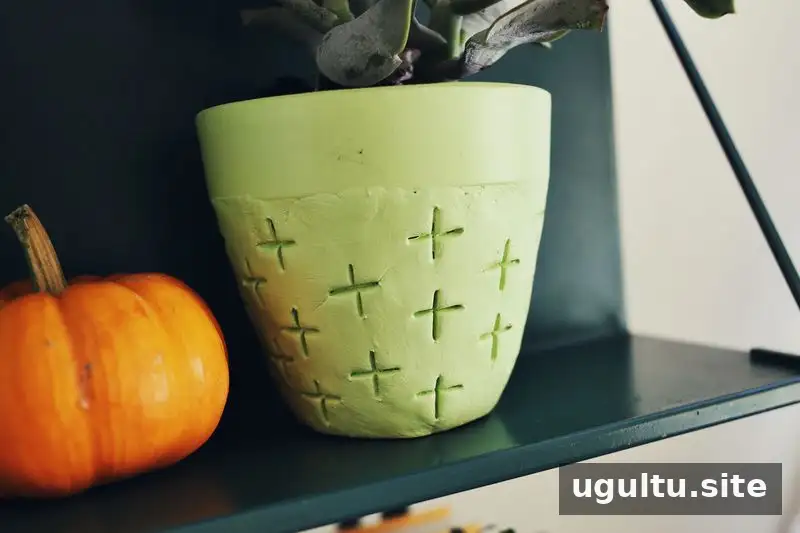
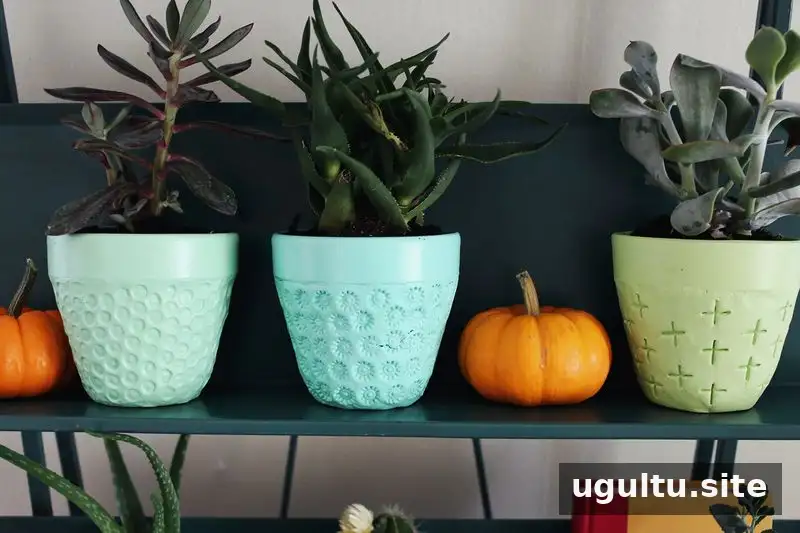
Before the clay dries, press a household item into it to create a repeating design. A paint pen cap, a pen cap, or a flat clay knife can make simple marks; combining tools can produce a cross pattern or another custom arrangement.
Test the tool on a small area first to see how deep the impression will be. Press consistently, and leave enough space between marks so the pattern remains clear after painting.
Let the clay air-dry overnight before applying paint. Drying time can vary depending on the clay and the thickness of the layer, so check that the surface feels dry before moving on.
3. Paint the finished pot
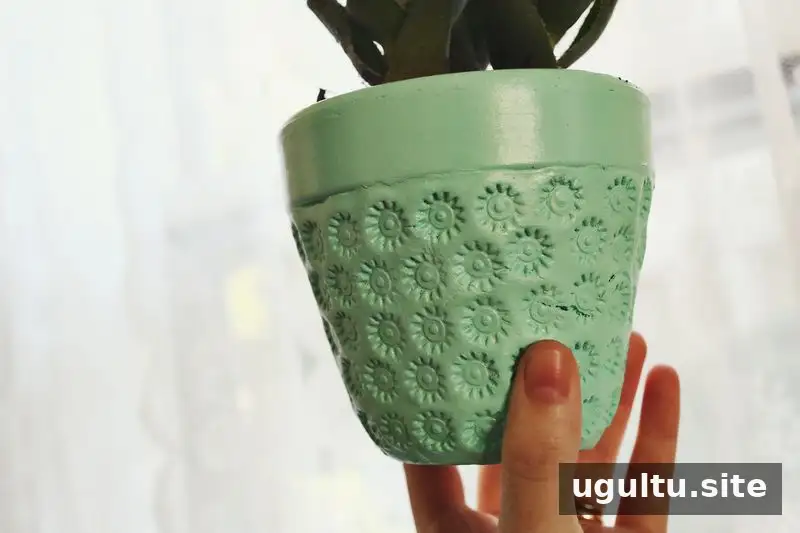
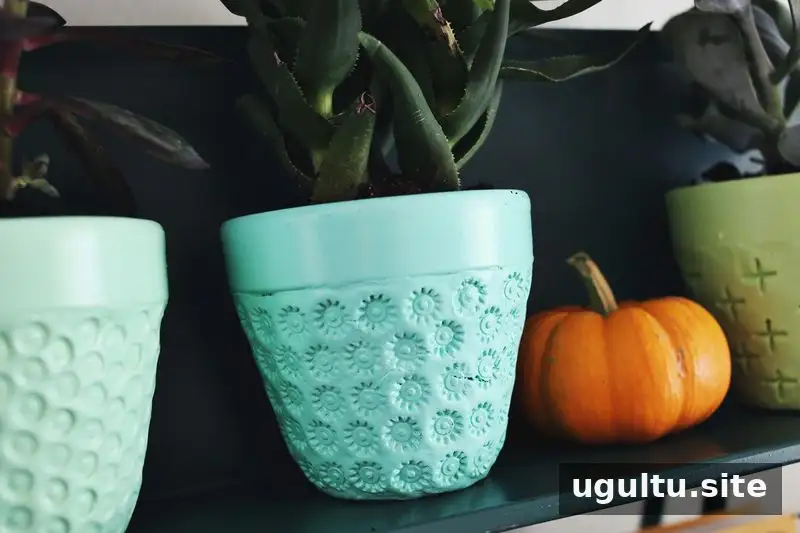
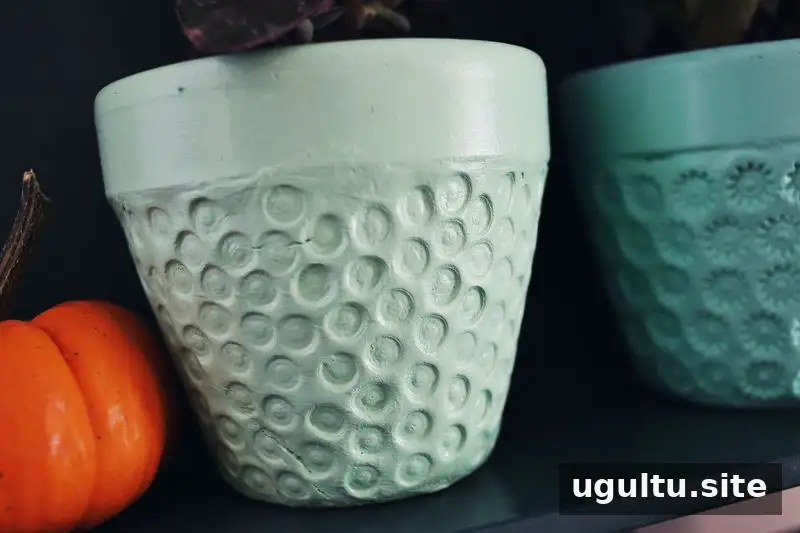
Apply acrylic paint over the textured surface, adding coats as needed until the pot is evenly covered. For a coordinated set, use different shades from the same color family. Three mint-toned shades were used for this group of planters.
Allow each coat to dry according to the paint label. A small brush can help reach the grooves and stamped details without filling in the texture.
Using and Caring for Your Planter
Once the paint is dry, place the planter indoors and add a saucer or removable liner where appropriate. Paper clay and acrylic paint are used here for decoration; do not assume the finished surface is waterproof. Avoid leaving the pot submerged in water, and keep moisture from collecting around the clay-covered exterior.
This textured planter project can be adapted with different household stamping tools and paint colors. Keep the drainage hole clear, let each layer dry fully, and choose a pattern that suits the room where the plant will live.
Project by Elsie.


