
 admin
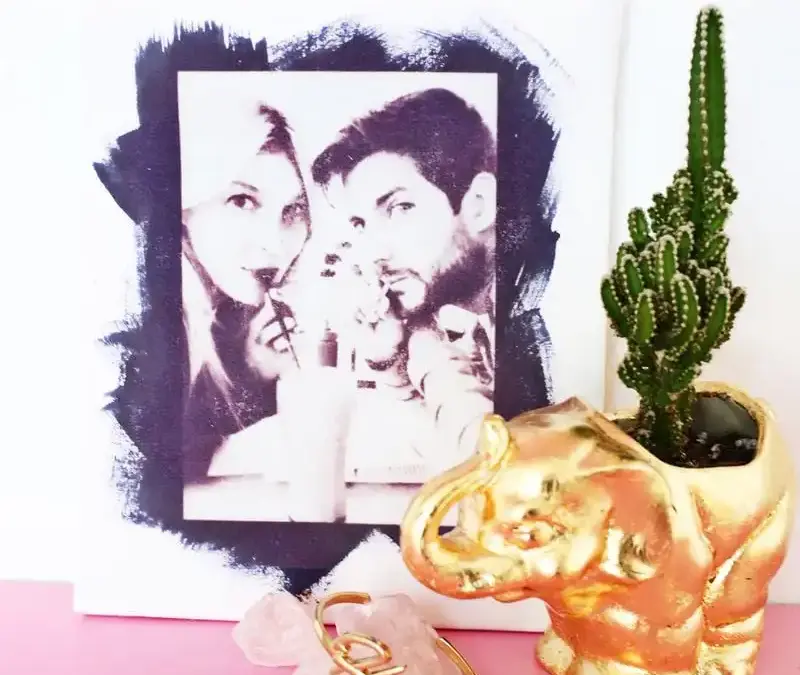
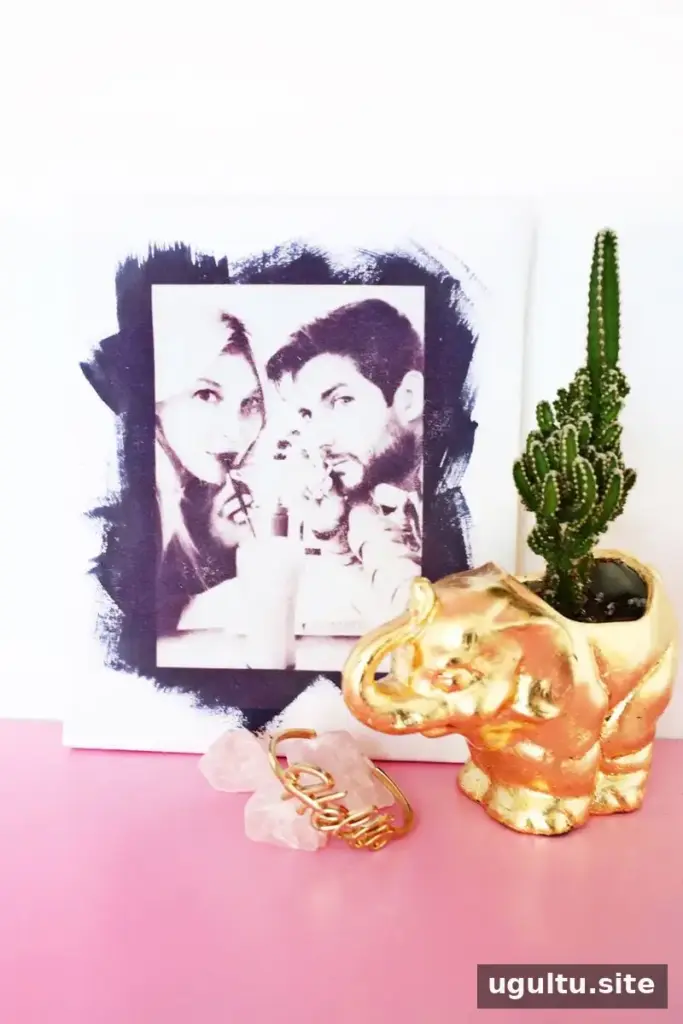
Sun printing photos on fabric is a creative way to turn a favorite image into a handmade textile print. A photo-printing kit uses sunlight to develop an image on treated fabric, creating a soft, vintage-style result. With a few supplies and careful preparation, you can mount the finished piece on canvas or adapt the method for other fabric projects.
What you’ll need for sun printing photos on fabric
Gather your materials before opening the dye packet, as the treated fabric should be prepared in a dimly lit area and moved into sunlight promptly.
- A photo-printing kit
- White cotton fabric
- An 8″ x 10″ canvas
- A printer
- Access to a washing machine
- A staple gun
- Glass from a picture frame larger than 8″ x 10″ (optional)
Thin, smooth cotton generally gives a clearer transfer than heavily textured fabric. Check the kit’s instructions before starting, since preparation and washing directions may vary by product.
Prepare the photo and fabric
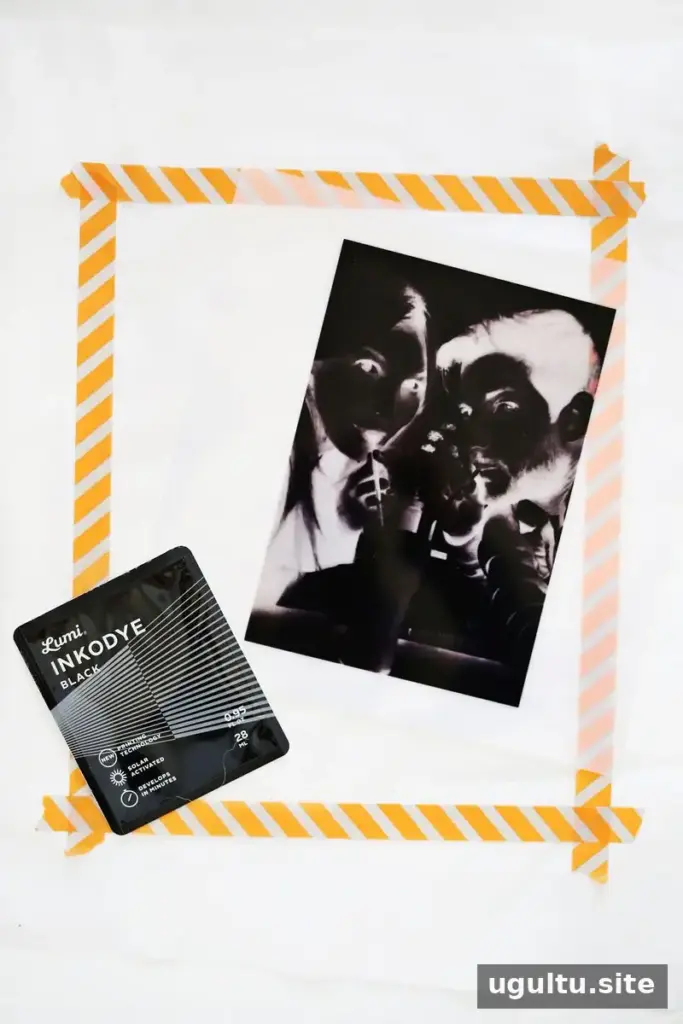
Choose a relatively simple photo with a clear subject and limited visual clutter. Images with a light or white background can work especially well because the main subject is easier to distinguish.
In an image-editing program, convert the photo to black and white, increase its contrast, and invert it so the light and dark areas are reversed. Print the image twice onto two kit transparencies. Align the prints and tape the transparencies together; stacking them creates a denser dark area that helps block sunlight.
In a dimly lit space with a window for ventilation, pin the cotton to the kit’s foam-core board. Use tape to mark an 8″ x 10″ print area. The dye may have a strong smell, so keep the space ventilated and follow any handling guidance supplied with the kit.
Break the dye packet in half, squeeze the ink onto the marked fabric, and use the folded packet to spread it evenly within the border. The spreading marks may remain visible in the finished print, so aim for a pattern you are happy to see. Blot away excess dye with paper towels, leaving a thin layer.
Expose the image in sunlight
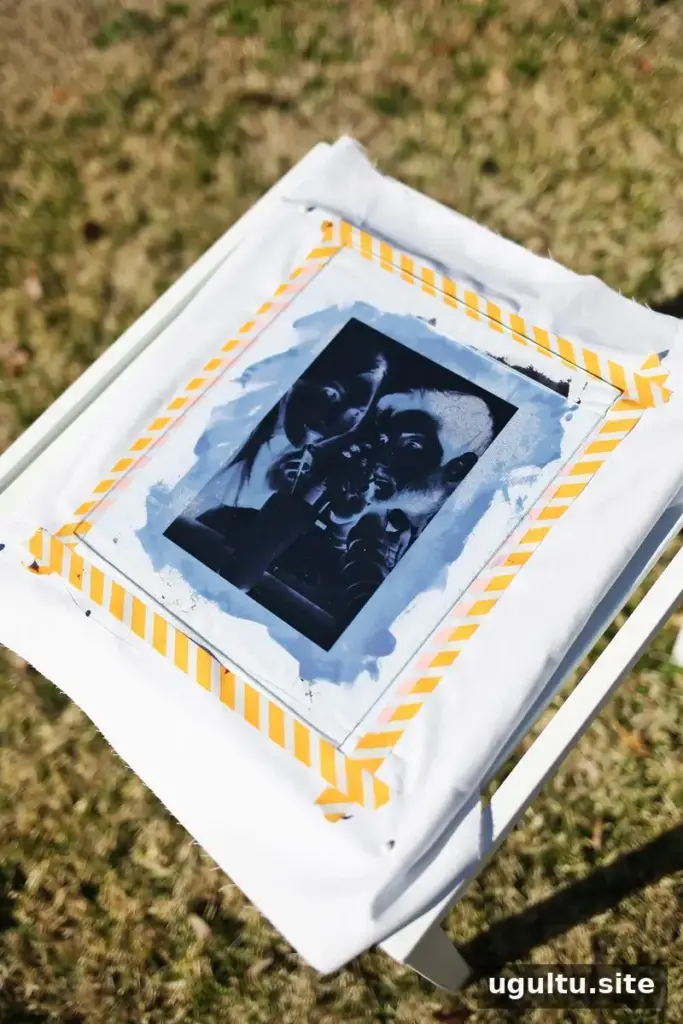
Place the transparency over the dyed area with its ink side facing up. Keep it from shifting by pinning it in place or setting a sheet of picture-frame glass over it. Glass helps hold the transparency flat, but it can increase the exposure time.
Set the board in direct sunlight. On a sunny day, exposure may take about 12 minutes without glass; on a cloudy day, it may take about 30 minutes. If using glass, plan to double or even triple those times. Peak afternoon sun, around 11 a.m. to 2 p.m., is suggested for exposure, though the process can take longer outside that window.
Watch the dye as it develops. The exposure is complete when the dye reaches its darkest color; remove the fabric sooner if you prefer a lighter image. Conditions affect timing, so use the visible color change rather than the clock alone as your guide.
Wash and mount the finished print
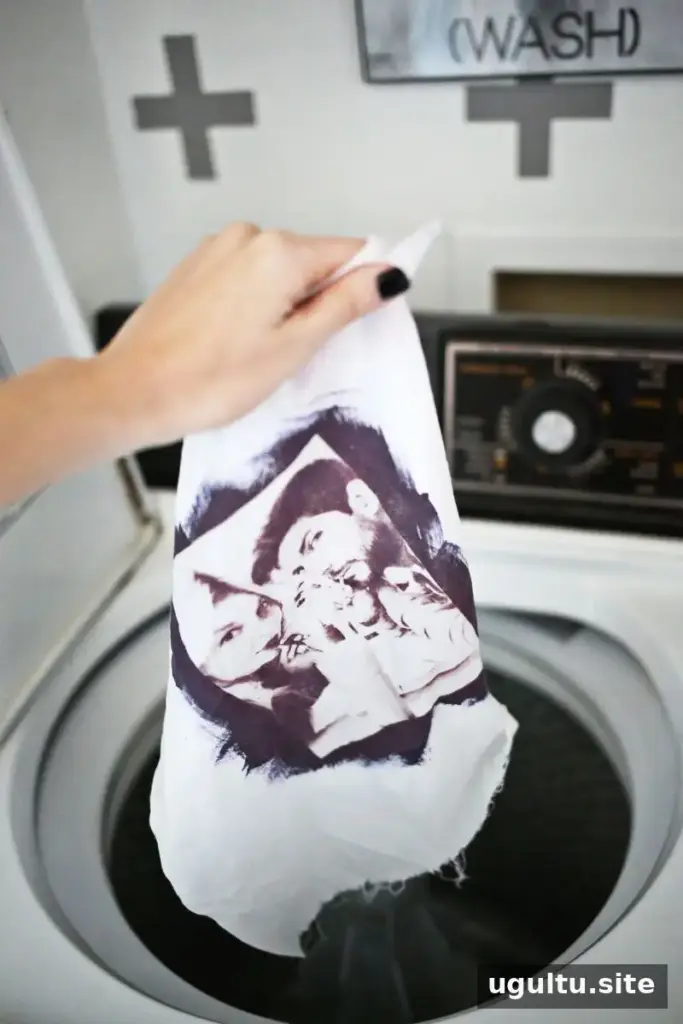
When the image reaches the shade you want, bring the fabric indoors and remove the glass, transparency, and tape. Wash the fabric promptly using the kit’s detergent packet and the hot/cold washing-machine cycle described in the project instructions. This removes excess dye that could otherwise continue developing in the lighter areas.
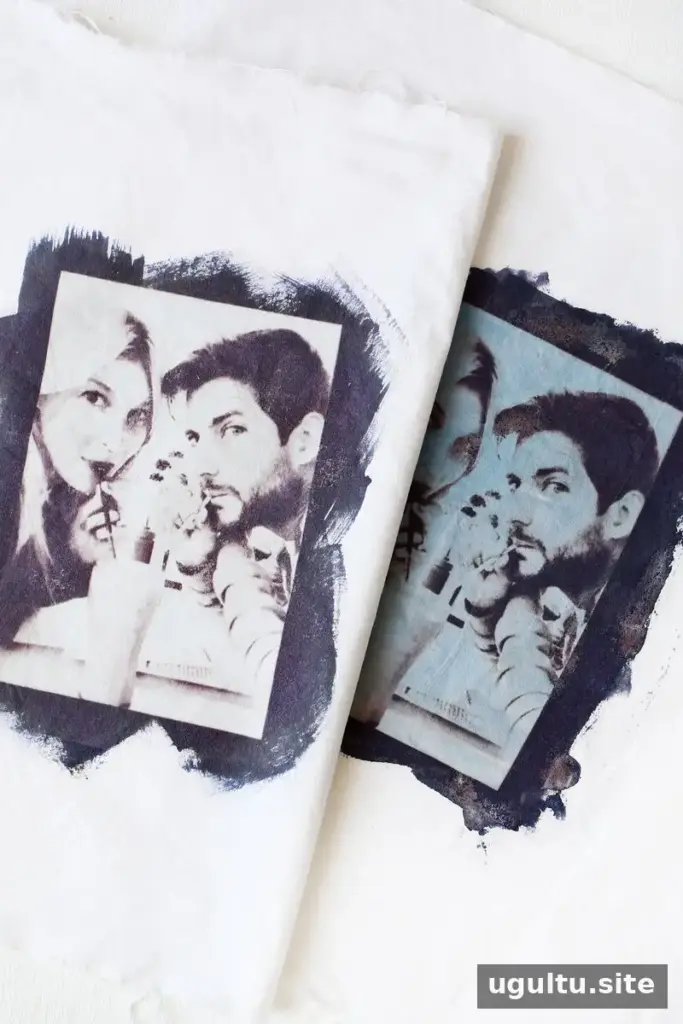
Wash the print twice, as advised for this project. The comparison shown here illustrates how a print that is washed twice can differ from one that continues to develop after only one wash.
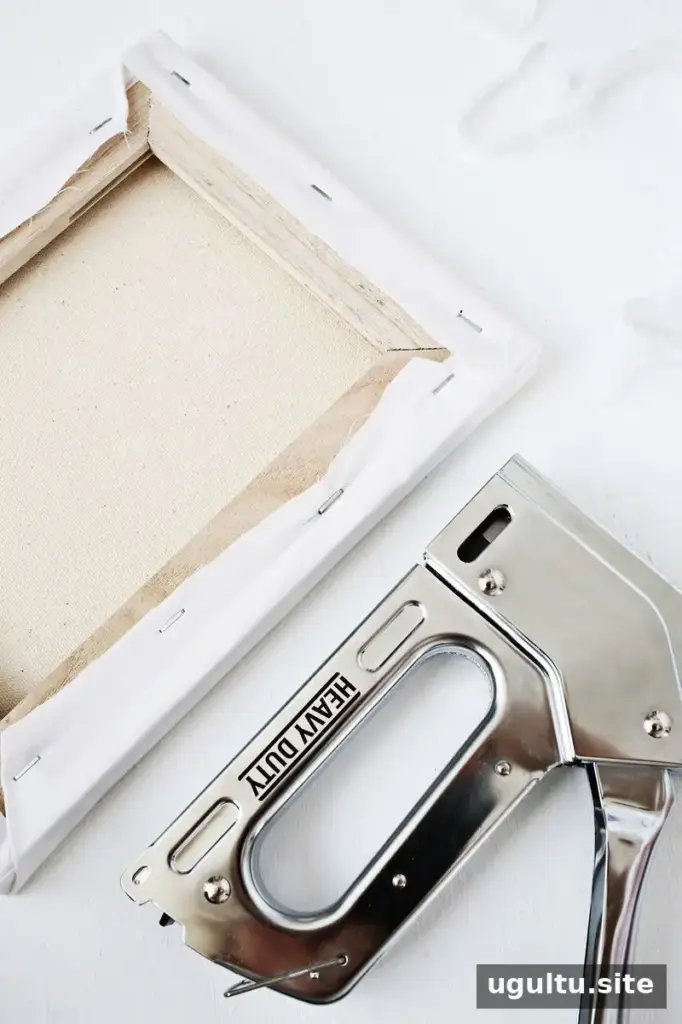
After washing and drying, iron the fabric flat. Center it over the 8″ x 10″ canvas, wrap the edges around the frame, and secure them with a staple gun. Pull the fabric evenly as you work to keep the image centered and the front surface smooth.
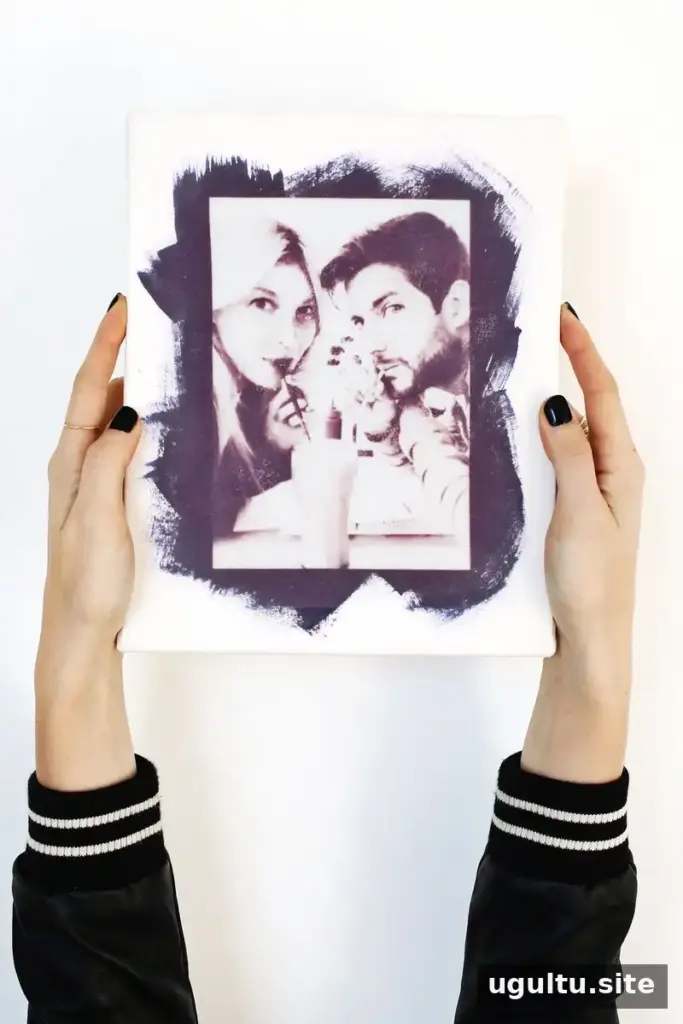
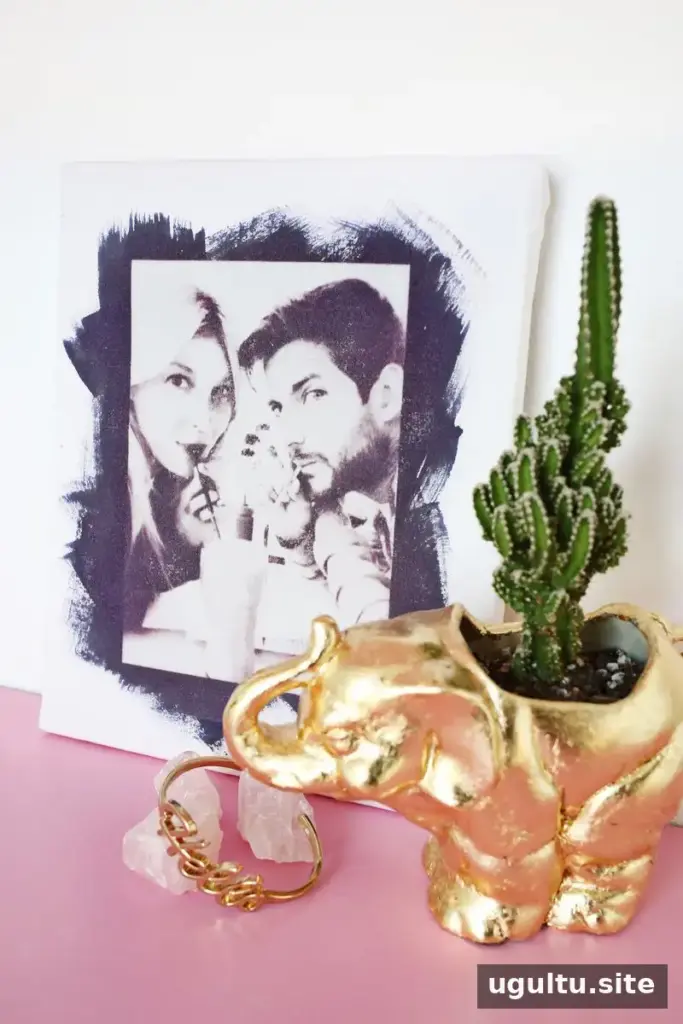
The finished print has a gently aged look, and the dye’s spreading marks can add a distinctive printed texture. The same approach can also be considered for projects such as T-shirts, pillows, or fabric for a purse, provided the kit is suitable for the intended material and use.
Final tips for sun printing photos on fabric
For more predictable sun printing photos on fabric, start with a high-contrast image, test the process on a small piece if you have spare material, and keep a close eye on exposure. Follow the kit’s specific safety, exposure, and washing directions. Once clean and dry, your print is ready to display or use in a fabric project.
Project by Laura.


