
 admin

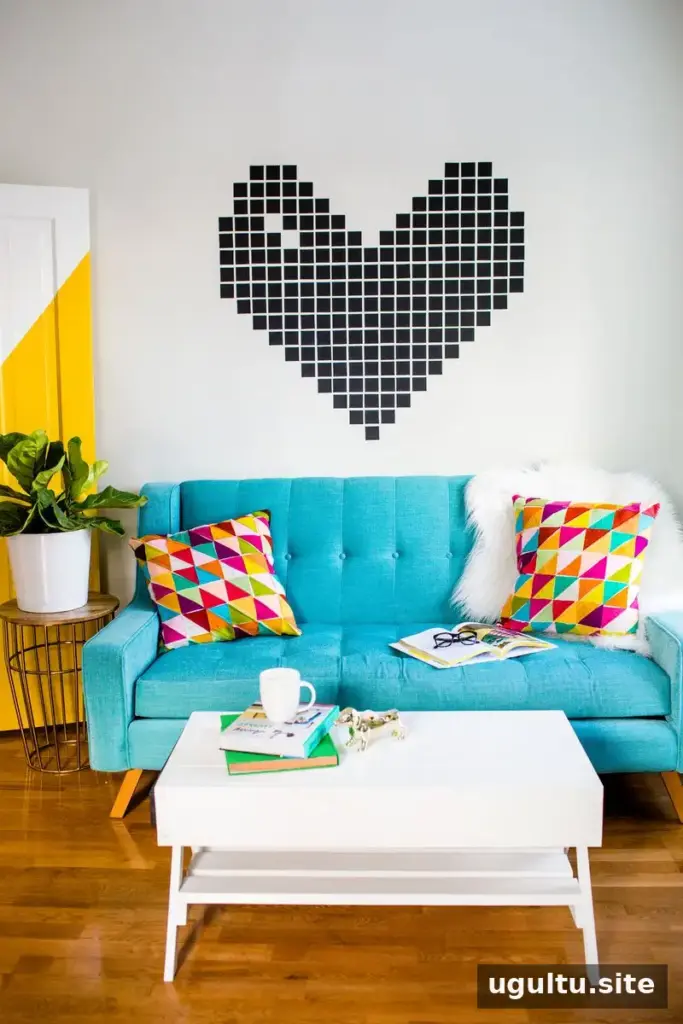
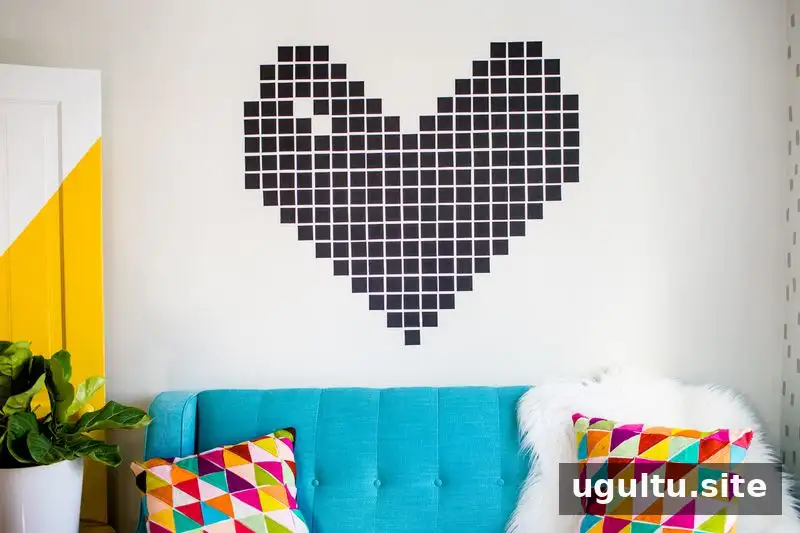
Washi tape wall decor offers a colorful way to personalize a room without committing to permanent paint or wall decals. This pixel-style heart is made from squares of wide washi tape, with thin tape used to plan the layout. It works well in a dorm or rental where removable decorations can be useful, but always test the tape on an inconspicuous spot first to check how it behaves on your wall.
Washi Tape Wall Decor: Supplies
Gather the materials before you begin so you can measure and place the design consistently:
- 2-inch-wide washi tape
- 1/4-inch washi tape
- A cutting mat
- A metal ruler
- An X-Acto knife
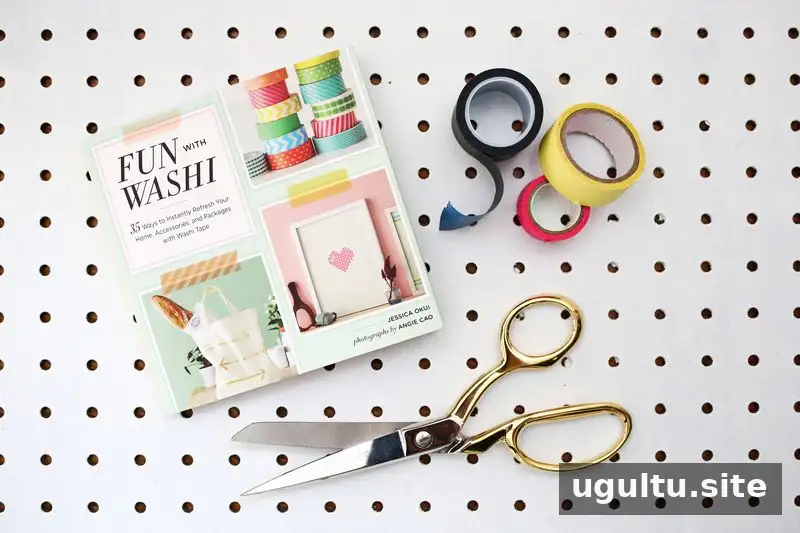
Use a cutting mat whenever you trim tape, and handle the knife carefully. Keep the blade away from the wall and cut on the mat rather than directly on the decorating surface.
Plan the Heart Layout
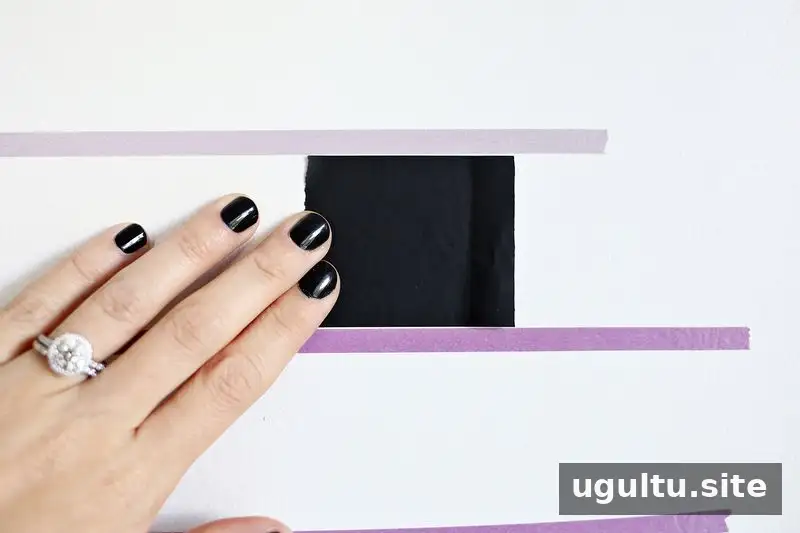
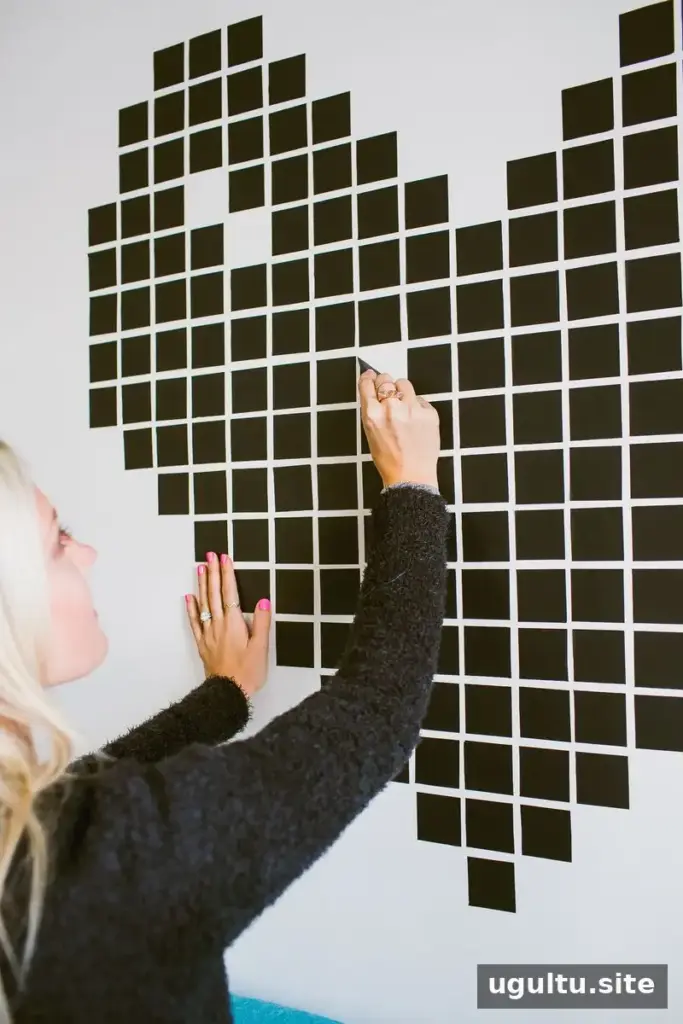
Start by placing horizontal lines of 1/4-inch tape on the wall. Space the lines so the 2-inch tape squares will fit between them. These guide marks help keep the rows even while you build the heart.
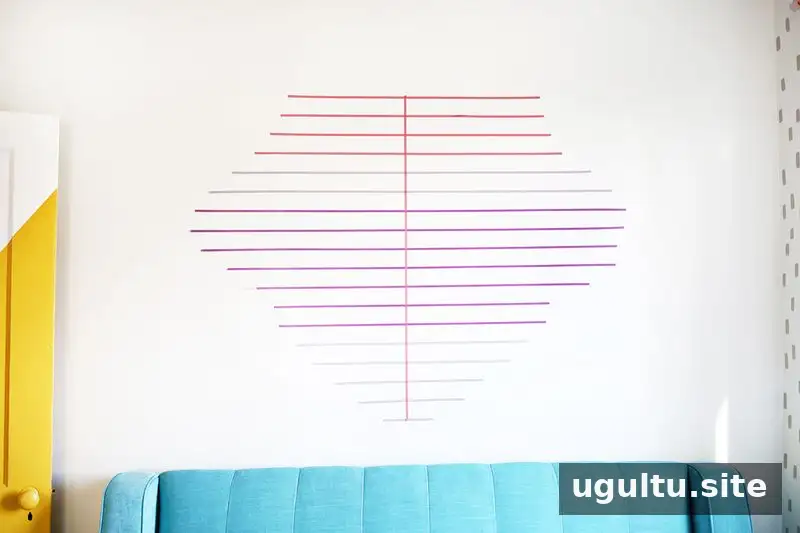
Add enough horizontal lines to reach your preferred design height. The example heart is about 40 inches tall. Shorten the guide lines near the top and bottom, where the heart narrows, to avoid using thin tape in areas that will not contain squares.
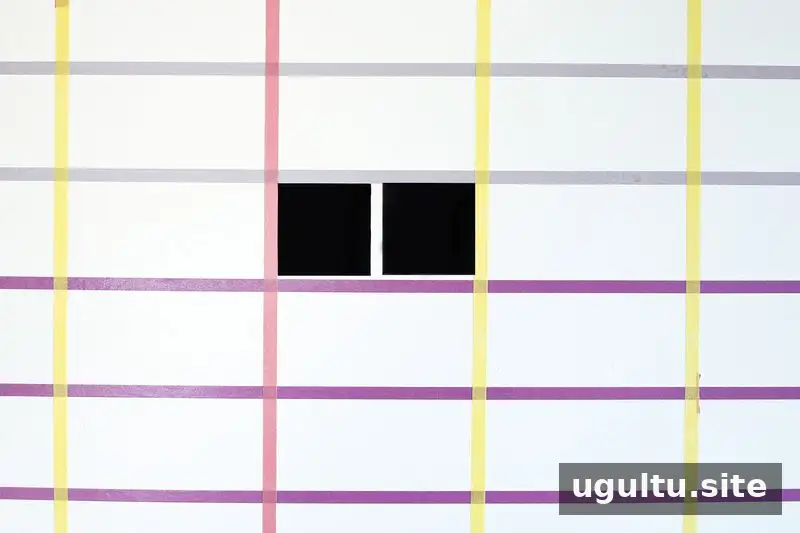
Add vertical guide lines to keep the squares aligned. Marking every other square can reduce the amount of guide tape needed. Leave a 1/4-inch gap between the two squares that fit in each space. Before moving on, step back and check that the grid looks straight from a few feet away.
Cut and Apply the Tape Squares
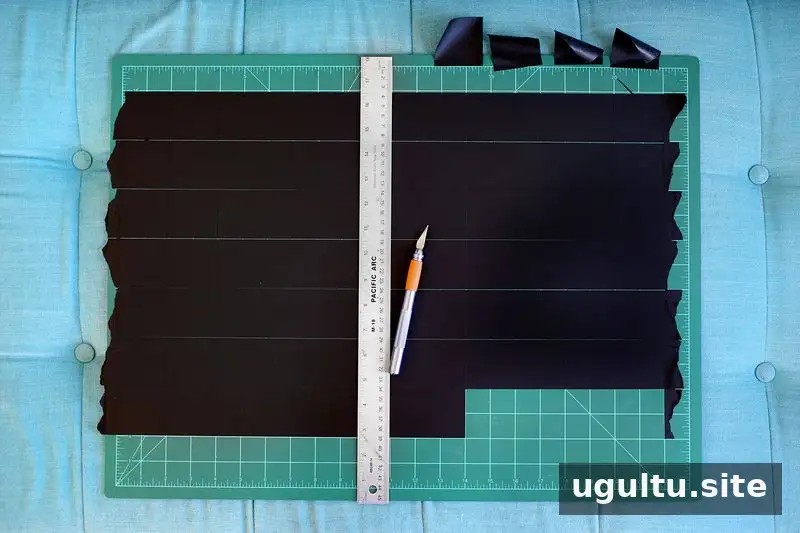
To prepare several squares at once, place multiple strips of washi tape side by side on a large cutting mat. Keep the mat’s measurement marks visible along both edges. With a ruler as a guide, cut vertical lines every 2 inches to create squares. If your tape is a different width, use that width as the cutting interval instead. Lift a corner gently with the knife to separate each square.
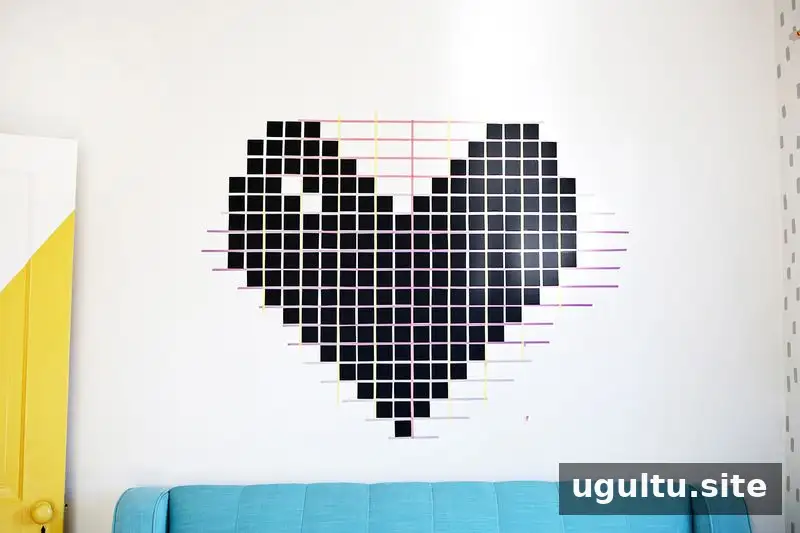
Build the heart from the bottom center, adding squares row by row. Continue outward until the design reaches the width you want, then shape the upper edges into the heart’s two rounded sections and bring the rows back toward the center. Counting the squares in each row can make it easier to keep both sides balanced. When the design is complete, remove the thin guide tape and check the finished shape.
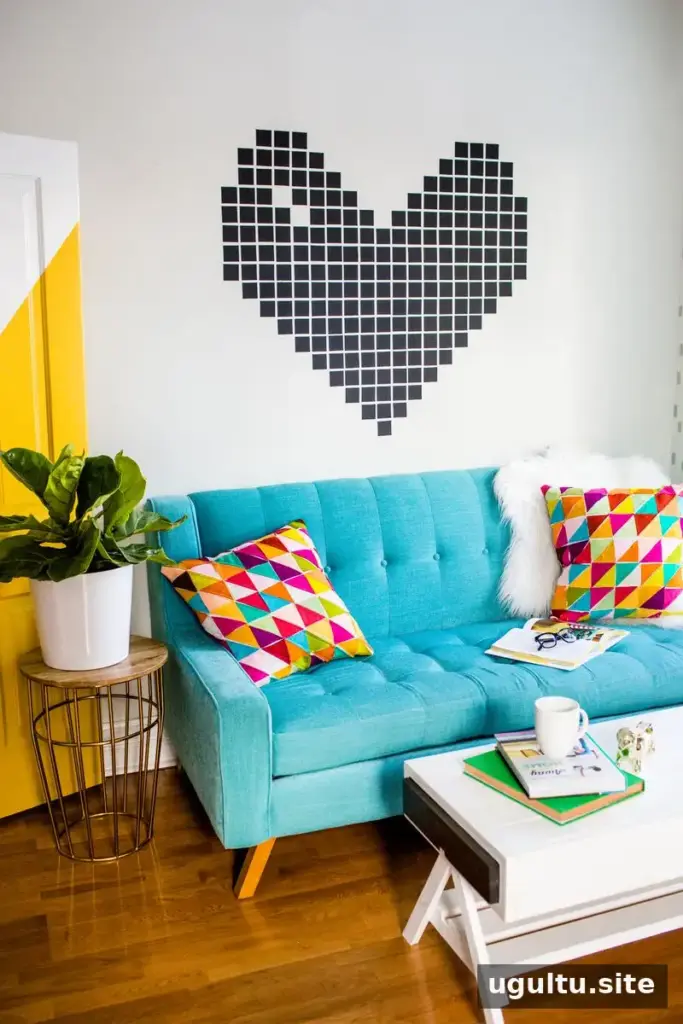
Finishing and Removal Tips
Choose washi tape that adheres reliably, and press each square down gently without stretching it. Adhesion can vary with wall texture, paint finish, dust, and humidity, so test a small piece in a hidden area before making the full design. When you are ready for a change, peel the tape back slowly and stop if the paint or surface begins to lift.
This washi tape wall decor project can be adjusted to suit the available space: change the overall height, width, or colors while keeping the same grid-based method. Project by Laura.


