
 admin
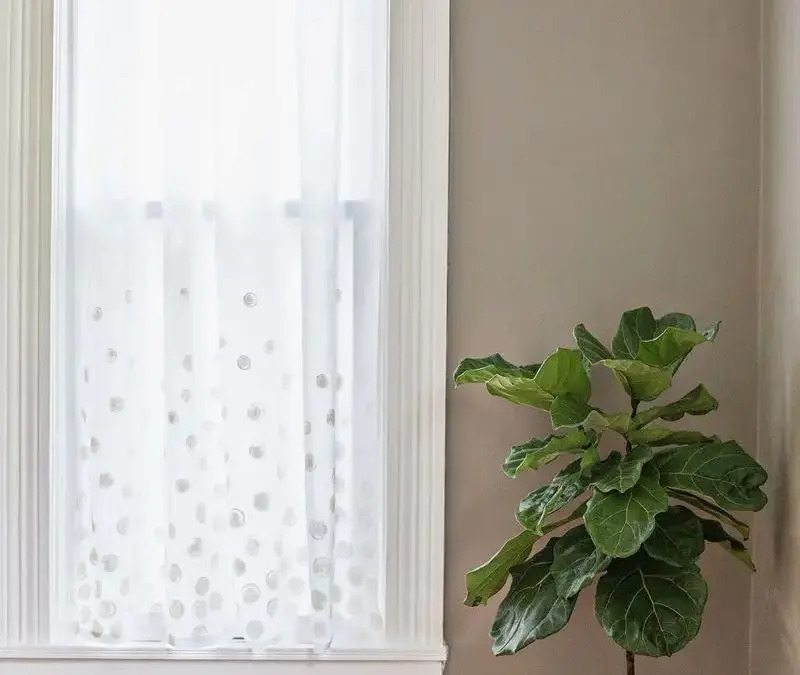
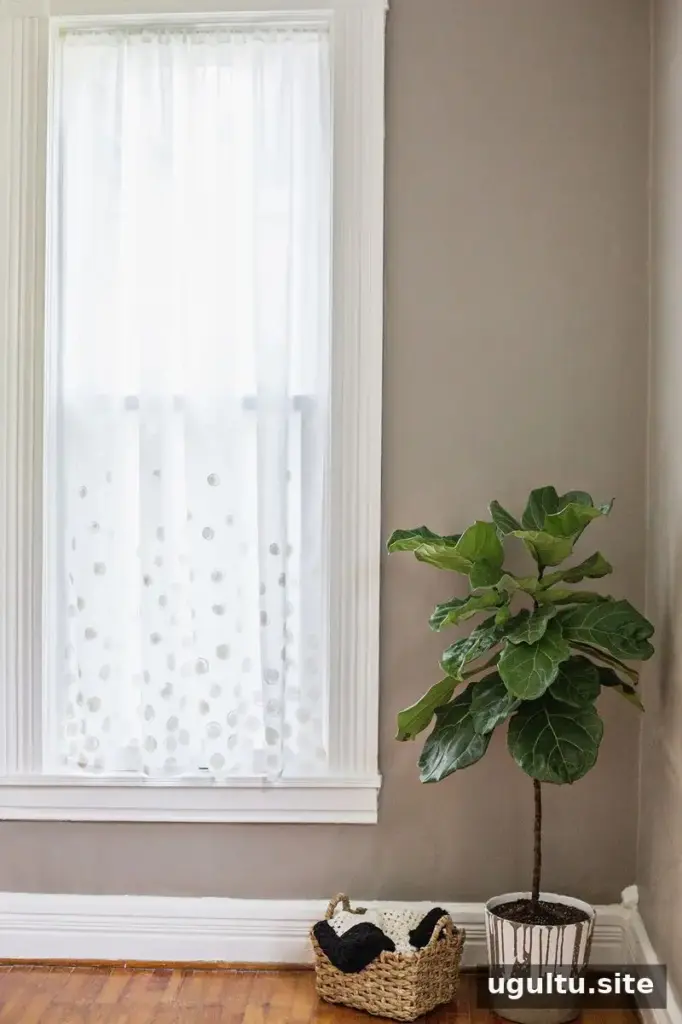
This White Dot Curtains DIY project adds privacy and a soft decorative detail to tall windows while allowing natural light to filter through. Lightweight linen or similar thin fabric keeps the panels airy, and white dots along the lower half create subtle texture without making the pattern feel too busy. The instructions below cover measuring, sewing the panels, and stamping the design.
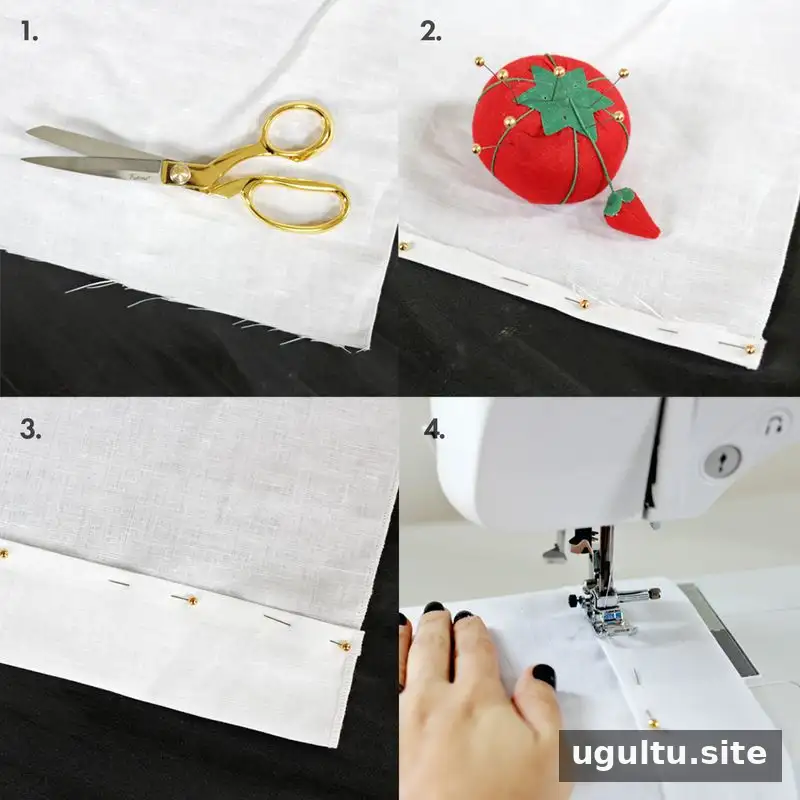
Supplies:
- Thin white fabric for the curtain panels
- Fabric scissors and straight pins
- White fabric paint
- Foam circle pouncers
- An iron, sewing machine, and cardboard to protect the work surface
White Dot Curtains DIY: Measure and Sew the Panels
Step 1: Measure and cut the fabric
Measure your window’s height and width. For the finished pair of curtains, plan for a total width equal to 1 1/2 times the window width. Add 4 inches to the fabric width to allow for the 1-inch side hems on both panels. For the height, add 4 1/2 inches: 2 inches for the bottom hem and 2 1/2 inches for the top rod pocket. Cut the fabric to these dimensions, then cut it evenly down the middle to make two panels.
Measure twice before cutting, especially if the window is unusually tall. Keeping the panels even at this stage helps them hang at the same length.
Steps 2–4: Make the rod pocket
At the top of each panel, fold the fabric under by 1/2 inch and pin it. Press the fold with an iron. Fold the top edge under another 2 inches, pin it, and press again. Sew a line 1/4 inch from the inner folded edge to form the pocket for the curtain rod.
Step 5: Hem the sides and bottom
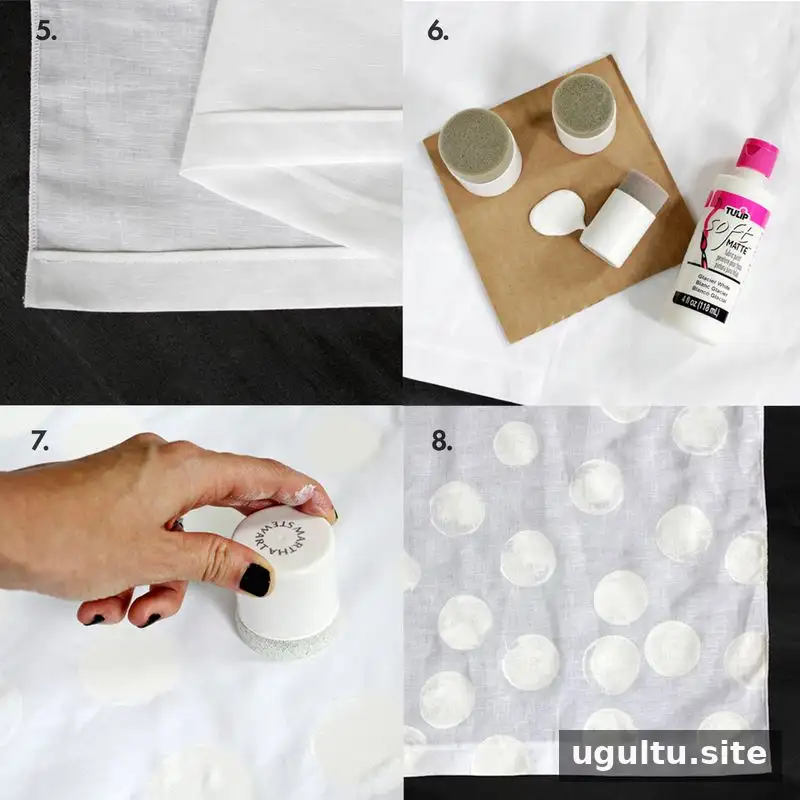
For each bottom edge, turn the fabric under 1 inch and press. Fold it under another 1 inch, press again, then sew 1/4 inch from the inner folded edge. For the side hems, turn each edge under 1/2 inch twice, pressing the folds and sewing with a 1/4-inch seam allowance.
If you have a serger, a rolled hem can be used on the sides instead. In that case, the extra width for the side hems is not needed when cutting the fabric.
Stamp the White Dot Pattern
Steps 6–8: Apply the fabric paint
Place cardboard under the curtain panel to protect the floor from paint. A scrap of cardboard also works as a paint tray. Decide how high the dots should extend and mark the stopping point with tape or a pin. Starting with the largest foam circle pouncer, coat it with white fabric paint and press it firmly onto the lower part of the panel. Reload the pouncer as needed.
Arrange the larger dots close together near the bottom. As you work toward the marked endpoint, switch to smaller circles and apply fewer dots to create a gradual finish. Before the paint dries, carefully lift the panel and move it onto a clean piece of cardboard to dry. Leaving it on the original cardboard while wet may cause it to stick and pick up bits of cardboard.
For a neat result, try the pouncer and paint on a fabric scrap first. Follow the paint’s label for drying and care instructions before hanging or washing the curtains.
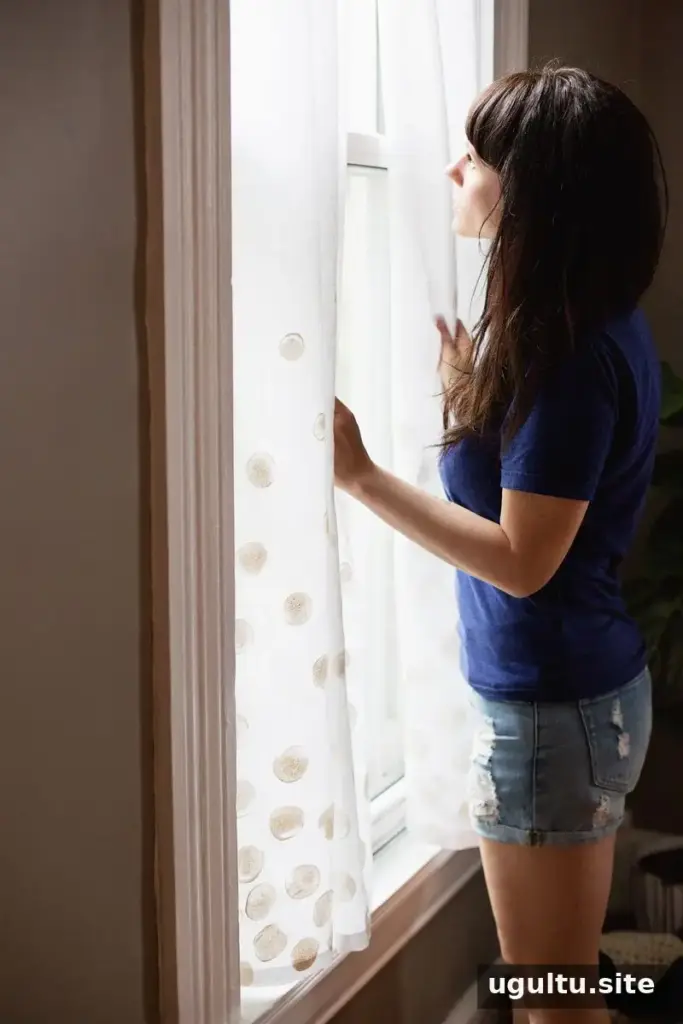
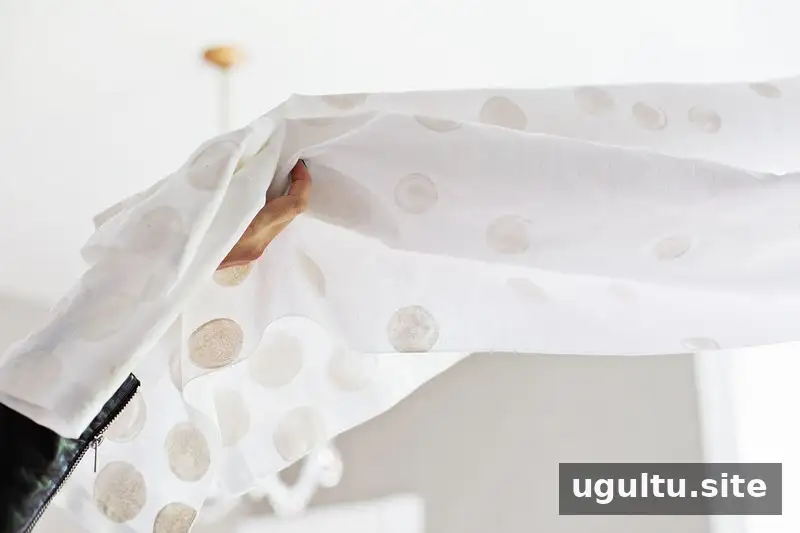

The design can be adapted with other paint colors to suit a room’s decor. White dots on white fabric keep the effect understated, adding texture while preserving the light look of the panels. Project by Laura.
Conclusion
This White Dot Curtains DIY combines straightforward hemming with a simple stamped detail. Measure carefully, protect the surface while painting, and let the panels dry according to the fabric paint instructions before use.


