admin
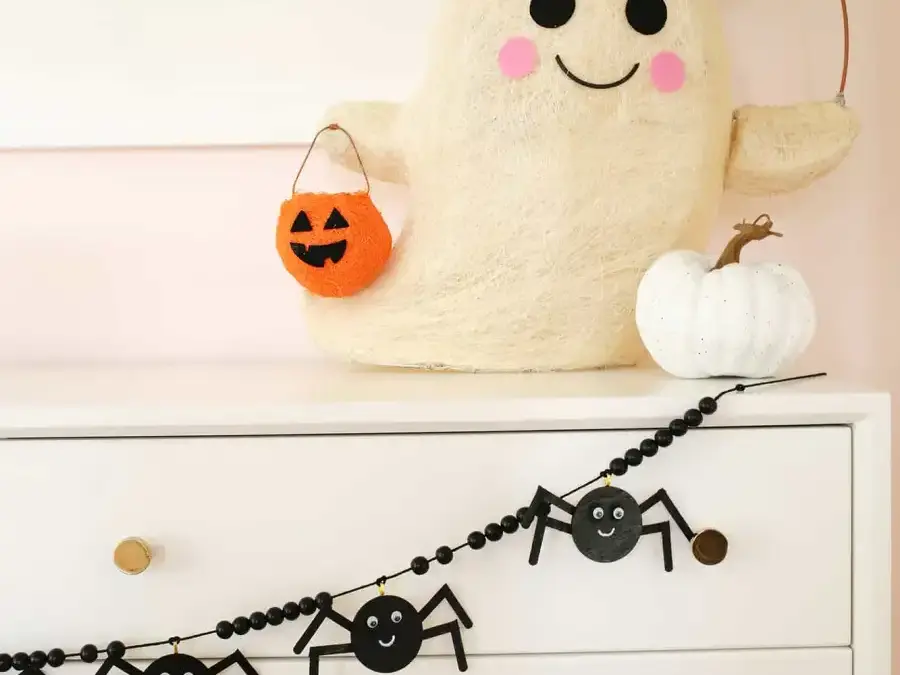
A wooden spider garland is a simple Halloween decoration you can customize with paint, beads, and twine. This project uses small wooden circles and craft sticks to create playful spiders, then strings them together for a decoration that works across a mantel, doorway, or wall. It’s suitable for crafting with children who are old enough to work safely with a glue gun under adult supervision.
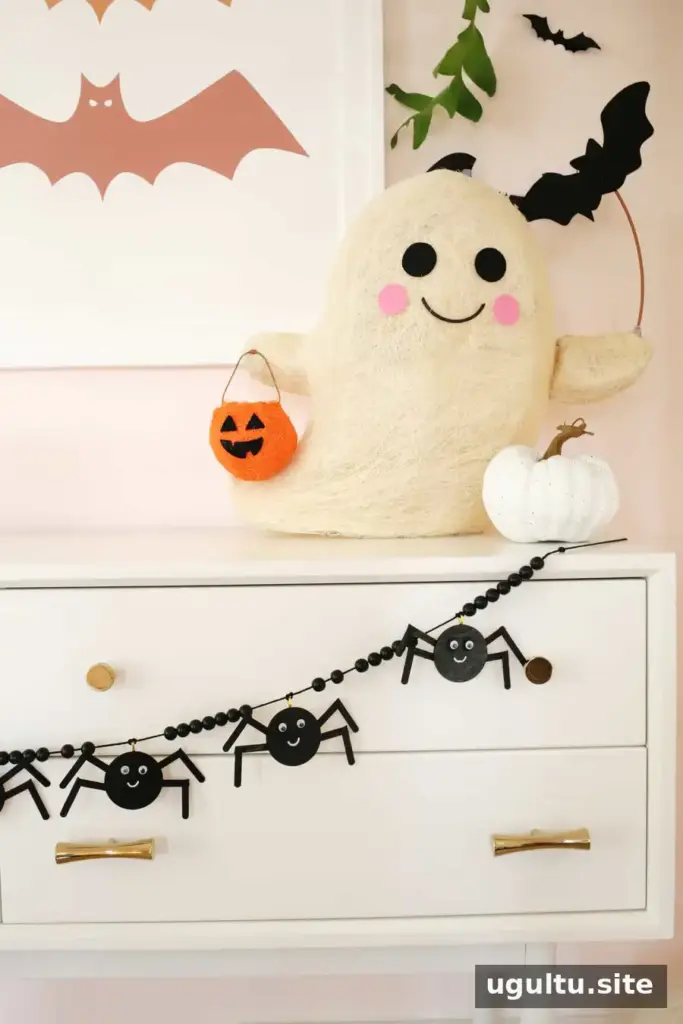
Supplies and tools for a wooden spider garland
Gather the materials before you begin. You’ll need 6–8 wooden circles measuring 2 inches, plus four stick pieces for each spider. Wooden stir sticks or popsicle sticks can both work; choose pieces that are easy to cut and glue.
- 2-inch wooden circles
- Wooden stir sticks or popsicle sticks
- Black spray paint
- Jewelry bales
- Googly eyes
- White paint pen
- Black twine
- Wooden beads, such as 12 mm beads
- Glue gun
- Scissors or wire cutters
Check that the bead openings are wide enough for your twine before starting. Use spray paint in a well-ventilated area and follow the instructions on its label. Keep hot glue and cutting tools away from children unless an adult is handling them.


How to make a wooden spider garland
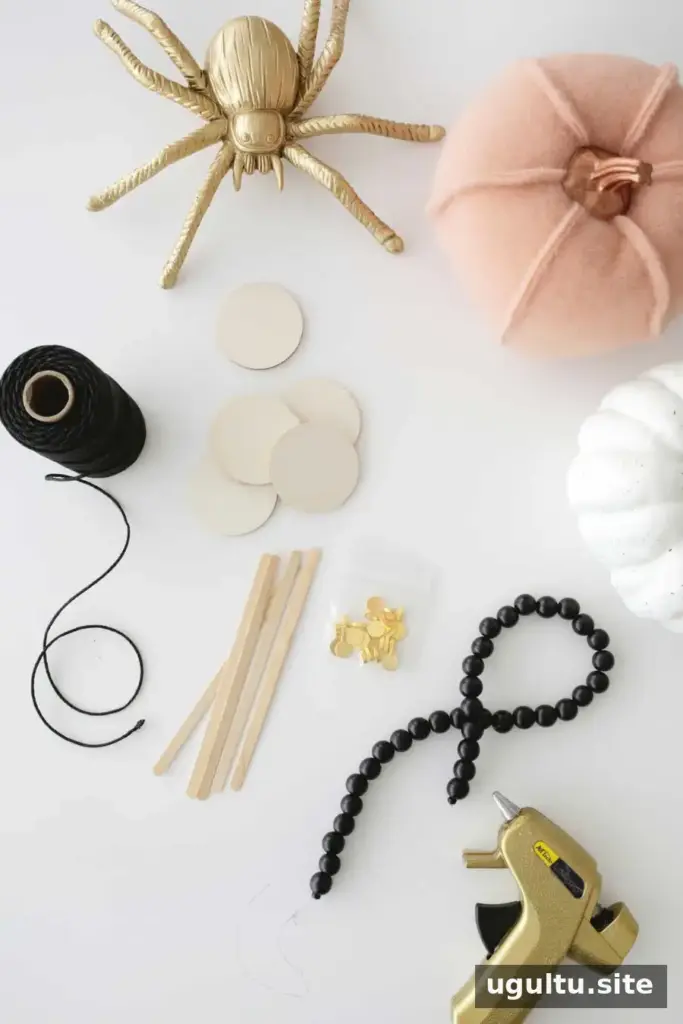
- Make the spider legs. Cut a wooden stick into four equal pieces using scissors or wire cutters. Pair the rounded end of one piece with the straight edge of another at an angle, then glue them together to form a leg. Repeat to create four legs for each spider. Plan on making 6–8 spiders for one garland.

- Attach the legs. Glue four legs to the back of each wooden circle. Arrange them so they extend out from the body, and let the glue set before moving the spiders.
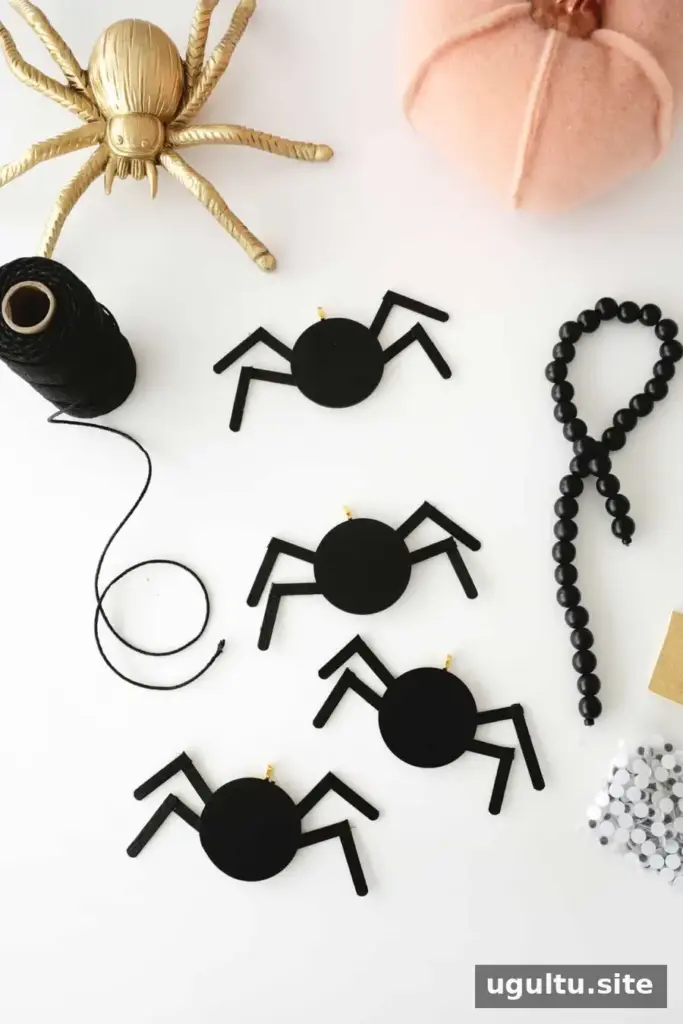
- Paint the spiders. Spray each one black, then leave the paint to dry completely before decorating. The project’s listed paint-drying time is about one hour, but follow the paint label if it recommends longer.
- Add a hanging point. Glue a jewelry bale to the back of each spider, above the head area. Keep the bales aligned so the spiders hang evenly on the twine.
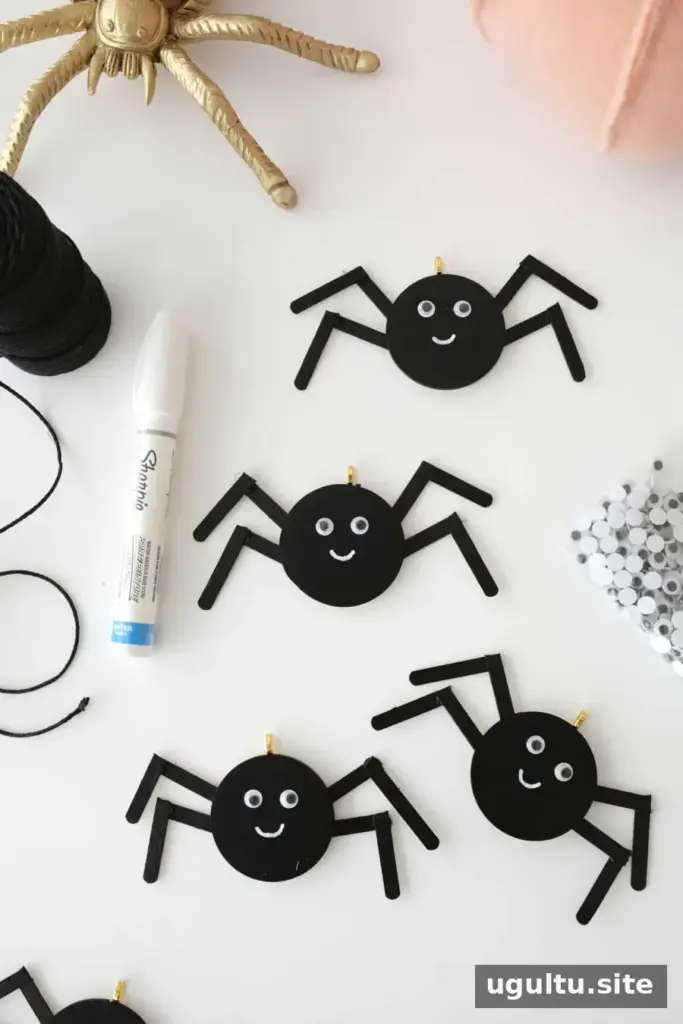
- Finish the faces. Glue googly eyes onto the front of each spider and use a white paint pen to draw a small smile. Allow the glue and ink to dry.
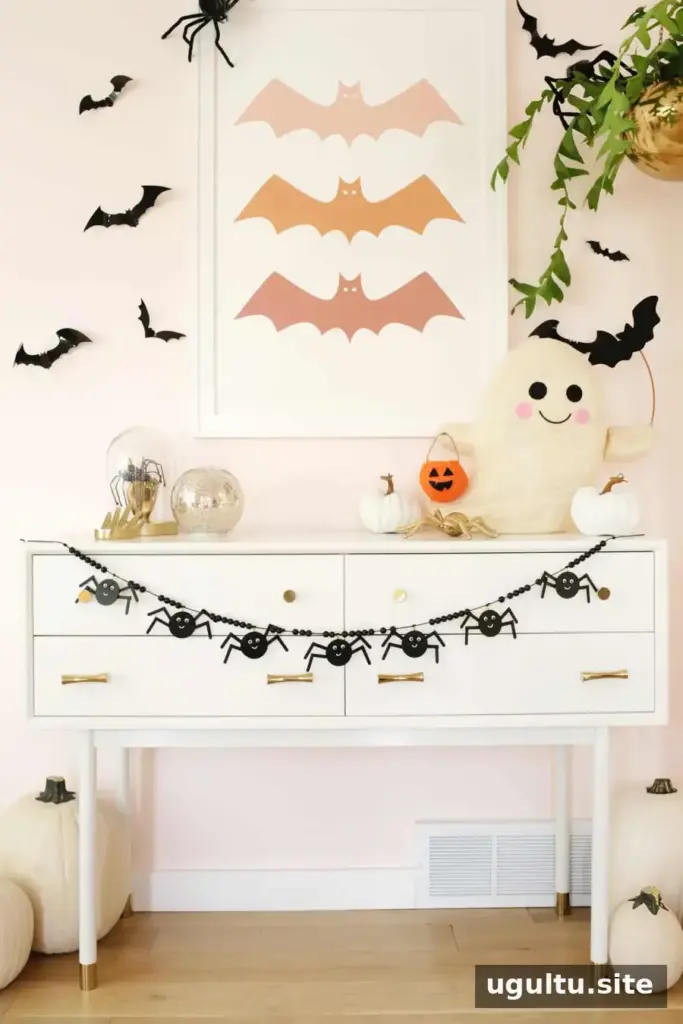
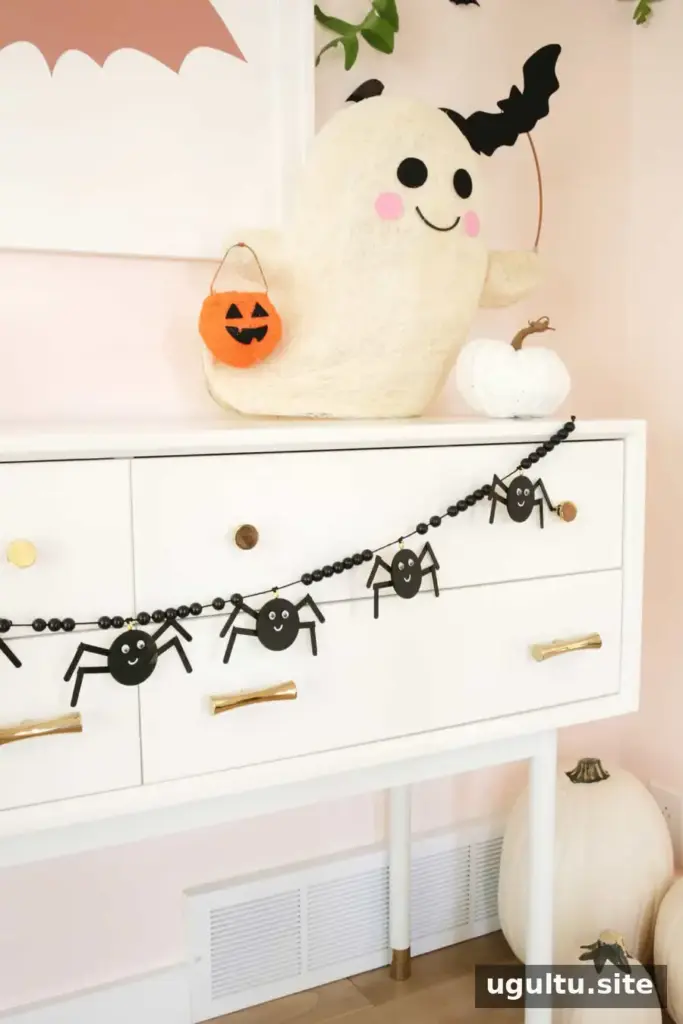
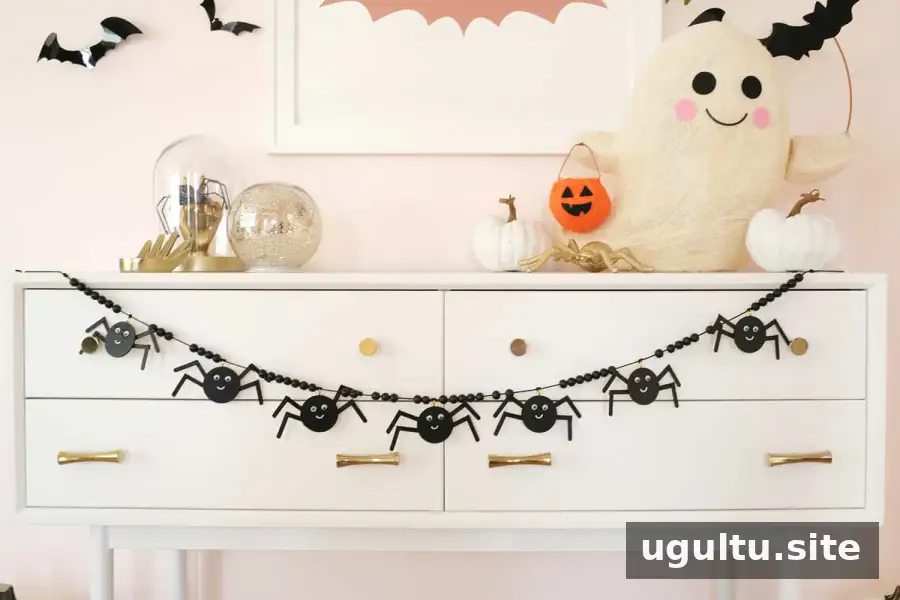
- String the garland. Thread the beads and spiders onto black twine. Tie a knot at each spider to help keep it from sliding. Seven beads between spiders is one spacing option; adjust the number to suit the length and look you want.
Tip: Thread each spider onto the twine backwards so it faces forward after you tie the knot.
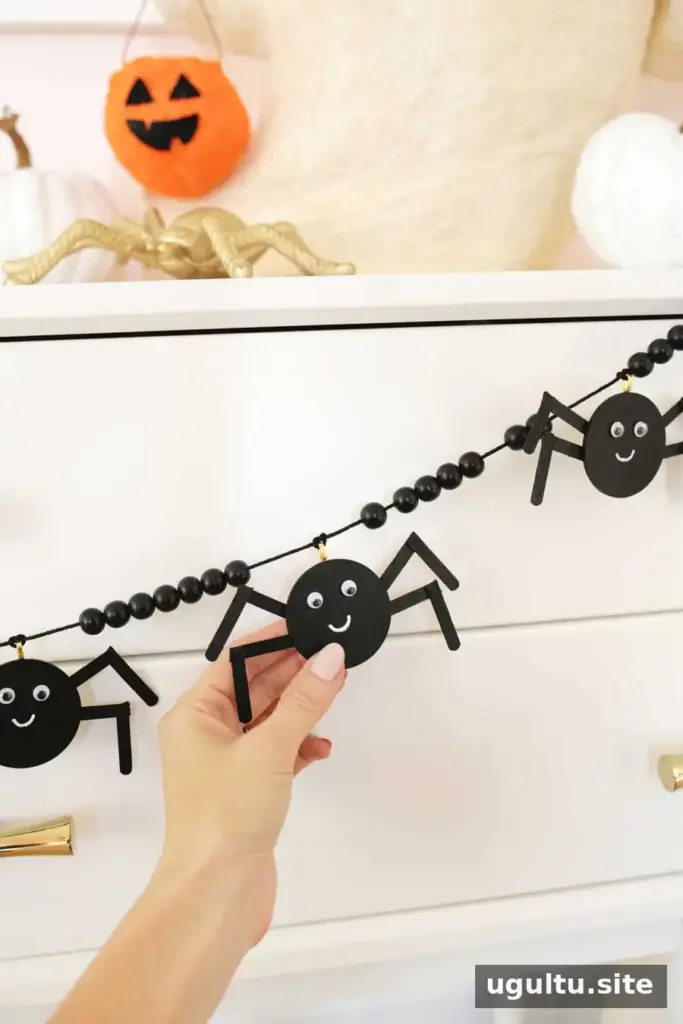
Customize and display your garland
Change the wooden circle size or leg length to make spiders in different proportions. You can also choose another paint color or mix beads and tassels into the strand. Before hanging the finished garland, check that the knots and glued parts feel secure. Place it across a mantel, above a doorway, or over wall art, keeping it away from flames and other heat sources.
How to store a wooden spider garland
For sturdier garlands, place the decoration in a storage bin with your seasonal items. If the legs or other details could bend or break, wrap it gently in tissue paper and put it in a small box before storing it in the larger bin. Avoid placing heavy decorations on top.
This project makes one garland and takes about 10 minutes to prepare, 20 minutes to assemble, and around one hour for paint to dry, for a listed total of 1 hour and 30 minutes. The estimated cost is $10. With a few basic supplies, a wooden spider garland can add a handmade touch to Halloween decorating. —Laura