
 admin
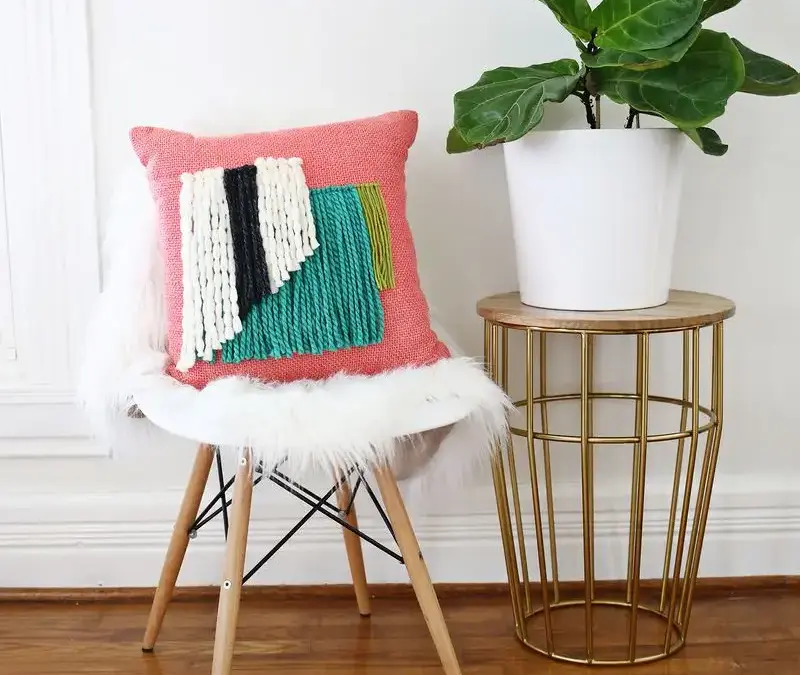
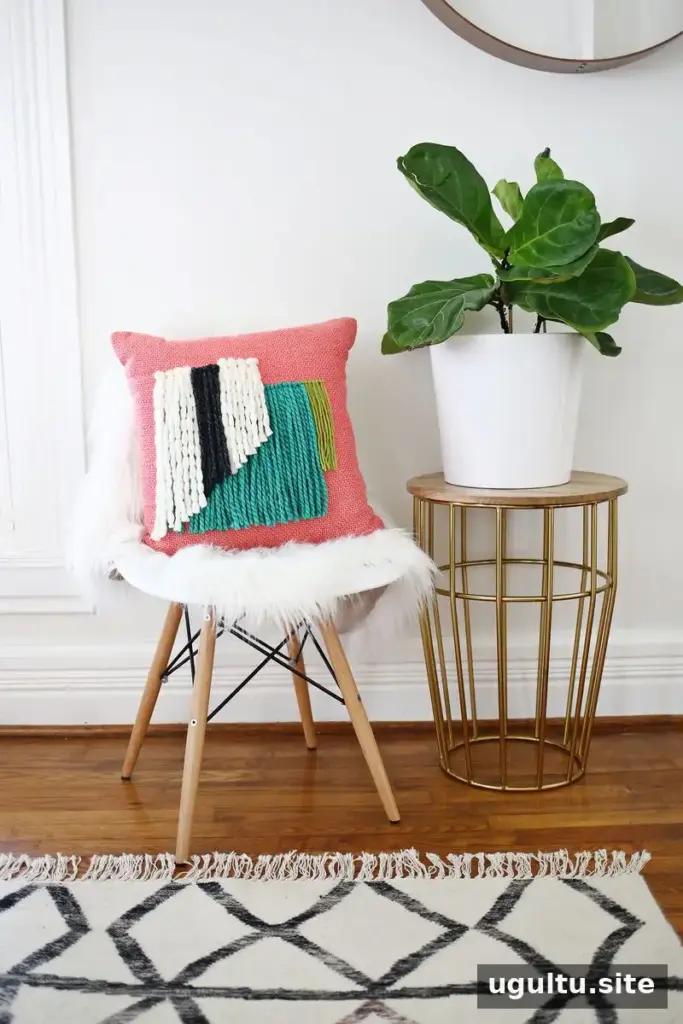
A Yarn Fringe Pillow DIY is a simple way to add color and texture to a plain cushion without learning traditional weaving. With a loose-weave pillow, thick yarn, and a small crochet hook, you can create decorative fringe in blocks of color and shape the ends to suit your design.
This project uses a straightforward knotting technique, so it is approachable even if you have limited weaving experience. Plan your colors and fringe shape before you begin; the strands can also be removed and repositioned if you want to adjust the pattern.
Supplies for a Yarn Fringe Pillow DIY
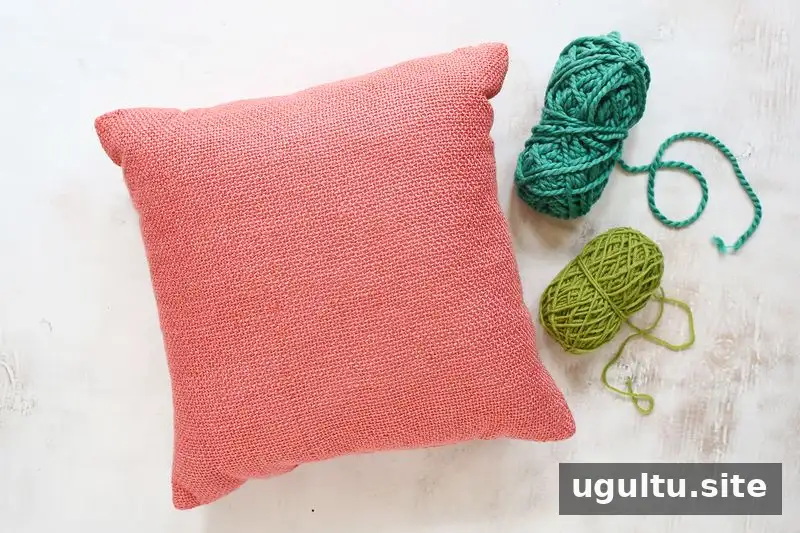
You will need:
- A woven pillow with a loose weave
- Thick yarn in various colors
- A small crochet hook
- Fabric scissors
Choose a pillow with openings large enough for the crochet hook to pass through. A textured, burlap-style weave is a suitable option. Before starting the full design, check that the hook can move between the horizontal threads without forcing or damaging them.
Plan the Color and Fringe Shape
Decide where each color section will go and whether the finished fringe should have straight or angled edges. A quick sketch can help you map out the color blocks and avoid making design decisions strand by strand.
Cut each yarn piece to about twice the length you want it to hang, with a little extra to allow for attaching it. If you have not settled on the final edge shape, cut the strands longer and trim them after they are attached.
Attach the Yarn to the Pillow
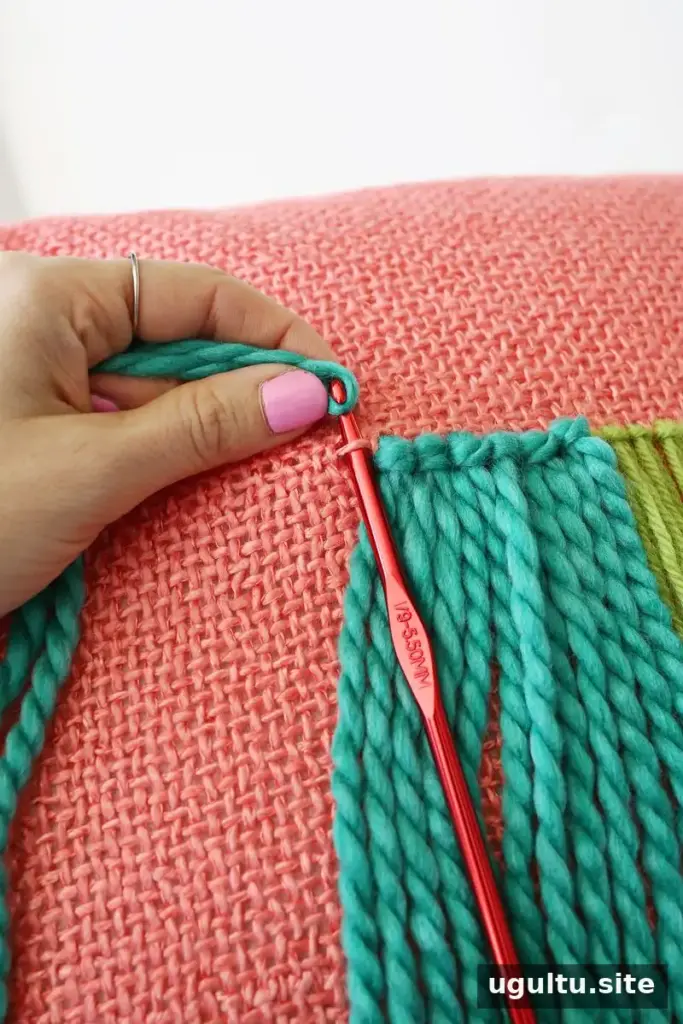
Push the crochet hook away from you and up through a horizontal thread in the pillow. Fold a yarn piece in half and loop its midpoint around the hook.
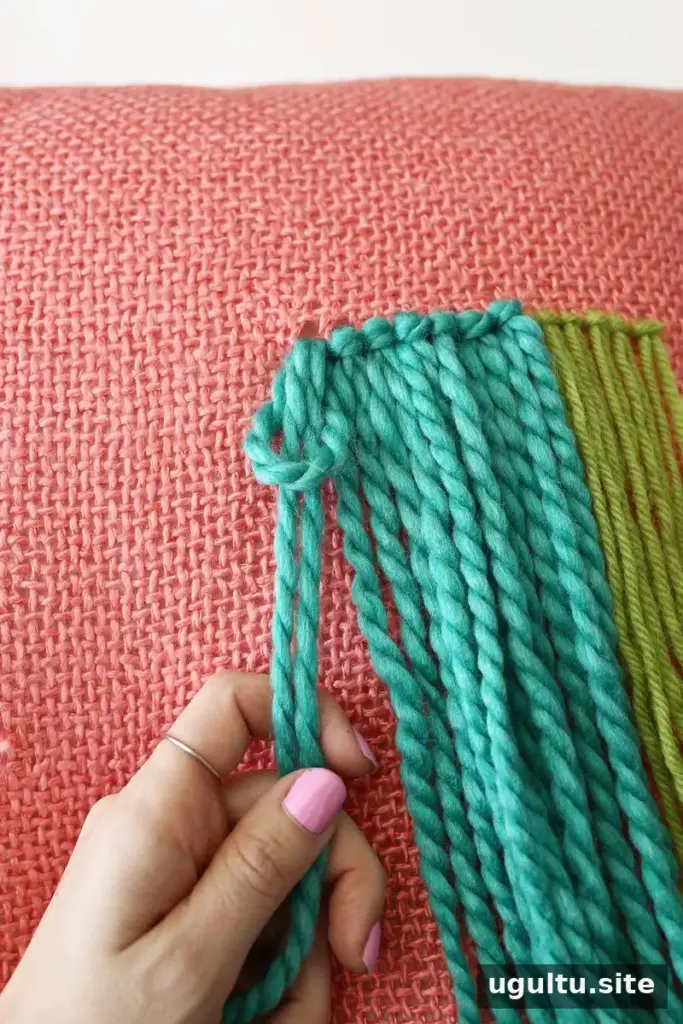
Pull the hook back through the pillow thread toward you until a loop about 1 inch long is formed. Pass both loose yarn ends through the loop, then pull the ends to tighten the knot. Keep the knot snug, but avoid pulling so firmly that the pillow weave becomes distorted.
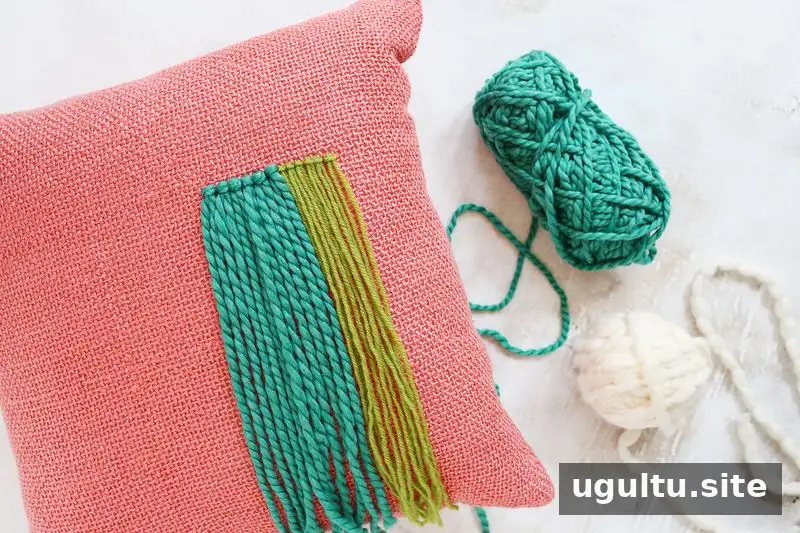
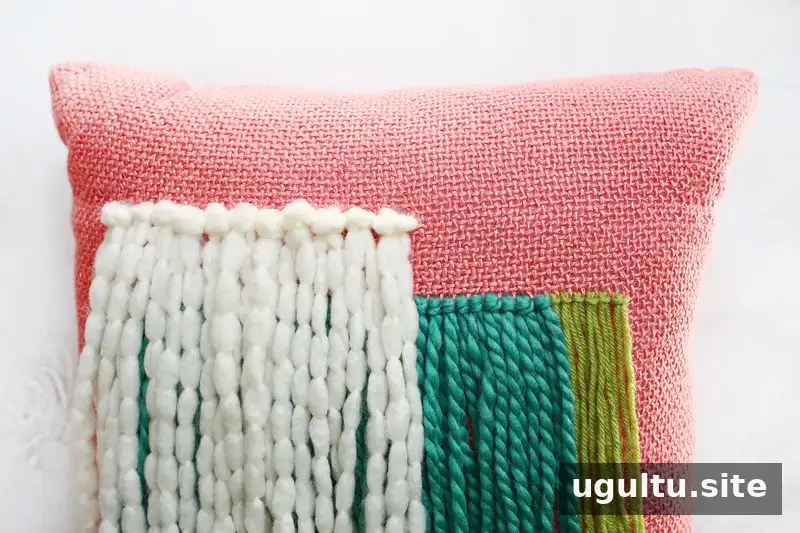
Repeat the same motion across the area you want to decorate. Change colors as needed to build your pattern. To overlap two color sections, add strands of the next color directly above the previous section, a few rows higher on the pillow.
Trim and Shape the Fringe
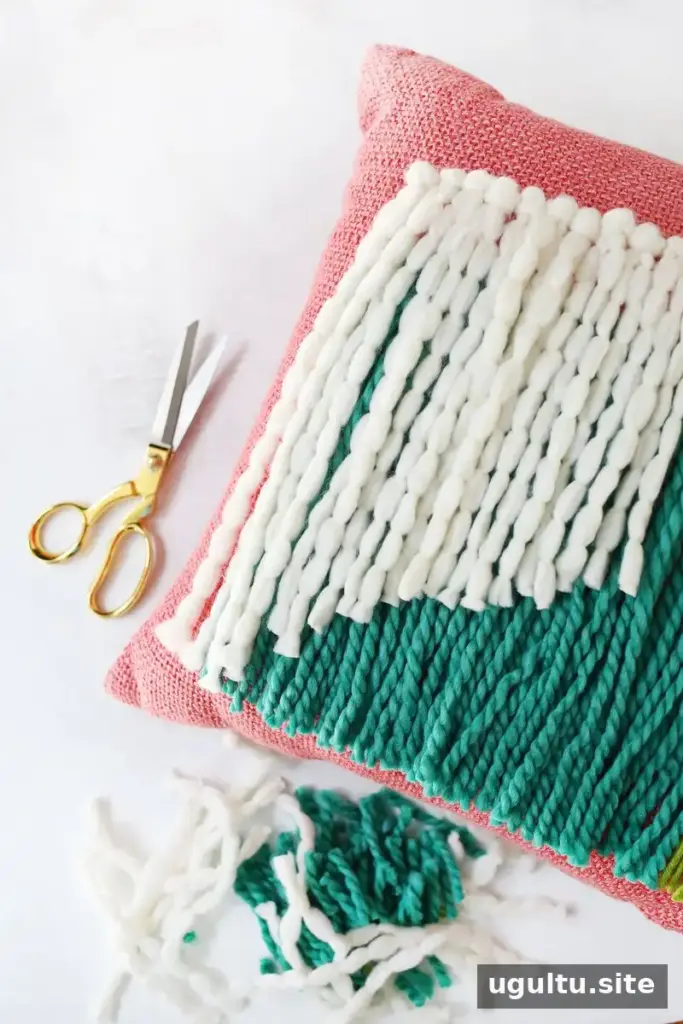
When the color blocks are complete, use fabric scissors to trim the yarn into a straight or angled edge. For an angled finish, trim the first and last strands to the desired heights. Then cut the middle strand to a length between those two and gradually adjust the strands from the center outward.
Work in small cuts and check the shape as you go. This helps keep the angle even and prevents removing more yarn than intended. If a strand is too long, it can be trimmed further; cut cautiously because removed yarn cannot be added back at the same length.
Adjust the Design and Care for the Fringe
One advantage of this method is that individual yarn pieces can be pulled out if you make a mistake or want to change a color. For example, a section can be undone and replaced with another shade without redoing the whole pillow.
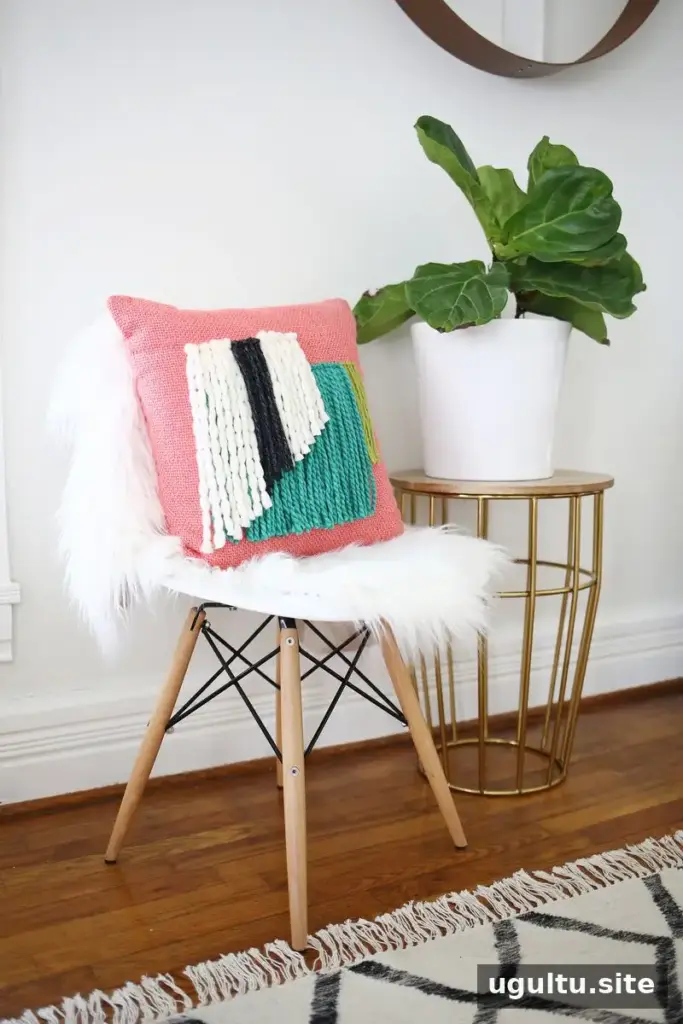
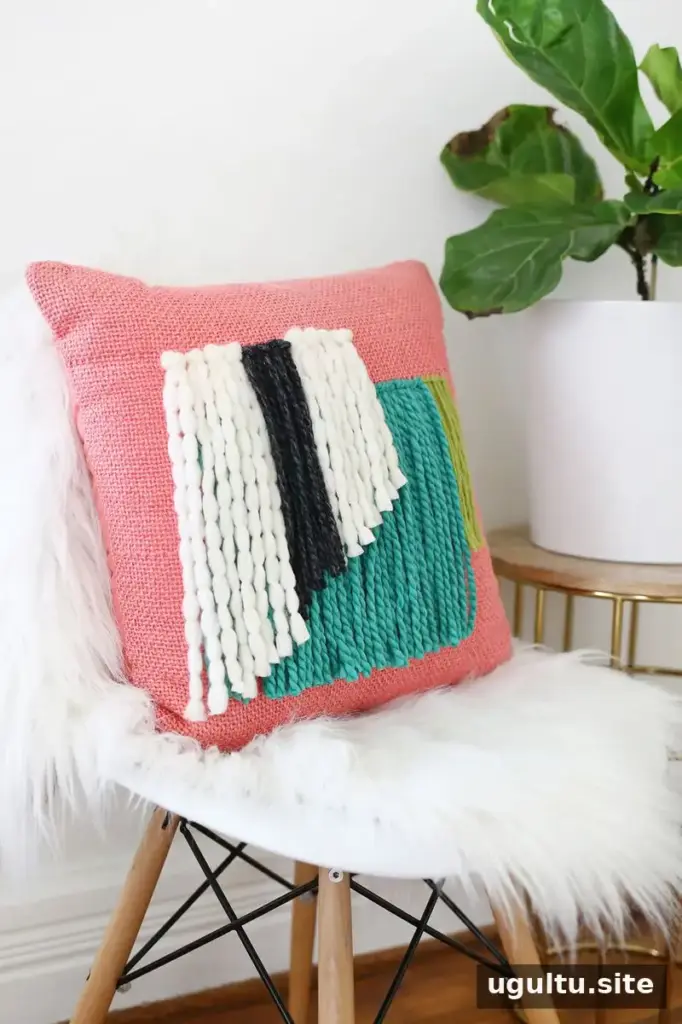
Colorful fringe gives a pillow a playful, textured look. If you are decorating a pair, you can repeat the same design, create two different patterns, or reverse one pattern so the pillows mirror each other on a couch or bed.
If the strands shift with use, smooth them downward with your fingers to bring them back into place. The Yarn Fringe Pillow DIY is a quick way to personalize a cozy chair or sofa with a pattern and colors suited to your space.
Project by Laura.


