
 admin
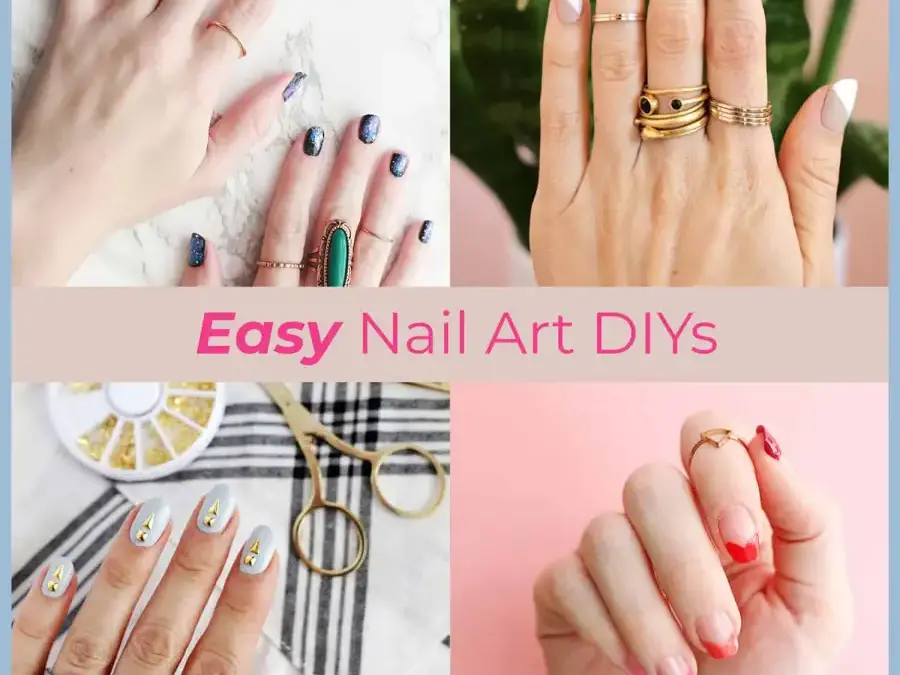
These easy nail art tutorials offer ten ways to refresh a manicure at home, whether you prefer subtle details or colorful patterns. Gather your polish, a base coat, and a top coat before you begin, and let each layer dry as directed to help prevent smudges.
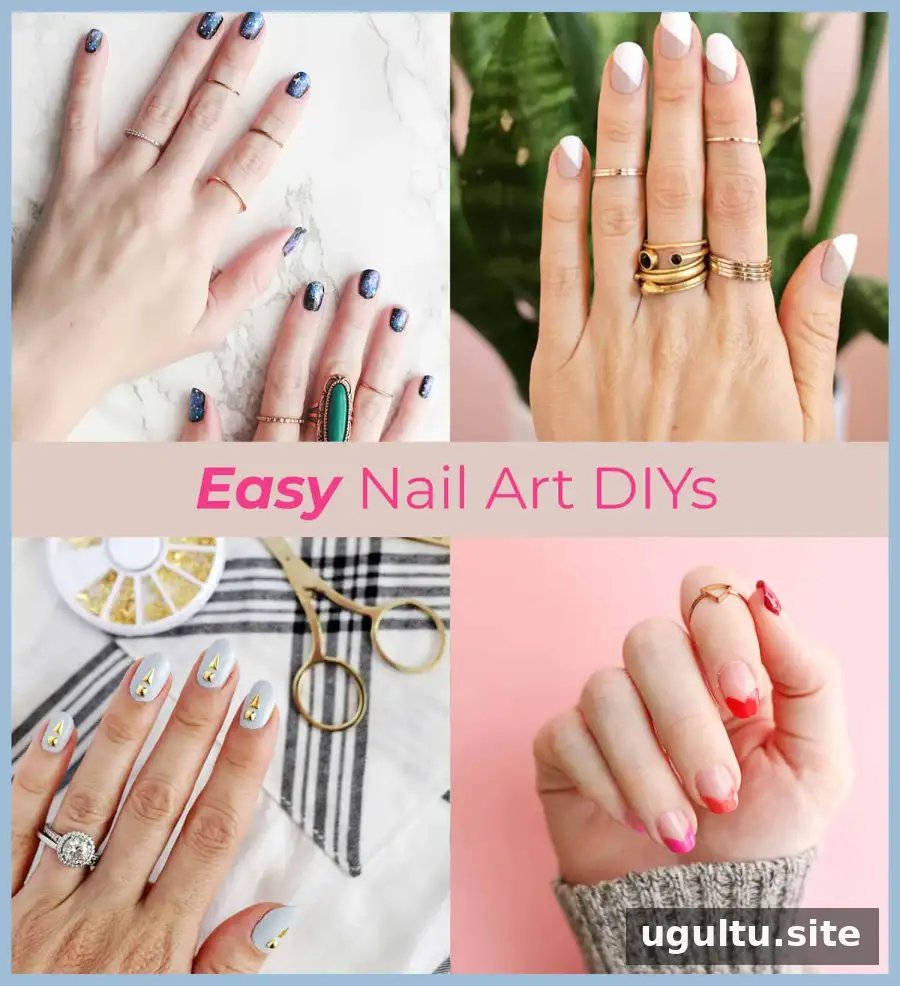
Nail art can be a relaxing project to pair with music or a podcast. Work on a clean, dry surface, and keep cotton swabs and polish remover nearby for small touch-ups.
Easy Nail Art Tutorials to Try at Home
1. Galaxy nails
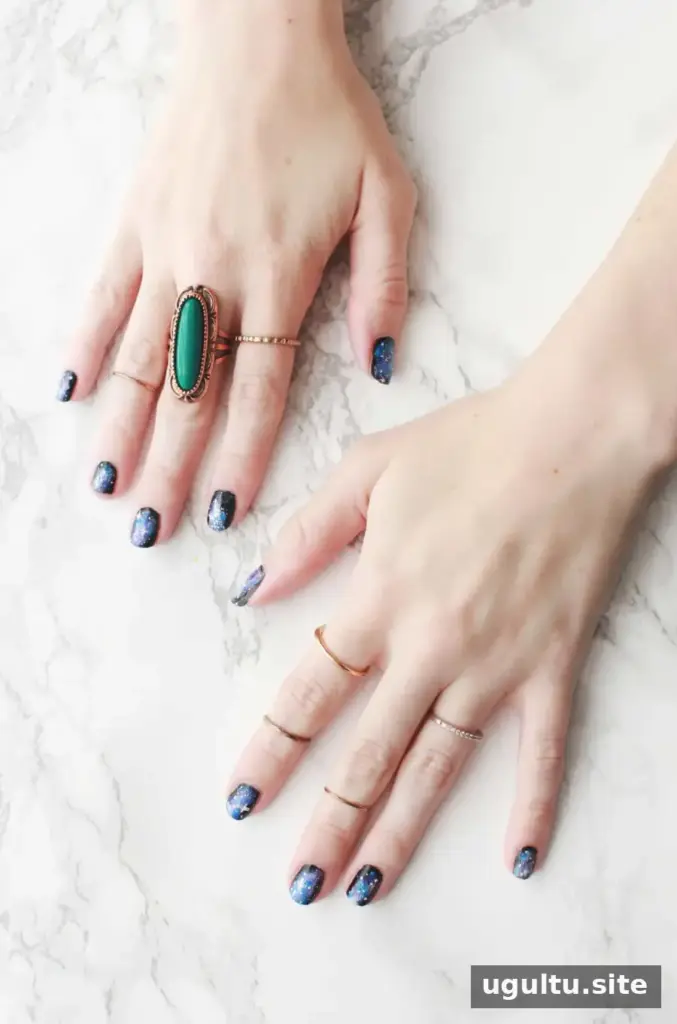
Combine black polish with blue and purple shades for a deep-space effect, then add silver sparkle for a starry finish. A small piece of makeup sponge can help dab on color in soft layers. Use a light touch and let each layer dry before adding the next.
2. Gold stripe nails
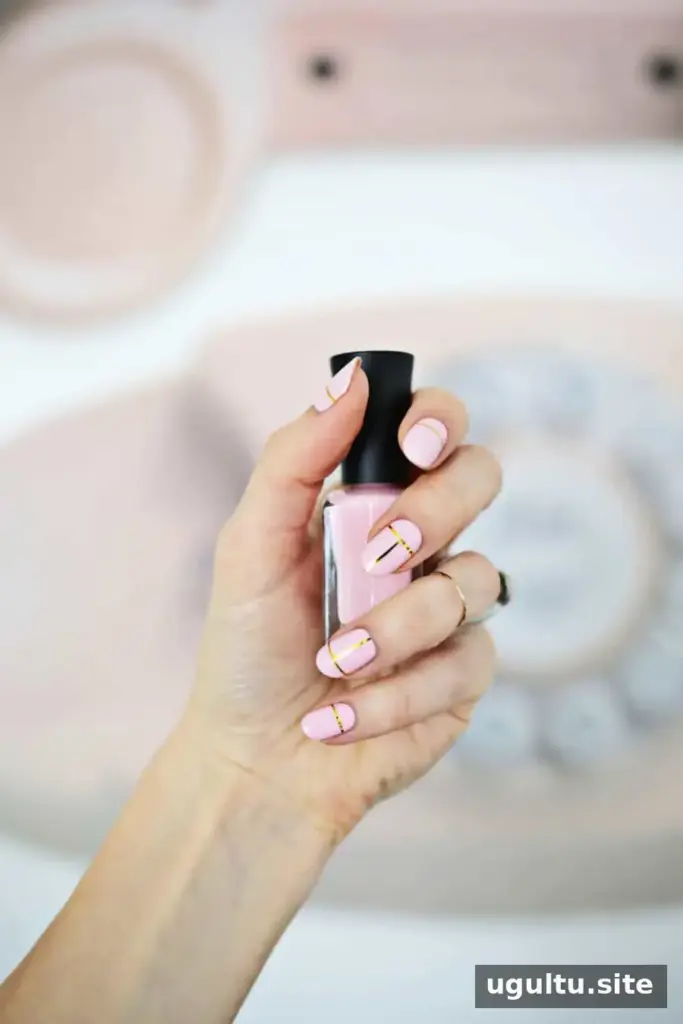
Use nail tape to create clean gold stripes over your chosen base color. Press the tape down gently, apply polish, and remove the tape while the polish is still slightly wet for sharper lines. Nail tape is available in different colors, so you can adapt the look.
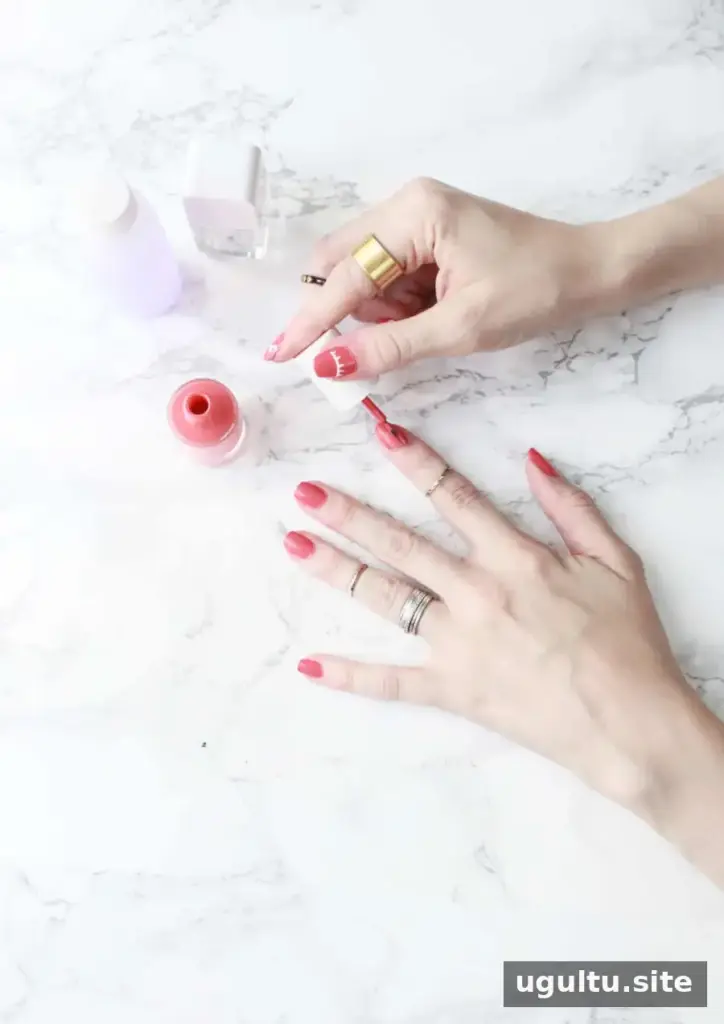
3. Wink manicure
Draw a small wink or another simple motif on one or more nails. A fine brush or nail-art tool can make small details easier to control. Finish with a top coat to protect the design and add shine.
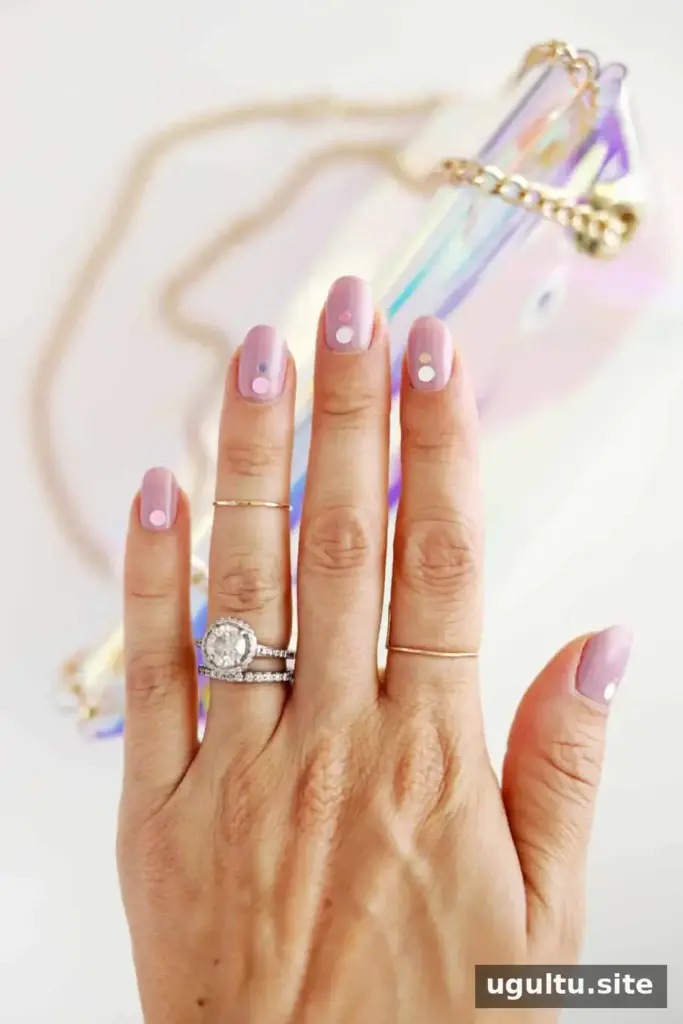
4. Holographic dot art
Add holographic dots over a solid base for a playful reflective pattern. Apply dots with a dotting tool or the end of a small brush, varying their size for a less uniform look. Neon triangles are another shape to consider if you want a bolder design.
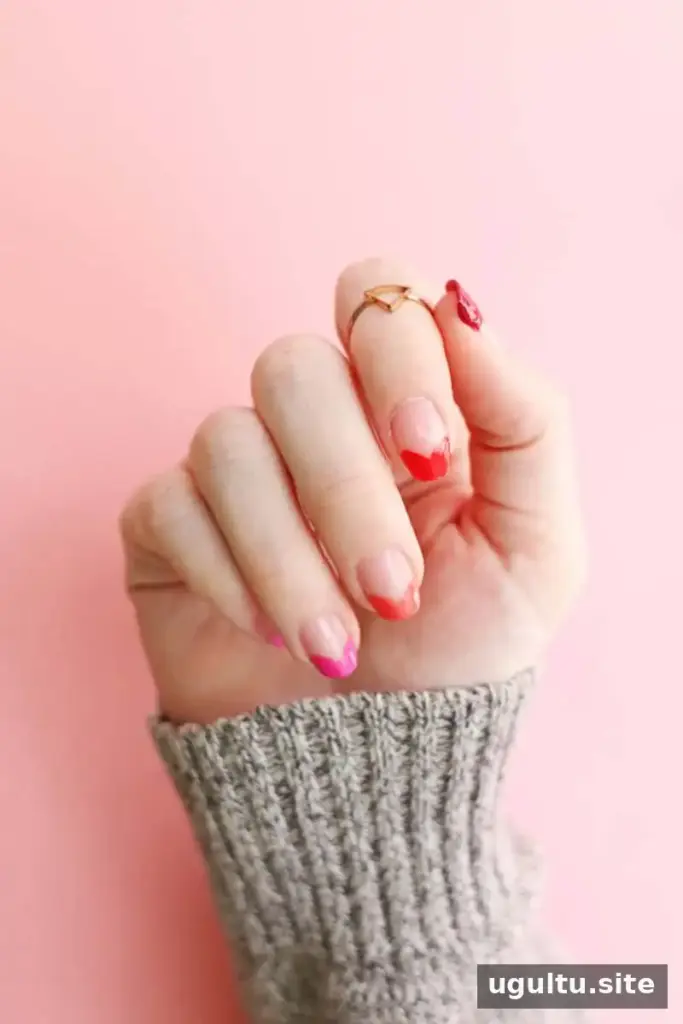
5. Ombre heart nails
Blend two or more colors into a soft gradient, then add a heart detail. A small, firm brush is useful for drawing the shape and tidying its edges. Let the gradient dry before adding the heart to keep the colors distinct.
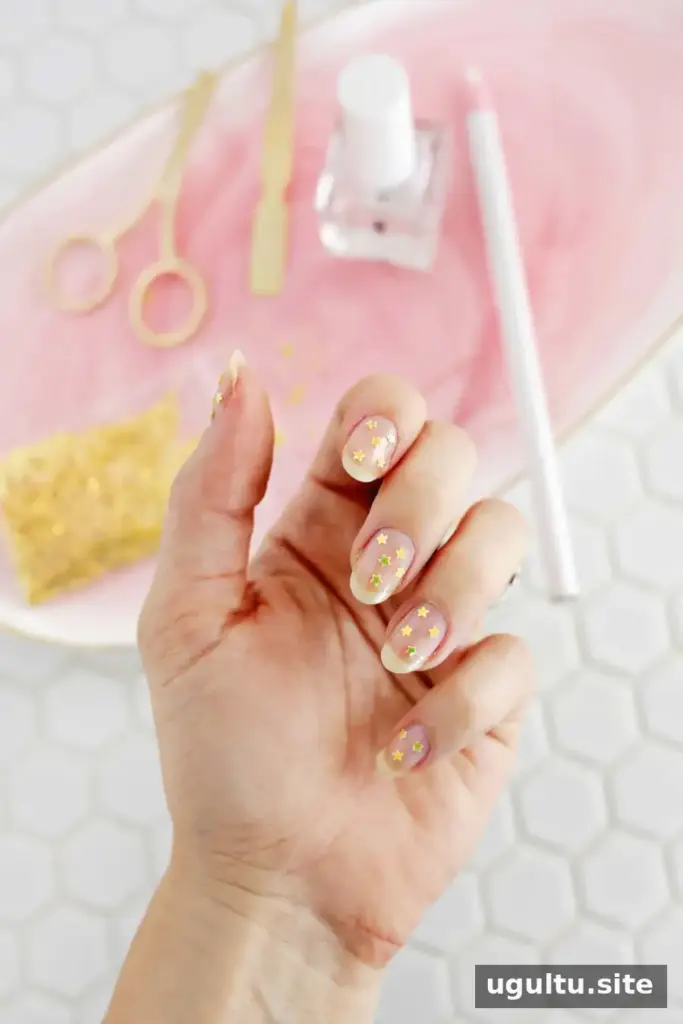
6. Gold star confetti
Place gold star confetti over a base color for a simple celebratory manicure. Arrange the stars with a small tool or tweezers, and press them gently into the polish. A top coat can help smooth and secure the decorations.
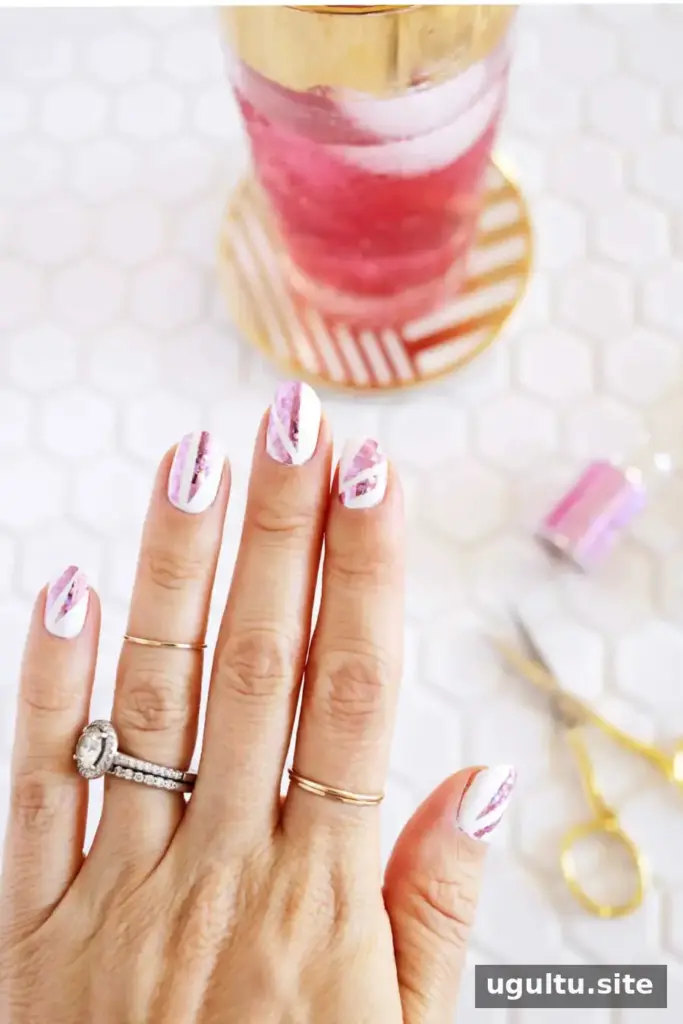
7. Holographic foil
Laura created this holographic foil manicure using glitter nail foils. Choose a foil color or pattern that works with your base shade, and follow the foil product instructions for application. Avoid rubbing the finished design before it has fully set.
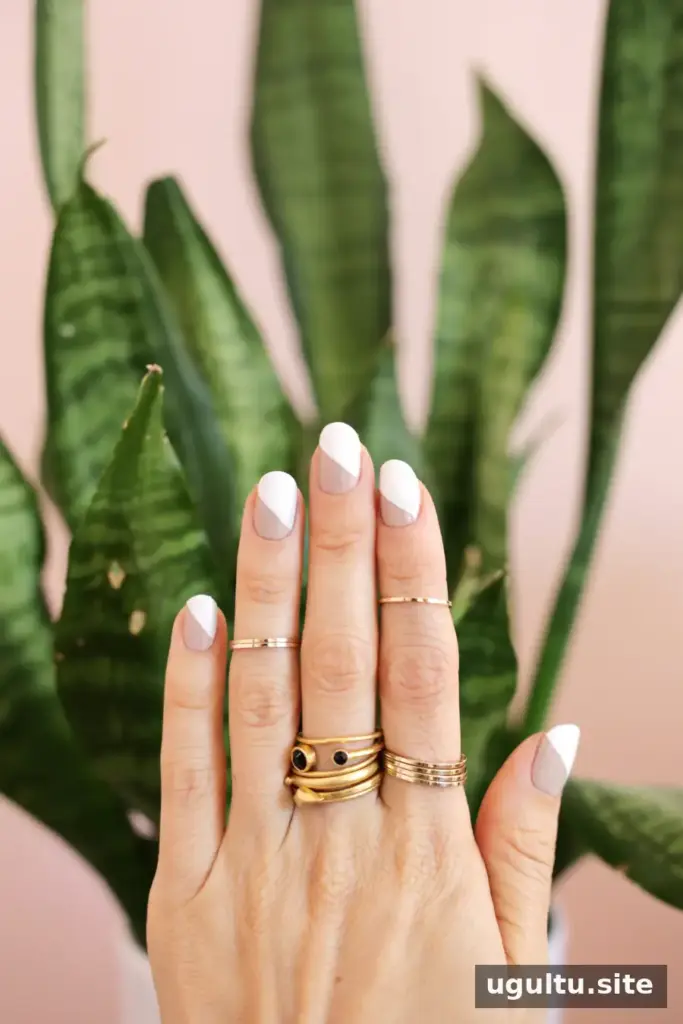
8. Updated nude nails
Give a classic nude manicure a fresh detail with tip guides, a small brush, or painter’s tape. These tools can help make tidy edges and geometric accents. Remove guides carefully and slowly so they do not disturb the polish.
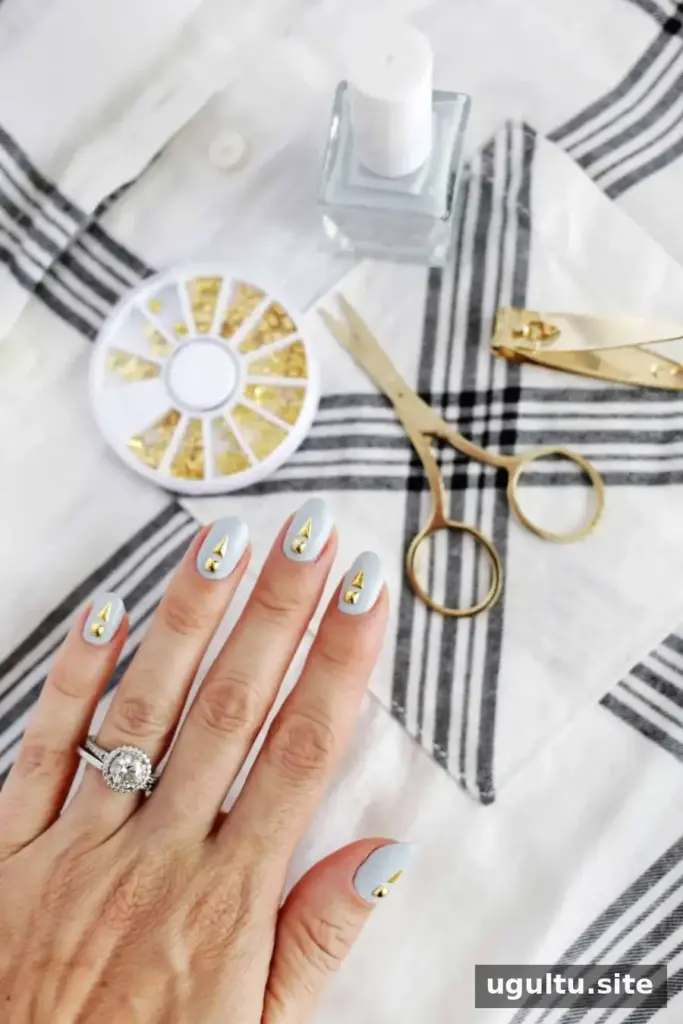
9. Gold nail charms
Use gold nail charms to add a raised accent to a manicure. Place each charm carefully and secure it according to the product directions. Keep embellishments away from the skin and allow enough time for the manicure to dry before handling objects.
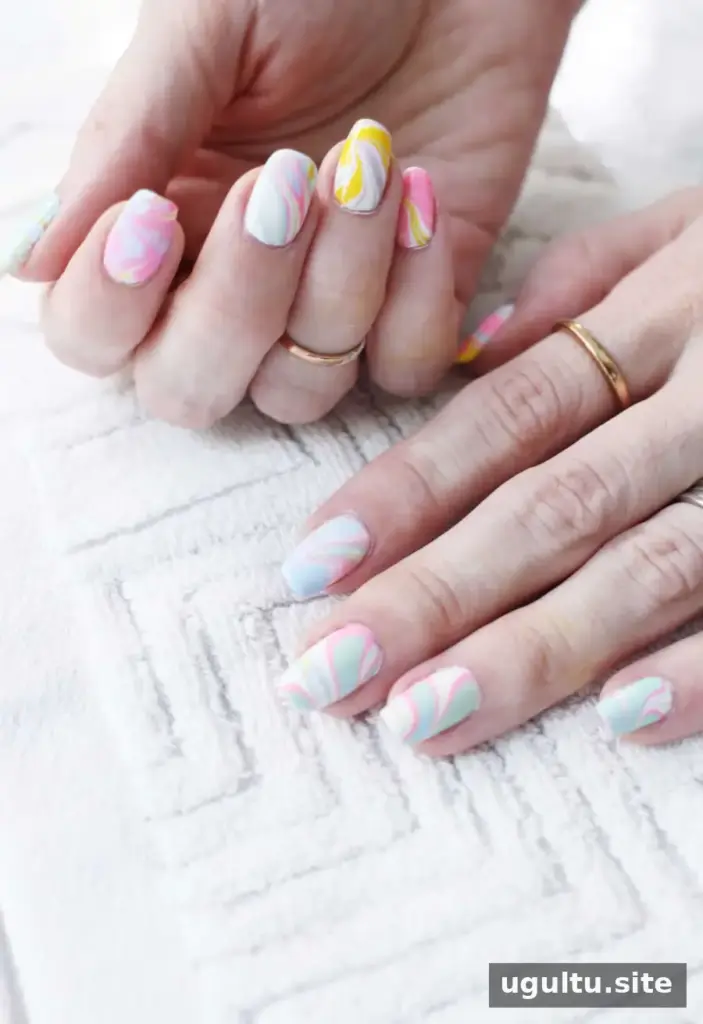
10. Pastel sherbet nails
Pastel shades create a soft, seasonal look for spring or summer. For a water-marble effect, work with polish and water in a well-ventilated area and follow the instructions for the products you use. Keep cleanup materials close by, since this technique can be messy.
Finishing tips for easy nail art
For a neater result, start with clean nails and apply a base coat before adding color. Use thin polish layers rather than one thick coat, and give each layer time to dry. If a design includes tape or small decorations, remove guides carefully and seal the finished manicure with a compatible top coat.
Whether you choose a simple stripe or a colorful pattern, these easy nail art tutorials make it easy to explore different looks at home. Start with one design, use tools that suit the level of detail, and adjust the colors to match your style.


