
 admin
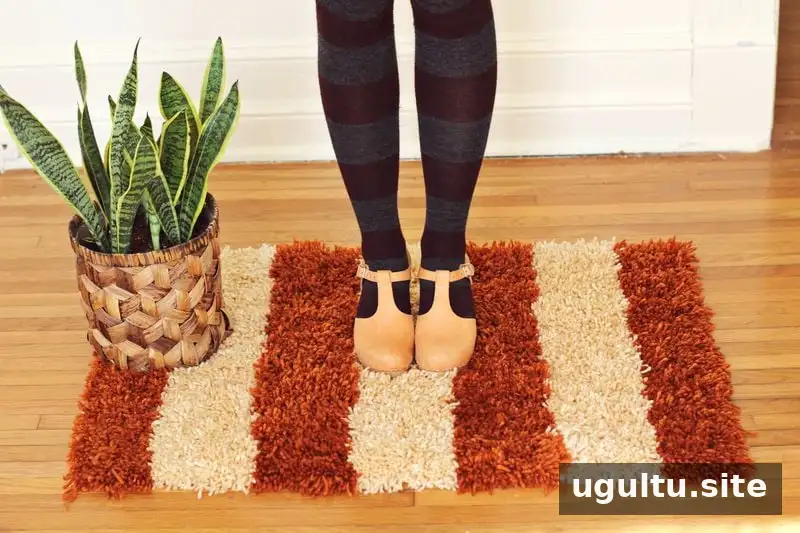
A DIY latch hook rug is a relaxing way to add a handmade touch and extra warmth to a room. The same technique can also be used to create a wall hanging. With a blank latch hook canvas, a latch hook tool, and pre-cut yarn, you can build up a soft design one square at a time.
Supplies for a DIY Latch Hook Rug
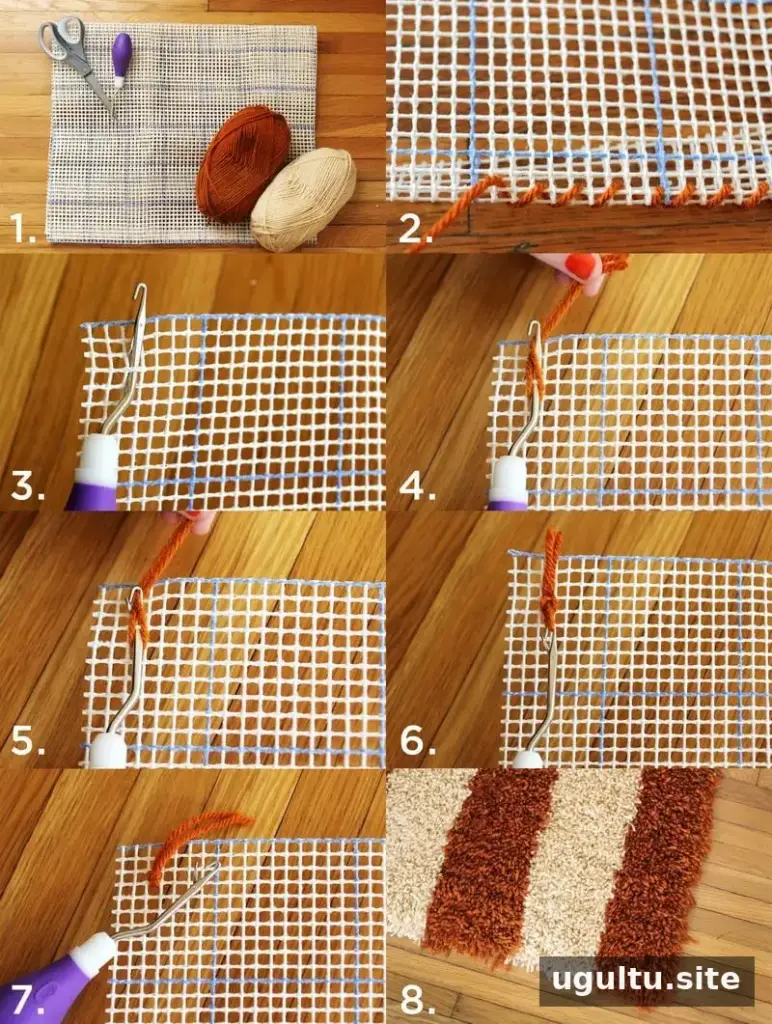
Gather the materials before you begin so you can work comfortably and keep the canvas from shifting.
- 1 blank latch hook canvas
- 1 latch hook
- Pre-cut latch hook yarn
Choose a flat, well-lit work surface and check that the canvas is large enough for your intended rug. If you are using yarn in multiple colors, sort the pieces before starting so they are easy to reach.
How to Make a DIY Latch Hook Rug
- Bind the canvas edges. Fold one edge over once or twice, then whipstitch along it until secure. Repeat on all four sides. This helps keep the canvas edges from fraying while you work.
- Position the hook. Push the latch hook through a square in the canvas and slide it under the canvas bar. The tool should pass through the opening with its latch ready to move freely.
- Place the yarn. Take one pre-cut piece of yarn and fold it in half. Position the folded center around the base of the hook, below the latch, with the two loose ends together.
- Close the latch around the yarn. Pull the hook so the latch closes over the yarn ends. Keep the yarn positioned on the hook as you draw it back through the canvas opening.
- Secure the loop. Continue pulling the hook through until the yarn ends pass through the folded loop. Gently snug the piece against the canvas without tugging so hard that the canvas bends or the yarn is uneven.
- Repeat across the canvas. Work square by square until the rug is covered. Check your progress regularly to keep the rows even and make sure each piece is secured.
Helpful Tips While Hooking
Keep the canvas flat as you work, and avoid forcing the hook through the grid. If the latch catches or the yarn slips, pause and reposition the tool rather than pulling sharply. A consistent yarn placement and gentle tension help the finished surface look more even.
Work in short sessions if your hands become tired. Latch hooking is repetitive, so taking breaks can make the project more comfortable and help you maintain steady stitches. The completed rug in this project took several weeks; the time needed will vary with the canvas size and how often you work on it.
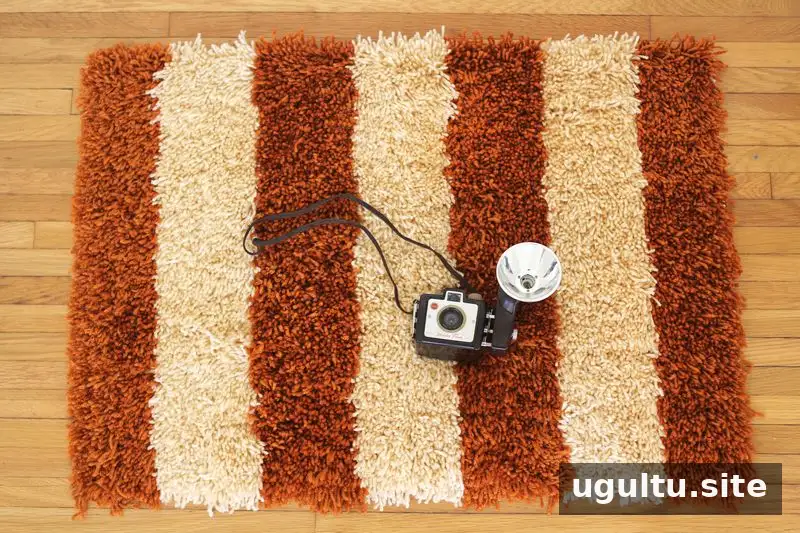
A finished latch hook rug can bring color and texture to a room, and the same method can be adapted for a wall hanging. Once all the squares are filled, inspect the surface and edges for missed spaces or loose yarn before putting the piece to use.
Project by Katie.
Conclusion
This DIY latch hook rug project uses a simple repeatable technique: bind the canvas edges, loop pre-cut yarn through the grid, and work across the canvas until the design is complete. Take your time, keep the tension gentle, and check your progress as you go for a neat, handmade finish.


