
 admin
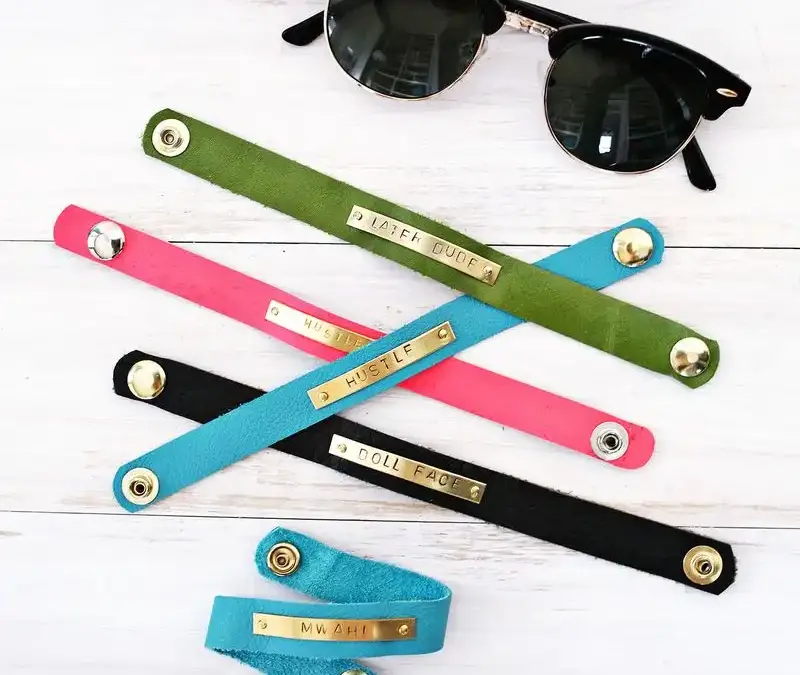
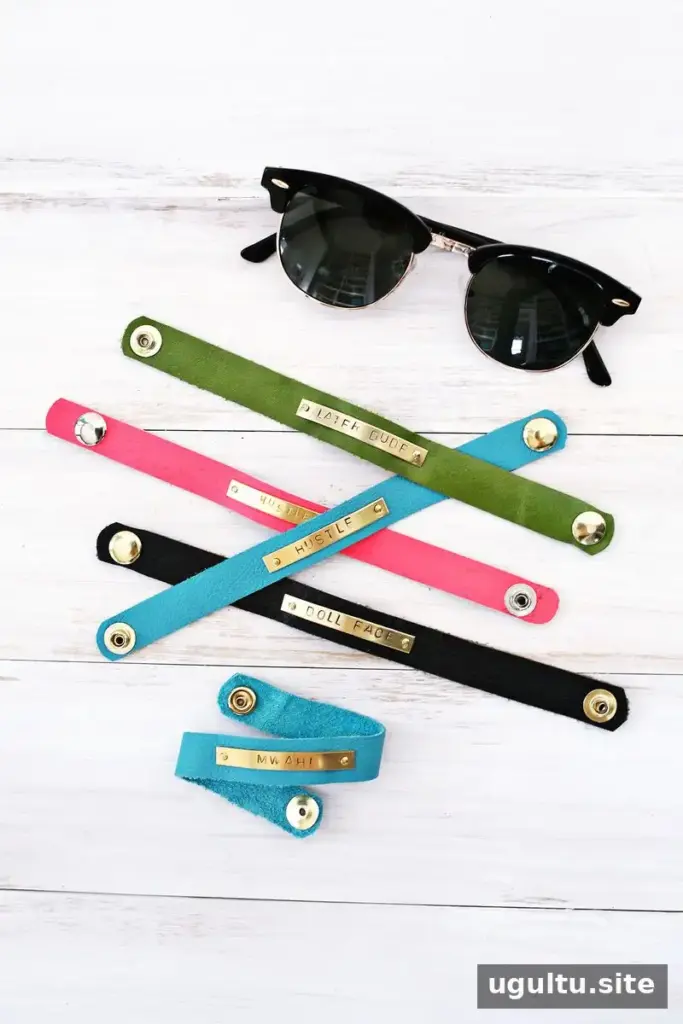
A DIY stamped bar leather bracelet is a simple way to combine a personalized metal message with a comfortable leather band. Choose a short word, phrase, or hashtag, then pair it with leather in a color you like. The project uses basic stamping and leatherworking tools, and measuring carefully before cutting helps ensure the bracelet fits well.
Supplies for a DIY Stamped Bar Leather Bracelet
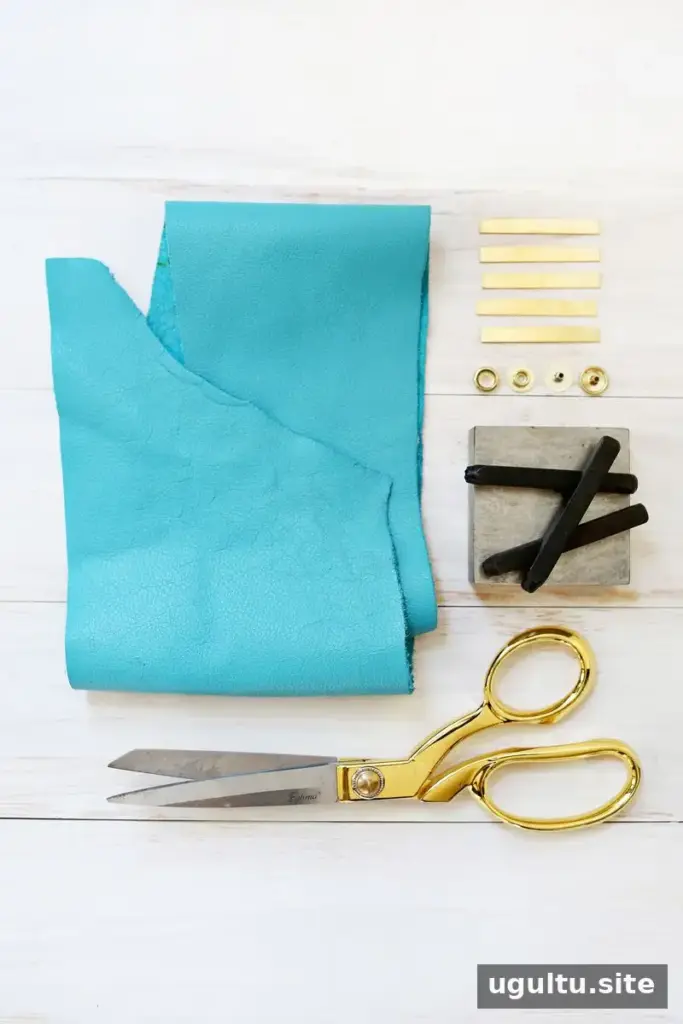
- Scraps of medium-weight leather, real or faux
- Metal bar stamping blanks
- Line 20 snaps and a snap setter
- 1/16-inch hollow rivets
- 1/16-inch hole-punching and rivet-setting tools
- Fabric scissors, or a metal ruler and rotary cutter
- Metal letter punch set
Optional: A jeweler’s block can provide a firm surface for cleaner stamping. A Sharpie marker and rubbing alcohol can be used to darken the stamped letters.
Prepare the Leather Strap and Snaps
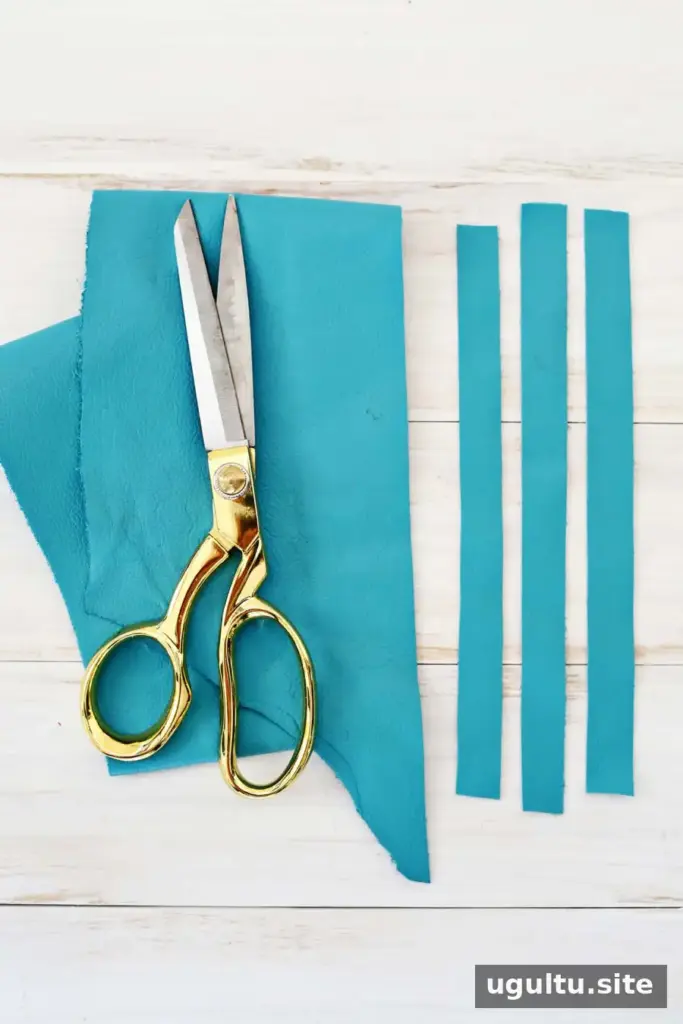
Cut the leather into a strip at least 1.5 cm wide. Make it long enough to fit around your wrist, leaving extra length so you can trim it after checking the fit. Flat leather cord in the same width is another option if you prefer finished edges.
Medium-stiff leather is generally a better choice than very soft, pliable leather for this design. The rivets that hold the metal bar may be less secure in soft leather and can pull out more easily. Before cutting or punching, check that the strap is wide enough to support both the bar and its fasteners.
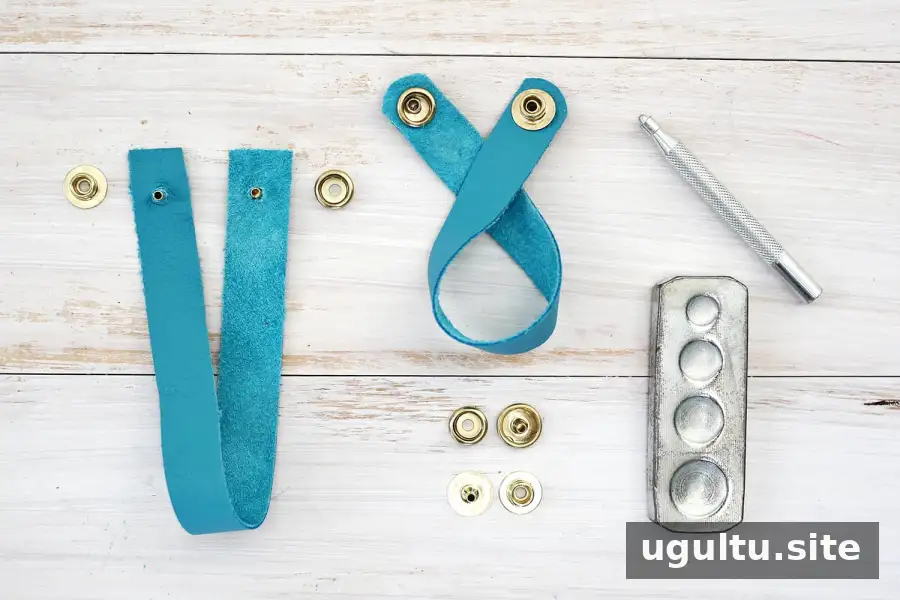
Use the 1/16-inch hole-punching tool to make a hole near each end of the strap for the snaps. Insert the matching snap pieces, checking that the correct sides will face one another when the bracelet is closed. Set each snap with a line 20 snap setter and a hammer, following the tool’s instructions. Test the closure before moving on.
Stamp a Message on the Metal Bar
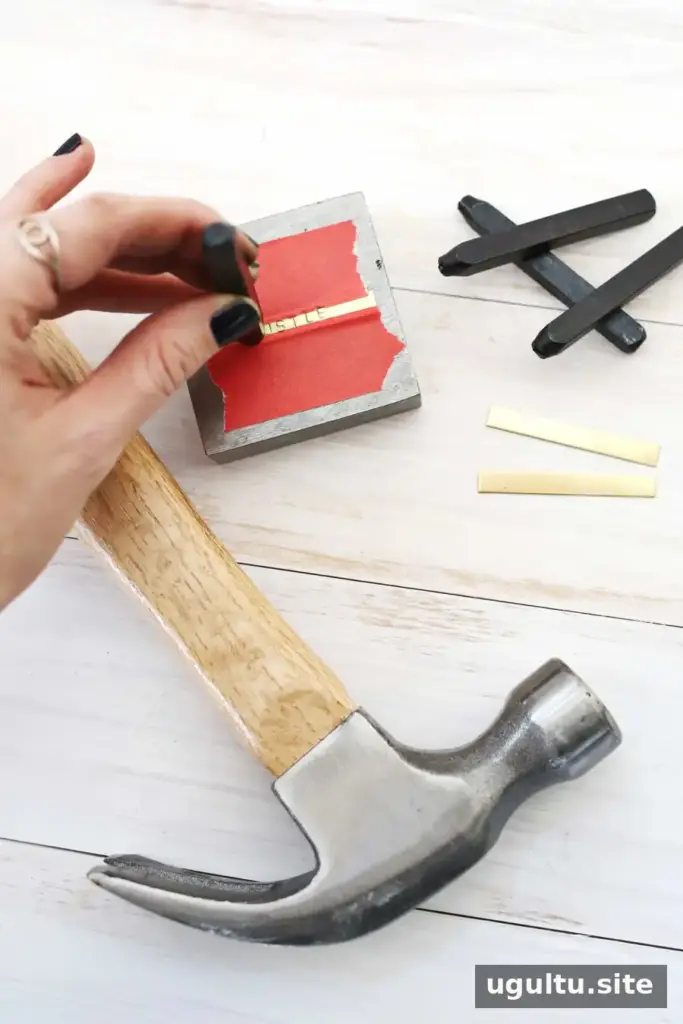
Secure the metal stamping blank to a jeweler’s block or another hard surface with tape. Arrange the letter stamps before striking so the message is centered and spaced as intended. Brass blanks can be softer than some other metals, so use controlled strikes; hitting too hard may cause the blank to curve in the middle.
If the blank bends, gently adjust it back into shape, taking care not to crease it. To make the letters stand out, color them with a Sharpie and wipe the surface with a cloth dampened with rubbing alcohol. This step is optional and can be skipped if you prefer the natural metal finish.
Attach the Bar and Finish the Bracelet
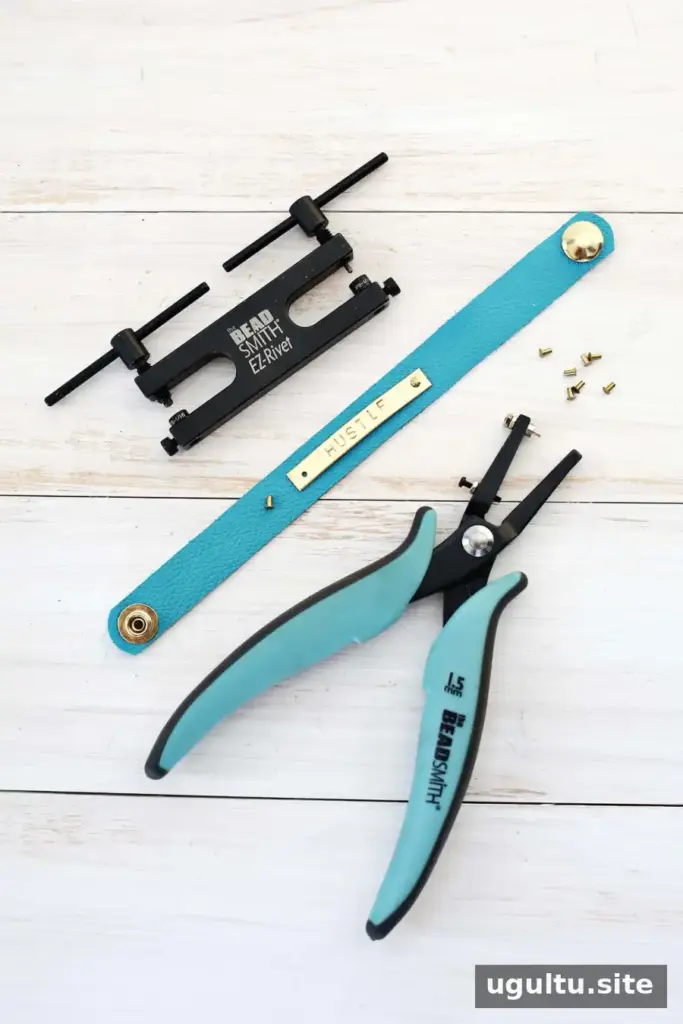
Punch a hole near each end of the metal bar for the rivets. Position the bar in the middle of the leather strap, then mark and punch matching holes in the leather beneath the bar. Check that the holes align before inserting the rivets.
Place each rivet with its closed, flat side facing up. Use the setting side of the tool to secure it, and repeat at the other end of the bar. If the metal bar sits too flat against your wrist, gently bend it by hand to follow the curve of your wrist. Avoid sharp bends, which could damage the blank.
Personalize and Wear Your Bracelet
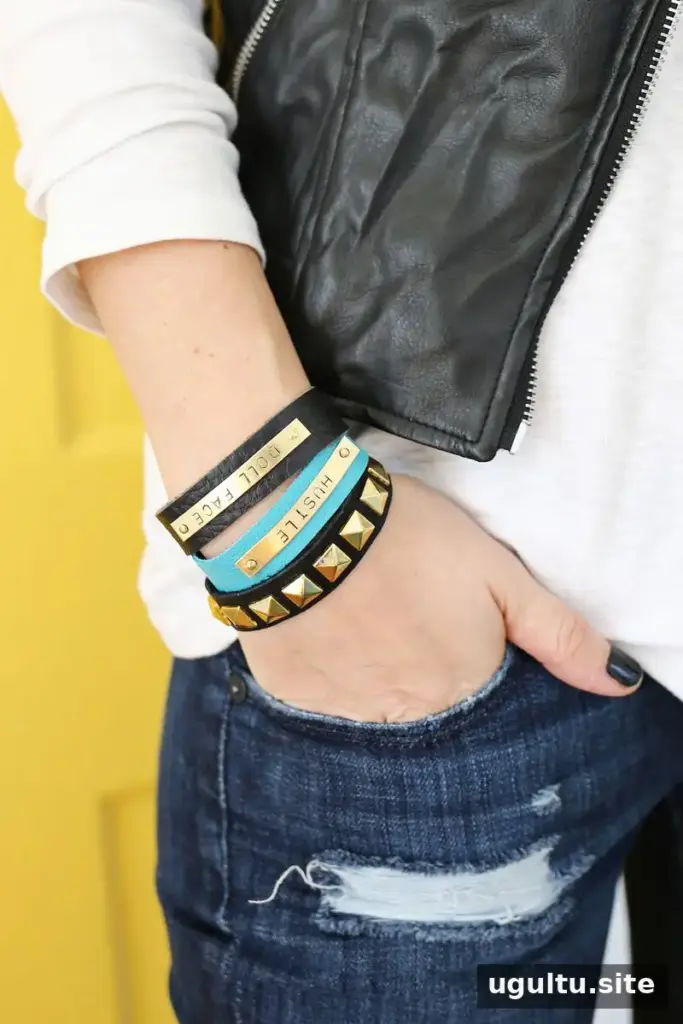
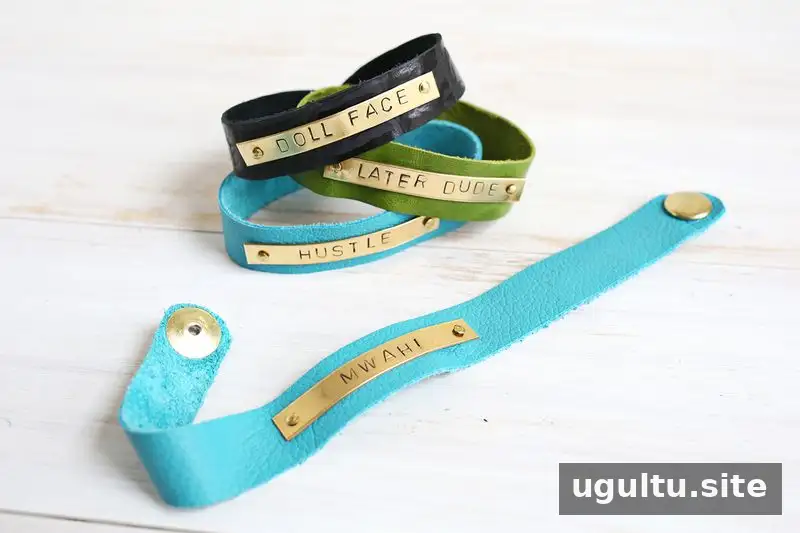
Once you have the basic stamping tools, you can make more versions with different leather colors and messages. These bracelets can also be worn alongside other leather or phrase bracelets. For a gift, measure the recipient’s wrist if possible and leave enough extra strap length to adjust the fit before trimming.
With careful measuring, aligned holes, and steady stamping, a DIY stamped bar leather bracelet can become a personalized accessory made to suit your style. — Laura


