
 admin
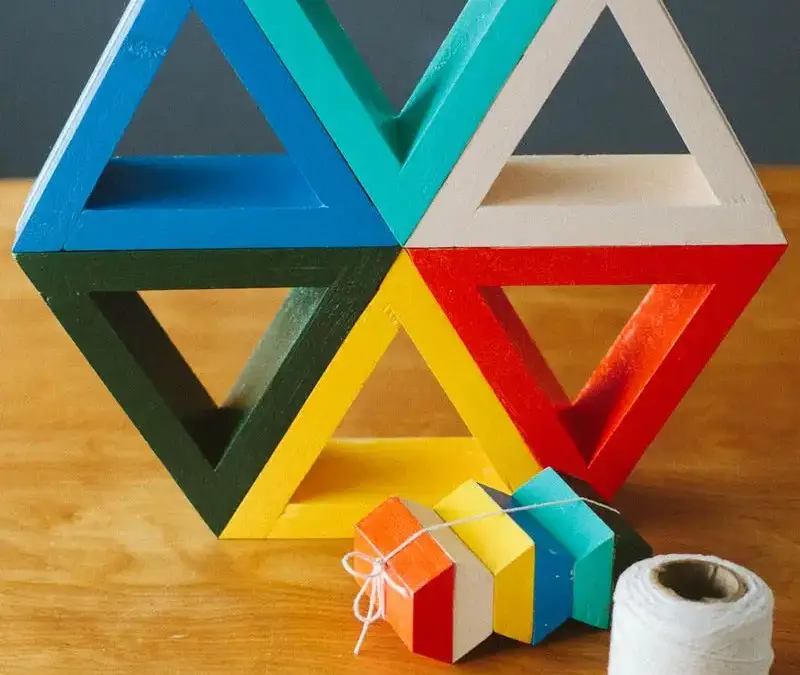
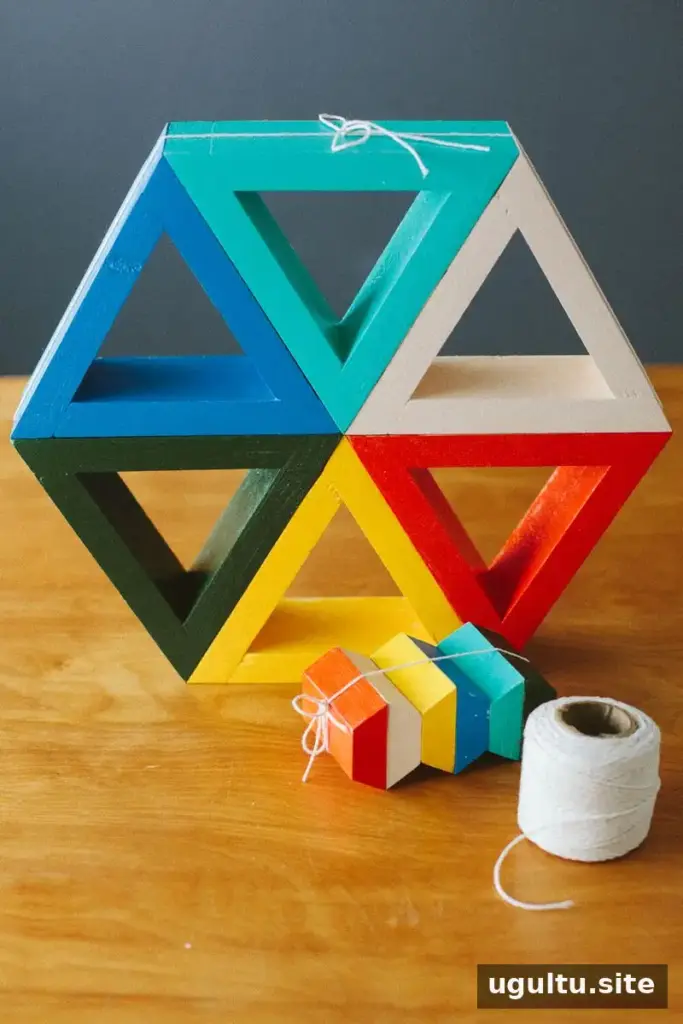
Homemade triangle shelves are a simple woodworking project that can add geometric detail to a room. This guide covers the materials, cuts, assembly, and finishing steps for making six matching shelves from pine boards. The design and instructions are credited to Josh and Sarah.
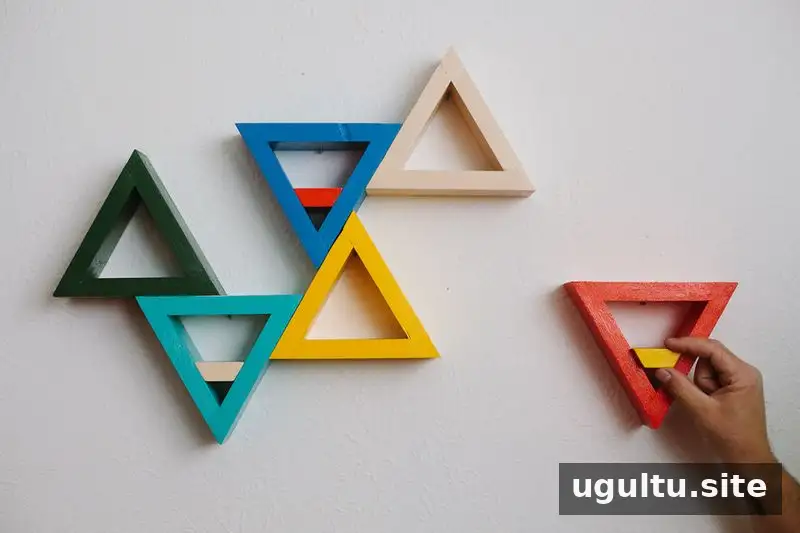
The shelves are made by joining three angled pieces of wood to form each triangle. You can keep the finish natural or add paint or stain to suit your space.
Materials and tools for homemade triangle shelves
Gather these supplies before you begin:
- Two 1-inch-by-4-inch, 6-foot pine boards
- Wood glue
- 100-grit and 220-grit sandpaper
- Miter saw
- Measuring tape
Optional finishing supplies include paint (acrylic was used for the original project), stain, gloss medium, and varnish. If you plan to paint with acrylic, gloss medium and varnish can be used as part of the finish. Follow the product labels and allow each coat to dry as directed.
Cut and prepare the shelf pieces
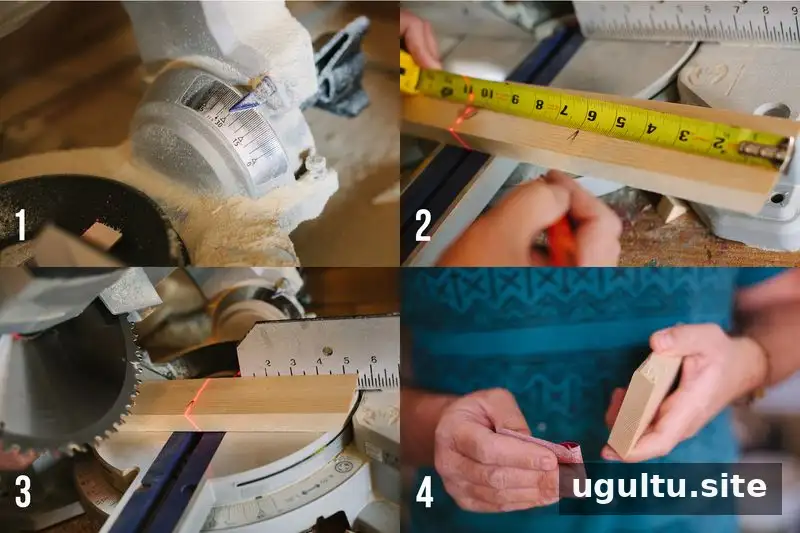
- Set the miter saw to a 30-degree angle. Follow the saw’s safety instructions and keep hands clear of the blade.
- Make the first angled cut. Turn the board over, then measure 6 inches along the long edge for the next cut.
- Cut 18 pieces, each 6 inches along the long side, with a 30-degree angle at both ends. This length is adjustable, but keep every piece the same length so the triangles fit together evenly.
- For optional inset shelves in triangles that will hang upside down, cut additional 2-inch-long pieces with 30-degree angles.
- Use 100-grit sandpaper to smooth burrs and rough areas. Sanding before assembly makes the pieces easier to handle and helps create cleaner joints.
Assemble and finish the triangles
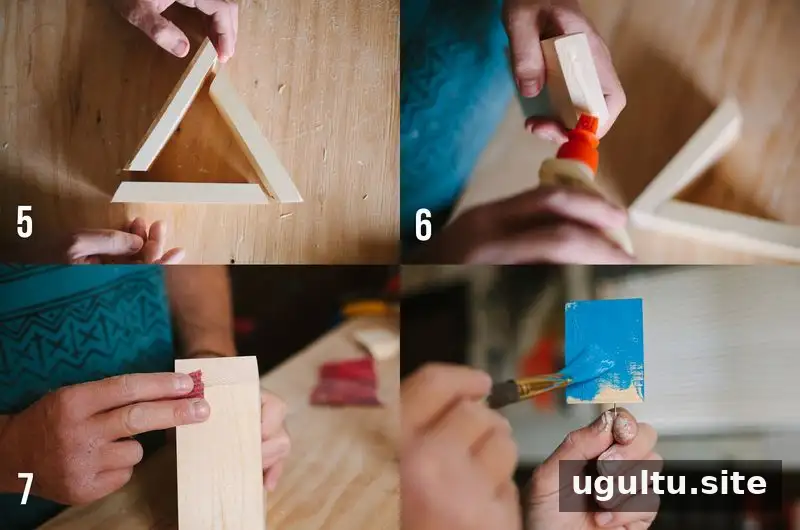
- Arrange three pieces into a triangle, checking that the edges meet neatly.
- Spread a thin, even layer of wood glue along each joining edge. Press the pieces together firmly and wipe away excess glue before it dries.
- Repeat the process until you have assembled all six triangles. Let the glue dry for at least 4 hours.
- Once dry, sand away any exposed glue and smooth the surfaces with 220-grit sandpaper as needed. Apply paint or stain if desired.
When painting small pieces, a tack can help hold a piece in place and keep fingers away from wet paint. Work in a ventilated area and protect the surface beneath your project.

Hanging and using your shelves
These geometric shelves can be arranged in different orientations or given as a handmade gift. The project instructions do not specify mounting hardware or a weight capacity, so choose a suitable fixing method for your wall type and intended use. Secure the shelves appropriately, and avoid placing heavy or fragile items on them unless the installation has been assessed for that load.
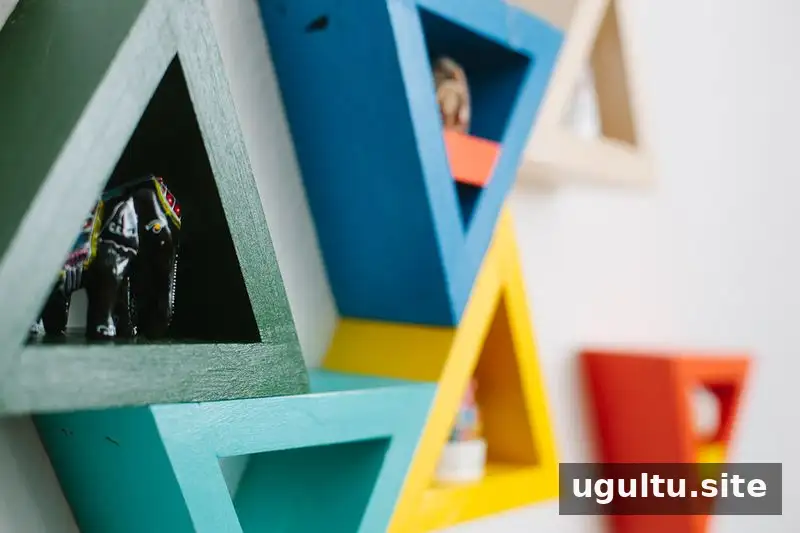
Josh and Sarah designed this project. With careful measuring, matching cuts, and enough drying time, homemade triangle shelves can be a straightforward way to add a custom decorative feature to your home.


