admin
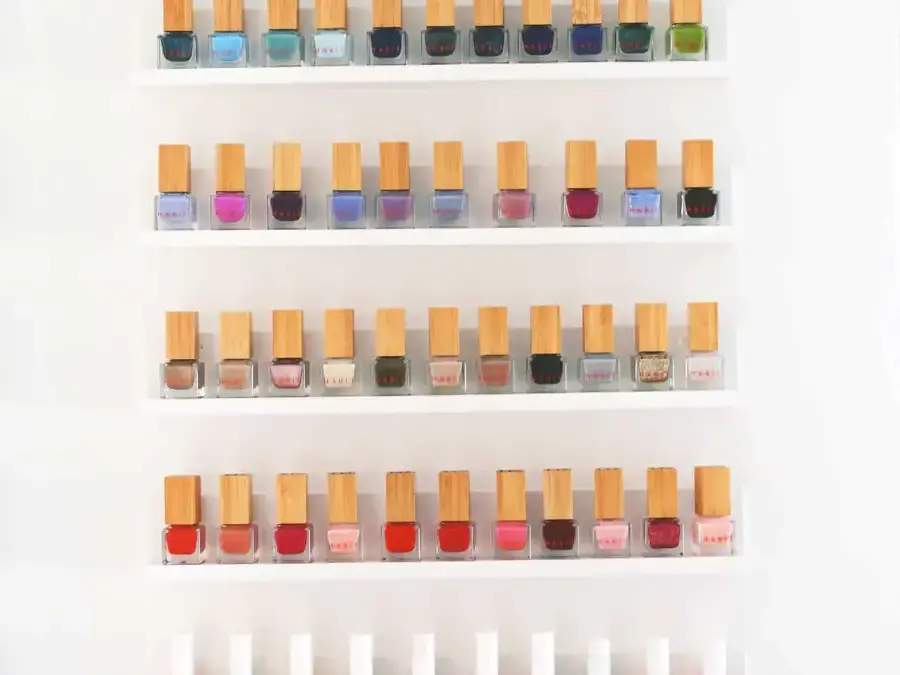
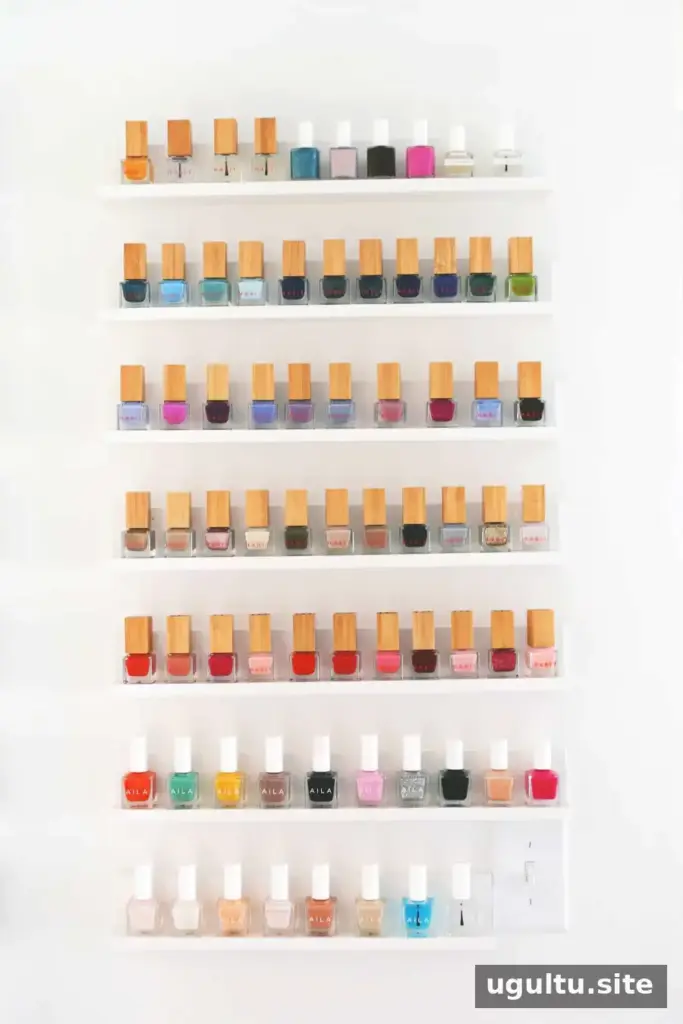
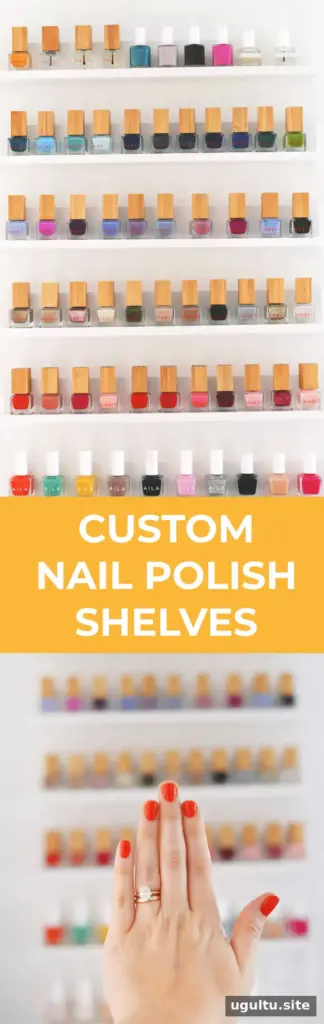
DIY nail polish shelves can turn an unused wall into practical, colorful storage and help a bathroom or beauty area feel more organized. This simple project uses a small amount of lumber and a drill, and the shelf dimensions can be adjusted to suit the available space and the size of your collection.
Why Make DIY Nail Polish Shelves?
Displaying polish bottles on wall shelves keeps them easy to see and can free up space in a storage cart or drawer. Arranging the bottles by color creates a neat rainbow effect, while keeping the collection together makes it easier to find a shade when needed.
Open shelves can also be a useful alternative to wall art when you want to make a small space feel personal and functional. Before choosing a location, consider how much room you need to reach the bottles and whether the shelves will fit your current collection.
Plan the Shelf Layout
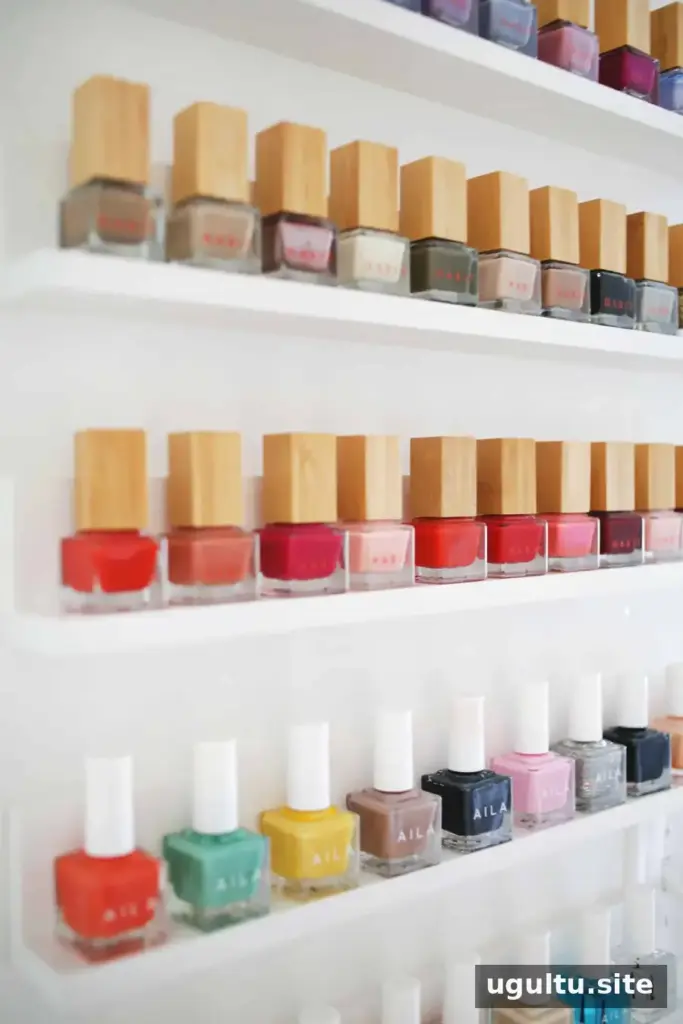
Start by measuring the wall and deciding how many shelves will fit. Washi tape can help you mark the proposed shelf positions before drilling. Stand back and check the spacing, overall length, and access to nearby fixtures. This quick layout test also helps confirm that the arrangement has enough capacity for the bottles you plan to display.
The shelves can be made from a small amount of lumber. If you do not have a saw, ask a hardware store whether it can cut the wood to your required lengths. A drill is needed for assembly and installation. Since wall types and shelf designs vary, choose mounting hardware suited to the wall and the finished shelf, and check for hidden pipes or wiring before drilling.
Customize the Design
The number and length of the shelves can be changed to fit the wall. In this version, the front piece of the ledge was left off because it was not needed for the space and would have obscured the polish colors. If you adapt the design, check that the bottles sit securely and remain visible from the front.
Arrange and Maintain Your Nail Polish Display
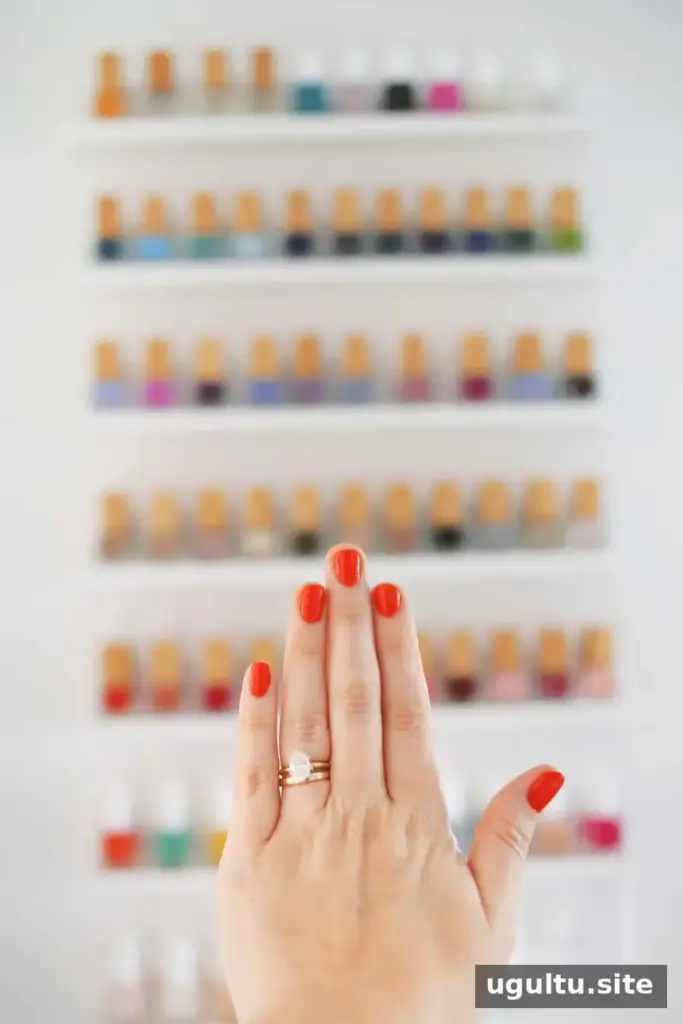
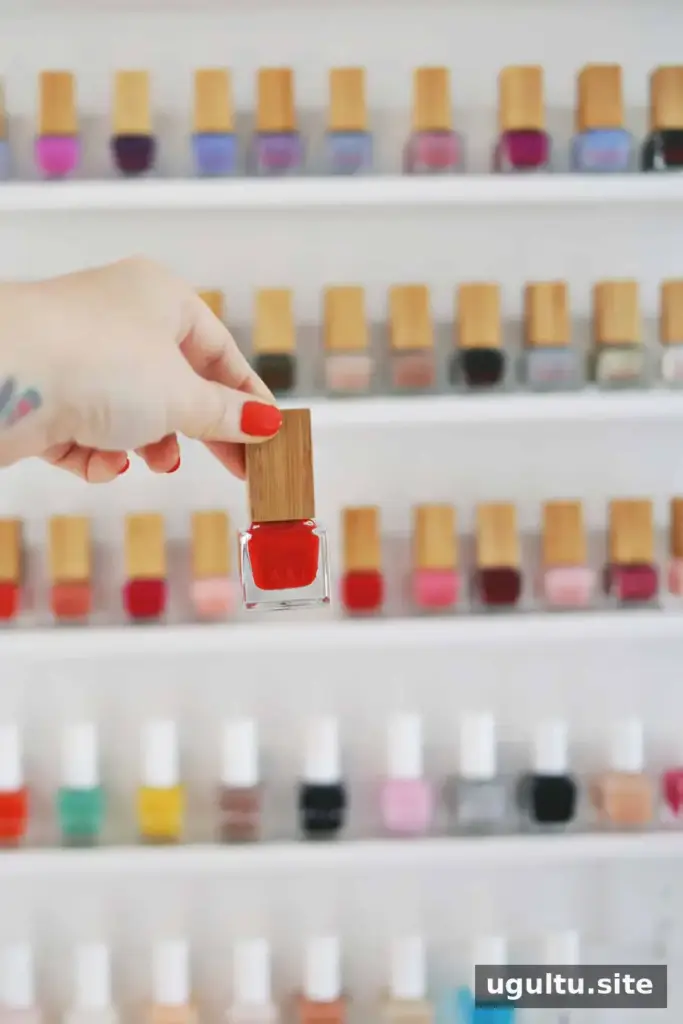
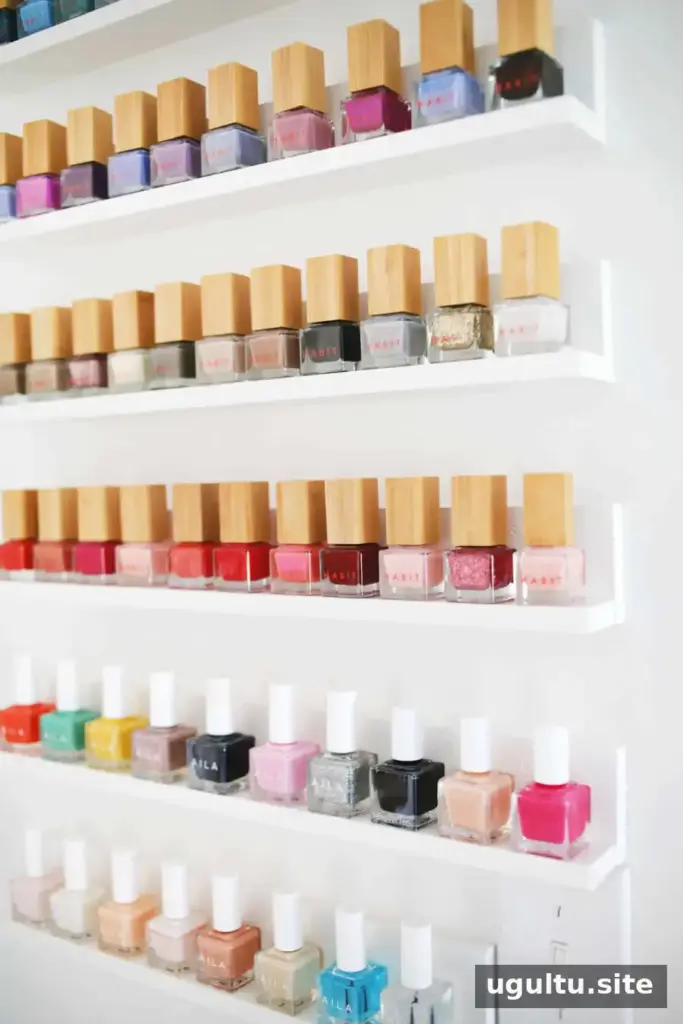
Once the shelves are installed, arrange bottles by color, brand, or how often you use them. Grouping frequently used shades together can make the display more convenient, while sorting by color creates an orderly visual effect. Leave enough room to lift bottles off the shelf without knocking neighboring items over.
Keep the shelves tidy by returning bottles to their places after use and periodically checking that the mounting hardware remains secure. For a bathroom installation, choose a location that does not interfere with daily routines, and follow the care instructions on the polish products.
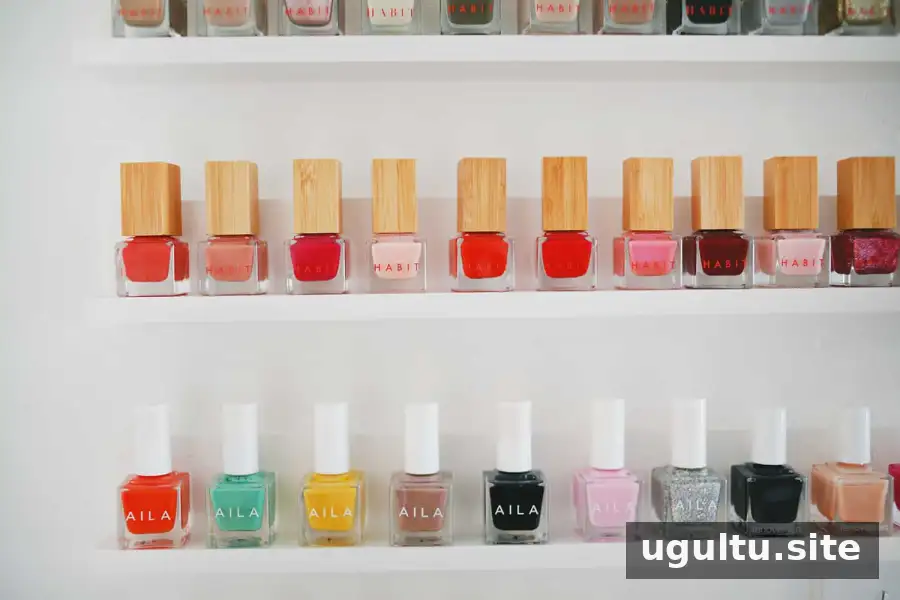
Wall-mounted storage can free up space on a cart while making a nail polish collection part of the room’s decor. With a measured layout and shelf lengths tailored to the wall, DIY nail polish shelves offer a straightforward way to organize bottles and keep their colors on display.
Original project notes by Elsie.