
 admin
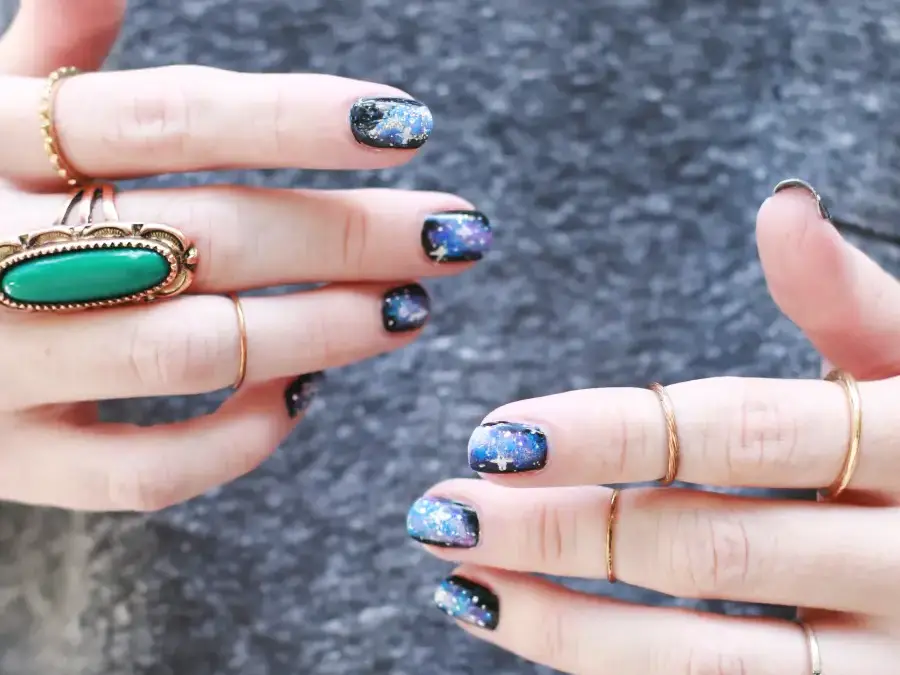
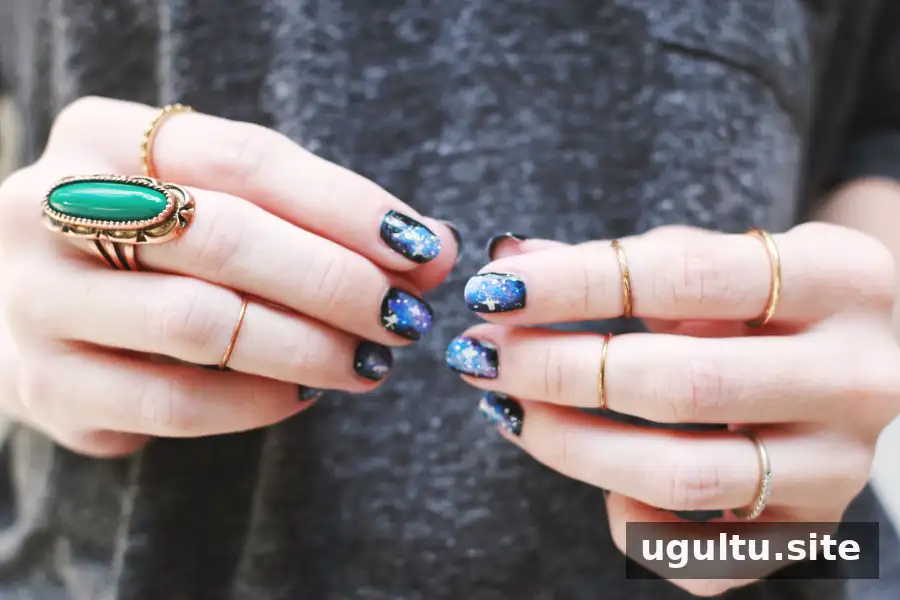
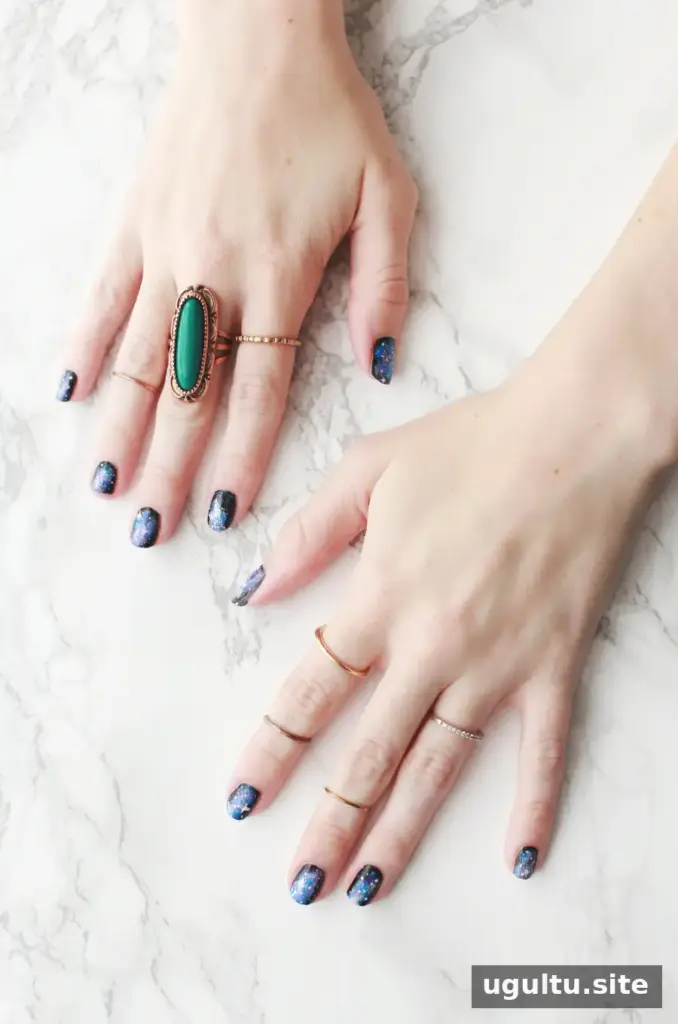
This galaxy nails tutorial shows how to create a starry manicure with a few layers of color and simple tools. A black base gives the design depth, while softly sponged shades of blue, plum, white, turquoise, and silver add a colorful nebula effect. Work in light layers so you can build the look gradually and keep some of the dark base visible.
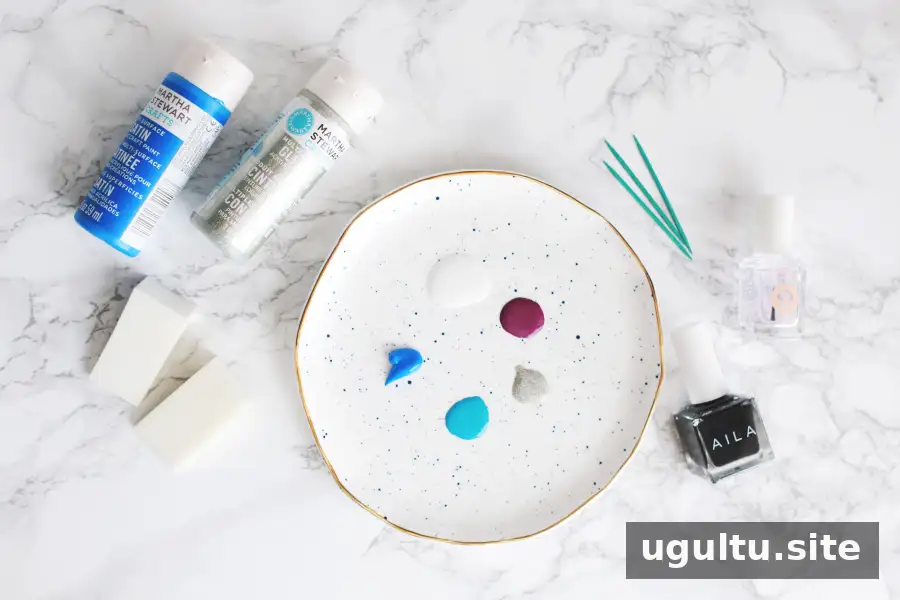
Supplies for this galaxy nails tutorial
Gather your materials before you begin. Having the colors and tools ready makes it easier to work while the polish is fresh.
- Black nail polish
- Blue, plum, white, turquoise, and silver sparkle acrylic paint, or nail polish
- Top coat
- Makeup sponge
- Toothpicks
Use products intended for nail application, and protect your work surface from paint or polish. If you are using acrylic paint, keep it on the nail and seal the finished design with a top coat.
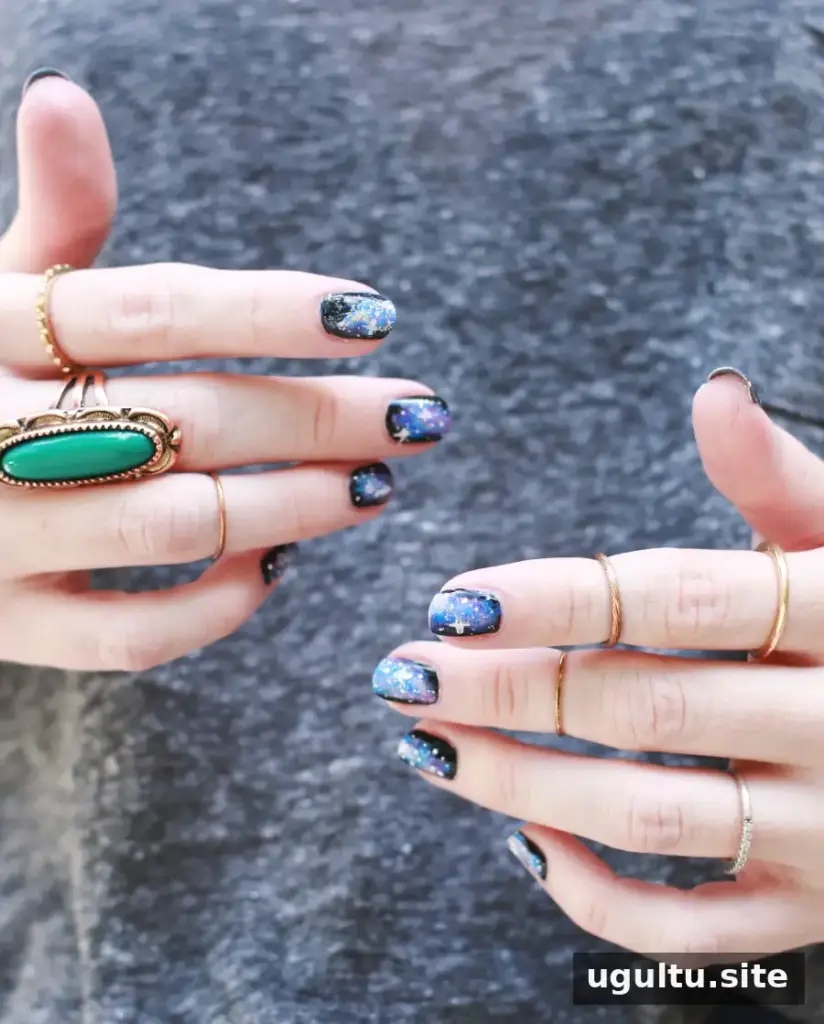
How to make galaxy nails
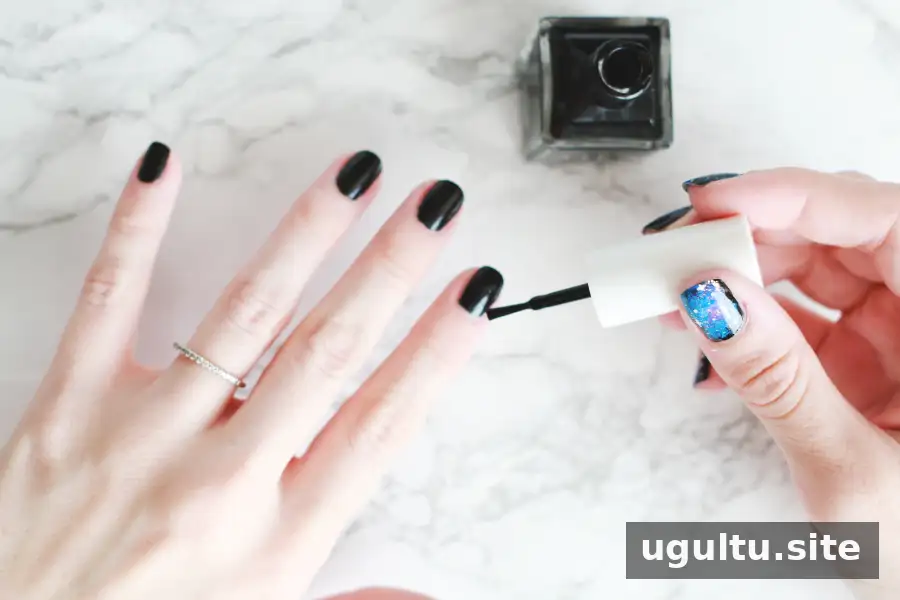
Step 1: Apply the black base
Coat your nails with one or two layers of black polish, then let them dry. A fully dry base helps prevent the sponge from dragging or lifting the polish in the next step.
Step 2: Sponge on the colors
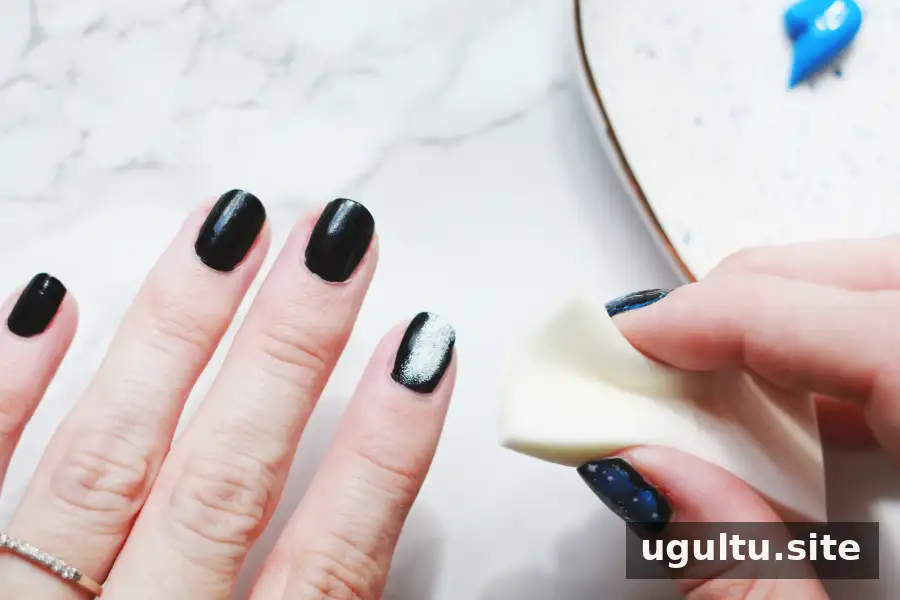
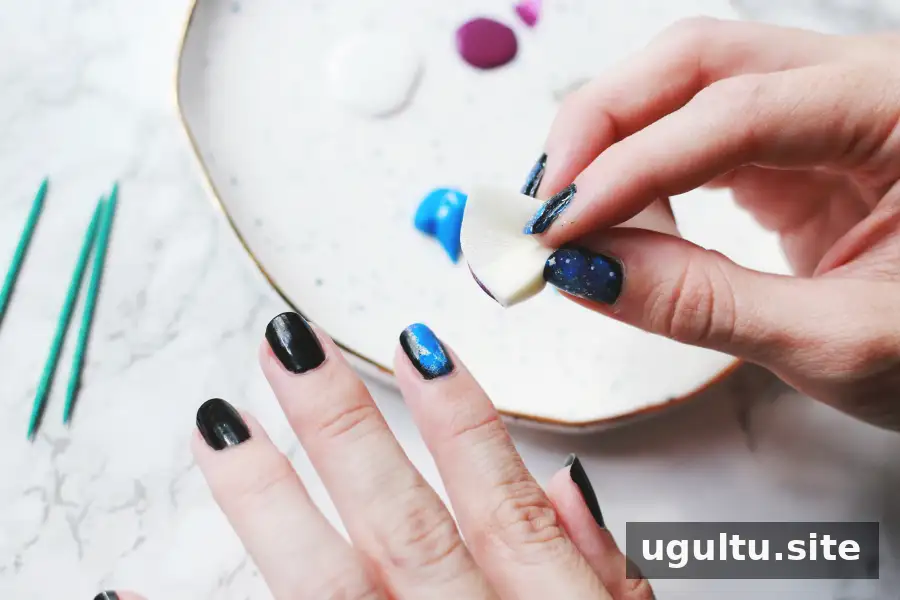
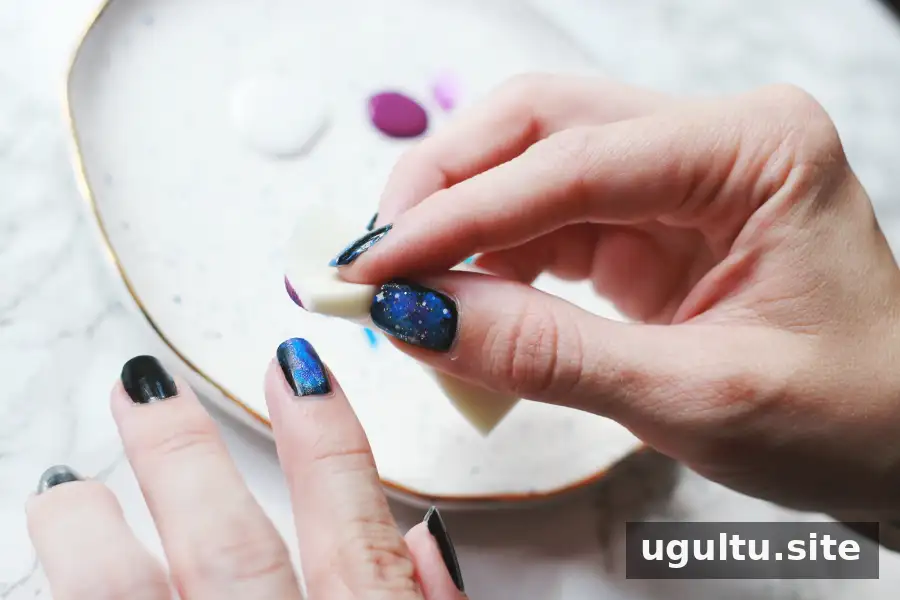
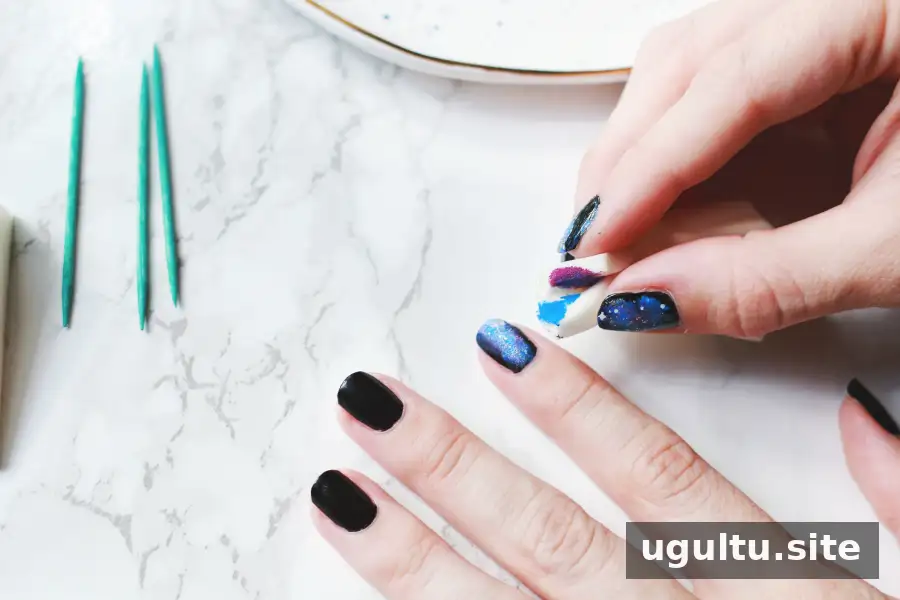
Put a small amount of each color on a plate. Dab the makeup sponge lightly into the white, then press it onto the nails in scattered areas. Add small touches of royal blue and purple, blending the colors by gently sponging rather than covering the whole nail.
Adjust the placement until the pattern looks balanced. For extra dimension, lightly dab a little more white over selected areas. Keep some black visible around the design; those dark spaces help create the depth of a night sky. Finish the color layers with only a tiny amount of silver sparkle. Too much glitter can overpower the softer galaxy effect.
Step 3: Add stars
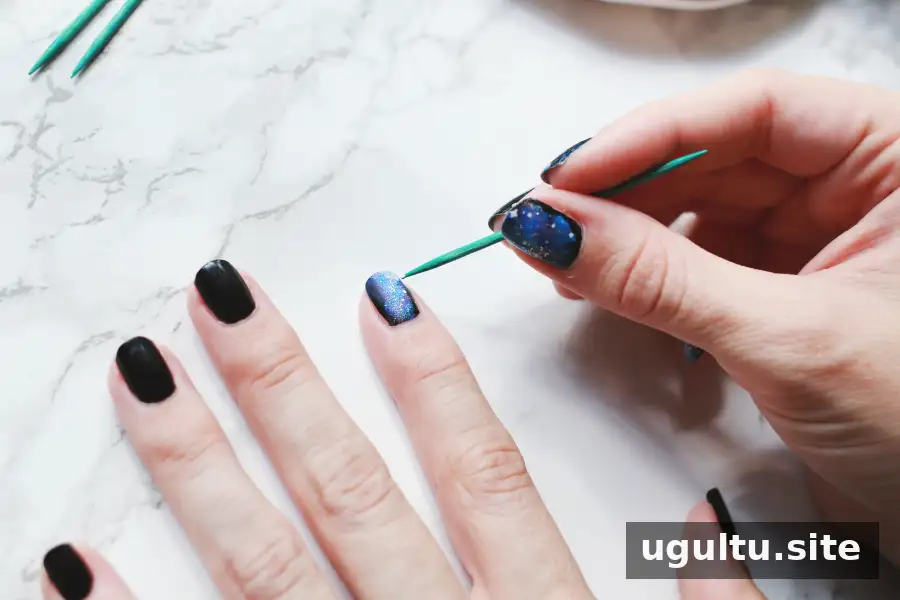
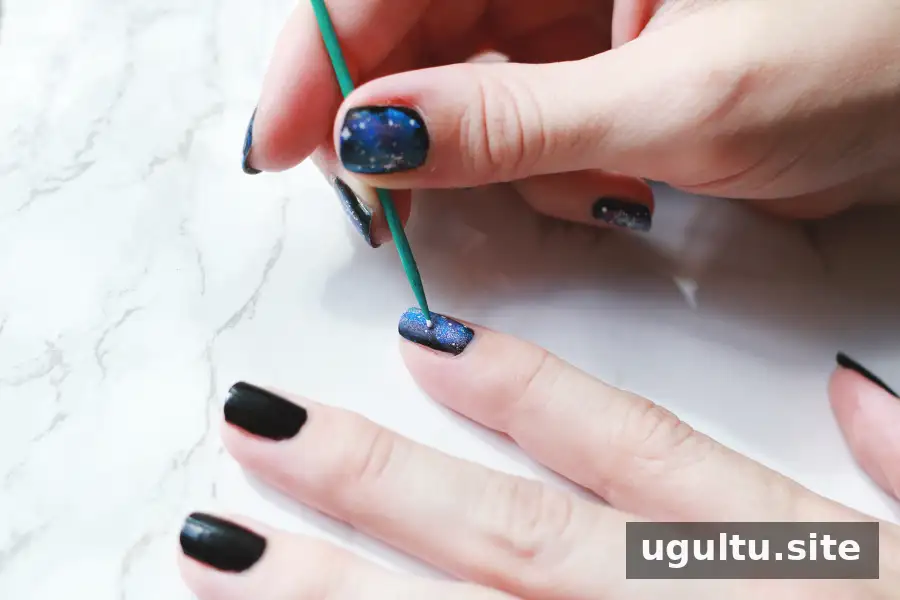
Use a toothpick to place small dots across the nails as stars. For a few larger stars, draw a small cross with the tip of the toothpick. Vary the size and spacing so the details look like a scattered star field. Let the design dry before applying the finishing coat.
Step 4: Seal the manicure
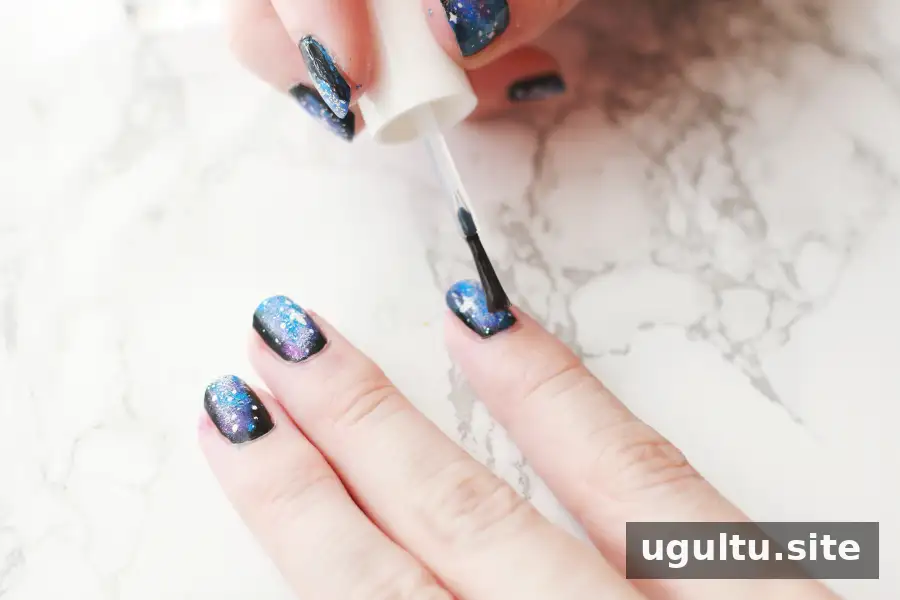
Apply a top coat to bring the design together and add shine. This final layer also helps protect the manicure from chipping. Use a light, even application, and let the nails dry fully before handling objects or putting on gloves.
More nail design ideas
If you enjoy trying different DIY manicures, these designs offer more inspiration:
- Hologram Dot Manicure
- Gold Star Manicure DIY
- Gold Daisy Dot Manicure
- DIY Holograph Foil Manicure
- Gold Stud Manicure DIY
- Eye Manicure DIY
1 / 2 / 3 / 4 / 5 / 6 / 7 / 8 / 9 / 10
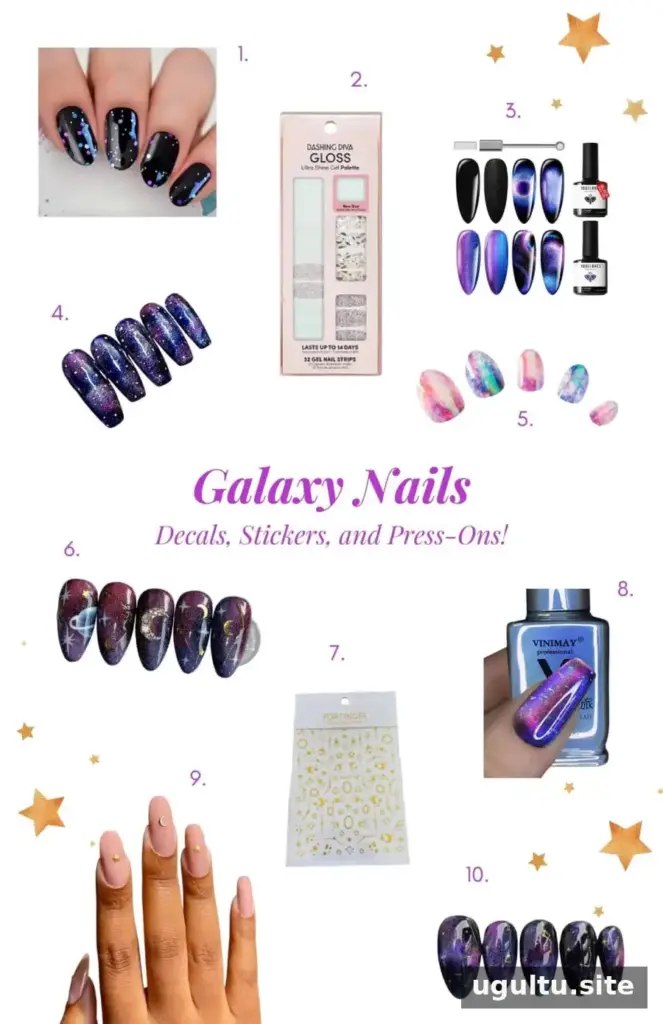
If you prefer not to paint the design by hand, galaxy nail decals, stickers, and press-on options can provide a similar look with less detail work. Dark, starry colors can also suit Halloween styling or a themed night out.
Final tips for galaxy nails
The key to this galaxy nails tutorial is building color gradually: use a light touch with the sponge, leave areas of black showing, and keep the sparkle restrained. Allow each layer to dry before adding the next to help prevent smudging. Finish with top coat for a smooth, glossy result.


