admin
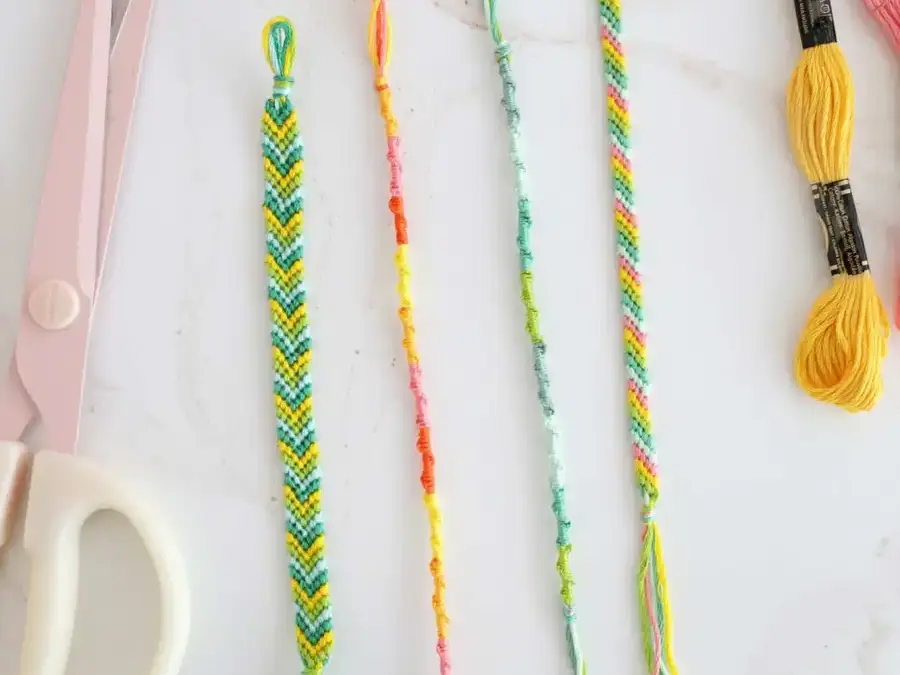
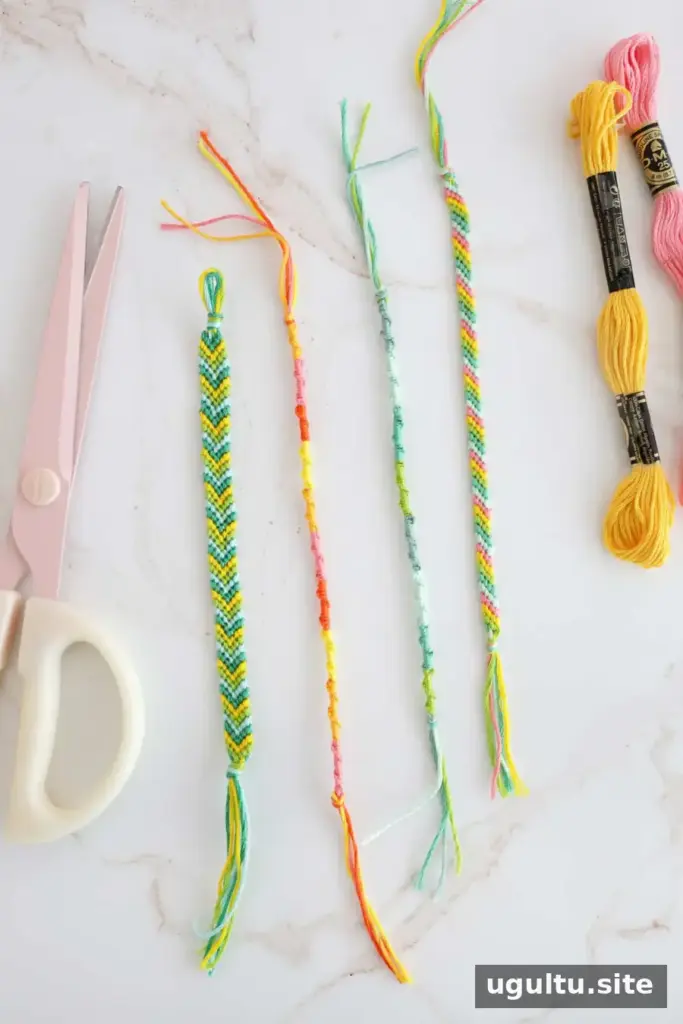
Learning how to make friendship bracelets is a simple craft project for beginners, kids, and adults. With embroidery floss, a few basic knots, and a little patience, you can create colorful bracelets to give as gifts, make at camp, or wear yourself. Start with the spiral staircase or candy stripe pattern if you are new to knotting; try the chevron once you are comfortable working with threads from both sides.
What Do Friendship Bracelets Symbolize?
Friendship bracelets are commonly given as a sign of affection and connection. A traditional custom is to make a wish as the bracelet is tied on; according to the belief, the wish comes true when the bracelet wears out and falls off. The practice is believed to have roots among Indigenous Peoples in Central and South America.
Practical tip: Tie the bracelet securely but leave enough room for comfort. A small loop or adjustable tie can make it easier to put on and remove.
What Thread Is Best for Friendship Bracelets?
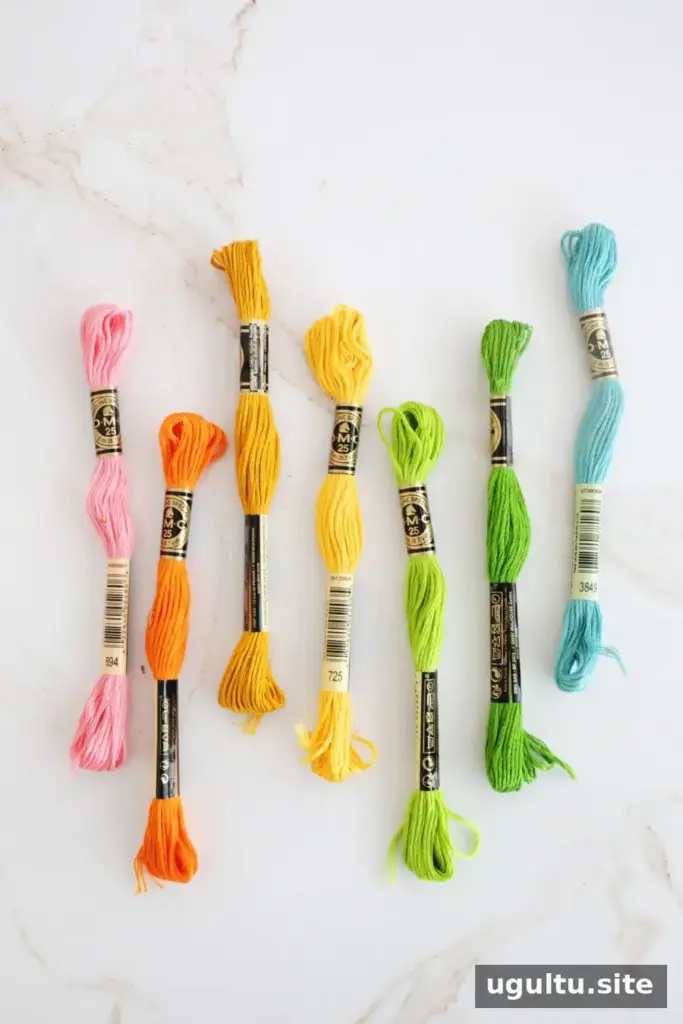
Embroidery floss is a good choice because it is strong, fine, easy to handle, and available in many colors. Choose contrasting colors if you want the pattern to stand out, or use shades from the same color family for a subtler look.
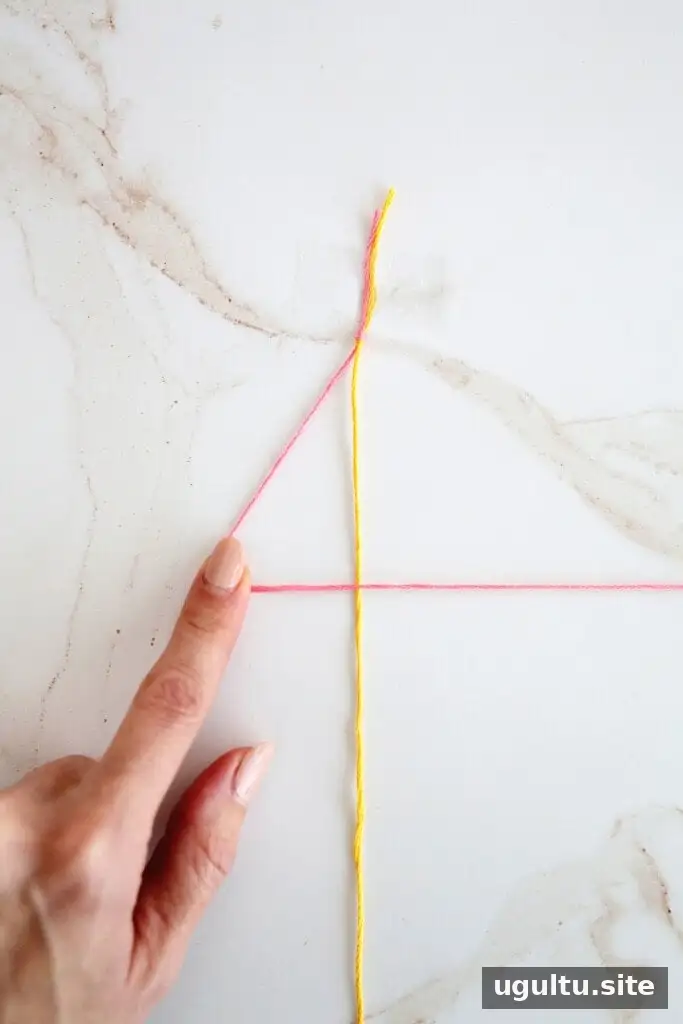
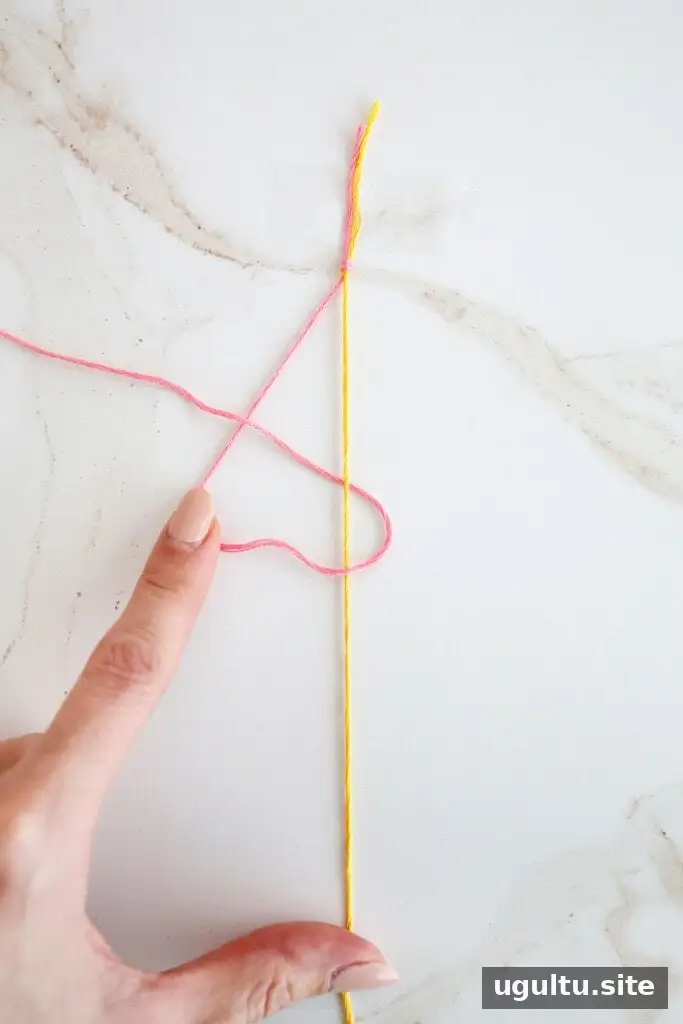
Forward knot
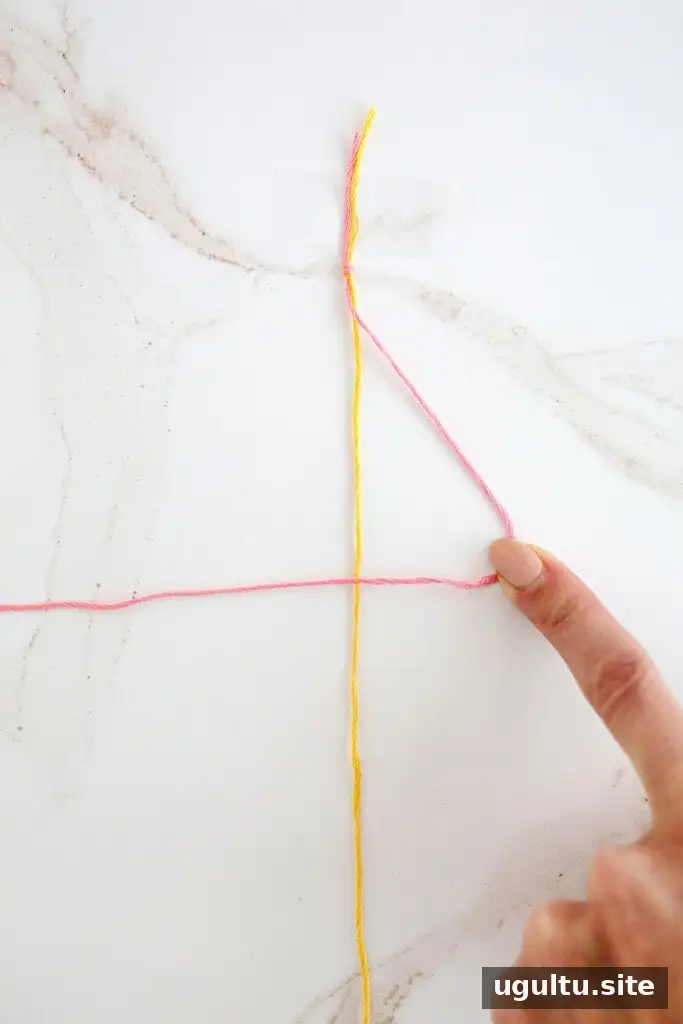
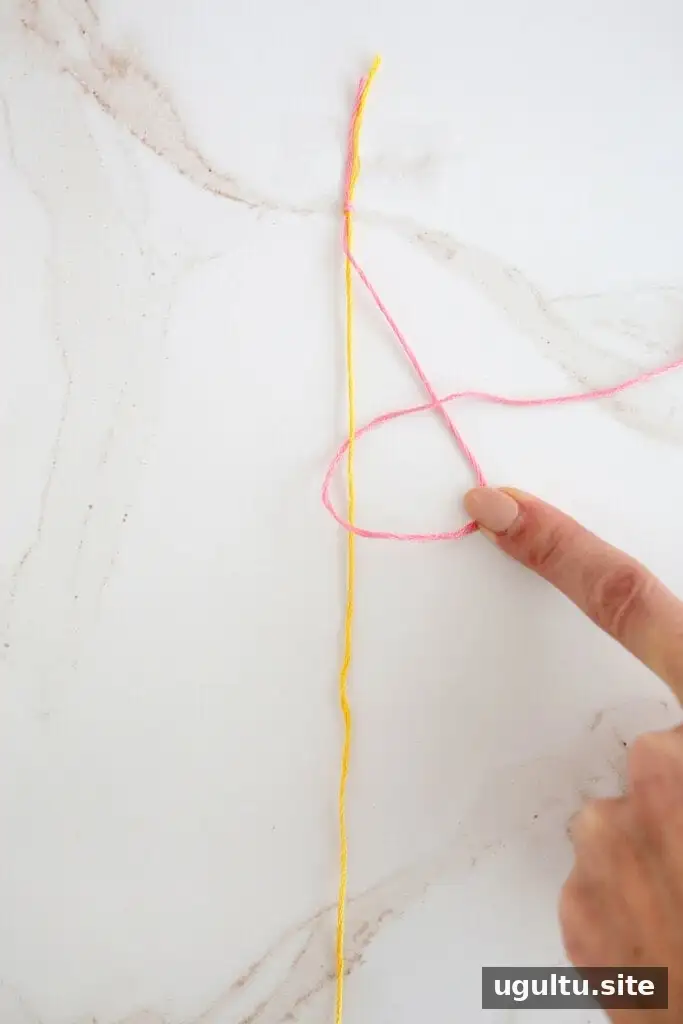
Backward knot
The Four Basic Friendship Bracelet Knots
Each complete friendship-bracelet knot is made from two smaller knots, called hitches. The direction of the hitches determines the knot type. Keep the working thread in the same hand and guide it around the neighboring strand to make each hitch.
- Forward knot: forward hitch followed by forward hitch.
- Backward knot: backward hitch followed by backward hitch.
- Forward-backward knot: forward hitch followed by backward hitch.
- Backward-forward knot: backward hitch followed by forward hitch.
Practice on a few spare strands first. Consistent tension helps the knots sit neatly together.
Supplies
- Embroidery floss
- Tape or a clipboard
- Scissors
- Ruler
- Charms or beads, optional
Use tape or a clipboard to hold the knotted end in place while you work. A ruler helps you measure strands before cutting and check the bracelet’s length as it grows.
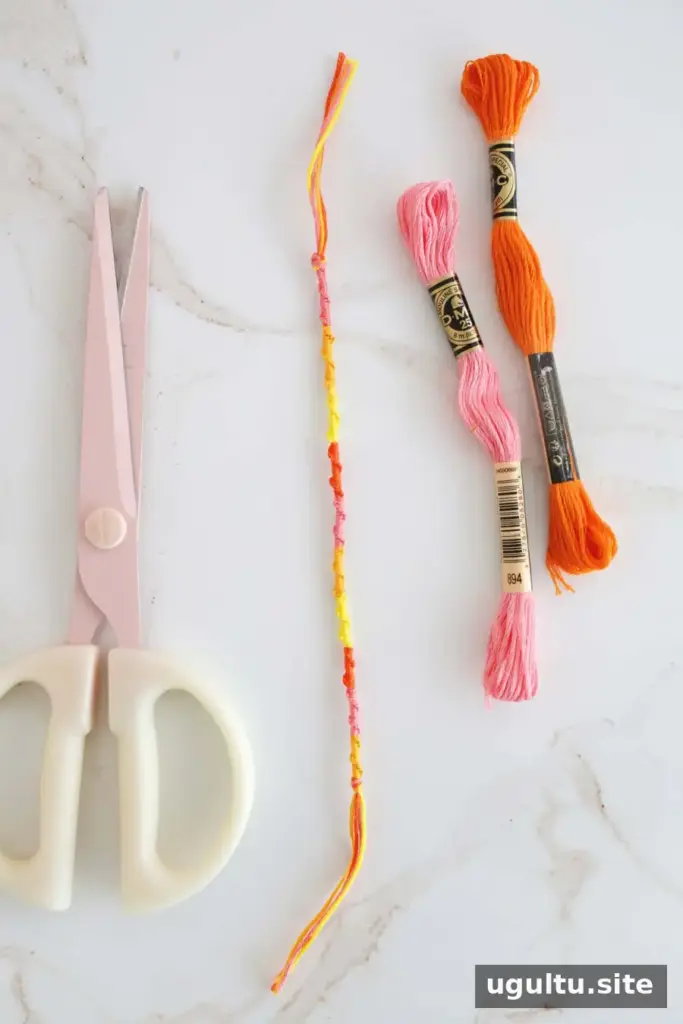
How to Make a Spiral Staircase Friendship Bracelet
Also known as a Chinese Staircase, this is one of the easiest designs to learn. The example uses four colors, but you can use up to six to eight. More colors make a thicker bracelet.
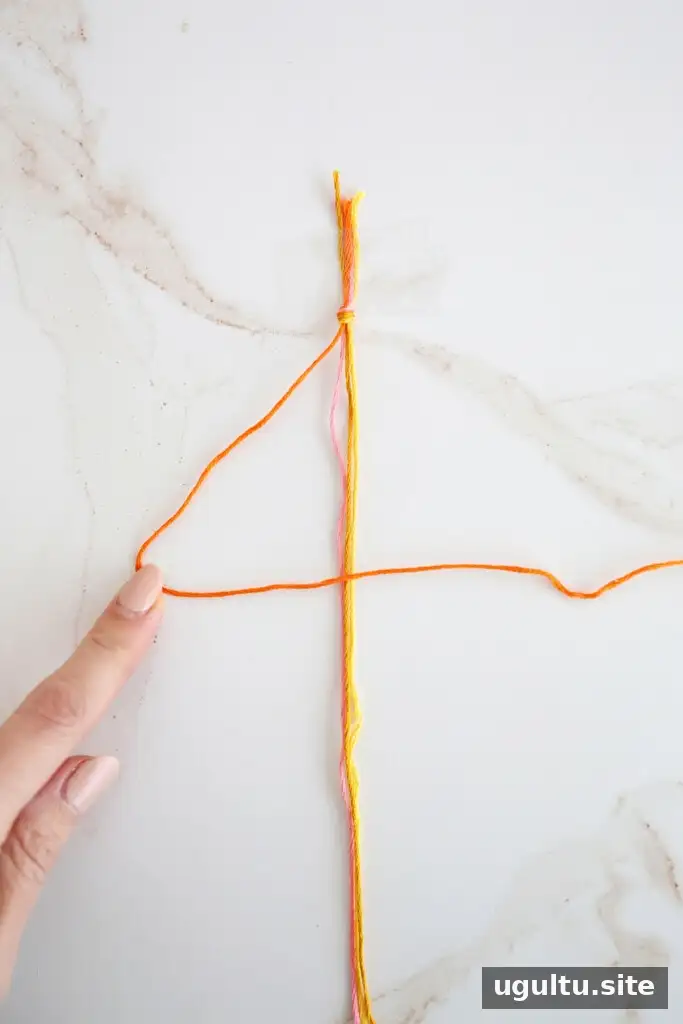
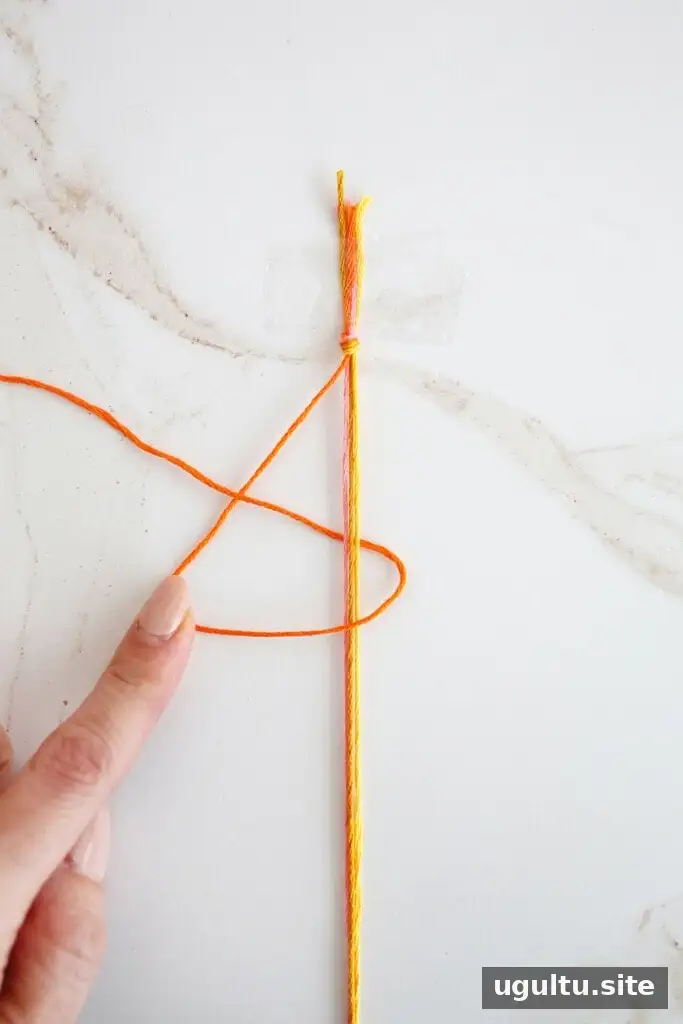
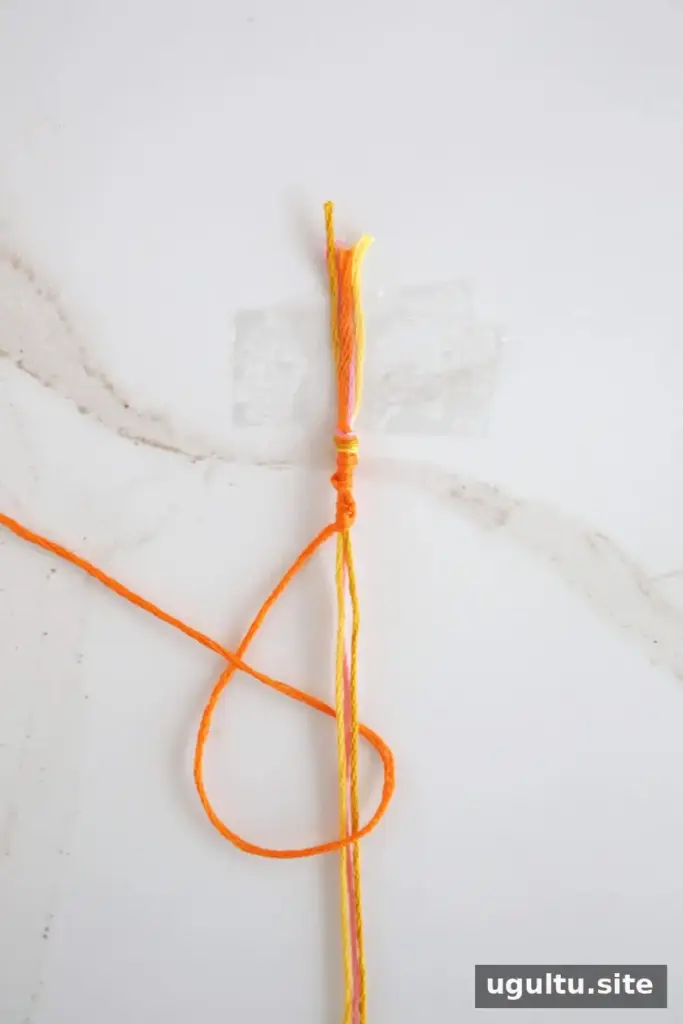
- Cut four embroidery-floss strands, each about 36 inches long. Tie them together at one end with a simple knot, then secure the bundle to a table with tape or place it on a clipboard.
- Choose any color as the working thread. Tie a forward knot around the other three strands, held together as a bundle.
- Make a total of 10 forward knots with that color.
- Switch to another color and tie 10 forward knots around the bundle. Repeat with each color to build the spiral pattern.
- Continue until the bracelet is the desired length, then secure the end with a simple knot.
Keep the bundle steady as you knot so the spiral forms evenly. If the bracelet twists, that is expected for this pattern.
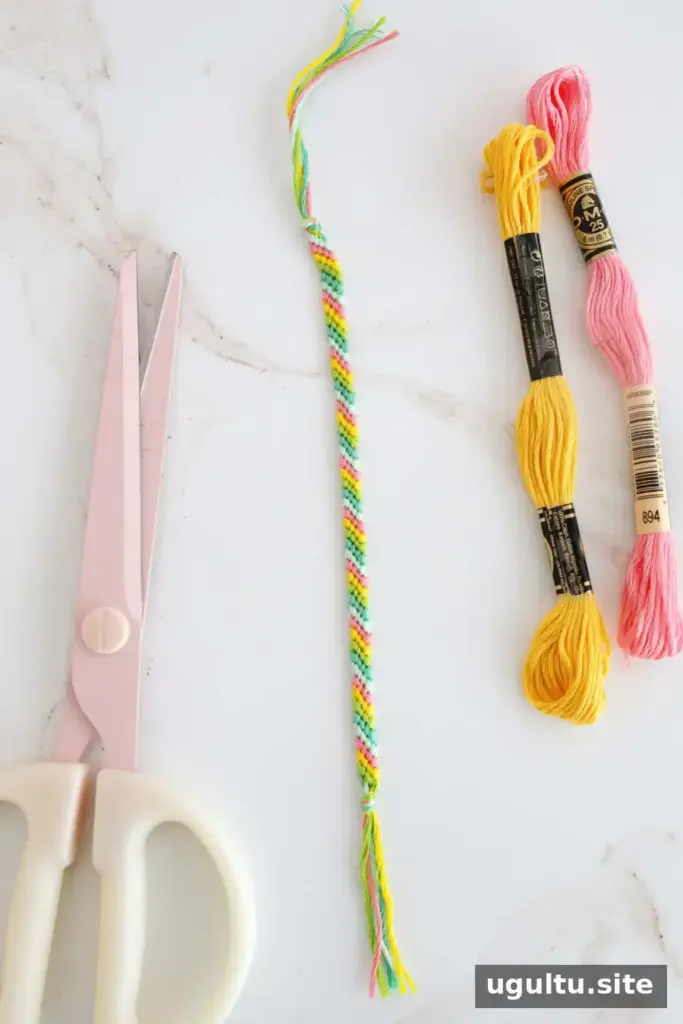
How to Make a Candy Stripe Friendship Bracelet
The candy stripe design uses only forward knots, making it a helpful first project. The example uses five colors; you can use up to six to eight, although adding colors makes the bracelet wider.
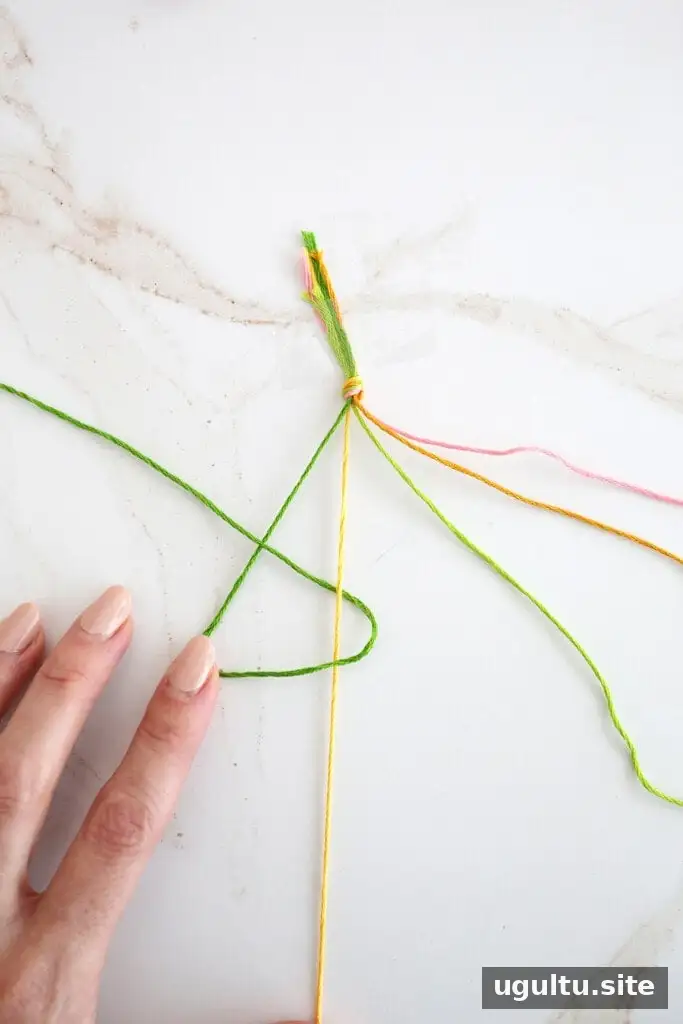
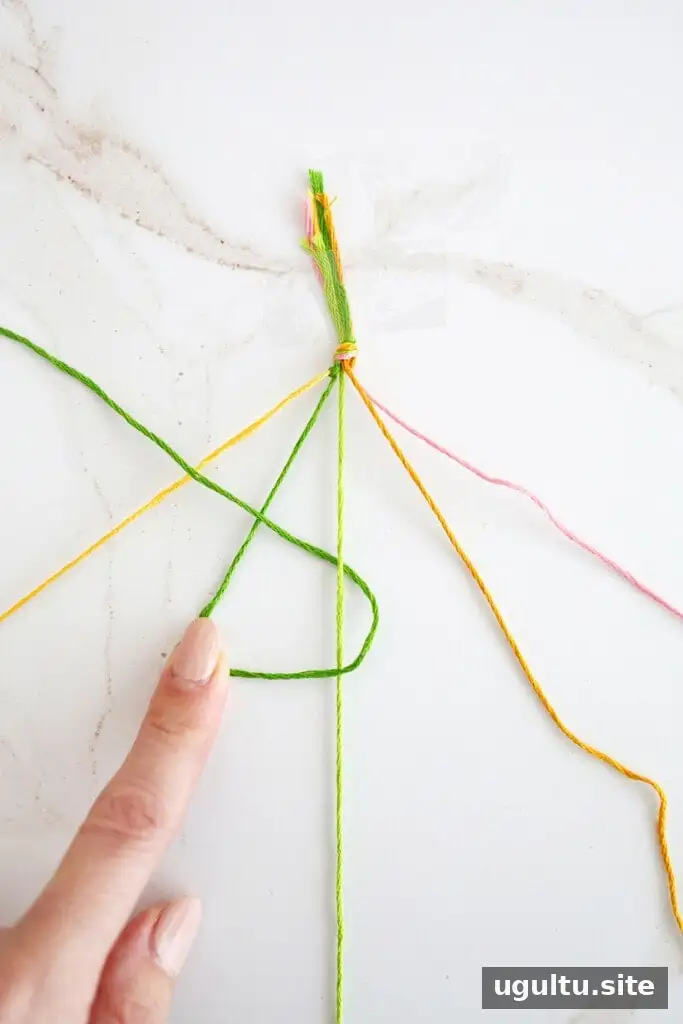
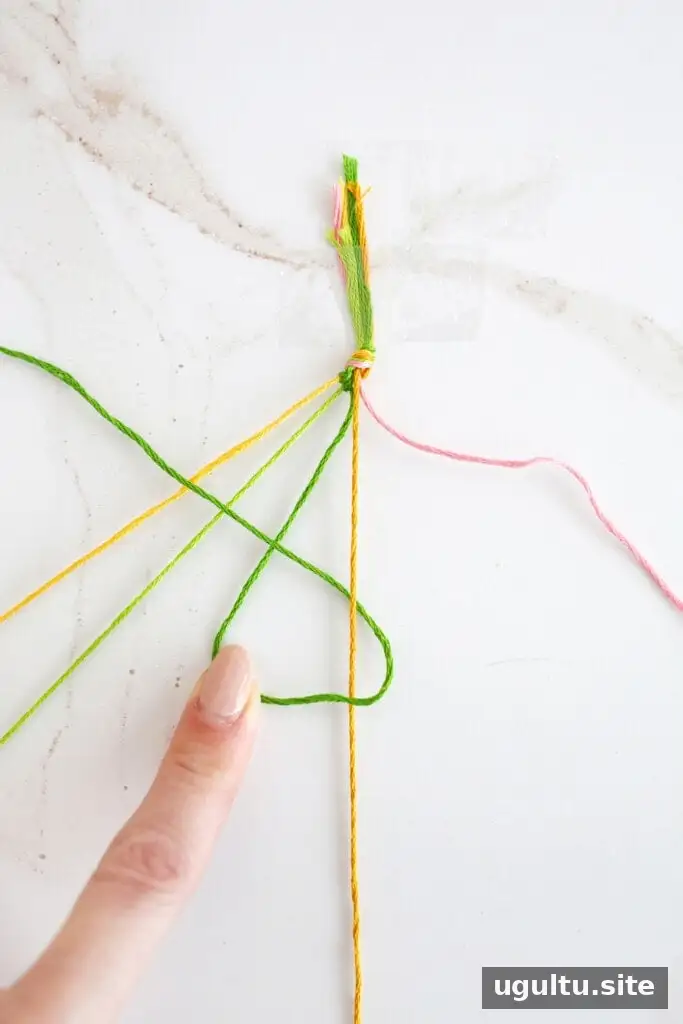
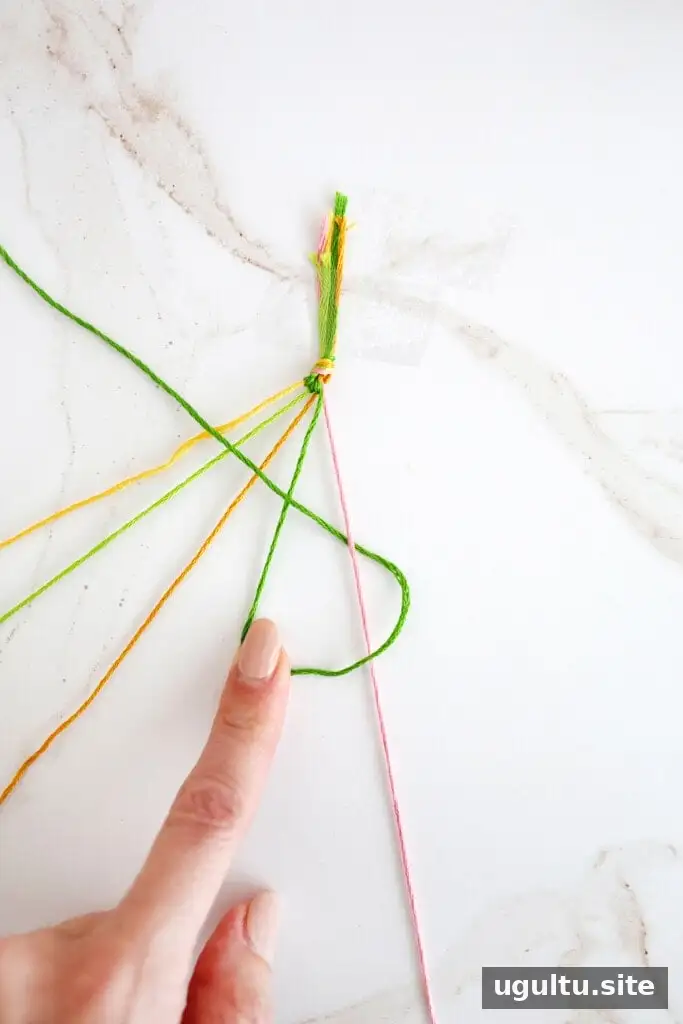
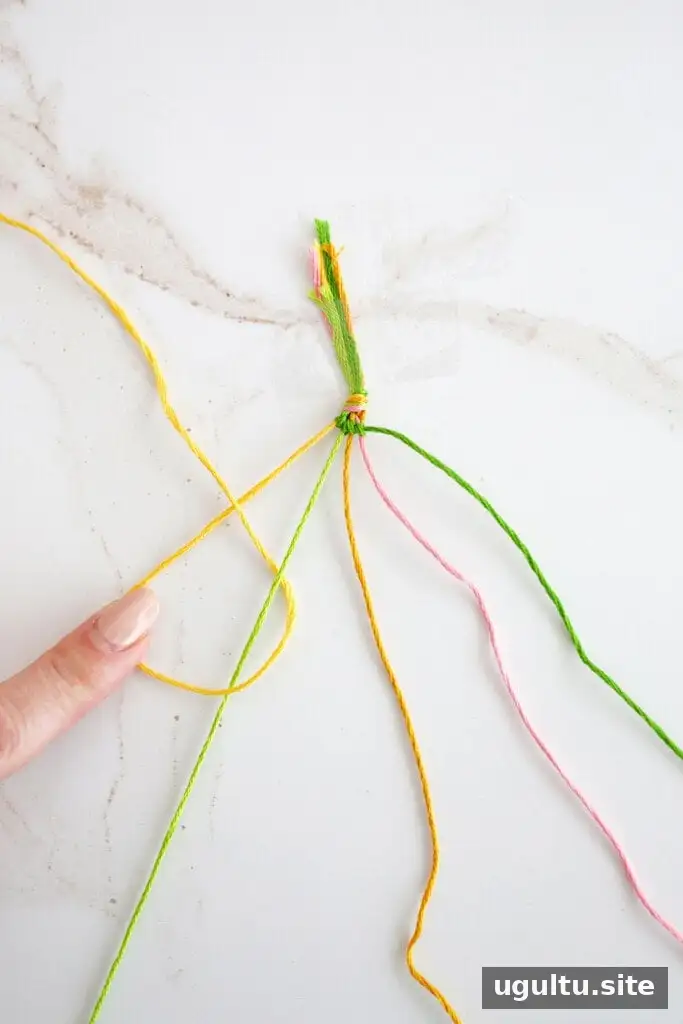
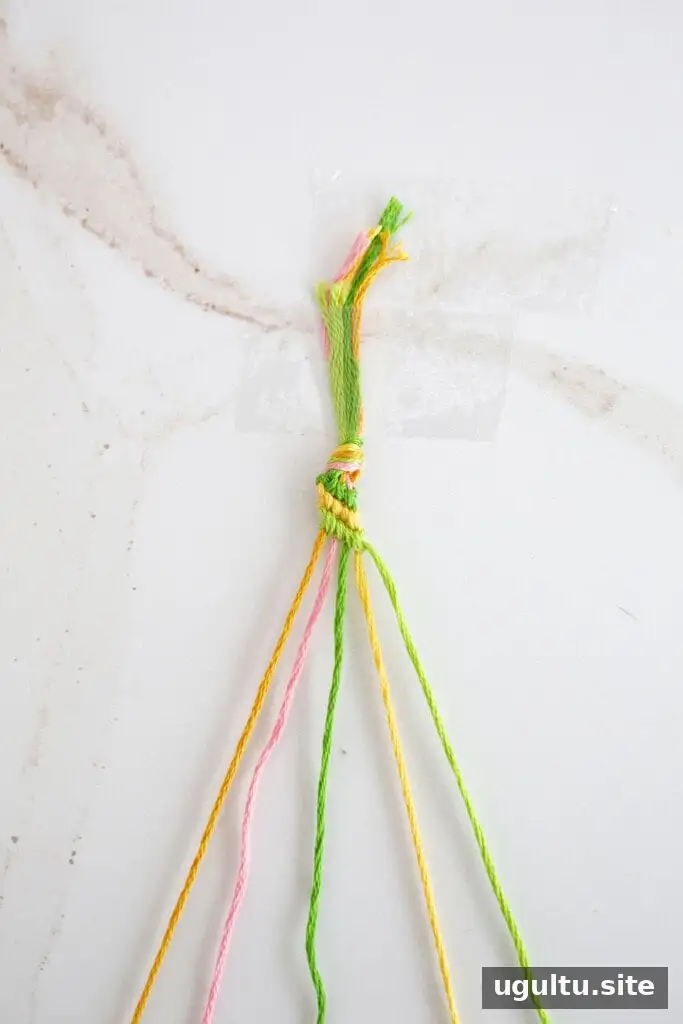
- Cut five strands of embroidery floss, each about 36 inches long. Tie them together at one end and secure the knot with tape or a clipboard.
- Take the far-left strand (A) and make a forward knot around the next strand (B).
- Using strand A, continue making forward knots around strands C, D, and E as you move from left to right.
- The strand that began as B is now at the far left. Use it to make forward knots across the remaining strands, moving through C, D, E, and A.
- Repeat the sequence, using each new far-left strand as the working thread. The diagonal candy stripe pattern will gradually appear.
- When the bracelet reaches your preferred length, tie a finishing knot.
Work across the strands in the same direction each time to keep the stripes consistent.
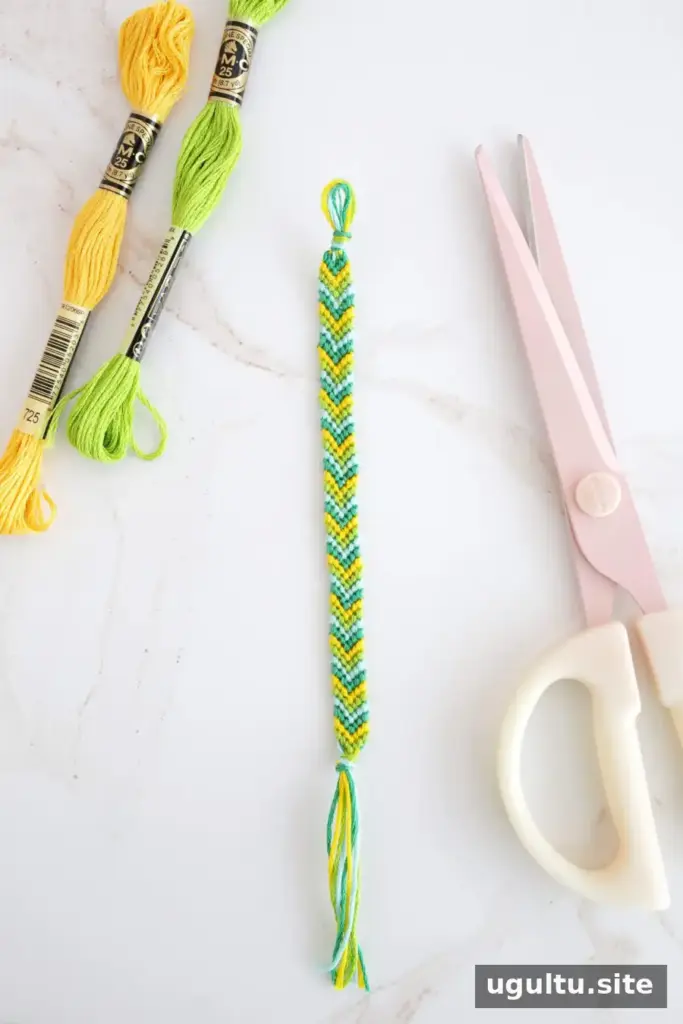
How to Make a Chevron Friendship Bracelet
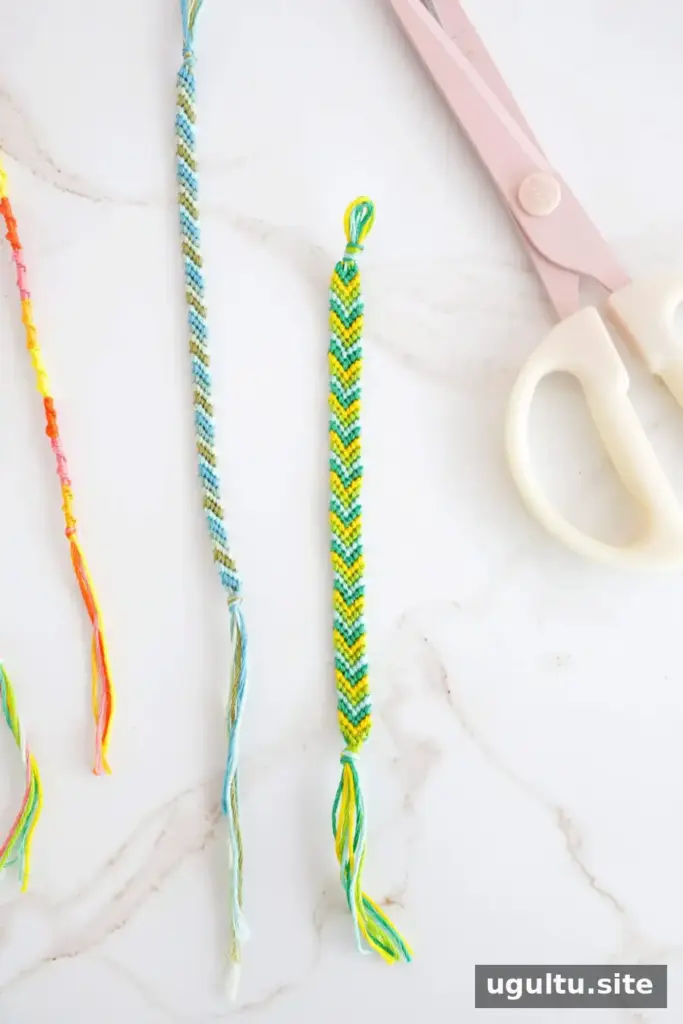
The chevron creates a V-shaped pattern and uses forward and backward knots. It is suitable for beginners who are ready to manage two sides of a bracelet at once. Using more colors will make the finished bracelet wider.
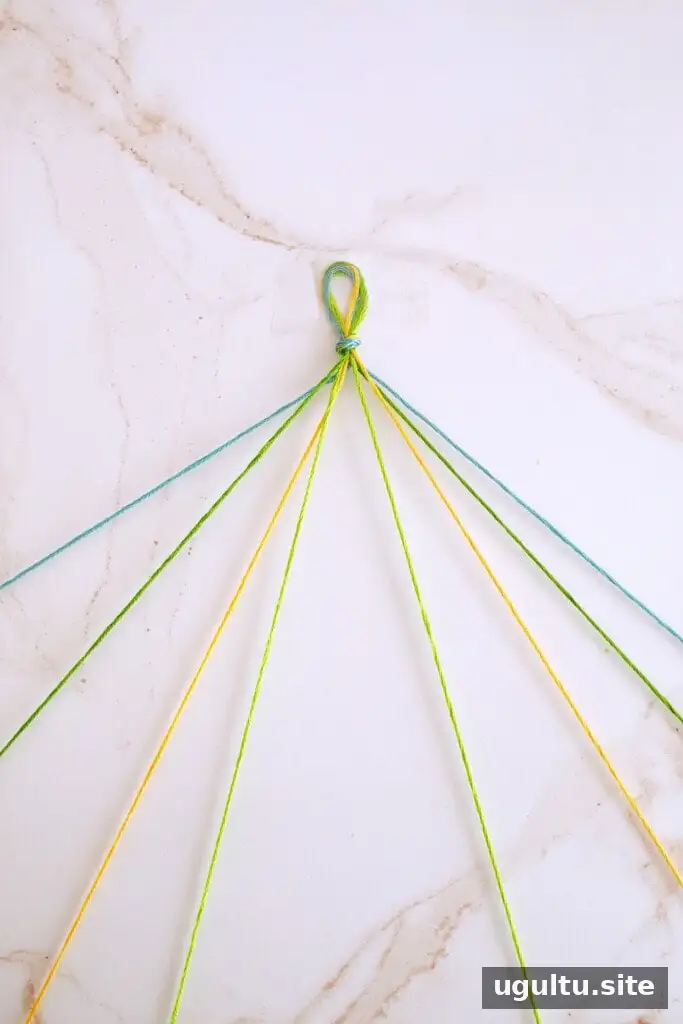
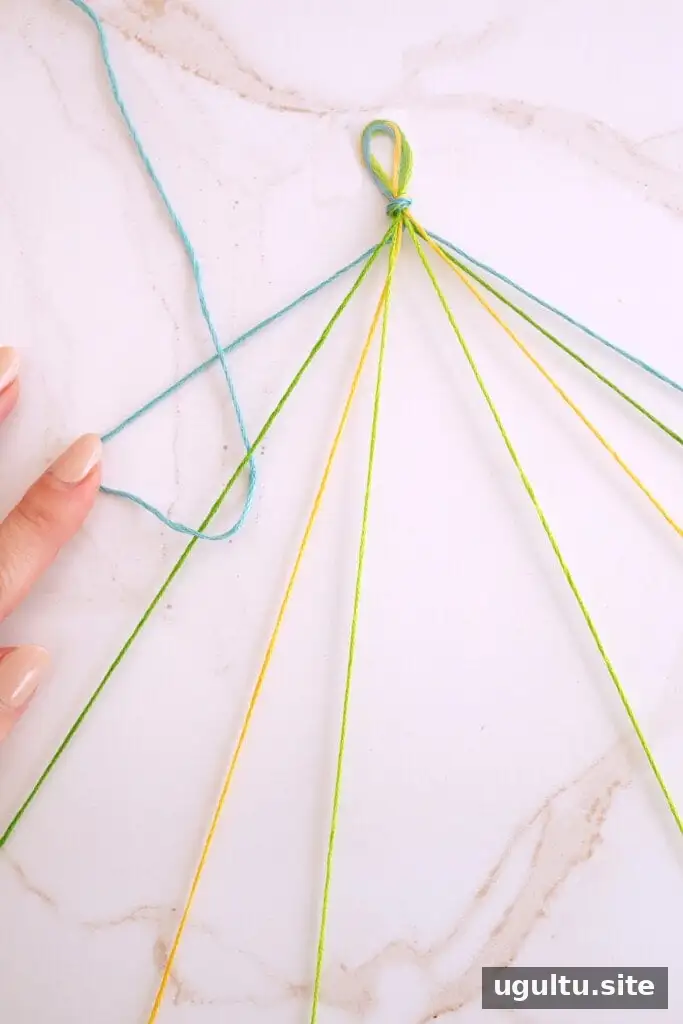
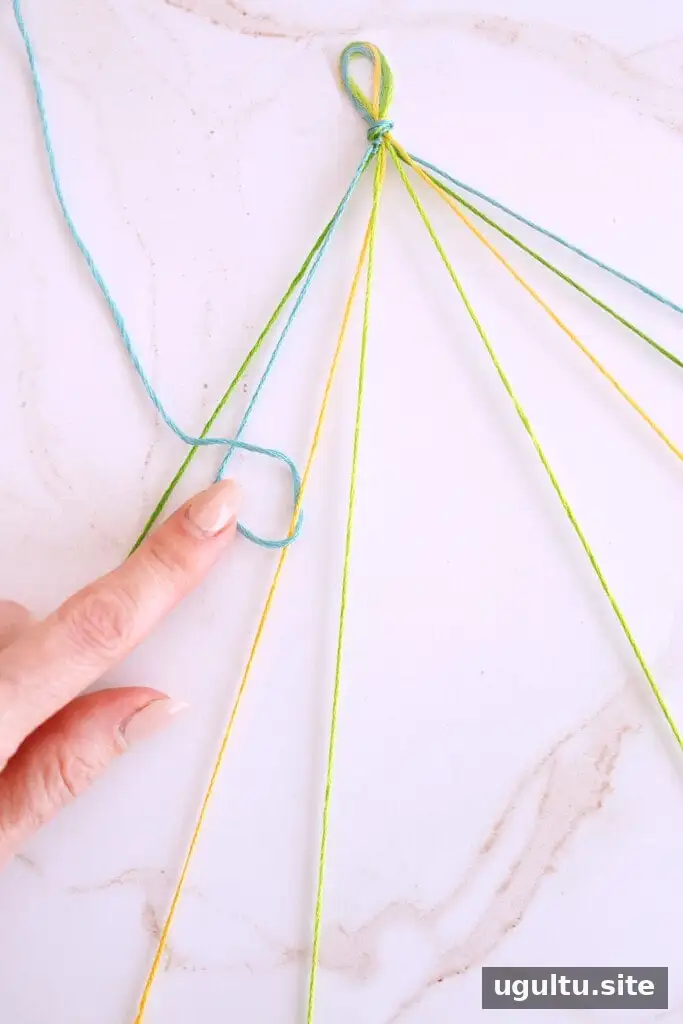
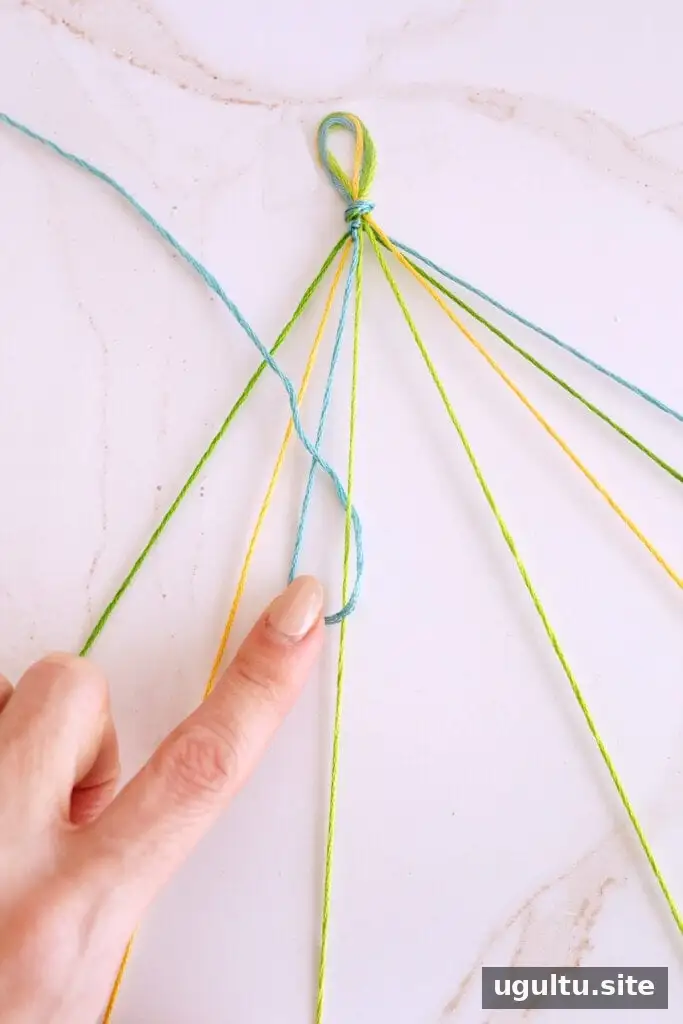
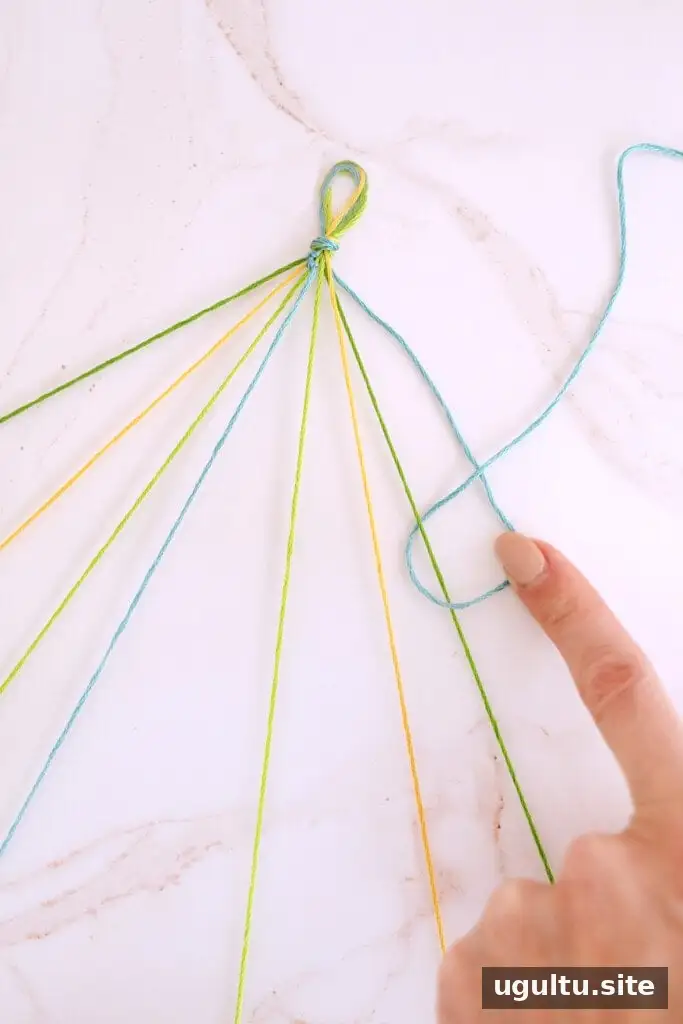
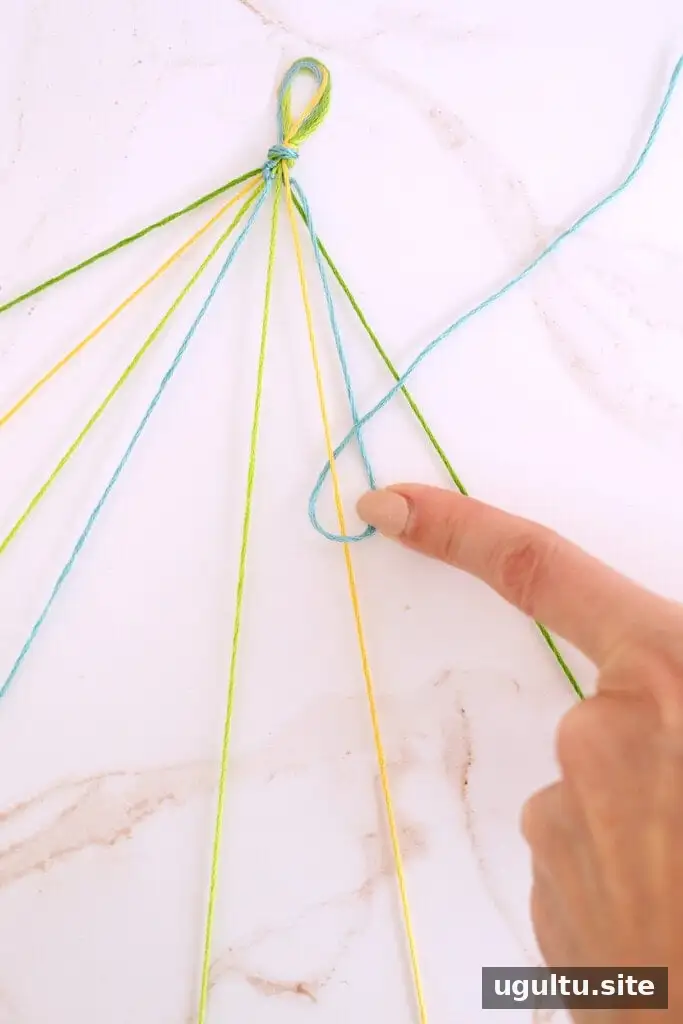
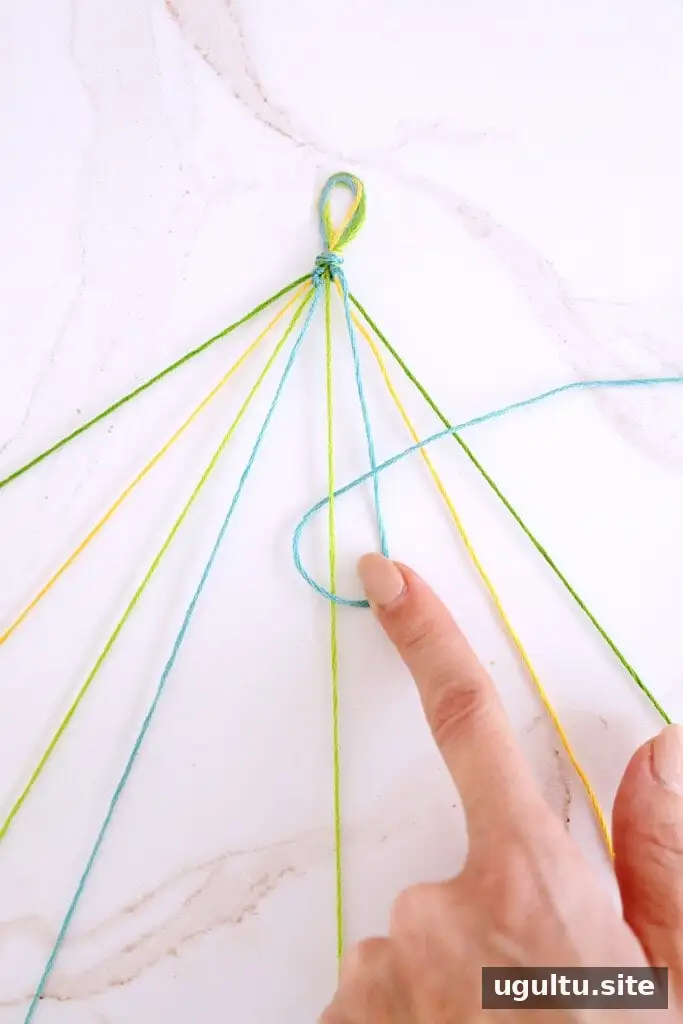
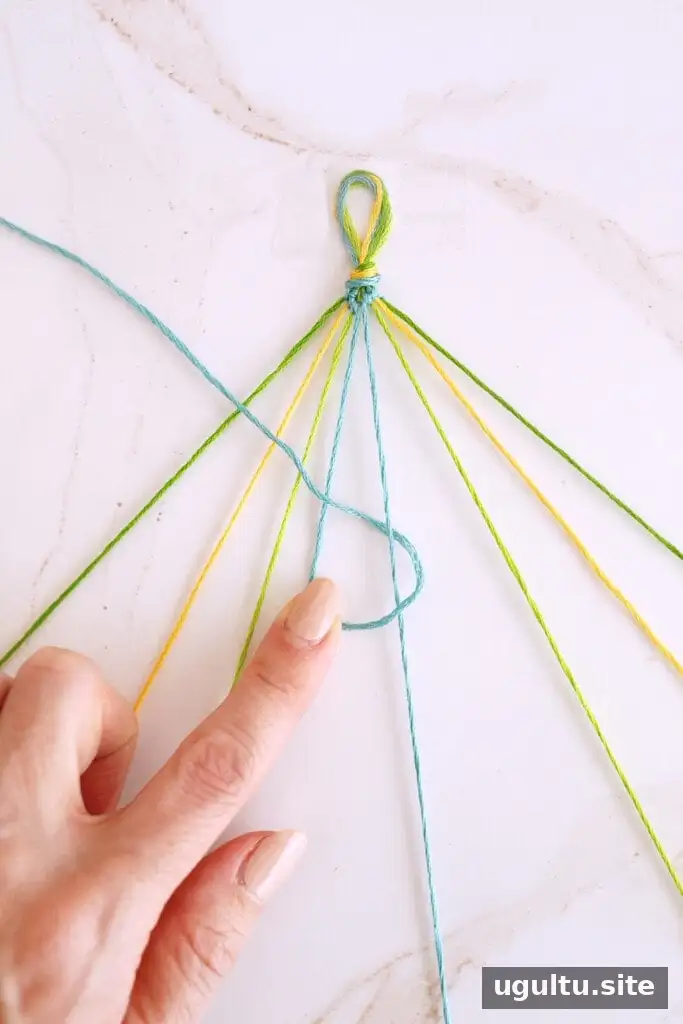
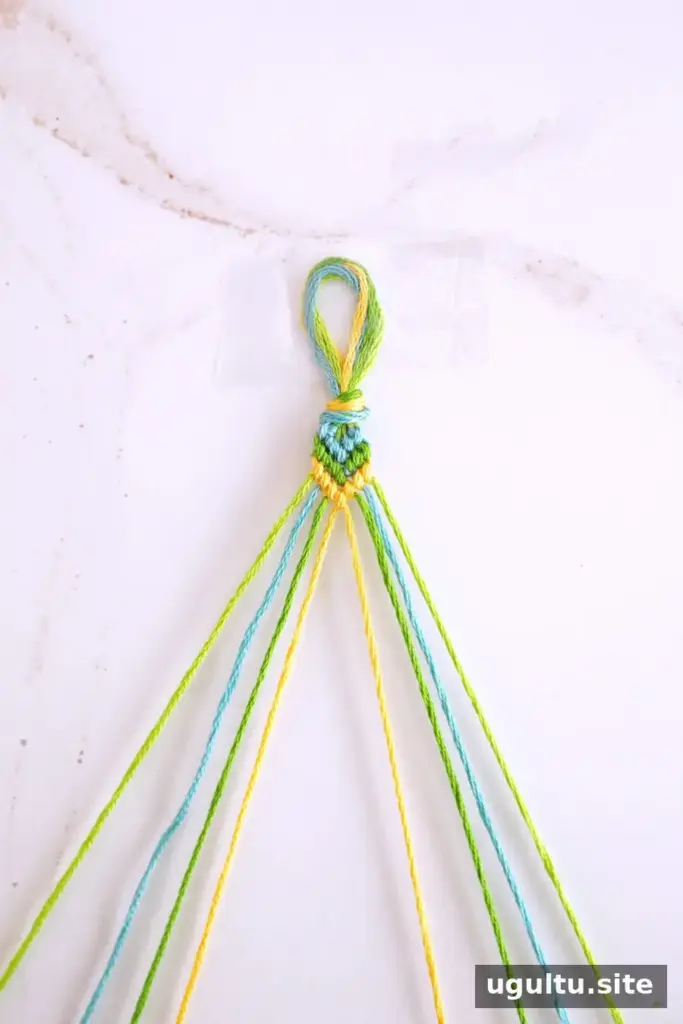
- Cut four colors of embroidery floss, each about 72 inches long. Hold the strands together, fold them in half, and tie a knot close to the fold to form a small loop.
- Arrange the strands in mirrored order: ABCDdcba.
- Starting with the outermost strand on the left (A), make forward knots around B, C, and D, moving toward the center.
- On the right side, use the outermost strand (a) to make backward knots around b, c, and d, working toward the center.
- When A and a meet in the middle, use A to tie a forward knot around a. This completes the center point of the V.
- Repeat the sequence with the next outer strands, B and b, then continue with each pair to extend the chevron.
- When the bracelet is long enough, tie a finishing knot.
Check the color order before each new row. Keeping the strands mirrored is what creates the repeating V pattern.
Friendship Bracelet FAQs
How can I help my bracelet lie flat?
Uneven tension can make a bracelet curl. Tie each knot with a similar, firm pull rather than tightening some knots much more than others. If the finished bracelet is curling, dampen it and pin or tape it flat on a surface while it dries. Candy stripe designs are especially likely to curl to one side.
Why are there gaps between the knots?
Gaps usually mean the knots are too loose or are not being placed close to the previous knot. As you tighten each knot, guide it snugly beside the one before it. Avoid pulling so hard that the threads become difficult to work with or distort the pattern.
How long should the thread be?
For many patterns, start with about 36 inches of each color. For a chevron using paired strands, cut the threads about 72 inches long and fold them in half before tying the starting loop.
What should I do if I run out of thread?
Tie a new strand of the same color to the short strand and continue knotting. Keep the loose ends on the back of the bracelet and trim them after finishing. A small dab of super glue on the join may help secure it; use glue carefully and allow it to dry fully before wearing the bracelet.
Tips for Making Friendship Bracelets
- Pull each knot firmly but gently, using similar tension throughout.
- Work at a table or on a large clipboard, securing the bracelet about a foot from the edge so the loose threads can hang freely.
- Separate and arrange the strands before starting each row to reduce tangles and prevent mistakes.
- Experiment with color combinations for seasons, celebrations, or personal preferences.
- Measure the bracelet against the intended wearer as you work, leaving room for a comfortable fit and finishing knots.
Whether you choose a spiral, candy stripe, or chevron, the basic method is the same: secure the threads, make even knots, and continue until the bracelet reaches the desired length. With these steps, learning how to make friendship bracelets becomes a manageable and enjoyable craft project.