admin
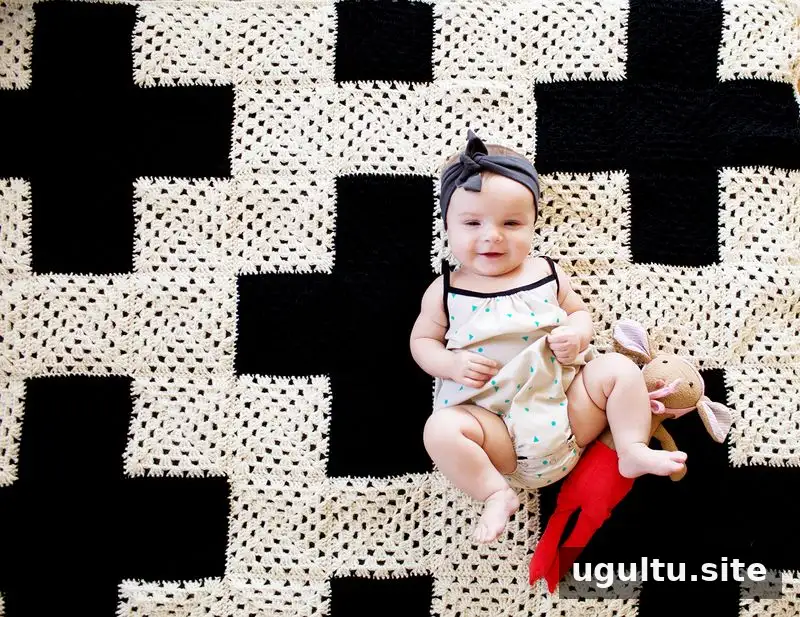
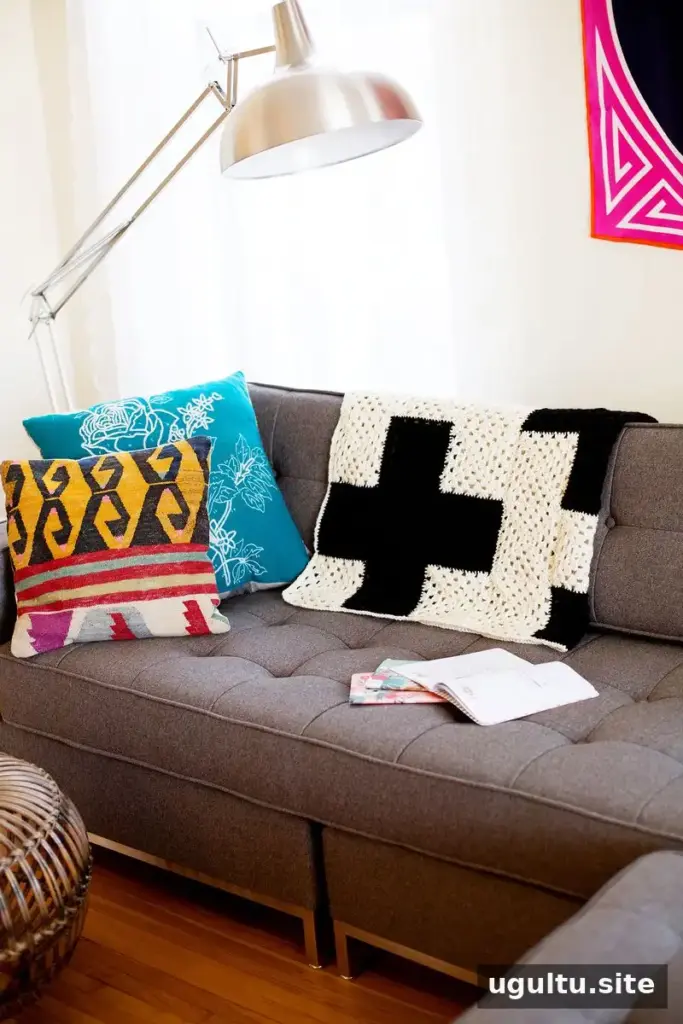
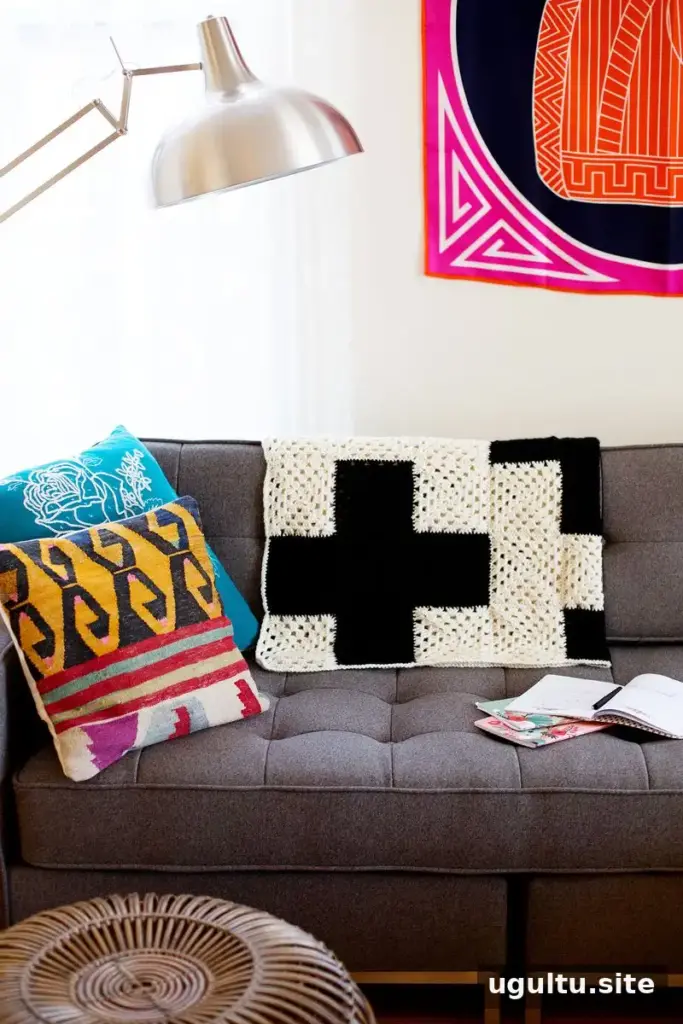
Granny squares are a versatile crochet project that can become anything from a small decorative piece to a cozy blanket. This guide explains how to make granny squares with three rounds of stitches and how to join completed squares. You can work one square at a time and save them until you have enough for your project.
How to Make Granny Squares: Materials and First Round
This tutorial uses a classic three-round granny square. Choose a yarn you like, then check its label for the recommended crochet hook size. Using the suggested hook is a helpful starting point; keeping your tension consistent will also help your squares come out a similar size.
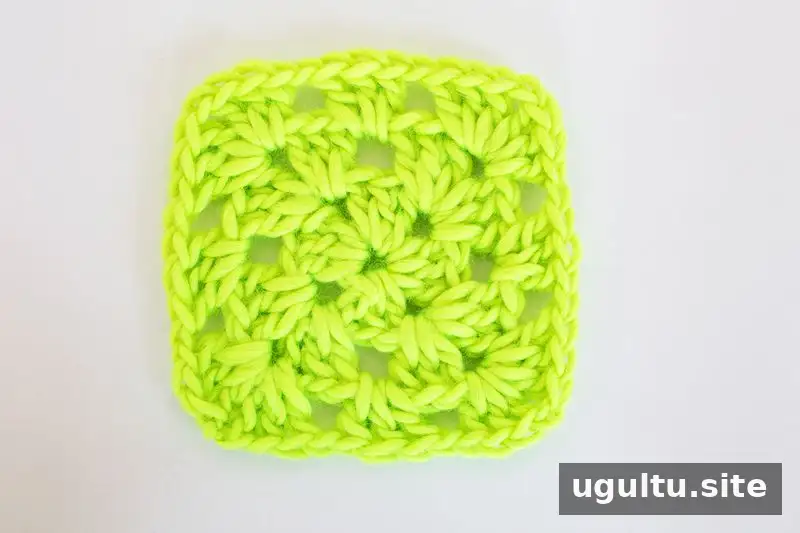
Begin with a slip knot on your hook. Chain 4, then insert the hook into the first chain and slip stitch to form a loop.
Chain 3, then work 2 double crochet stitches into the loop. *Chain 1 and work 3 double crochet stitches into the same loop. Repeat from * three more times.
Chain 1, then join the round by slip stitching into the top of the third chain. This completes the first round.
Work the Second and Third Rounds
Second round
Chain 4. In the first space beside the chain, work 2 double crochet stitches. Chain 1, skip 3 stitches, and work 3 double crochet stitches into the next space. Chain 1, then work another 3 double crochet stitches into that same open space.
Chain 1 and move to the next open space. Work 3 double crochet stitches, chain 1, then work 3 more double crochet stitches in that space. Repeat this pattern in each open space from the first round. When you return to the first corner, work 3 double crochet stitches, chain 1, and slip stitch into the top of the chain’s fourth stitch to join.
Third round
Chain 4, then work 2 double crochet stitches into the same space. *Chain 1 and move to the next open space along the side. Work 3 double crochet stitches, then chain 1. At the next corner, work 3 double crochet stitches, chain 1, and 3 more double crochet stitches. Repeat from * around the square.
At the final corner, after working the last 3 double crochet stitches, chain 1 and insert the hook into the top of the chain’s fourth stitch. Cut the yarn and pull it through to finish the square.
Join Granny Squares to Make a Blanket
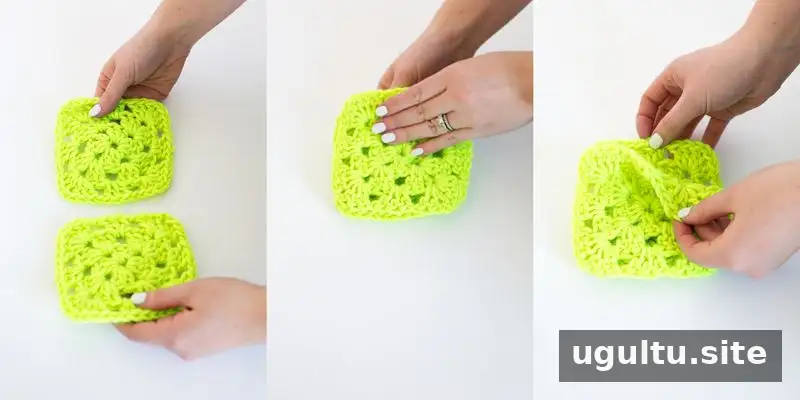
Take two completed squares and place them together with their nicer sides facing inward. Line up the stitches along the edges before joining; this makes it easier to work evenly from one corner to the other.
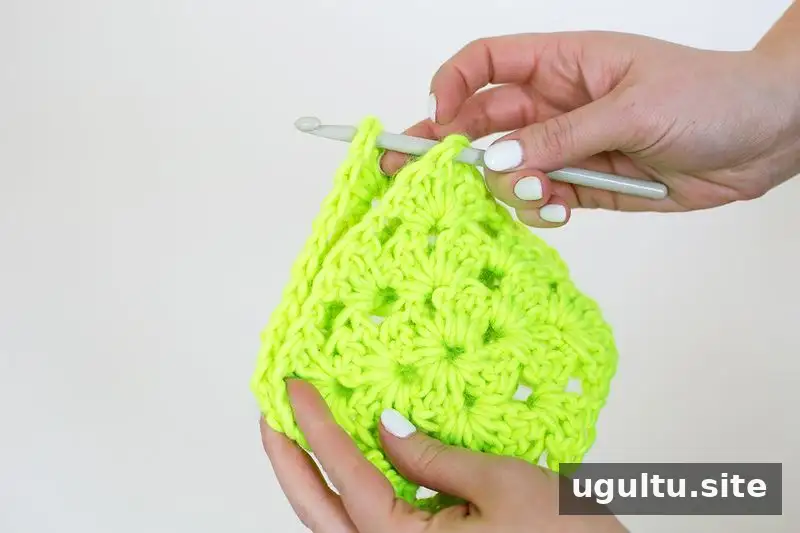
Insert your hook through the corner of both squares.
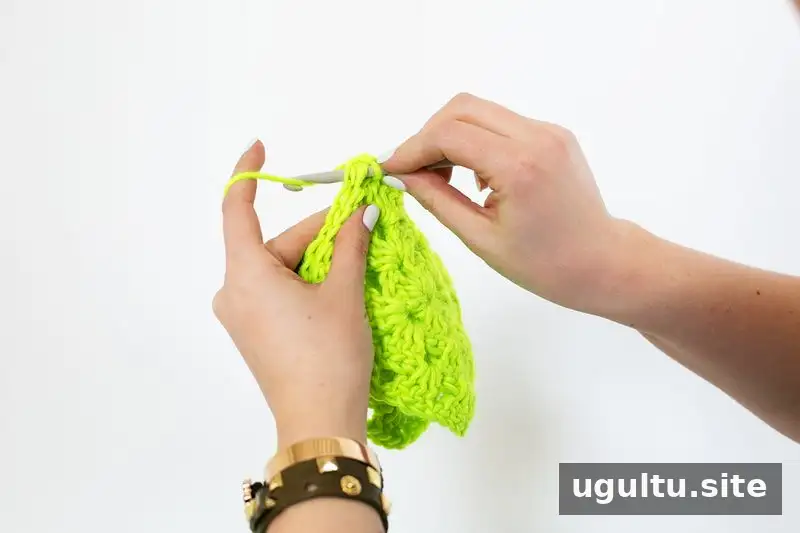
Using matching yarn, make a slip knot on your hook and pull the yarn through the corner. Work single crochet stitches through the corresponding stitches of both squares until you reach the opposite corner. Keep the stitches consistent, but avoid pulling the yarn so tightly that the joined edge puckers.
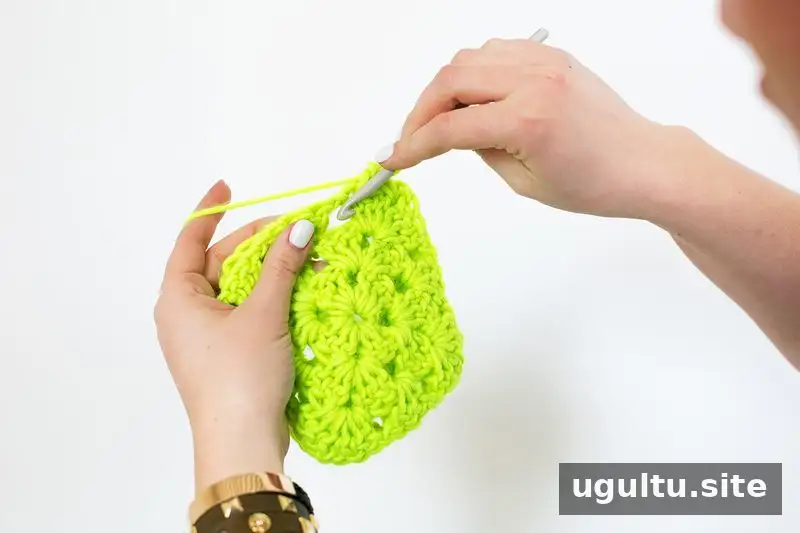
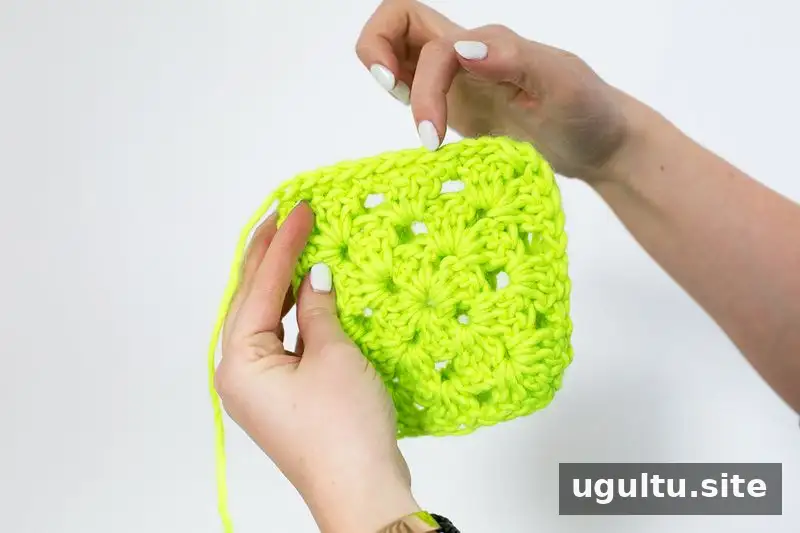
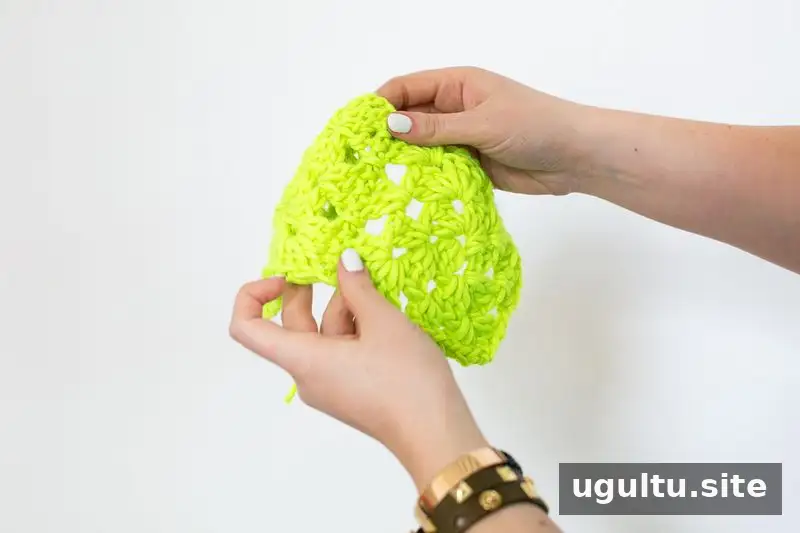
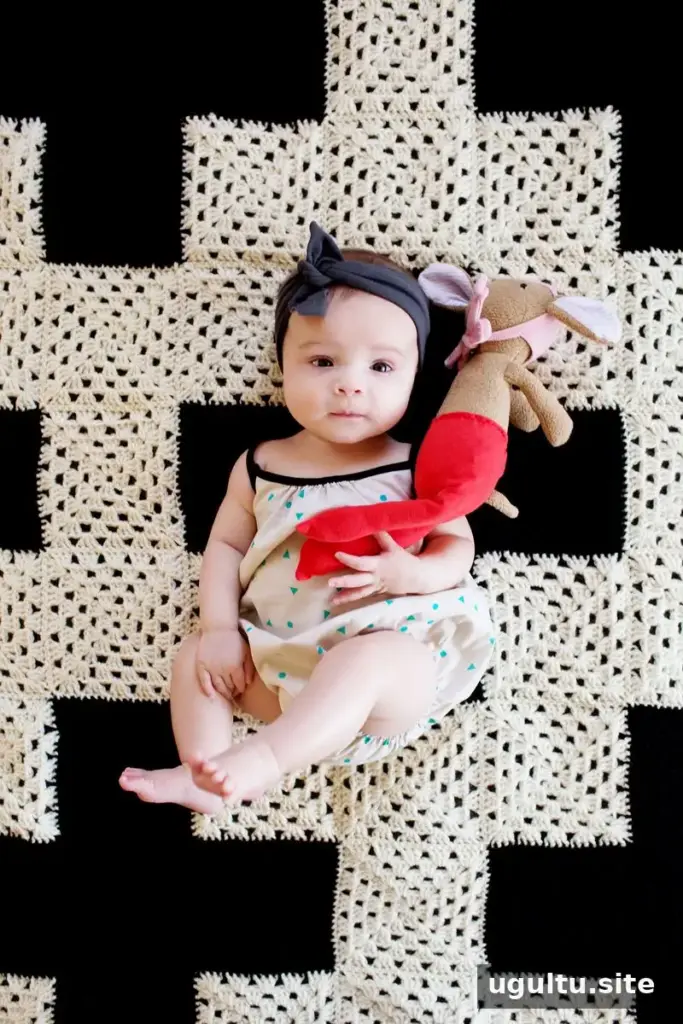
There are a couple of ways to arrange the squares. You can join four squares around a central square to create a plus-shaped layout, or connect squares end to end in long strips. Join the strips using the same single crochet method. Once all the squares and rows are connected, use a darning needle to weave in the loose yarn ends.
Plan Your Crochet Blanket
Granny squares are easy to work on in short sessions: make one when you have time, then keep adding to your collection until you have enough for a blanket. Before joining everything, lay the squares out in your preferred arrangement. This gives you a chance to check the layout and make adjustments while the pieces are still separate.
Small blankets can also make thoughtful baby gifts. A project made from individual squares takes time, so finishing the edges neatly and weaving in every loose end are useful final steps. With these instructions for how to make granny squares, you can build a blanket gradually, one square at a time.
— Holly