
 admin
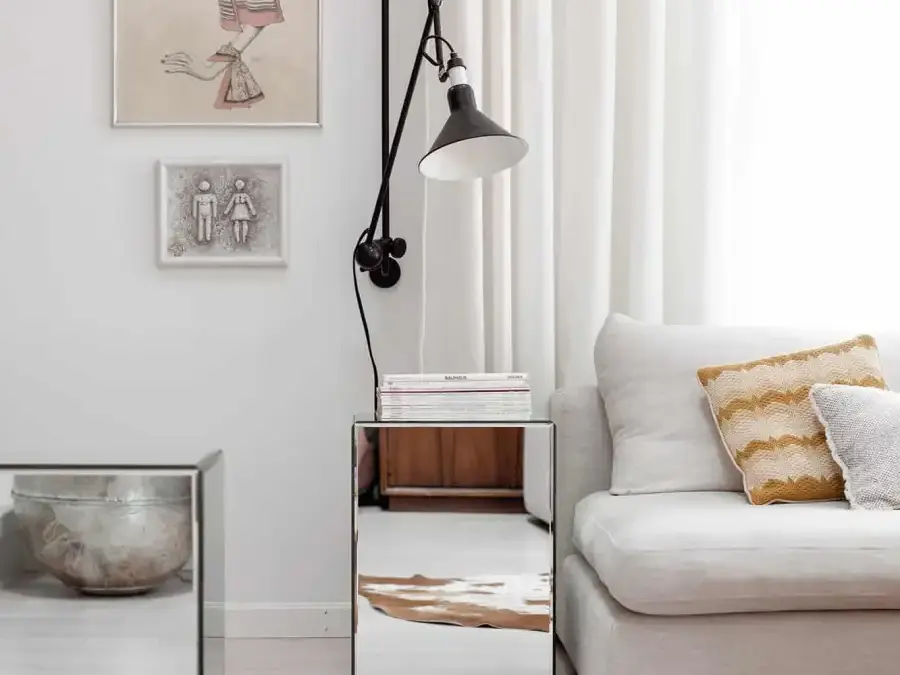
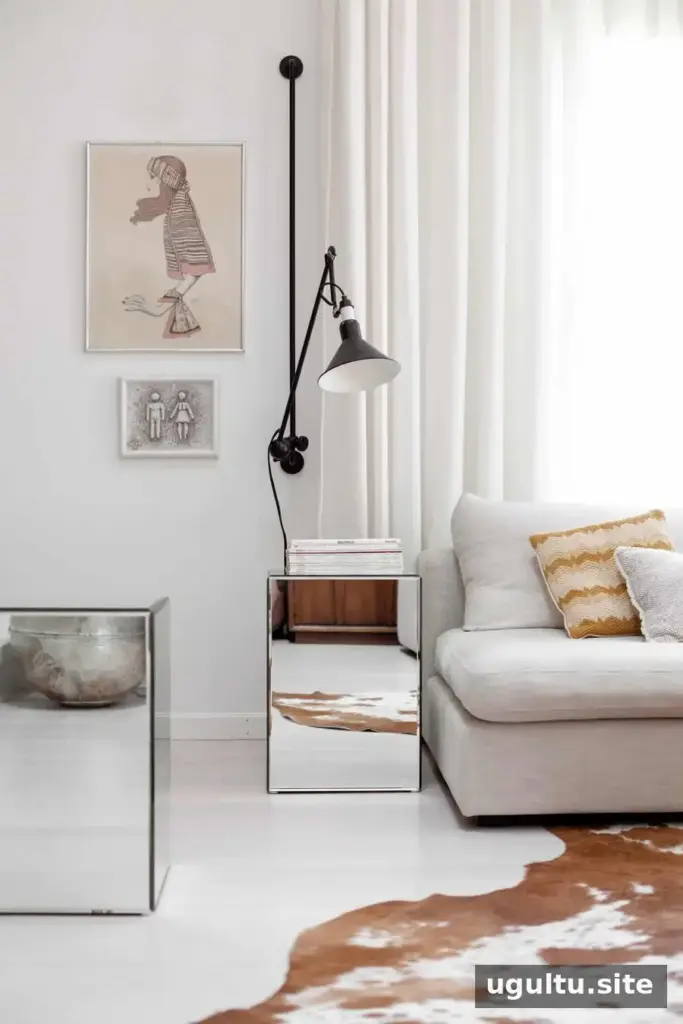
Mirrored side tables can bring a reflective, polished accent to a room while taking up little floor space. This DIY project uses plywood boxes covered with custom-cut mirror pieces, creating a matching pair of cube tables. The assembly is straightforward, but careful measuring and allowing the adhesive to set will help the mirrors sit evenly and securely.
The mirror order described for this project cost about $70 per table without beveled edges. Choosing beveled mirrors raised the price by almost double. Prices vary, so request a quote from a local glass company before ordering. If you have suitable old mirrors, ask whether they can be safely cut to the required dimensions.
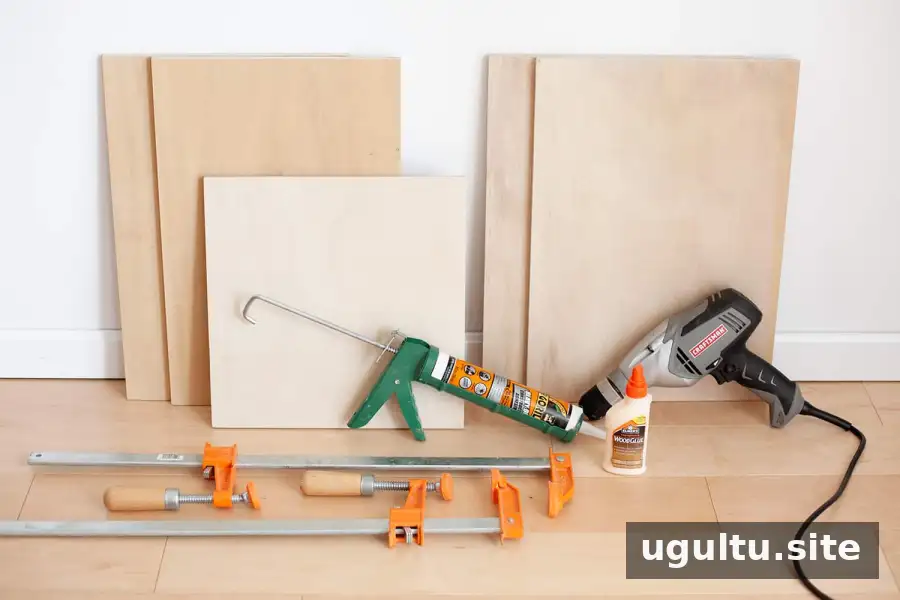
Supplies for two tables:
- One sheet of 1/2-inch plywood (about two-thirds of the sheet is used)
- Two 14-inch x 14-inch mirror pieces and eight 14-inch x 18-inch mirror pieces
- Wood glue
- Four clamps long enough to span 14 inches
- Power drill with a countersink bit
- Four dozen 1-inch #6 screws
- Construction adhesive suitable for the mirror backing
- Hammer
- Furniture glides
Cut the plywood for mirrored side tables
The plywood can be cut into 14-inch strips at a lumberyard, then trimmed to size at home. Alternatively, ask the lumberyard to make all the cuts. The mirrors cover the plywood, but the edges still need to align well enough to form a stable box.
Prepare these plywood pieces:
- Two pieces measuring 14 inches x 14 inches
- Four pieces measuring 14 inches x 17.X inches
- Four pieces measuring 13.Y inches x 17.X inches
X = 1 inch minus the actual thickness of your plywood. Y = 1 inch minus the actual thickness of your plywood, multiplied by two.
Plywood thickness can vary, so measure the sheet you are using before calculating the final dimensions. Confirm the cuts before assembly to avoid gaps or pieces that do not fit squarely.
Assemble the plywood table boxes
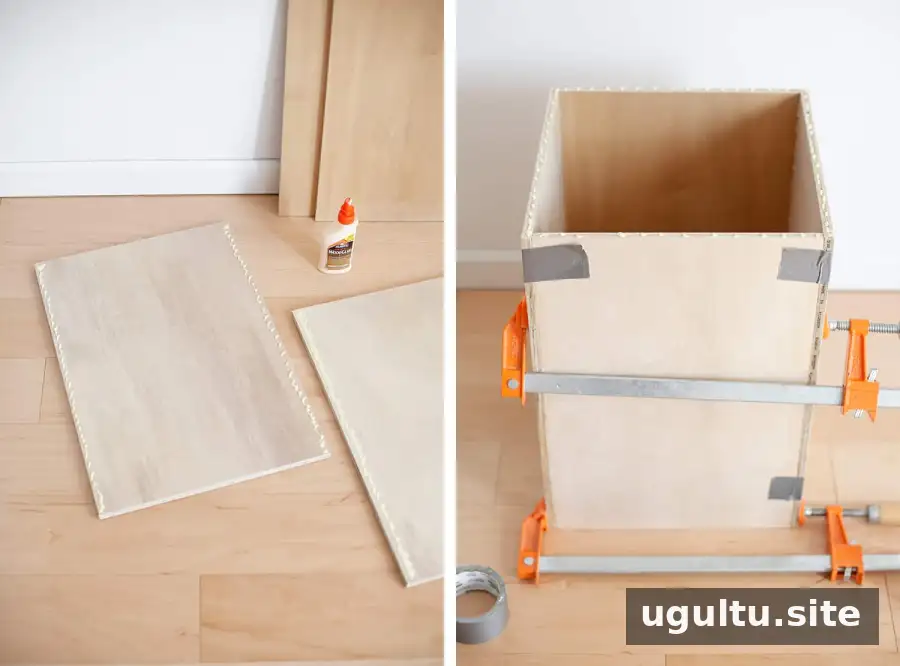
Step 1: Apply a line of wood glue along the edges of the face of two 14-inch-wide plywood pieces, as shown in the image.
Step 2: Clamp the 14-inch-wide pieces to the slightly narrower plywood pieces to form the box. Duct tape can help hold the pieces in position while you place the clamps. Check that the corners are square and the edges are even before tightening the clamps.
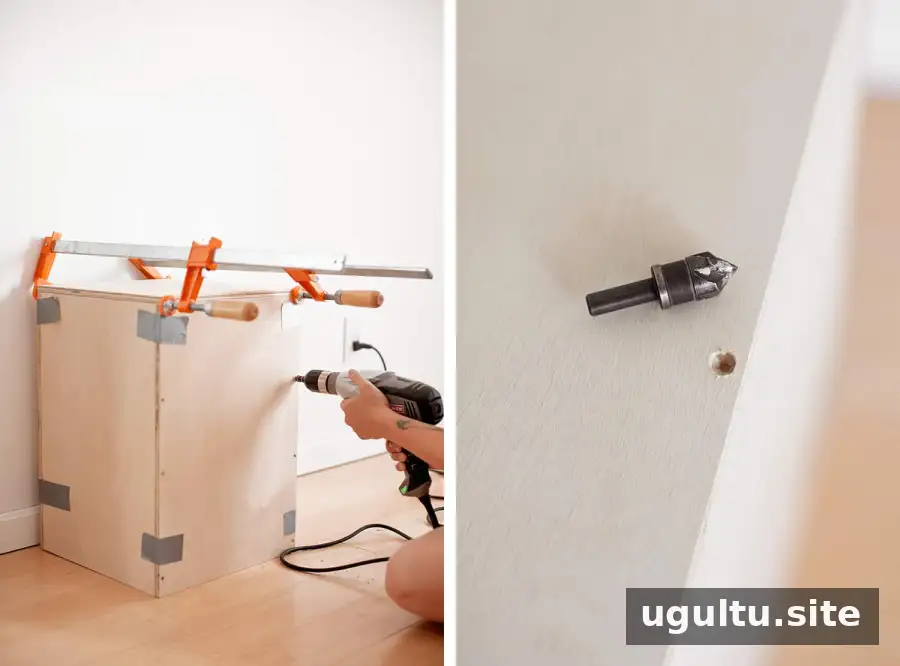
Step 3: While the pieces are clamped, drill four pilot holes near the edges of each 14-inch-wide piece. Position the holes so the screws will enter the perpendicular 1/2-inch plywood. Use a drill bit slightly smaller than the #6 screws. Then use a countersink bit so the screw heads sit flush with the wood. If a pilot hole is too far from the edge, the screw may miss the adjoining plywood.
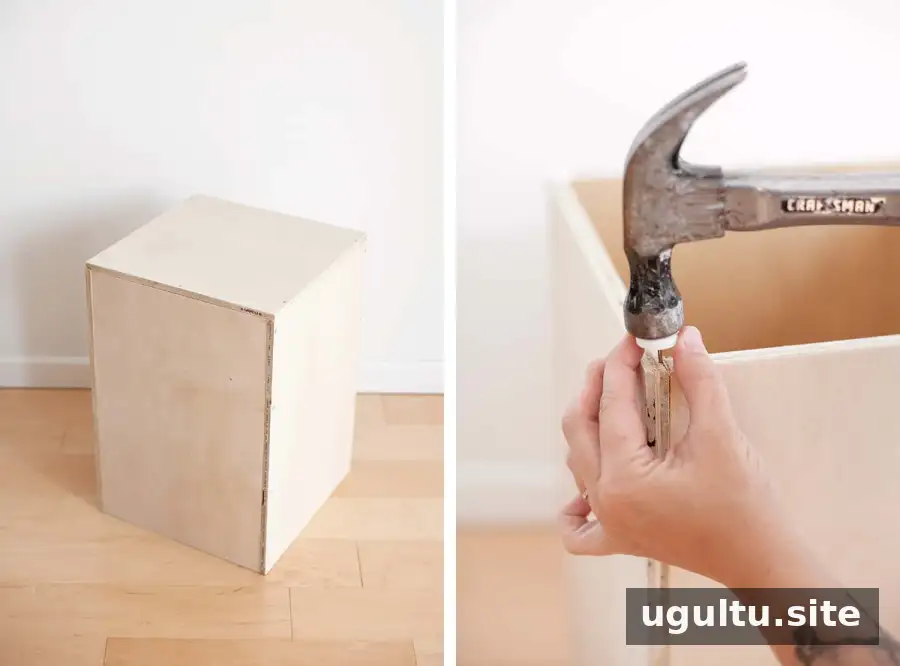
Step 4: After installing the screws, turn the box upside down and hammer a furniture glide into each corner. These glides help keep the plywood from resting directly on the floor.
Attach the mirrors
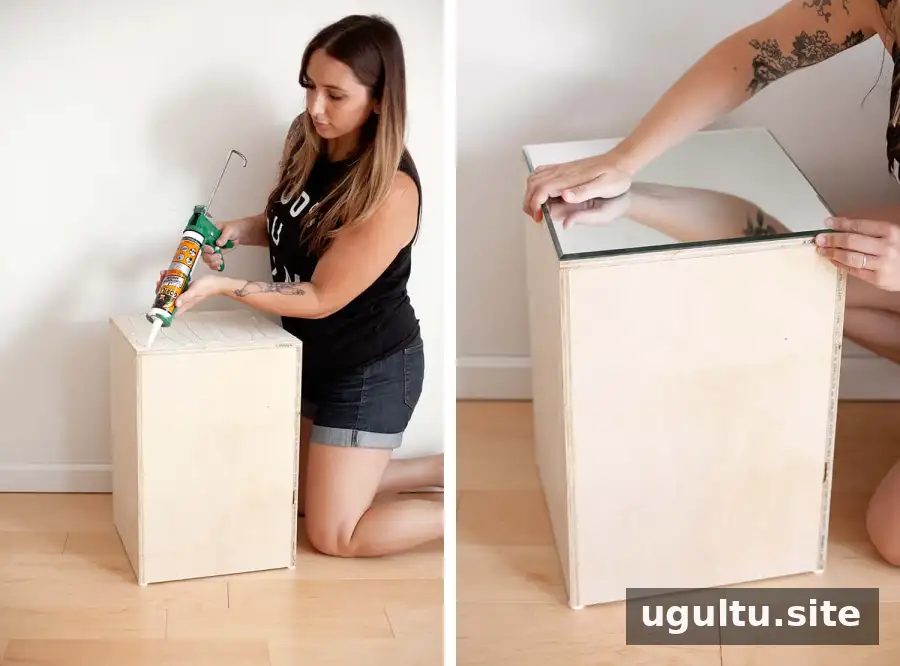
Step 5: Turn the box right-side up and apply construction adhesive to the top. Use enough adhesive to create a secure bond, but avoid applying so much that it lifts the mirror and leaves a gap. Follow the adhesive label, and make sure the product is compatible with the mirror backing.
Step 6: Set the top mirror in place and press down with firm, even pressure. Let the adhesive set briefly before turning the box onto its side to attach another mirror. Attaching every side at once can allow pieces to slip while the adhesive is wet. Waiting about 10 minutes between pieces and using masking tape to hold each mirror in place can help limit movement. Handle mirror edges carefully, and use assistance when positioning large or heavy pieces.
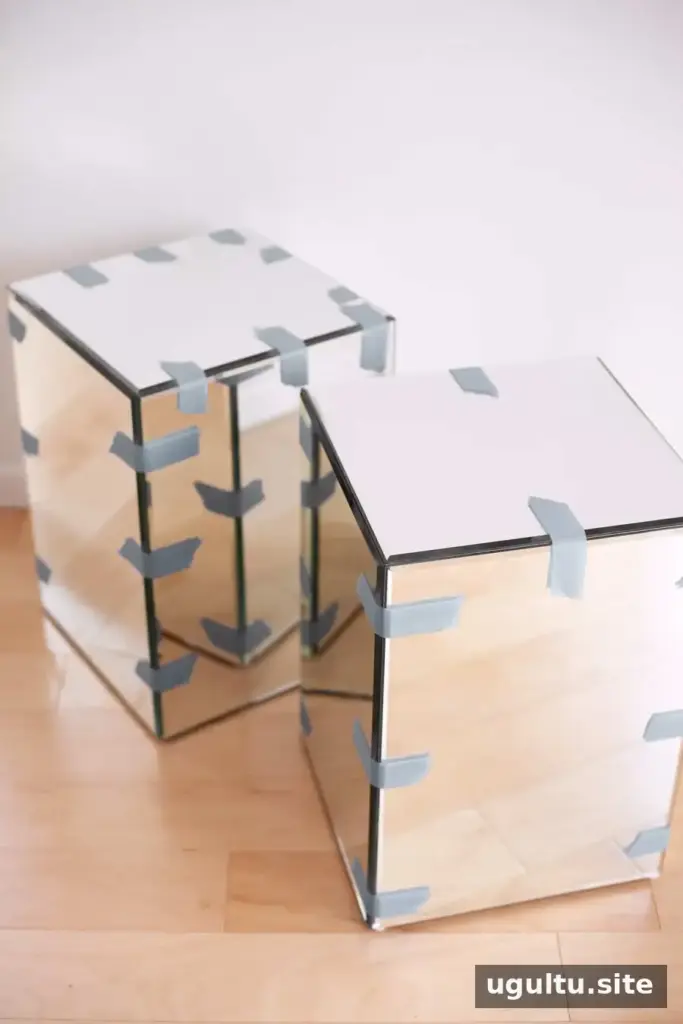
Once the adhesive has cured for the time stated on its label, remove the tape and move the tables into position. Clean fingerprints with a microfiber cloth; glass cleaner can also be used if it is suitable for the mirror surface. Avoid putting weight on the tables until the adhesive has fully cured.
Finishing and care for mirrored side tables
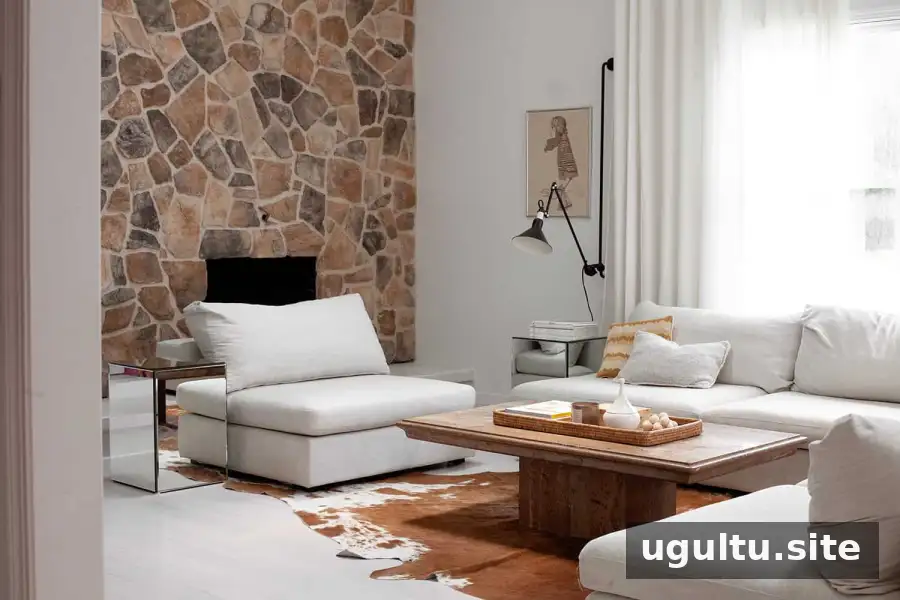
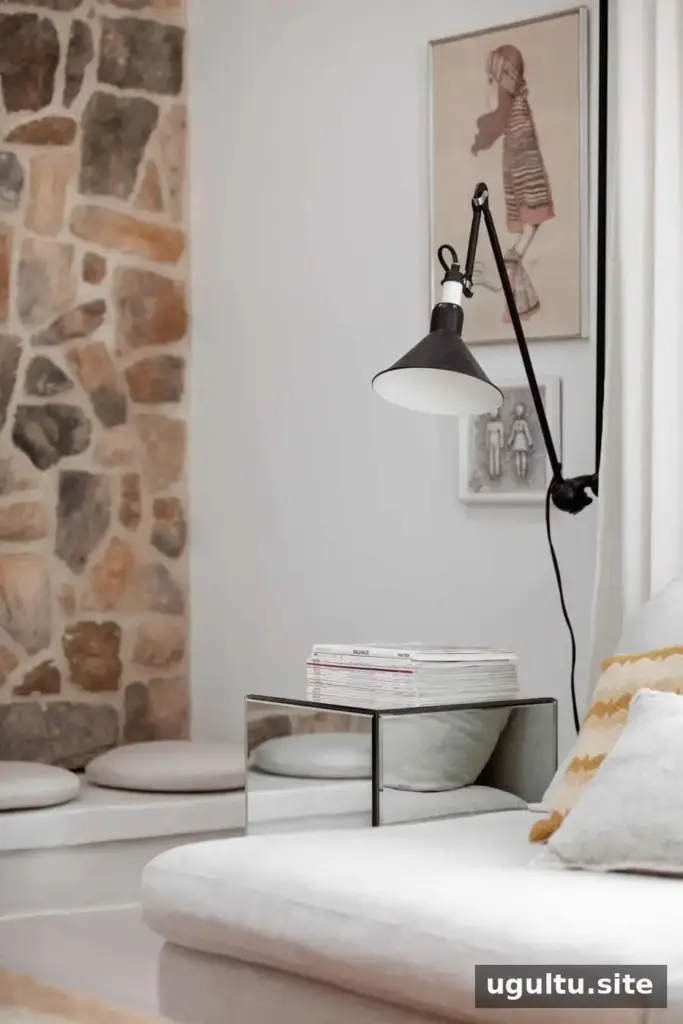
These mirrored cube tables add a reflective contrast to a rustic living room and can help balance heavier textures in the space. To keep the surface looking clear, wipe away fingerprints with a soft cloth and avoid abrasive cleaners that could scratch or damage the finish. With accurate cuts, compatible adhesive, and enough curing time, mirrored side tables can provide a practical accent for a living room or bedroom. —Mandi


