
 admin
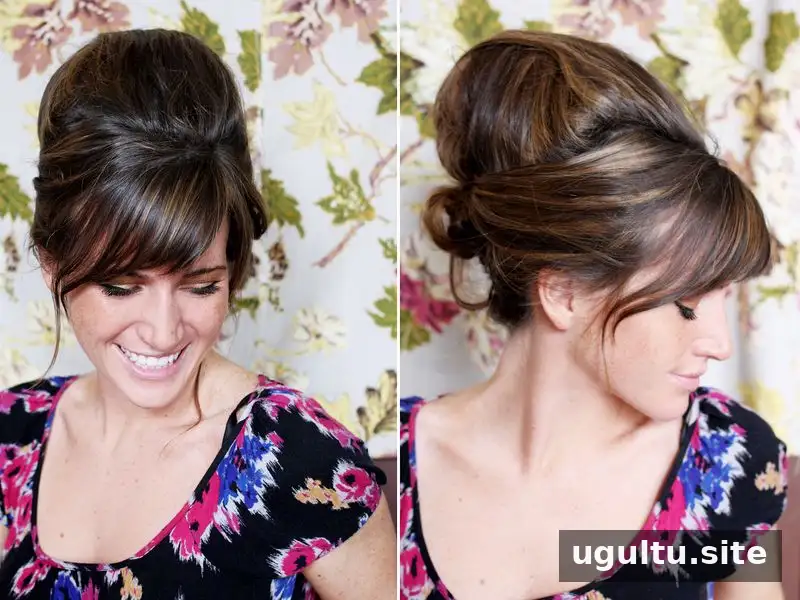
A beehive hairstyle creates a high, rounded shape with plenty of volume, making it a striking choice for weddings, parties, or a vintage-inspired outfit. Although the finished style looks intricate, you can build it at home with a few basic supplies, a covered bath loofah for structure, and carefully placed pins. Work patiently and keep the top layer of hair smooth for a more polished finish.
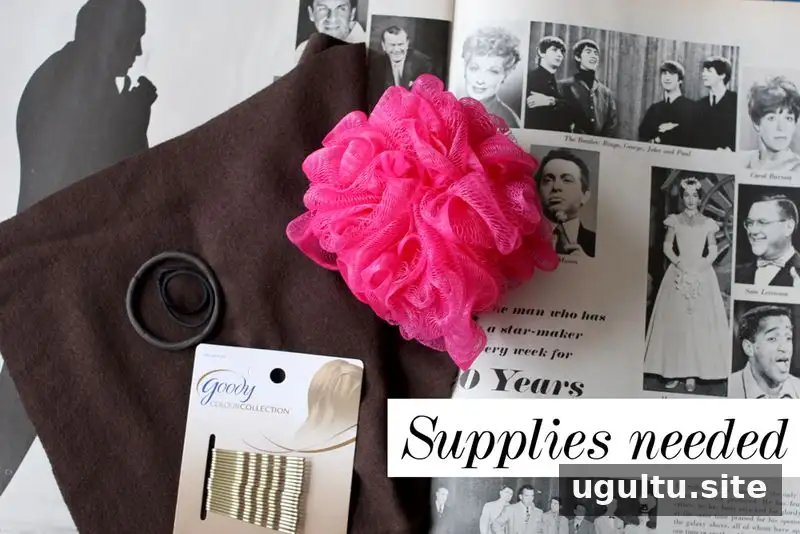
Supplies for a Beehive Hairstyle
Gather everything before styling so you can hold the shape in place as you work. You will need:
- A clean, dry bath loofah in any color
- A piece of fabric close to your hair color, large enough to cover the loofah
- A teasing brush
- A rubber band
- Bobby pins
- Hairspray
Choosing fabric that blends with your hair helps conceal the support if a small section becomes visible. Keep several bobby pins within reach, and use hairspray in light layers so the hair remains manageable while you shape it.
How to Make a Beehive Hairstyle
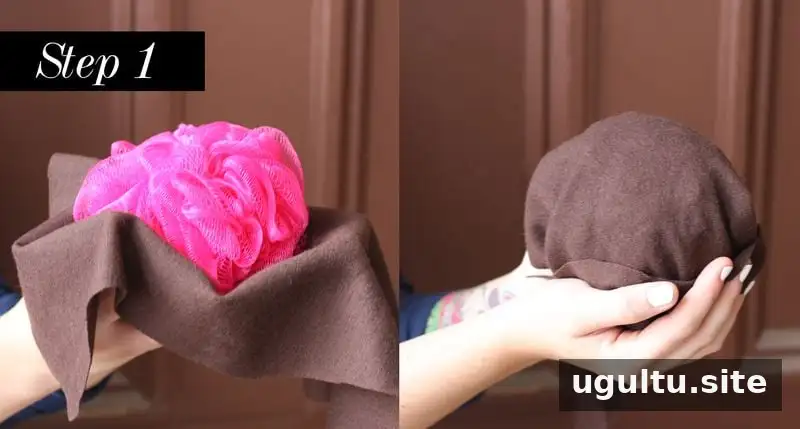
1. Cover the support
Wrap the bath loofah in the fabric, covering it completely. The fabric should be secure enough to stay in place while you style, without bulky loose ends showing. Set the covered loofah aside.
2. Tease the hair for volume
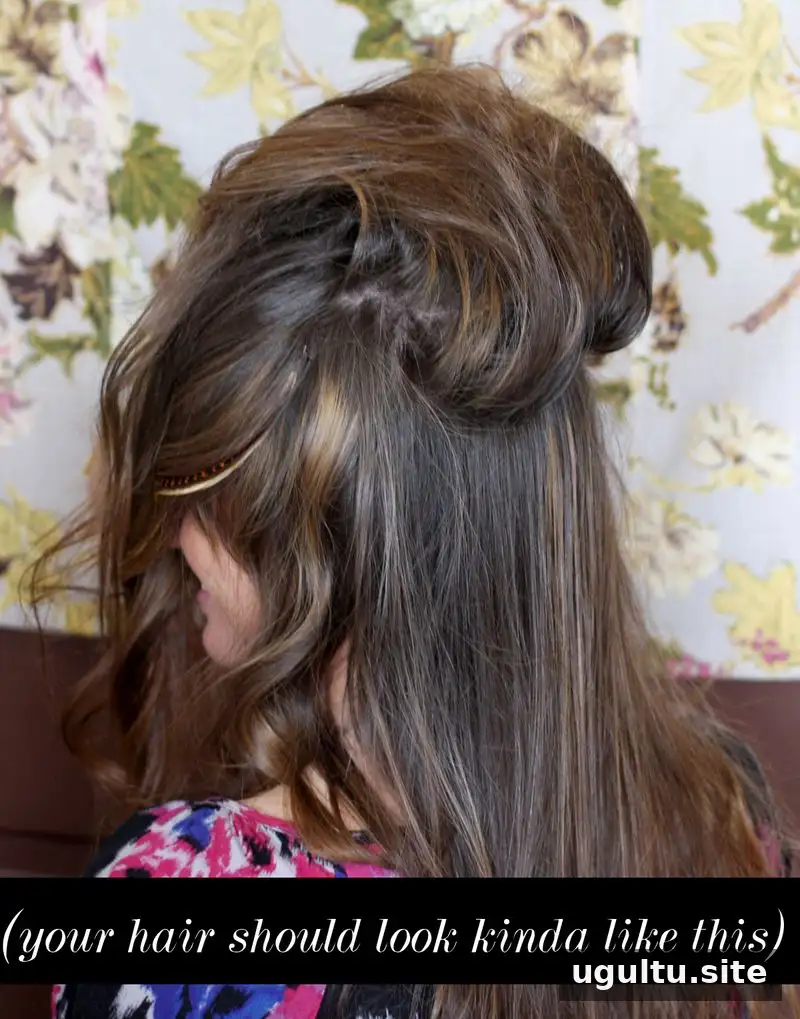
Use the teasing brush on the underlayers at the crown of your head. Take small sections and gently brush toward the roots to build volume. Leave the outermost layer smooth and unteased; you will use it later to cover the textured sections. Avoid pulling hard, and stop if teasing feels uncomfortable.
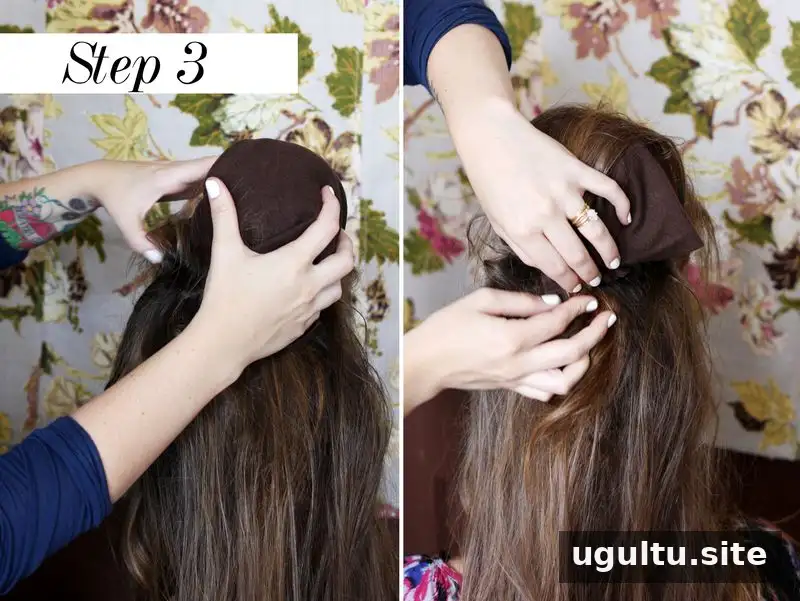
3. Position and cover the loofah
Place the covered loofah where you want the raised section to sit. Its position determines the location of the beehive, so check the placement before securing the hair around it. Bring sections over the support and pin them in place, working from different directions until the loofah is fully hidden.
Use enough pins to hold the shape securely, but avoid forcing pins against your scalp. If the support shifts, reposition it before adding more hair over the top.
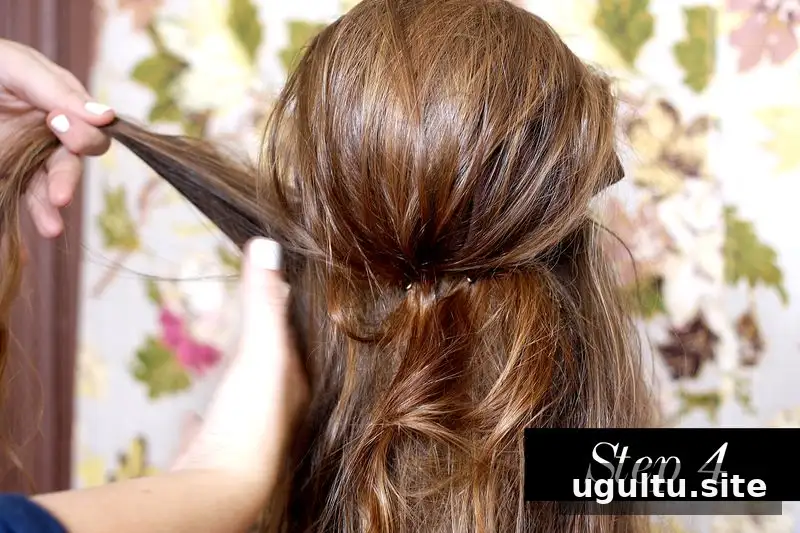
4. Shape the sides
Bring sections from both sides of your head back toward the raised shape. Smooth them over the sides of the bump and secure them with bobby pins. This step helps create a balanced outline and conceals the edges of the support. Check the style from the front and sides as you work.
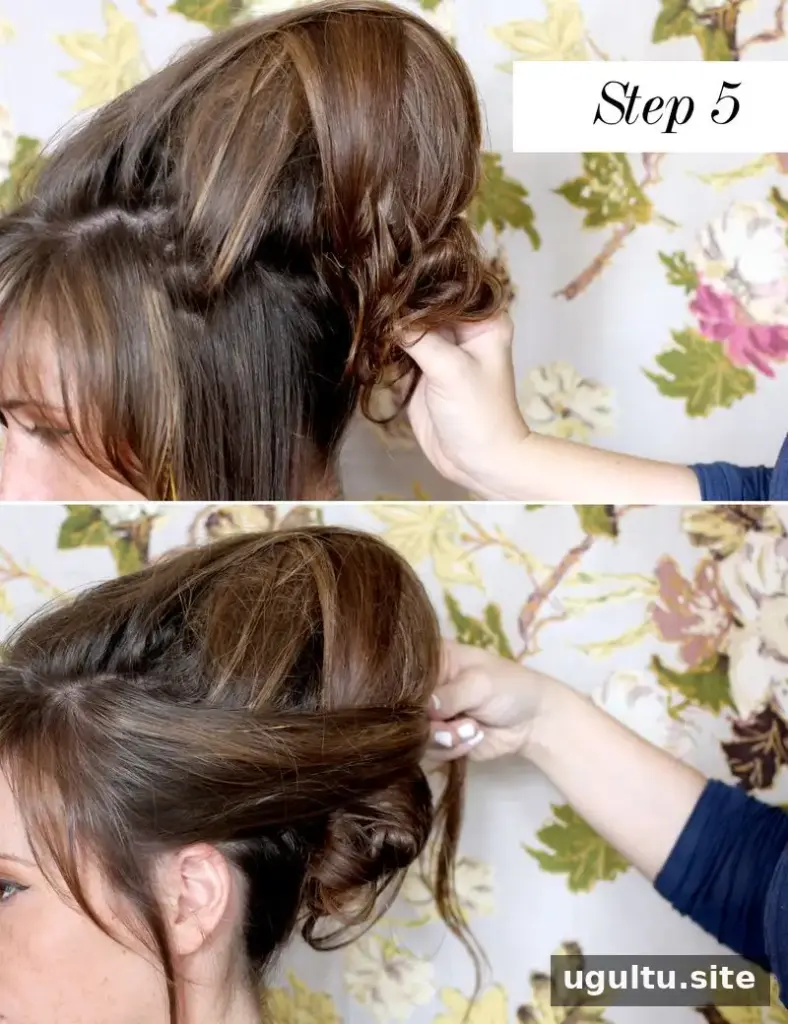
5. Finish the back
Decide whether to pull the remaining hair up or leave it down. Either option can work with the beehive; choose the finish that suits your outfit and the occasion. Smooth any loose strands, then apply hairspray as needed to help hold the style.
Tips and Variations
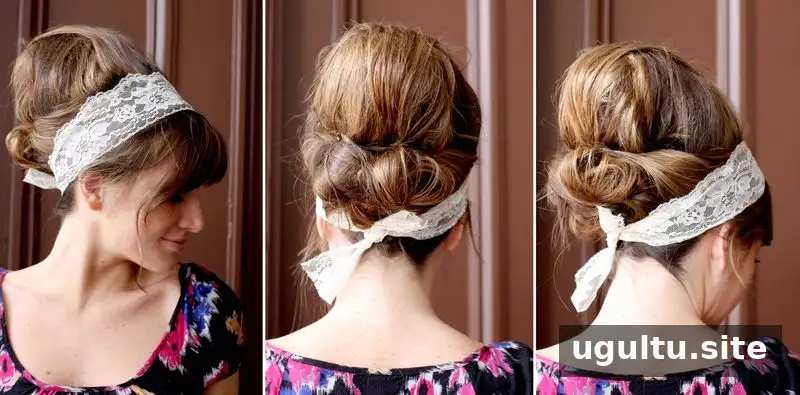
If your hair is too short to cover a loofah, use fabric tied into a large knot or ball as a smaller support instead. Add a lace headband, a daisy chain, or maiden braids at the front for a decorative detail. Try accessories after the main shape is secure so they do not interfere with pinning.
Practice helps you work out how much teasing and hairspray your hair needs. Start with a modest amount of both, then add more gradually if the shape needs extra volume or hold. A smooth top layer and a fully concealed support are useful checks before you finish.

The following photos show the style at Elsie’s wedding.


Conclusion
A beehive hairstyle is built by adding volume at the crown, covering a lightweight support, and pinning the hair into a smooth, rounded shape. The back can be worn up or down, and simple accessories can make the look more personal. With careful placement and a little practice, you can adjust the beehive hairstyle to suit your hair length and the occasion.


